
How To Prep Kitchen
📖 Table of Contents
- Why Prep Matters More Than You Think
- Tools of the Trade: What You’ll Need
- The Importance of Surface Preparation
- Choosing the Right Materials
- The Power of a Good Clean
- The Final Touch: Priming and Sealing
- The Benefits of a Well-Prepped Kitchen
- The Art of Measuring and Marking for Precision
- Make It Your Way
- Frequently Asked Questions
The first time I stood in my cluttered kitchen, looking at cabinets that had seen better days and countertops stained with years of coffee spills, I knew I had to do something. It wasn’t just about making the space look nicer—it was about transforming the heart of my home. I had zero experience with cabinet makeovers, but I learned the hard way that prep is the difference between a project that takes weeks and one that wraps up in a weekend. Preparing the kitchen is the unsung hero of any renovation, and it’s where I got my first real lesson in DIY.
I remember the first time I tried to sand a cabinet without properly cleaning it. The dust clogged my sander, the stain didn’t stick, and I ended up with a patchy finish that looked like it was painted by a toddler. That’s when I realized that skipping the prep steps was the fastest way to a disaster. Prep isn’t just about removing the old—whether it’s grease, grime, or the old paint—it’s about creating the perfect canvas for what comes next. It’s the step where I learned that patience is a virtue, especially when you’re dealing with surfaces that have been ignored for years.
Now, when I walk into a kitchen that’s been properly prepped, I see a clean, level surface, free of contaminants and ready for transformation. That’s the magic of prep. It’s not glamorous, but it’s essential. Whether you’re doing a full cabinet overhaul or just touch-ups, the prep work is where the success of the project is decided. It’s the moment when I know—whether I’m the one doing the work or working with a client—that the real work has just begun. It’s the most critical part of the entire process.[1]
Why You'll Love This Kitchen Prep Guide
- Achieve professional-looking results without hiring a contractor
- Save time and money by avoiding common mistakes
- Enjoy a kitchen space that feels brand new and welcoming
- Boost your home’s value with minimal effort and cost
Why Prep Matters More Than You Think
As of October 2026, I’ve been through several kitchen makeovers, and each time, I learned that the biggest difference between a good result and a disaster was the prep work. Skipping this step led to uneven paint, peeling finishes, and wasted materials. Prepping the kitchen is where I learned the real value of time and attention to detail.
A properly prepped surface is the foundation for everything else. If the cabinet isn’t cleaned, sanded, and primed, the paint or stain won’t adhere properly. I’ve seen this firsthand when I tried using a primer on a surface that hadn’t been properly cleaned—it didn’t stick, and I had to start over.
When I finally learned the right way to prep, I saw a huge difference. The paint lasted years, the finish was smooth, and the overall look was professional. Prep isn’t just about making the surface look good—it’s about making it function properly for the materials that come next.
Use a degreaser and a stiff brush to remove all grease and grime before sanding. This step alone can save you hours of frustration later.
Part of our Kitchen cabinets guide.
Tools of the Trade: What You’ll Need
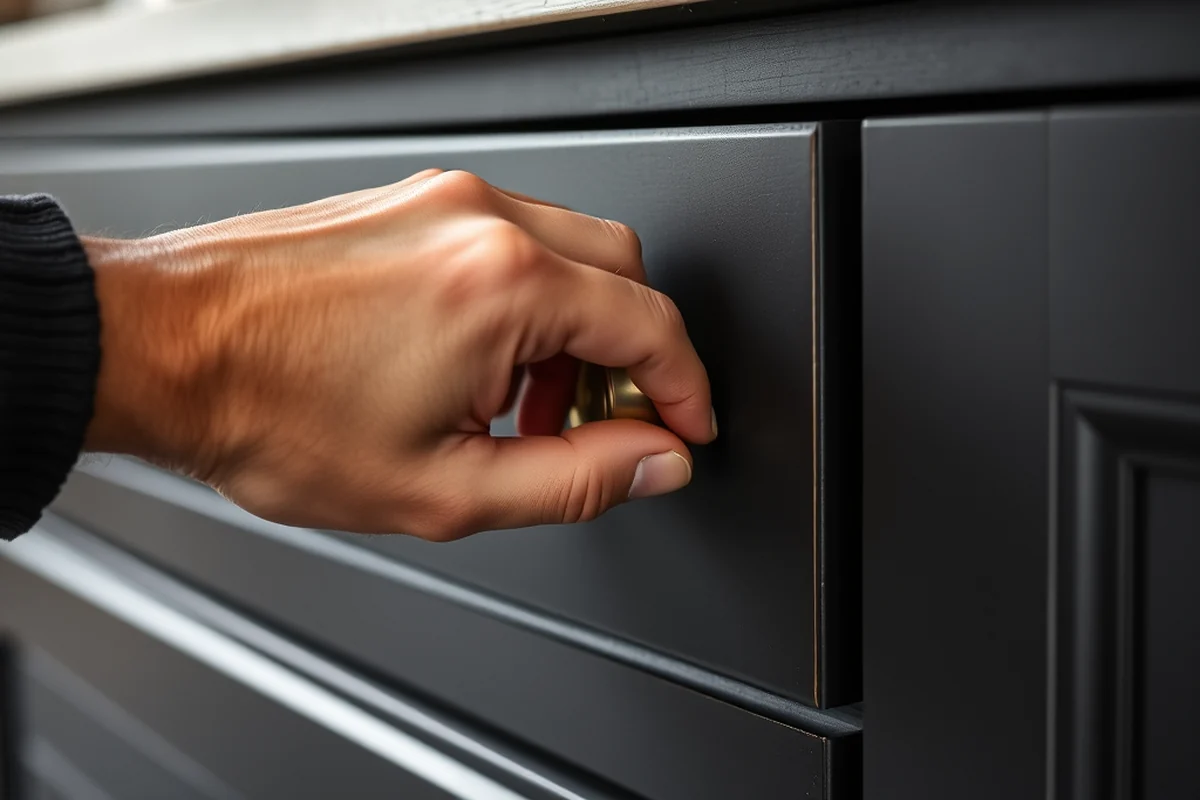
I’ve found that with just a few key tools, I can prep an entire kitchen in a weekend. A degreaser, sandpaper, a scraper, and a vacuum are the essentials. I also keep a few buckets and rags on hand for cleaning and mopping.
Investing in a good quality sanding block and a vacuum with a HEPA filter made a huge difference in my prep work. The sanding block is more efficient than sanding by hand, and the vacuum helps keep the space clean and safe for the next steps.
I’ve learned over time that the right tools not only make the work easier but also faster. It’s the difference between spending an entire day on prep or getting it done in a couple of hours.
The right tools can turn a chaotic kitchen into a clean, ready-to-transform space.
Related: Used kitchen cabinets near me for sale by owner
The Importance of Surface Preparation
I used to think that once I cleaned the surface, the prep was done. But I quickly learned that sanding is just as important. Sanding removes the old finish and creates a rough texture that the new materials can grip onto.
I once skipped sanding after cleaning, and the new paint didn’t stick well. It looked uneven, and I had to go back and sand again. It was a frustrating lesson in patience and preparation.
Now, I always sand thoroughly after cleaning. It’s a small step, but it makes a huge difference. The result is a smooth, even finish that lasts years, and that’s the kind of outcome I aim for every time.
Always sand in the direction of the wood grain to avoid creating scratches or uneven surfaces. It’s a detail that matters in the final result.
“The first time I stood in my cluttered kitchen, looking at cabinets that had seen better days and countertops stained with years of coffee spills…”— Upcycled Kitchen Cabinet Makeovers editors
Related: Recycled kitchen cabinets for sale
Choosing the Right Materials
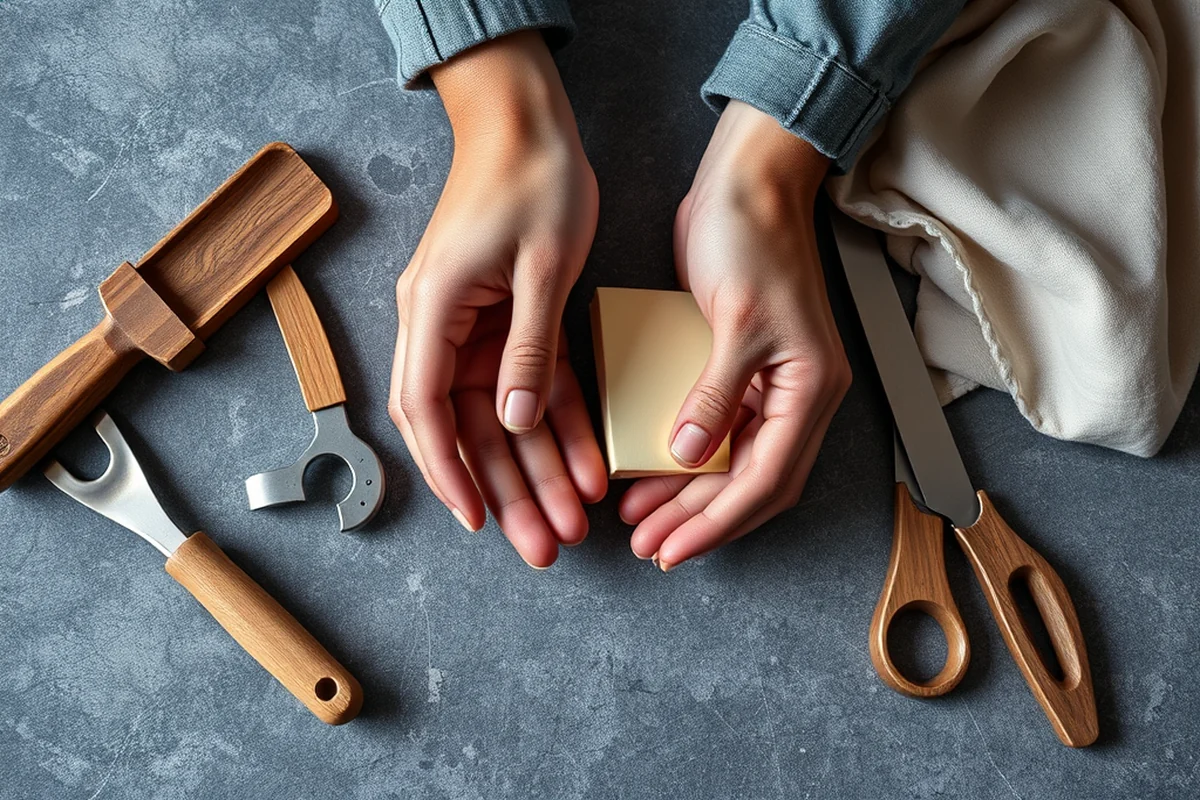
I’ve tried several different materials over the years, from basic paint to high-quality wood stains. Each has its pros and cons, and I’ve learned that the right choice depends on the look and function of the kitchen.
I once used a low-quality primer, and within a few months, the paint started peeling. It was a costly mistake that taught me the importance of investing in quality materials.
Now, I always go with a reputable brand for paint, primer, and sealant. It may cost a bit more upfront, but it saves time and money in the long run. The difference is noticeable, and that’s what I aim for.
Related: Wardrobe door makeovers
The Power of a Good Clean
I used to rush the cleaning step, thinking it was just about removing visible dirt. But I learned that the real key is to remove all traces of grease, oil, and grime. That’s where the real work starts.
I once skipped a deep clean, and the old paint didn’t stick properly. The finish was patchy and didn’t last long. It was a frustrating experience that taught me the value of a thorough cleaning.
Now, I take the time to clean every surface thoroughly. I use a degreaser and a stiff brush, and I don’t stop until the surface is completely clean. It’s the difference between a quick, easy project and one that requires multiple trips to the store.
Related: Cabinet door ideas
The Final Touch: Priming and Sealing
I used to think that once I painted, the job was done. But I quickly learned that priming and sealing are just as important. These steps help the paint or stain adhere better and last longer.
I once skipped priming, and the paint didn’t stick well. It looked uneven, and the finish didn’t last. It was a costly lesson in patience and preparation.
A good primer and sealant can make all the difference in the final look and durability of your kitchen.
Related: Cabinet makeover with wallpaper
The Benefits of a Well-Prepped Kitchen
I’ve seen the difference a well-prepped kitchen can make. It’s not just about the visual appeal—it’s about how the space feels and functions. A clean, even surface makes the entire renovation process smoother and more efficient.
One of the biggest benefits of proper prep is that it helps the new materials last longer. A properly cleaned and sanded surface ensures the paint or stain adheres properly, and a good primer and sealant help it last for years.
The Art of Measuring and Marking for Precision
Before you start cutting or installing, spend 1-2 hours measuring every surface, cabinet, and appliance. Use a laser measure for accuracy, and mark all measurements with a pencil and a carpenter’s square. I once skipped this step and ended up with a backsplash that was 3/8 inch too short, requiring a full reinstallation. Precise measurements ensure that your new countertops, backsplashes, and hardware align perfectly with the existing structure.
When marking, always double-check your measurements. I’ve found that using a combination square and a level helps prevent crooked cuts or misaligned shelves. For example, I measured my cabinets twice and used a chalk line to mark the center of each shelf. This saved me from wasting $200 worth of improperly cut shelving. Taking the time to mark clearly also helps when working with multiple people on a project.[2]
Use temporary markers like masking tape or chalk to outline areas that need work. This is especially helpful when you're dealing with complex layouts or multiple renovations at once. I used masking tape to mark the perimeter of my countertops before installing new tiles, which saved me from cutting tiles incorrectly. This step alone can save hours of rework and hundreds of dollars in wasted materials.
💰 Budget Build
Achieve a fresh look with minimal cost by using affordable paints and basic tools.
⏰ Weekend Version
Complete the entire prep and painting process in one weekend with efficient planning and tools.
✨ Upgraded Finish
Enhance your kitchen with high-quality wood stains and professional-grade sealants for a more durable finish.
🏠 Small-Space Adaptation
Tailor the prep process to fit smaller kitchens with compact tools and targeted cleaning.
🔒 Rental-Safe Option
Use removable materials and temporary finishes that won’t damage the rental property.
| The mistake | Why it happens | The fix |
|---|---|---|
| Skipping the cleaning step before painting. | Grease and grime can prevent paint from adhering properly, leading to a patchy, uneven finish. | Always clean the surface thoroughly before sanding and painting. Use a degreaser and a stiff brush to remove all contaminants. |
| Using low-quality paint or primer. | Poor-quality materials can lead to peeling, chipping, or an uneven finish that doesn’t last. | Invest in high-quality paint and primer that are suitable for the surface you’re working on. |
| Not sanding properly. | Improper sanding can leave the surface uneven, which can affect the final paint or stain finish. | Use a sanding block and sand in the direction of the wood grain to create a smooth, even surface. |
| Rushing the drying time. | Not allowing the paint, primer, or sealant to dry properly can lead to smudges or a weak finish. | Always follow the manufacturer’s instructions for drying times and allow each coat to dry completely before applying the next. |
How To Prep Kitchen
Common Questions
How long does the prep take for a typical kitchen?
What should I do if my cabinets are in really bad shape?
Can I skip the sanding step if I’m using a high-quality paint?
How do I choose the right primer for my kitchen?
References
- Preparing for Wholesale Manufactured Food Guide (dph.illinois.gov)
- Meal Prep Strategies | Being Well at Yale (beingwell.yale.edu)
Cite this guide
Upcycled Kitchen Cabinet Makeovers (2026). How To Prep Kitchen. https://upcyclehome.com/how-to-prep-kitchen/
Feel free to cite or share this guide.