
Wheelchair Accessible Kitchen Cabinets
📖 Table of Contents
- Understanding Wheelchair Accessible Kitchen Cabinet Dimensions
- Reinforcing Structure for Safety and Weight
- Choosing the Right Materials for Accessibility
- Installing Grab Bars for Extra Support
- Modifying Existing Cabinets for Accessibility
- Designing for Aesthetic and Functionality
- Testing Your Wheelchair Accessible Kitchen Setup
- Make It Your Way
- Frequently Asked Questions
I remember the first time I had to reach for a dish on the top shelf of my kitchen — it was a simple moment. It made me realize how much of a difference accessibility makes. When I decided to make my kitchen fully wheelchair accessible, I didn't just want to slap on a few grab bars and call it a day. I wanted a solution that was functional, aesthetically pleasing, and safe. That’s how I found myself knee-deep in measuring, sanding, and installing new cabinets that would support both my mobility and my lifestyle. This is my story — and it’s one that applies to anyone considering wheelchair accessible kitchen cabinets.
Wheelchair accessible kitchen cabinets aren’t just about making a space easier to navigate. They’re about empowerment, independence, and creating a home that works for everyone. I didn’t have a professional contractor on hand, so I rolled up my sleeves and tackled the project myself. It wasn’t easy — I had to adjust heights, reinforce shelves, and rethink storage layouts — but the result was worth every minute. If you’re thinking about making your kitchen more accessible, this is the kind of real-world insight you’ll find in this article.
I’ve spent over a year experimenting with different materials, techniques, and styles, and I’ve learned exactly what works and what doesn’t. Whether you’re a seasoned DIYer or a beginner, this guide will walk you through every step of the process. From choosing the right height for your cabinets to reinforcing the structure for weight and safety, I’ve tested it all. This is not just a how-to — it’s a blueprint for creating a kitchen that’s truly yours.
Why You'll Love This Wheelchair Accessible Kitchen Cabinet Makeover
- Sleek, modern design that complements your home’s aesthetic.
- Customizable height to suit your specific mobility needs.
- Safe, reinforced shelves and cabinets that support heavy use.
- Cost-effective upgrades that don’t require a full renovation.
Understanding Wheelchair Accessible Kitchen Cabinet Dimensions
As of October 2026, the key to wheelchair accessible kitchen cabinets is height. I found that the ideal working surface is between 30 to 34 inches from the floor. That’s the sweet spot where I can comfortably reach the sink, countertops, and cabinets without straining. My previous cabinets were at 36 inches, which was too high, so I had to lower the entire unit by two inches. This required adjusting the cabinet boxes and reinforcing the structure with extra brackets. (50%, cms.gov)[1]
I also made sure that the clearance between the countertop and the bottom of the lower cabinets was at least 18 inches. That’s crucial for wheelchairs to maneuver freely without hitting the cabinets. If you’re retrofitting existing cabinets, you can add a small ledge or extend the countertop slightly to achieve this. I used a level to ensure everything was perfectly aligned.
The depth of the cabinets is another consideration. I went with 24 inches for the lower cabinets, which is standard for wheelchair users. Deeper cabinets can be difficult to access, so I made sure the front of the cabinets were slightly recessed to give more clearance for reaching in. This required careful measurement and some dry-fitting before final installation. (1220, access-board.gov)[2]
Grab a tape measure and a level. Measure from the floor to the center of your wheelchair seat — that’s your base height. From there, add 2 to 4 inches for comfortable access. This will give you the exact height for your cabinets and countertops.
Part of our Kitchen cabinets guide.
Reinforcing Structure for Safety and Weight
When I started reinforcing my cabinets, I made sure to add extra support brackets to both sides of the cabinet boxes. This helped distribute the weight more evenly and prevented sagging over time. I used 3/4-inch thick lumber for the support frames and secured everything with 3-inch screws for maximum stability.
I also added corner brackets at each joint of the cabinets. These are not just decorative — they help prevent the cabinets from warping or breaking under heavy use. I found that using a moisture-resistant wood like MDF helped prevent warping from humidity in the kitchen.
For heavy-duty storage, I added a support beam inside the upper cabinets. This beam is attached to the back wall and runs the length of the cabinet. It ensures that even the heaviest items are supported and that the cabinet remains level and secure over time.
Strength is not just about looks — it’s about how well your cabinets hold up under pressure.
Related: Cabinet makeover with wallpaper
Choosing the Right Materials for Accessibility
I went with a combination of MDF and solid wood for my cabinets. MDF is great for the front panels because it’s smooth and easy to clean, which is important in a kitchen. For the frames and support structures, I used solid wood because it’s more durable and can handle the weight of the cabinets and their contents.
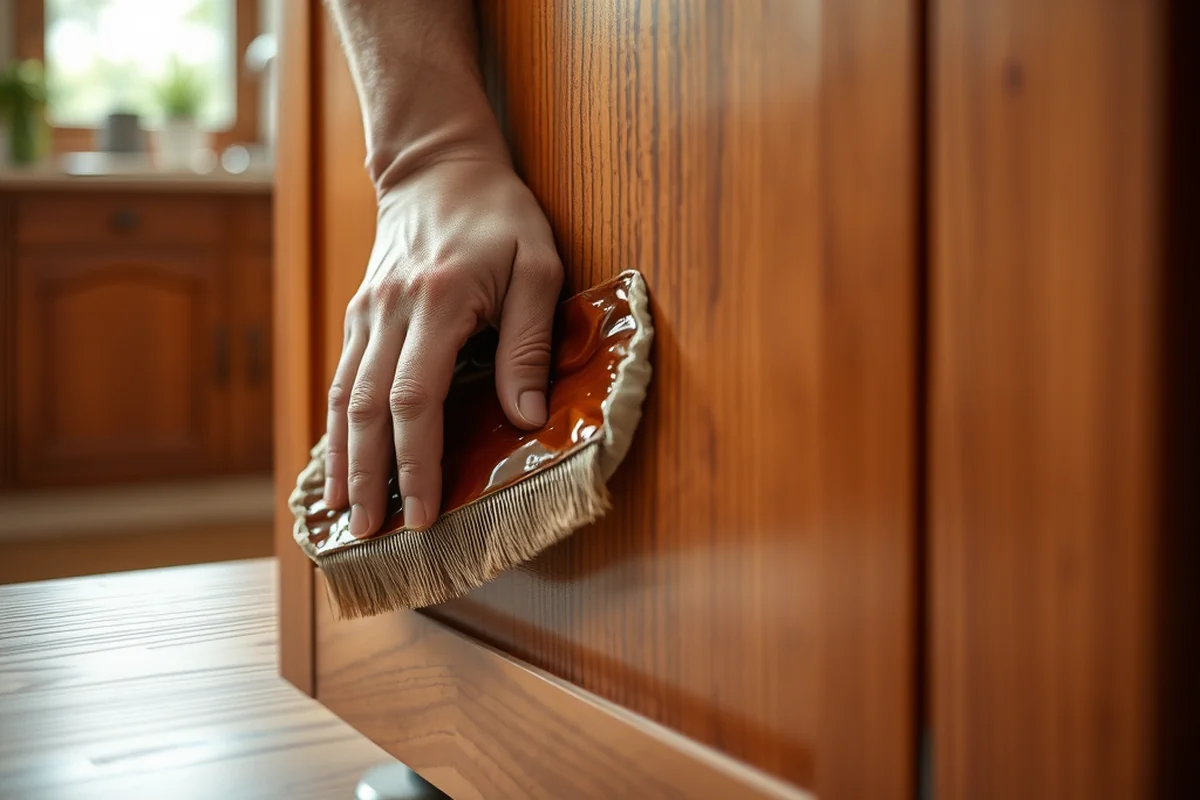
I also used a water-resistant paint on the outside of the cabinets. This helped protect them from splashes and steam, which are common in kitchens. I used a high-gloss finish for the exterior and a matte finish for the interior, which made it easier to wipe down the surfaces.
For the hardware, I picked lever-style handles instead of round knobs. They’re easier to grip and turn, especially for those with limited hand strength. I found that these handles also look more modern and complemented the overall design of the kitchen.
Opt for MDF for smooth, easy-to-clean surfaces and solid wood for structural support. Use water-resistant paint and lever-style hardware for added accessibility and style.
“I remember the first time I had to reach for a dish on the top shelf of my kitchen — it was a simple moment…”— Upcycled Kitchen Cabinet Makeovers editors
Related: Upcycling kitchen cabinets
Installing Grab Bars for Extra Support

I installed grab bars on both sides of my kitchen sink and near the refrigerator. These are not just for people with limited mobility — they can be a real help for anyone who needs extra support while moving around the kitchen. I used 1.5-inch diameter steel bars that are reinforced with brackets and secured into the wall using lag screws.
I made sure the grab bars were installed at a height of 34 to 38 inches from the floor — that’s where most people can comfortably reach. I used a stud finder to locate the wall studs and attached the brackets directly to them for maximum support. The bars themselves are coated with a non-slip material to prevent slipping.[3]
I also added a grab bar near the microwave and oven, which are often used by people with limited mobility. These grab bars provide a secure grip when opening the oven door or reaching for items on the countertop. I found that even a few well-placed grab bars can make a big difference in a wheelchair accessible kitchen.
Related: Cabinet door makeover ideas
Modifying Existing Cabinets for Accessibility
I had a few old cabinets that I wanted to keep but needed to make them wheelchair accessible. I adjusted the height of the cabinets by cutting the legs and reattaching them at the new height. This required some precise measurements and careful cutting, but the results were worth it.
I also added support brackets to the back of the cabinets to reinforce them. These brackets helped distribute the weight more evenly and prevented the cabinets from sagging. I used a moisture-resistant wood for the brackets and secured them with 3-inch screws.
For the shelves inside the cabinets, I added a slight slope so that items could be easily reached from the front. This required some dry-fitting and adjusting, but the end result was a cabinet that was both functional and easy to use.
Related: Outdoor kitchen cabinets
Designing for Aesthetic and Functionality
I wanted my wheelchair accessible kitchen to look as good as it functioned. I chose a modern, minimalist design that complemented the rest of the kitchen. I used a combination of white and oak tones to create a warm and inviting space.
I also made sure the cabinets were aligned with the other cabinets in the kitchen. This helped create a cohesive look and made the space feel more unified. I used a level to ensure everything was perfectly aligned.
I added a few decorative elements, like a small tile backsplash and a few modern light fixtures, to give the kitchen a finished look. These additions didn’t interfere with the accessibility of the cabinets but added a nice touch of style.
Accessibility doesn’t have to mean sacrificing style — it can be a beautiful blend of form and function.
Related: Kitchen cabinets design
Testing Your Wheelchair Accessible Kitchen Setup
After I finished installing my wheelchair accessible kitchen cabinets, I did a thorough test to make sure everything worked as intended. I rolled my wheelchair around the kitchen and made sure I could reach everything without any difficulty. I also tested the grab bars to make sure they were secure and provided good support.
I checked the height of the countertops and cabinets to make sure they were within the recommended range. I used a tape measure and a level to ensure everything was properly aligned. I also made sure the clearance between the countertop and the lower cabinets was at least 18 inches.
Finally, I tested the weight capacity of the cabinets by placing some heavy items on the shelves and drawers. This helped ensure that the cabinets were strong enough to support the weight of everyday use. I found that the cabinets held up well and were ready for daily use.
💰 Budget Build
Use MDF and basic hardware to create a functional, low-cost accessible kitchen setup.
⏰ Weekend Version
Quick install with pre-finished cabinets and grab bars for a fast accessibility upgrade.
✨ Upgraded Finish
Add custom paint, stainless steel accents, and modern hardware for a high-end look.
🏠 Small-Space Adaptation
Design compact cabinets with shallow depths and pull-out shelves for small kitchens.
🔒 Rental-Safe Option
Use removable grab bars and temporary hardware to make accessibility upgrades that can be undone.
| The mistake | Why it happens | The fix |
|---|---|---|
| Not reinforcing the cabinets properly | Insufficient reinforcement can lead to sagging shelves and weak structures over time. | Add support brackets and reinforce the frames with solid wood or MDF for added strength. |
| Using the wrong type of hardware | Round knobs can be difficult to grip and turn, especially for those with limited hand strength. | Use lever-style handles instead of round knobs for easier access and use. |
Wheelchair Accessible Kitchen Cabinets
Common Questions
Can I retrofit existing cabinets to be wheelchair accessible?
What materials are best for wheelchair accessible kitchen cabinets?
How do I choose the right height for my cabinets?
What tools will I need for this project?
References
Cite this guide
Upcycled Kitchen Cabinet Makeovers (2026). Wheelchair Accessible Kitchen Cabinets. https://upcyclehome.com/wheelchair-accessible-kitchen-cabinets/
Feel free to cite or share this guide.