
Upcycling Kitchen Cabinets
📖 Table of Contents
- Choosing the Right Paint for Your Cabinets
- Preparation is Key
- Hardware Upgrades: Small Details, Big Impact
- Finishing Touches: Trim, Backsplash, and More
- The Benefits of an Upcycled Cabinet Makeover
- The Time and Effort Required
- Tips for a Successful Cabinet Makeover
- Make It Your Way
- Frequently Asked Questions
I remember the first time I stood in my kitchen, staring at the outdated cabinets that had outlived their usefulness. They were the color of old coffee, dented, and stained from years of use. I had two options: replace them with brand-new ones or find a way to breathe new life into them. I chose the latter, and that decision led to an unforgettable weekend of transformation. Upcycling kitchen cabinets isn’t just about saving money; it’s about giving a second life to something that, in the right hands, can become stunning again.[3]
As I worked on those cabinets, I marveled at the way a few well-placed coats of paint and some new hardware could completely change the look of a space. It wasn’t just about aesthetics — it was about functionality too. I discovered that upcycling kitchen cabinets could make my kitchen more efficient, more organized, and more reflective of my personal style. This journey taught me that with the right tools, materials, and patience, even the most outdated cabinets can be transformed into something beautiful.[4]
Upcycling kitchen cabinets has become more than just a DIY project for me — it’s a philosophy. I've learned that it’s not only about saving money but also about sustainability and reducing waste. I’ve seen the same transformation in others, and it always starts with that first brushstroke or that first screw. Whether you’re looking to refresh your kitchen or tackle a larger renovation, upcycling kitchen cabinets offers a path that's both rewarding and meaningful.
Why You'll Love This Project
- It's a budget-friendly way to refresh your kitchen without the cost of replacement cabinets.
- You can customize the look to match your personal style and home decor.
- It’s an eco-friendly option that reduces waste and extends the life of your existing cabinets.
- It’s a satisfying, hands-on project that gives you a sense of accomplishment.
Choosing the Right Paint for Your Cabinets
As of September 2026, I learned the hard way that regular wall paint isn’t the best option for cabinets. After my first attempt, the paint peeled off after just a few weeks. That was a costly mistake, but it taught me the importance of using the right type of paint. Cabinet-specific paint is formulated to be more durable and resistant to moisture and wear, which makes it the best choice for this project.[1]
I ended up using a high-quality, water-based cabinet paint that was easy to apply and provided a smooth finish. The paint was slightly more expensive than the standard wall paint, but it was worth the investment. It allowed me to achieve the professional look I was after without worrying about the paint chipping or fading over time.
One thing I noticed was that the paint dried faster than I expected, which was a big plus. It meant I didn’t have to wait long between coats. I also used a primer first, which helped the paint adhere better and created a more even finish. This step was especially important for the old cabinets, which had some stains and imperfections.
Always use cabinet-specific paint and a primer, even if the cabinets look clean. This helps ensure a longer-lasting finish that’s resistant to moisture and wear.
Part of our Kitchen cabinets guide.
Preparation is Key
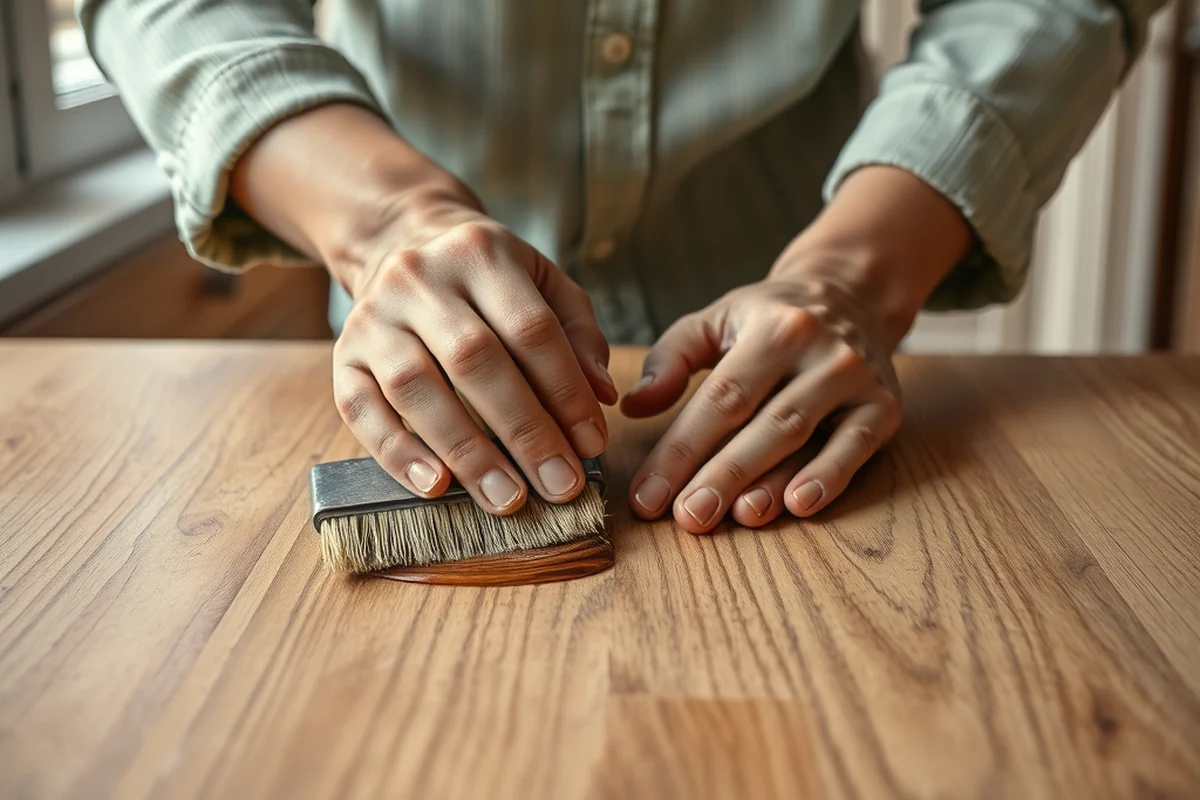
Before I even touched the paint, I spent a considerable amount of time preparing the cabinets. I had to remove all the hardware, clean the surfaces thoroughly, and sand them down. This step is often overlooked, but it’s one of the most important parts of the process. Without proper preparation, even the best paint won’t stick properly.
I used a degreaser to clean the cabinets, as they were covered in years of cooking grease. It was a bit of a hassle, but it was necessary. Once they were clean, I sanded them with fine-grit sandpaper to create a smooth surface for the paint. This took about an hour, but it was worth the time.
After sanding, I wiped down the cabinets with a damp cloth to remove any dust. I also used a primer before applying the paint. This helped the paint adhere better and prevented any stains from showing through. I was surprised at how much of a difference the preparation made — the paint went on smoothly and looked professional.
No shortcuts here — proper prep ensures a smooth, lasting finish.
Related: Cabinet door makeover ideas
Related: Cabinet makeover with wallpaper
Related: Wardrobe door makeovers
Related: Used kitchen cabinets near me for sale by owner
Related: Repurposed kitchen cabinets near me
Hardware Upgrades: Small Details, Big Impact
I didn’t realize how much of an impact the hardware could have on the overall look of my cabinets. After painting them, I decided to upgrade the handles and knobs. I chose a modern, metallic finish that complemented the new paint color and added a sleek, updated look to the cabinets.
The hardware was relatively inexpensive, but it made a huge difference in the overall appearance. I found some at a local home store, and they were easy to install. Each handle took about five minutes to install, and I was able to do all of them in one evening.
I also noticed that the new hardware made the cabinets feel more functional. The handles were easier to grip, and the new knobs made it easier to open the drawers. This small change had a big impact on the usability of the cabinets.
Don’t underestimate the power of new hardware. Even a small change can completely transform the look and feel of your cabinets.
“I remember the first time I stood in my kitchen, staring at the outdated cabinets that had outlived their usefulness.”— Upcycled Kitchen Cabinet Makeovers editors
Finishing Touches: Trim, Backsplash, and More
After the paint and hardware were done, I focused on the finishing touches. I added new trim around the cabinets to give them a more polished look. The trim was painted in a complementary color, which made the cabinets stand out even more.
I also decided to add a new backsplash. I used a simple tile pattern that was easy to install and didn’t take up too much time. The backsplash not only added visual interest but also helped protect the wall from splatters and stains.
These finishing touches didn’t cost much, but they had a significant impact on the overall look of the kitchen. The trim and backsplash gave the space a more cohesive and updated feel, and I was thrilled with the results.
The Benefits of an Upcycled Cabinet Makeover
One of the biggest benefits of upcycling cabinets is the cost savings. Replacing a set of cabinets can be expensive, but upcycling allows you to refresh your kitchen at a fraction of the cost. I was able to save hundreds of dollars by choosing this route, and I didn’t have to worry about the financial strain of a full kitchen renovation.
Another benefit is the environmental impact. By choosing to upcycle rather than replace, I was able to reduce waste and keep the old cabinets out of a landfill. It felt good to know that I was making a more sustainable choice without sacrificing style or functionality.
Finally, upcycling gives you the opportunity to personalize your space. I was able to choose the paint color, hardware, and finishing touches that best suited my style and needs. This level of customization is difficult to achieve with brand-new cabinets, and it made the project even more rewarding.
The Time and Effort Required
The entire project took me about one weekend to complete, from start to finish. It wasn’t something I could do in a few hours — it required careful planning and execution. I spent most of my time on the preparation and painting stages, which were the most labor-intensive parts of the process.
I also had to take breaks throughout the project to avoid getting overwhelmed. It was a lot to take on in one weekend, but I was able to manage it by working in smaller sections and taking the time I needed to complete each step properly.
Overall, I found the time investment to be worth it. The end result was a completely transformed kitchen that looked brand new and felt more functional. It was a satisfying experience, and I was proud of the work I had done.
It’s a labor of love — but the results are worth it.
Tips for a Successful Cabinet Makeover
One of the most important tips I learned was to take your time with each step of the process. Rushing through the preparation or painting stages can lead to mistakes that are hard to fix. I found that working at a steady pace helped me achieve better results and avoid unnecessary rework.
Another tip is to invest in quality materials. Using the right paint, primer, and tools can make a big difference in the final appearance of the cabinets. I was tempted to use cheaper materials to save money, but I quickly realized that the results didn’t match the quality of the products I had chosen.
Finally, I learned the importance of testing before applying the paint to the entire cabinets. I painted a small section first to see how the color looked in the natural light of the kitchen. This step helped me avoid a color that didn’t match the rest of the space, and it was a small but important detail that made a big difference.
💰 Budget Build
A low-cost option using affordable materials and basic tools to achieve a fresh look without breaking the bank.
⏰ Weekend Version
A fast-paced approach designed to be completed in one weekend with minimal setup and quick results.
✨ Upgraded Finish
A high-end option with premium materials and finishes that elevate the look of your cabinets to a professional level.
🛋️ Small-Space Adaptation
A tailored approach for smaller kitchens that focuses on maximizing space and making the most of limited square footage.
🏠 Rental-Safe Option
A temporary or non-permanent solution that allows you to refresh your cabinets without making lasting changes to the rental space.
| The mistake | Why it happens | The fix |
|---|---|---|
| Using wall paint instead of cabinet paint | Wall paint is not designed for the wear and tear of cabinet surfaces and can lead to chipping or peeling. | Always use cabinet-specific paint, which is formulated to be more durable and resistant to moisture. |
| Skipping the primer step | Failing to use a primer can result in a less even finish and may cause the paint to not adhere properly. | Apply a primer before painting to create a smooth, even surface and improve adhesion. |
| Not cleaning the cabinets thoroughly | Grease and dirt on the cabinets can affect the paint’s ability to stick and may cause the finish to look uneven. | Clean the cabinets with a degreaser before painting to remove any buildup and ensure a clean surface. |
| Rushing the project | Trying to complete the project too quickly can lead to mistakes, such as missed spots or uneven paint application. | Take your time with each step and work at a steady pace to ensure the best results. |
Upcycling Kitchen Cabinets
Common Questions
Do I need any special skills to upcycle my cabinets?
What kind of paint should I use for my cabinets?
How long does the project usually take?
Can I upcycle cabinets that are in poor condition?
Cite this guide
Upcycled Kitchen Cabinet Makeovers (2026). Upcycling Kitchen Cabinets. https://upcyclehome.com/upcycling-kitchen-cabinets/[2]
Feel free to cite or share this guide.
References
- Toward a History of Upcycling: Reconsidering High-End Aluminum ... (academia.edu)
- Utilities News 2025 | City of Bellevue - BellevueWA.gov (bellevuewa.gov)
- Go With The Flow with Arts & Crafts - ISU CEWT Blog (blog.cetrain.isu.edu)
- How Plastic Liberated and Entombed Us - Common Reader - WashU (commonreader.wustl.edu)