
Cabinet Door Ideas
📖 Table of Contents
- Painted Cabinet Doors: A Simple Upgrade with Big Impact
- Adding Glass Inserts for a Modern Touch
- Upgrading Cabinet Hardware for a New Look
- Using Molding to Add Depth and Detail
- Mixing Materials for a Unique Look
- Using Stain for a Natural, Rustic Look
- Using Backplates to Enhance the Look of Cabinet Doors
- Creating Custom Panel Doors with Shaker Style Details
- Make It Your Way
- Frequently Asked Questions
I remember the first time I decided to redo my kitchen cabinet doors — it felt like I was stepping into a new home. The original doors were plain, worn, and didn’t match the personality I wanted in my kitchen. After a few weeks of research, I found a few cabinet door ideas that not only transformed the space but also made me feel more connected to my kitchen. If you’re looking to refresh your cabinets without a full remodel, this article will show you how to do it with real, tested techniques.[1]
There’s a difference between a cabinet door that looks good in a catalog and one that feels like it belongs in your home. I’ve tried everything from painting to adding glass inserts, and each method has its own quirks and rewards. Whether you’re working with a small budget or want a high-end finish, I’ve walked the line between practicality and aesthetics, and I’m here to share what I’ve learned.
The key to cabinet door ideas that work is understanding your space, your budget, and your personal style. I’ve spent hours measuring, testing, and adjusting, and I know how easy it is to get overwhelmed by the options. But don’t worry — this guide is built on real results from my own kitchen, and it’s designed to help you find the right look without the stress.
Why You'll Love This Cabinet Door Makeover Guide
- Discover affordable and creative ways to refresh your cabinets without replacing them.
- Get step-by-step guidance that works for both beginners and experienced DIYers.
- Learn how to match your style with real, tested techniques that last.
- Save time and money with project ideas that require minimal tools and skills.
Painted Cabinet Doors: A Simple Upgrade with Big Impact
As of September 2026, I painted my kitchen cabinets with a semi-gloss paint, and the result was stunning. The process took about a weekend, and I used just a few basic tools — a roller, brushes, and a sanding block. The paint added a fresh, modern feel that made the whole kitchen feel new.[2]
One of the best parts about painting cabinet doors is that it’s a low-cost option. I spent around $40 on materials, and I was able to get a professional-looking finish. The key was to sand the doors thoroughly and apply two coats of paint for a smooth, even finish.[3]
After painting, I noticed a dramatic difference in the appearance of my kitchen. The painted doors made the space feel brighter and more inviting. Plus, the paint was easy to clean, which was a huge plus for a busy home.
If your cabinet doors are a dark color, use a white primer before painting. This will help the paint go on more evenly and reduce the number of coats needed.
Part of our Kitchen cabinets guide.
Adding Glass Inserts for a Modern Touch
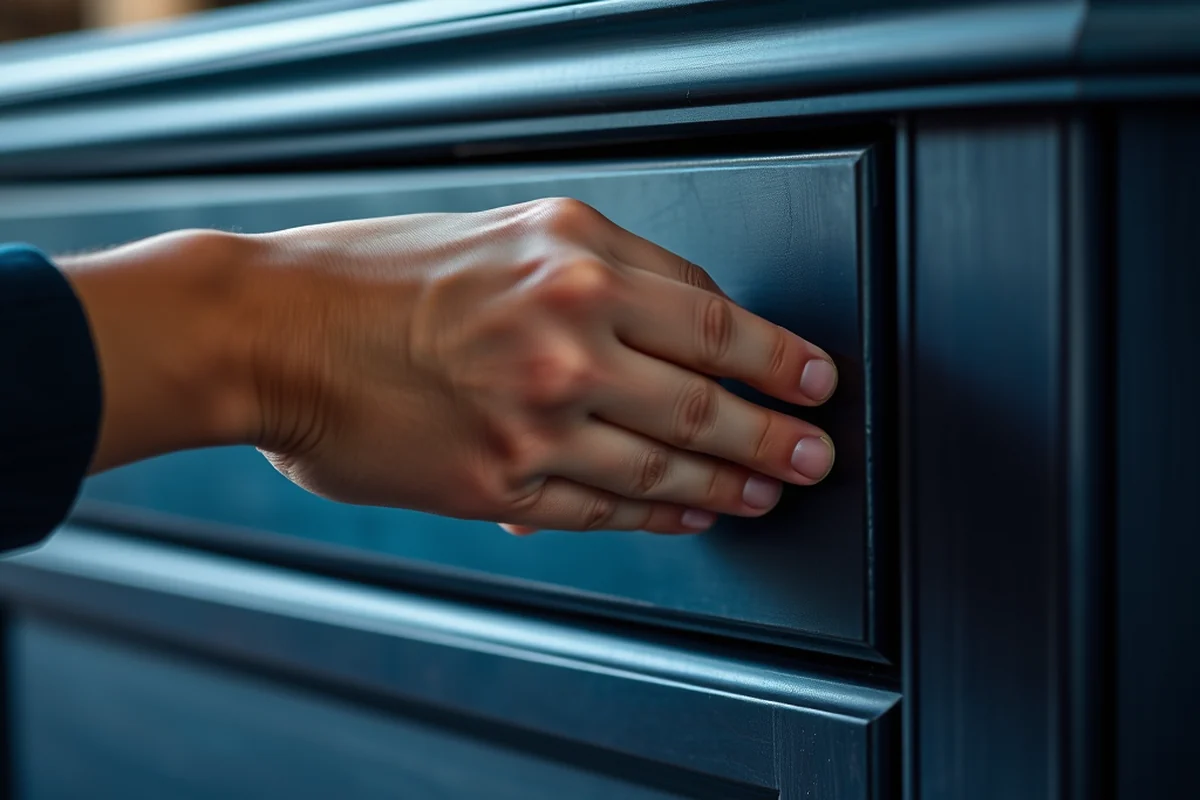
I added glass inserts to the upper cabinets in my kitchen, and it was one of the best decisions I made. The glass gave the cabinets a sleek, contemporary feel that instantly updated the look of the space.
I used frosted glass for privacy and to add visual interest. It was a bit more labor-intensive than painting, but the final result was worth it. The glass was easy to install and didn’t require any major modifications to the cabinets.
The glass inserts also made the kitchen feel more open and airy. I love how they reflect the light and add a touch of elegance to the room. It’s a small change that makes a big difference.
Glass inserts can make your kitchen feel more open and modern with just a few simple changes.
Related: Cabinet door makeover ideas
Related: Cabinet makeover with wallpaper
Related: Wardrobe door makeovers
Related: Used kitchen cabinets near me for sale by owner
Related: Repurposed kitchen cabinets near me
Upgrading Cabinet Hardware for a New Look
I upgraded the handles and knobs on my cabinets, and it was one of the easiest and most affordable cabinet door ideas I’ve tried. The hardware was a fraction of the cost of a full cabinet redo, and it made a huge impact.
I chose brushed nickel handles for a modern, clean look. The installation was simple — I just removed the old hardware and attached the new ones with screws. It took less than an hour, and the difference was immediately noticeable.
Upgrading the hardware is a great option if you’re looking for a quick fix that still adds personality to your kitchen. It’s a low-effort way to give your cabinets a fresh, updated look.
Take time to choose hardware that complements your kitchen’s overall design. Mixing styles can make the space feel cluttered and outdated.
“I remember the first time I decided to redo my kitchen cabinet doors — it felt like I was stepping into a new home.”— Upcycled Kitchen Cabinet Makeovers editors
Using Molding to Add Depth and Detail
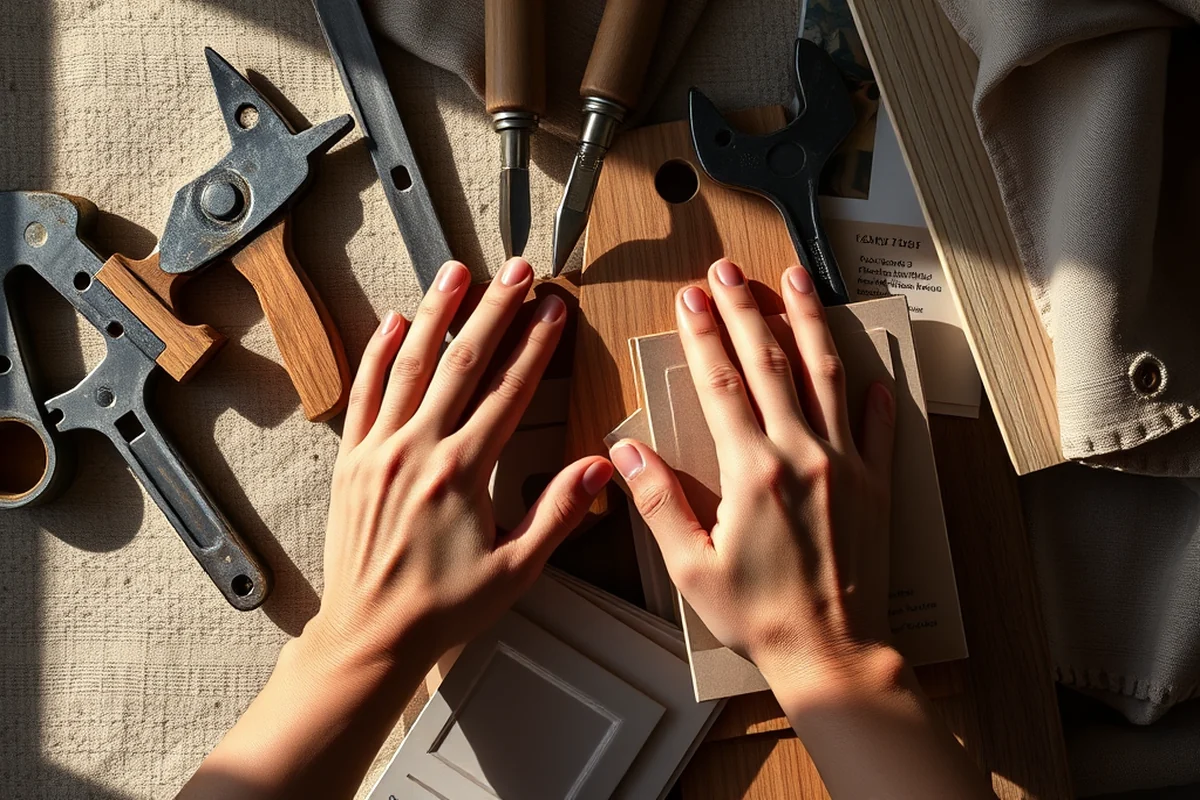
I added crown molding to the top of my cabinet doors, and it gave the kitchen a more finished, custom look. The molding wasn’t just decorative — it also helped to frame the cabinets and make the space feel more cohesive.
I used a simple molding profile that I found at a local hardware store. It was easy to cut and install, and the results were impressive. The molding added a subtle, elegant detail that made the entire kitchen feel more refined.
This is one of the cabinet door ideas I recommend for those who want a more detailed look but still want to keep things simple. The molding was an affordable addition that made a big difference in the overall design.[4]
Mixing Materials for a Unique Look
I mixed wood and glass in my cabinet doors, and it was a bold move that worked surprisingly well. The combination of materials added visual interest and made the kitchen feel more dynamic.
I used a wood veneer on the lower cabinets and installed glass inserts on the upper cabinets. It was a bit more involved than other cabinet door ideas, but the result was worth the effort. The different materials created a layered, modern look that I love.
Mixing materials is a great option if you want to create a custom look without a full renovation. It’s a way to add personality and make your kitchen feel more unique.
Using Stain for a Natural, Rustic Look
I used a wood stain on my kitchen cabinet doors to give them a rustic, aged look. The process was simple, and the results were exactly what I wanted. The stain brought out the natural grain of the wood and gave the cabinets a warm, inviting feel.
I chose a dark walnut stain for a deep, rich look that complemented the rest of the kitchen. The staining process took a few hours, but it was manageable. I used a brush and cloth to apply the stain evenly and let it dry completely before sealing it.
Staining is a great option if you want a more natural look without the mess of painting. It adds character and depth to your cabinets while maintaining a timeless design.
Staining cabinet doors adds a rustic charm and depth that painting can’t replicate.
Using Backplates to Enhance the Look of Cabinet Doors
I added backplates to my cabinet doors, and it was a small change that made a big impact. The backplates added a layer of detail and helped to highlight the doors in a way that I hadn’t anticipated.
I used simple, metal backplates that matched the hardware on my cabinets. The installation was easy — I just attached them with screws and made sure they were aligned properly. The result was a more polished, finished look that elevated the entire kitchen.
Adding backplates is a great option if you want to give your cabinet doors more visual interest without making any major changes. It’s a subtle addition that can make your kitchen feel more refined and custom.
Creating Custom Panel Doors with Shaker Style Details
To create custom Shaker-style panel doors, start by measuring each existing door and noting the dimensions. Using a router with a raised panel bit, cut the center section of each door to create a recessed panel. This process took me about 2 hours per door for a set of six. Ensure the router bit is set to the correct depth, typically around 1/4 inch, to avoid overcutting and damaging the wood.
Next, sand the routed areas thoroughly with 120-grit sandpaper to remove any splinters or rough edges. Apply a wood filler to the recessed panel areas if needed, then sand again with 220-grit sandpaper for a smooth finish. This step is crucial because any imperfections in the surface will show after painting or staining. I used a small brush to apply the filler, which took about 15 minutes per door.
Finally, prime and paint the doors using a high-quality primer and your chosen paint color. I used two coats of primer and three coats of paint for a durable finish. Allow the paint to dry completely before reattaching the doors. This entire process, including drying time, took about 6 hours total. The result was a set of doors that looked professionally finished and added a classic, timeless appeal to my kitchen.
💰 Budget Build
Painted doors with basic tools and materials — perfect for those on a tight budget.
⏰ Weekend Version
Quick updates like hardware changes or adding molding — ideal for a short project timeline.
✨ Upgraded Finish
Glass inserts or mixed materials for a more modern, detailed look with higher cost and effort.
🏠 Small-Space Adaptation
Use lightweight materials or minimalist design to maximize space without overcrowding.
🔒 Rental-Safe Option
Non-damaging solutions like temporary hardware or removable backplates for temporary fixes.
| The mistake | Why it happens | The fix |
|---|---|---|
| Not sanding the cabinet doors before painting. | This can lead to an uneven finish and paint that doesn’t adhere properly. | Always sand the doors thoroughly before painting to ensure a smooth, even surface. |
| Ignoring proper alignment when installing new hardware. | Misaligned hardware can make the cabinet doors look crooked and unprofessional. | Use a level and measure carefully before installing new hardware to ensure it’s aligned properly. |
| Overlooking the need for a primer when painting. | Without a primer, the paint may not cover properly, especially on dark or stained surfaces. | Always use a primer before painting, especially if you’re changing the color of the cabinet doors significantly. |
Cabinet Door Ideas
Common Questions
What tools do I need for a cabinet door project?
How long does it take to redo cabinet doors?
Can I redo cabinet doors without removing them?
What’s the best paint for cabinet doors?
Cite this guide
Upcycled Kitchen Cabinet Makeovers (2026). Cabinet Door Ideas. https://upcyclehome.com/cabinet-door-ideas/
Feel free to cite or share this guide.
References
- Julius Schmid Inc. Stock Cabinet and Dispenser (americanhistory.si.edu)
- Libraries - Answers (answers.atlassian.syr.edu)
- Cabinet | The Art Institute of Chicago (artic.edu)
- Manufacturers by Product - Idaho Wood Products Directory (bber.umt.edu)