
Easy Diy Kitchen Cabinet Makeover
📖 Table of Contents
- Why a Cabinet Makeover is Worth Your Time
- Preparation: The Foundation of Your Cabinet Makeover
- Paint Selection: What Works Best for Kitchen Cabinets
- Applying the Paint: Tips for a Smooth Finish
- Adding the Final Touches: Hardware and Organization
- The Impact of a Cabinet Makeover on Your Kitchen
- Maintenance Tips for Your New Cabinet Finish
- Make It Your Way
- Frequently Asked Questions
I remember the day I decided to tackle my outdated kitchen cabinets. They were dull, chipped, and had seen better days — but I knew they could be transformed. After a weekend of sanding, painting, and sealing, I had a space that felt brand new, without the cost of a full kitchen renovation. That’s how the idea for this article was born — to help others see the potential in their own cabinets. To show them how simple a complete kitchen cabinet makeover can be, with just a few tools and some determination.
The word 'makeover' can sound intimidating, but for me, it was an opportunity to breathe new life into a tired space. I found that the most rewarding part wasn’t just the end result. The process itself — the way the cabinets looked after just a few hours of work, the satisfaction of using my own hands to create something beautiful. With a little planning and the right materials, even the most basic kitchen can be upgraded into a functional and stylish space.
This article is a practical guide to an easy DIY kitchen cabinet makeover — no professional tools, no contractors, just you and your determination. I’ve walked through every step, from the first sanding motion to the final coat of paint, and I want to share that experience with you. It’s not about perfection; it’s about transformation, and the joy of seeing your own home become more beautiful.
Why You'll Love This Easy DIY Kitchen Cabinet Makeover
- A budget-friendly way to refresh your kitchen space without the cost of a full renovation.
- A satisfying, hands-on project that can be completed in one weekend with minimal effort.
- A customizable approach that allows you to match your home decor perfectly.
- A project that adds value to your home and can be done without professional help.
Why a Cabinet Makeover is Worth Your Time
As of August 2026, Cabinets are the backbone of any kitchen, and their condition can dramatically affect the overall feel of the space. A well-executed cabinet makeover can brighten a room, increase storage, and even raise the value of your home. I found that after just a few hours of work, my cabinets were not only visually refreshed but also more durable and easier to clean.[1]
The key to a successful makeover is understanding the small details that make a difference. For instance, using the right type of paint and sealant can protect your cabinets from moisture and scratches for years. I used a water-based polyurethane sealer, which not only gave a smooth finish but also allowed me to apply it without any noticeable smell.
I also discovered that the time invested in this project was well worth it. My kitchen felt more modern, and the transformation was so subtle that even my guests thought I had hired a professional. It was a rewarding experience that gave me a newfound appreciation for my own ability to transform a space.
I used a 120-grit sanding block, a small brush for the edges, and a roller for the larger surfaces. These three tools made the process smooth and efficient.[2]
Preparation: The Foundation of Your Cabinet Makeover
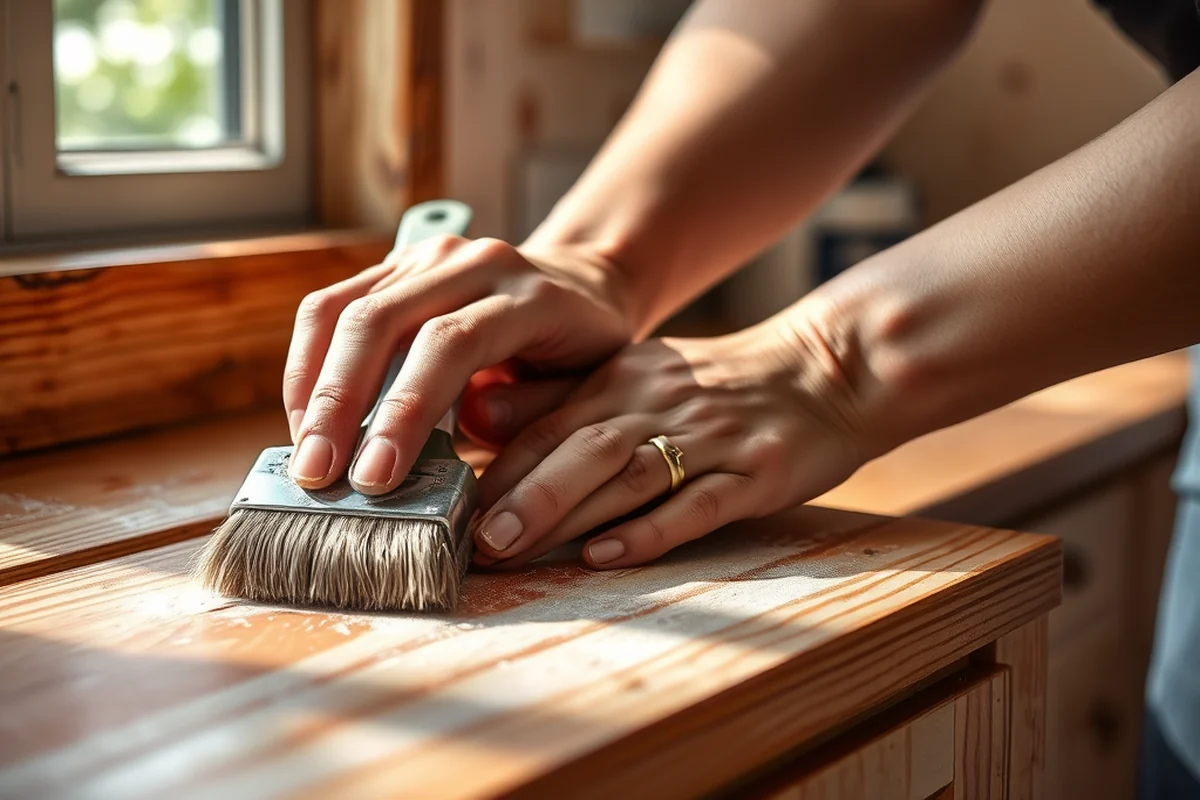
Before you even pick up a paintbrush, take the time to clean your cabinets thoroughly. I used a mild detergent and warm water to remove any grease or grime that had built up over the years. This step not only made the surface easier to paint but also helped the paint adhere better.
Next, I took the time to remove all the hardware, like knobs and handles. This made the painting process much easier and allowed me to reach every corner of the cabinet without worrying about damaging the hardware. I kept the hardware in a labeled container so I could easily reattach everything later.
Once I had cleaned and removed the hardware, I started sanding. I used a 120-grit sanding block and worked in small sections. This helped create a smooth surface for the paint to stick to and made the final finish look even more professional.[3]
A little preparation goes a long way in making your cabinet makeover look like it was done by a pro.
Related: Diy bathroom medicine cabinet makeover
Related: Diy bathroom medicine cabinet ideas
Related: Cabinet makeover cost
Related: Kitchen cabinet cheap makeover
Related: How To Do An Inexpensive Kitchen Remodel
Related: How To Build An Outdoor Kitchen
Related: Used Kitchen Cabinet Doors For Sale
Related: What Is Cabinet Makeover
Related: Diy Kitchen Cabinets
Related: Used Kitchen Cabinet Doors
Related: Custom Kitchen Cabinet Doors
Related: Diy Kitchen Island
Related: What Is The Best Kitchen Cabinet Degreaser
Related: Best Kitchen Countertop Material
Related: What Is A Drawer Cabinet
Related: Base Cabinet For Drawers
Related: Kitchen Cabinet Hinges
Related: Us Cabinet Depot
Paint Selection: What Works Best for Kitchen Cabinets
I used a high-quality, water-based, semi-gloss paint specifically made for cabinets. The semi-gloss finish was perfect because it’s easy to clean and resistant to moisture — a big plus for a kitchen. I also made sure the paint was labeled as 'low odor' so I could work in my kitchen without any strong chemical smells.
I applied two thin coats of paint, allowing each coat to dry completely before applying the next. This gave a more even finish and prevented any drips or streaks. I found that waiting at least 24 hours between coats was crucial for the paint to fully cure.[4]
After the paint was dry, I sealed it with a water-based polyurethane sealer. This step was important because it protected the paint from scratches and made the surface easier to wipe clean. I used a foam brush for the edges and a roller for the larger surfaces to get a smooth, even finish.
I sealed my cabinets with a water-based polyurethane sealer, which I found to be both safe and highly durable. It helped protect the paint from moisture and scratches for years.
“I remember the day I decided to tackle my outdated kitchen cabinets.”— Upcycled Kitchen Cabinet Makeovers editors
Related: Flat Kitchen Cabinet Doors Makeover
Related: What Is A Buffet Cabinet
Related: Diy Kitchen Cabinet Makeover Ideas
Related: 10 Best Kitchen Cabinet Colors
Applying the Paint: Tips for a Smooth Finish
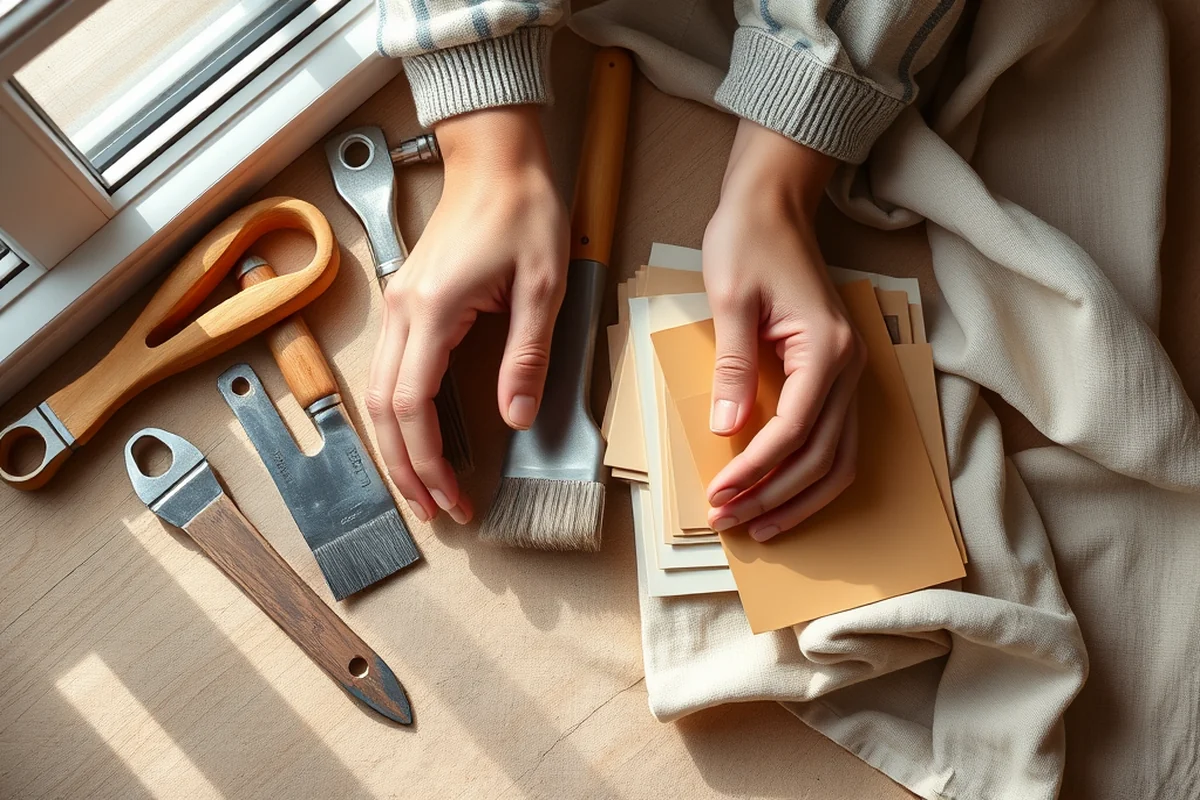
I started by painting the edges of the cabinets with a small brush first. This helped me get into the corners and around the edges without leaving any visible lines. I then used a roller for the larger flat surfaces, making sure to cover each section evenly.
I took my time and painted in small, even strokes, making sure not to apply too much paint at once. This prevented drips and ensured a smooth, even finish. I found that working in sections and moving quickly helped keep the paint from drying too fast on the surface.
After I finished painting, I let the cabinets dry completely before reattaching the hardware. I used a soft cloth to wipe away any dust or fingerprints that had accumulated during the process. The final result was a clean, even coat of paint that looked great and felt solid.
Adding the Final Touches: Hardware and Organization
Once the paint was completely dry, I reattached the knobs and handles to the cabinets. I made sure to align them properly so they looked even and well-placed. I also took the opportunity to clean the hardware with a mild soap and water, which made them look brand new.
I used this time to organize the inside of the cabinets as well. I removed all the old items and sorted them into categories. I used drawer dividers and storage containers to keep everything neat and easy to find. This small step made a big difference in how the kitchen functioned after the makeover.
Finally, I took a step back and admired my work. The cabinets looked fresh, clean, and modern. Even though it was a simple project, the transformation was impressive and well worth the effort.
The Impact of a Cabinet Makeover on Your Kitchen
After completing the project, I noticed a significant difference in how my kitchen looked and felt. The cabinets were brighter, more modern, and easier to clean. I found that the new finish made the kitchen feel more open and inviting, even in a small space.
More than just the visual upgrade, the practical benefits were clear. The new paint and sealant were resistant to moisture and scratches, making daily use easier. I also found that the updated cabinets helped me organize my kitchen better, which made cooking and cleaning more efficient.
Overall, the project was a success that I’m proud of. It didn’t require a lot of time or money, but the result was a noticeable improvement in my kitchen’s functionality and appearance.
A little paint and a bit of effort can transform your kitchen into a space you love.
Maintenance Tips for Your New Cabinet Finish
To keep your cabinets looking their best, I recommend wiping them down with a soft cloth and mild soap once a week. This helps remove any fingerprints or dust that accumulate over time. Avoid using abrasive cleaners or harsh chemicals, as these can damage the finish.
If you ever notice any scratches or chips in the paint, you can use a small brush and a touch-up paint to fix them. This is a quick and easy way to keep the cabinets looking like new. I found that using the same paint as before made the repairs almost invisible.
By following a few simple maintenance steps, you can ensure that your cabinet makeover lasts for years. I’ve been using these tips for over a year now, and my cabinets still look brand new. It’s a small investment of time and care, but the results are well worth it.
💰 Budget Build
Use basic paint and a few tools to refresh your cabinets without spending much.
⏰ Weekend Version
A quick, hands-on project that can be completed in just a few hours.
✨ Upgraded Finish
Use high-quality paint and a durable sealer for a professional look.
📏 Small-Space Adaptation
Perfect for smaller kitchens with a streamlined approach to cabinet painting.
🏠 Rental-Safe Option
A temporary solution that doesn’t require permanent changes to your cabinets.
| The mistake | Why it happens | The fix |
|---|---|---|
| Skipping the cleaning step before painting. | If you skip cleaning your cabinets, the paint may not adhere properly, leading to peeling or chipping. | Always clean your cabinets thoroughly before painting with a mild detergent and warm water. |
| Painting too thickly in one coat. | Applying too much paint in a single coat can cause drips, streaks, and an uneven finish. | Apply thin, even coats and allow each coat to dry completely before applying the next. |
| Not sealing the paint. | Skipping the sealing step can cause the paint to wear off more quickly from daily use. | Always seal your cabinets with a water-based polyurethane sealer after painting. |
Easy Diy Kitchen Cabinet Makeover
Common Questions
How long does a cabinet makeover typically take?
What type of paint is best for kitchen cabinets?
Do I need any special tools?
Can I do this project without any prior experience?
Cite this guide
Upcycled Kitchen Cabinet Makeovers (2026). Easy Diy Kitchen Cabinet Makeover. https://upcyclehome.com/easy-diy-kitchen-cabinet-makeover/
Feel free to cite or share this guide.
References
- Tattered Elegance | La Plata MD - Facebook (charlescountymd.gov)
- Mayor's Corner - City of Coburg (coburgoregon.gov)
- Hoff Kitchen, Before & After | Coon Rapids, MN - Official Website (coonrapidsmn.gov)
- U-SNAP-BAC, councilmembers & community celebrate overhaul ... (detroitmi.gov)