
Hoosier Cabinet Makeovers
📖 Table of Contents
- Understanding the History of the Hoosier Cabinet
- Choosing the Right Paint and Finish
- Sanding and Preparing the Surface
- Adding Hardware and Fixtures
- Installing New Shelves and Storage
- Finishing Touches and Sealing the Cabinet
- Maintaining Your Hoosier Cabinet After the Makeover
- Make It Your Way
- Frequently Asked Questions
I remember the first time I laid eyes on a hoosier cabinet — it was in a farmhouse in the Midwest, standing like a quiet sentinel in the corner of a sunlit kitchen. It was worn, but there was something about the solid wood and the classic lines that made me pause. I had never worked on a hoosier cabinet before. I knew that with the right approach, it could be transformed into a piece of furniture that would anchor a modern kitchen and carry the soul of its history.
Hoosier cabinet makeovers are more than just a trend; they’re a celebration of craftsmanship and a way to give new life to a forgotten piece of American history. These cabinets, originally designed for rural kitchens in the early 20th century, were built to be durable and functional. Today, with the right tools, paint, and a little elbow grease, they can be transformed into statement pieces that blend old and new. Whether you're a first-time DIYer or a seasoned renovator, a hoosier cabinet can be your canvas.
Over the past few years, I've worked on several hoosier cabinet makeovers, and I’ve learned that the key to success lies in preparation and patience. From sanding down the wood to selecting the perfect hardware, every step matters. The best part? You don’t need a professional contractor or a big budget — just a few tools, a weekend, and a vision. That’s why I’m writing this guide: to help you bring your hoosier cabinet back to life, one brushstroke at a time.
Why You'll Love This Hoosier Cabinet Makeover
- Transform a forgotten piece of furniture into a showstopper with minimal cost and effort.
- Add character and history to your space with a one-of-a-kind, handcrafted piece.
- Reclaim and repurpose an old cabinet, reducing waste and supporting sustainable design.
- Create a custom kitchen feature that reflects your personal style and craftsmanship.
Understanding the History of the Hoosier Cabinet
As of August 2026, the hoosier cabinet was a practical solution for homes that lacked built-in storage. It featured a drop leaf, a breadboard, and shelves that could be folded down for easy access. I once worked on a 1920s hoosier cabinet that had original brass handles and a faded paint job — it was a time capsule waiting to be revived.[1]
Researching the history of the cabinet helped me understand its original purpose and functionality, which guided my decision on what to keep and what to update. Knowing that these cabinets were made to be durable gave me confidence that with proper care, it could last for decades more.
While the original designs varied, most hoosier cabinets had a similar footprint and structure. This consistency made it easier to plan the makeover, knowing that the basic layout would be the same whether I was working on a 1910s or 1940s model.
Take time to study the original design and function of the hoosier cabinet. This knowledge will help you preserve its character while making it fit your modern kitchen.[2]
Choosing the Right Paint and Finish
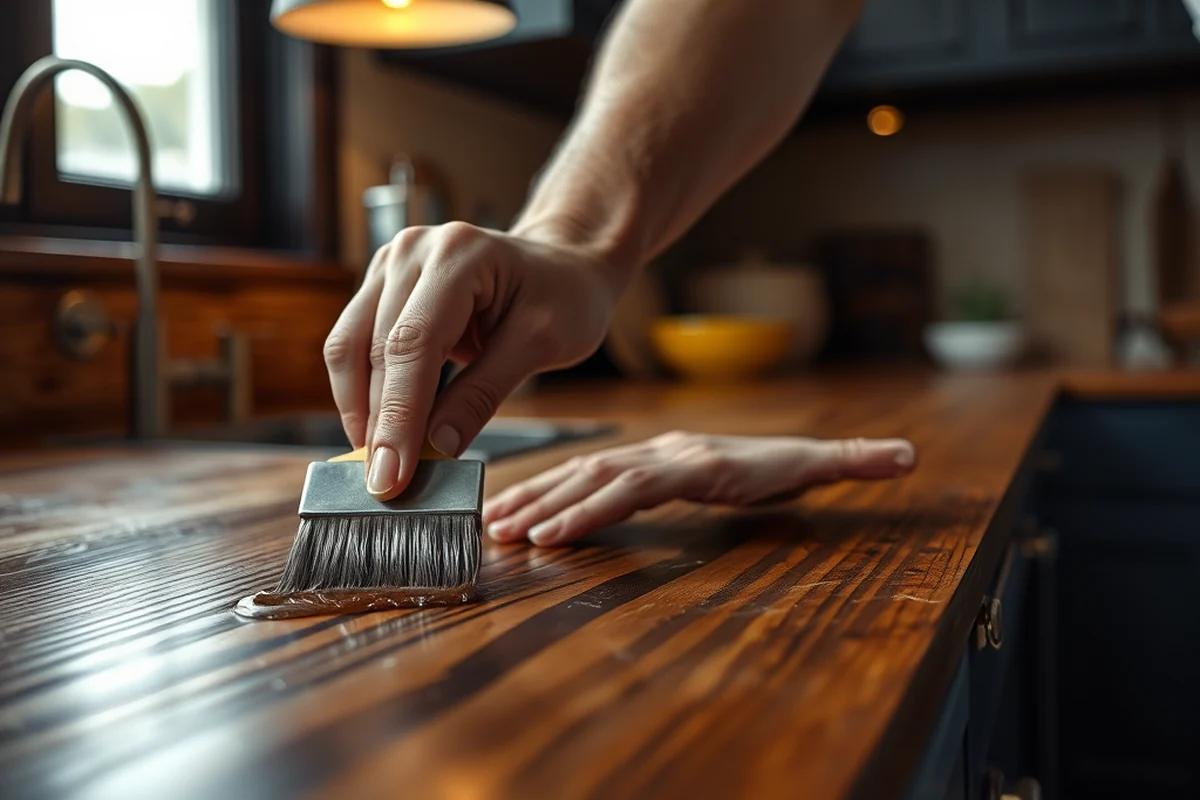
I’ve found that using a high-quality latex paint with a satin or semi-gloss finish works best for hoosier cabinets. These finishes are more resistant to scratches and moisture, which is especially important if the cabinet will be near the sink or stove.
I once used a matte finish on a cabinet and regretted it — it looked elegant but was difficult to clean and showed every fingerprint. Now, I always go for a satin finish, which is both easy to maintain and looks great in natural light.
When selecting colors, I recommend starting with a lighter shade to make the space feel more open. If you want to add a pop of color, consider using a darker color on the top or bottom shelves for contrast.[3]
A satin finish is the smart choice for a hoosier cabinet — it's durable and easy to clean.
Related: Cabinet makeover ideas
Related: Diy bathroom medicine cabinet ideas
Related: Cabinet makeovers reviews
Related: Kitchen cabinet makeover colors
Related: Cabinet redo kit
Related: Cabinet Makeovers Nashville Tn
Related: What Is A Hutch Cabinet
Related: What Is A Shoe Cabinet
Related: What Is Cabinet Refacing Cost
Related: Cabinet Refacing Costco
Related: Cheap Coffee Tables
Related: Kitchen Cabinet Makeovers
Related: 10 Best Kitchen Cabinet Colors
Sanding and Preparing the Surface
I always start by thoroughly cleaning the cabinet with a degreaser to remove any old wax, grease, or grime. This step is critical — if you skip it, the paint may not adhere properly, leading to peeling or flaking later on.
Next, I sand the surface with 120-grit sandpaper, making sure to work in the direction of the wood grain. I've found that sanding in the wrong direction can create visible scratches that are hard to smooth out later.[4]
After sanding, I wipe down the surface with a tack cloth to remove any dust or debris. This ensures that the paint will go on evenly and without any bumps or imperfections.
Always sand in the direction of the wood grain to avoid creating visible scratches. A tack cloth will help remove any dust before painting.
“I remember the first time I laid eyes on a hoosier cabinet — it was in a farmhouse in the Midwest, standing like a quiet…”— Upcycled Kitchen Cabinet Makeovers editors
Related: What Is A Buffet Cabinet
Related: Shoe Storage Cabinet
Adding Hardware and Fixtures
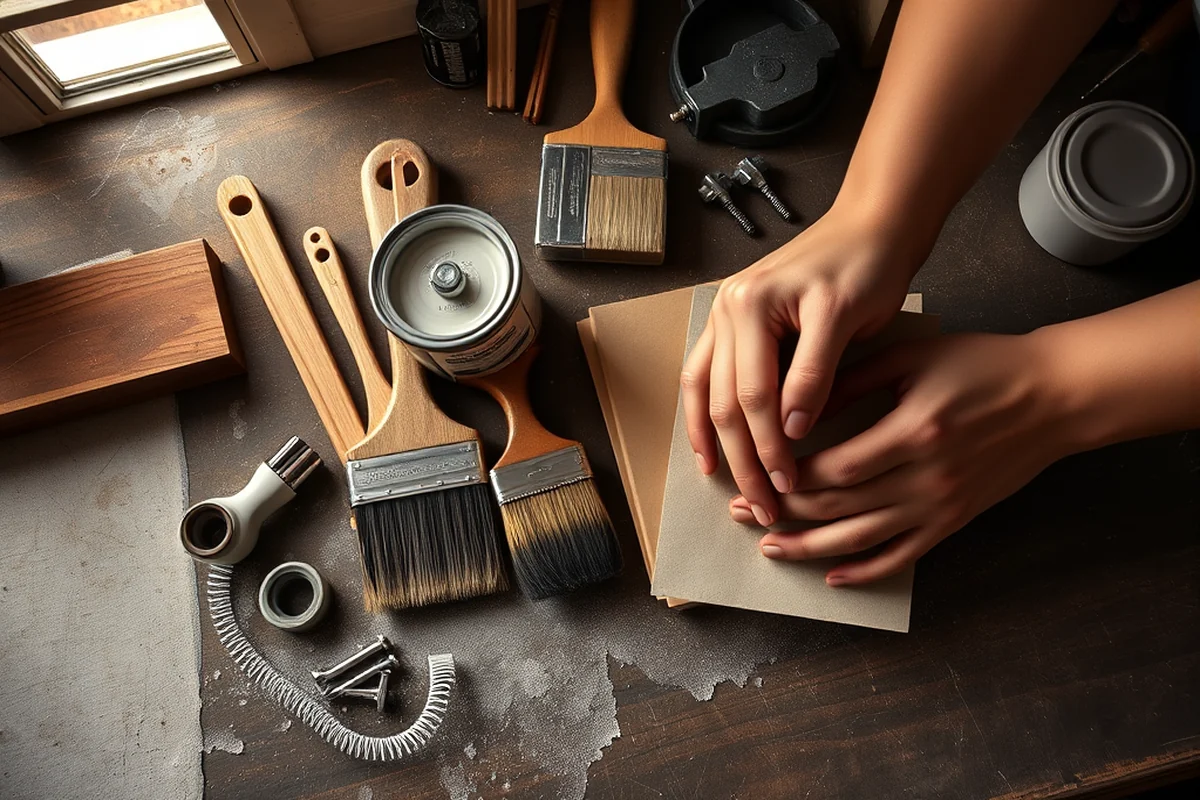
Replacing the original handles and knobs is one of the easiest ways to update the look of the cabinet. I’ve used a variety of finishes, from brushed nickel to matte black, and each one changes the overall aesthetic dramatically.
I once replaced the original brass handles on a 1930s hoosier cabinet with simple, minimalist black knobs. The transformation was instant — the cabinet looked modern and sleek while still retaining its historical charm.
When choosing hardware, I recommend selecting pieces that are both functional and stylish. Make sure the new handles fit the existing holes so you don’t have to drill any new ones.
Installing New Shelves and Storage
I’ve found that adding adjustable shelves is a great way to maximize storage without altering the cabinet’s original structure. This is especially helpful if the cabinet is being used in a modern kitchen where storage needs are different from the past.
I once added a set of adjustable shelves to a hoosier cabinet that had been converted into a display cabinet for a home office. The shelves allowed for flexible organization and made the cabinet more practical for everyday use.
When installing new shelves, it’s important to measure carefully and ensure that they are level. Using a laser level has been a game-changer for me — it makes the process faster and more accurate.
Finishing Touches and Sealing the Cabinet
After the paint has dried, I apply a clear polyurethane sealer to protect the surface from moisture and wear. This step is especially important for cabinets that will be used frequently or placed in high-traffic areas.
I’ve used both water-based and oil-based polyurethane, and I prefer water-based for its low odor and quick drying time. Oil-based options are more durable but can take longer to dry and may have a stronger smell.
Sealing the cabinet not only protects it but also enhances the paint’s finish, making it look more polished and professional.
A clear sealer is the final step that brings your hoosier cabinet makeover to life.
Maintaining Your Hoosier Cabinet After the Makeover
I recommend wiping down the cabinet regularly with a soft cloth to prevent dust and grime from building up. Avoid using harsh chemicals or abrasive cleaners, as they can damage the finish.
If the cabinet is near the sink or stove, it’s a good idea to wipe it down after cooking to prevent water spots or grease buildup. I’ve found that a quick wipe with a microfiber cloth is usually enough to keep it looking clean.
Over time, you may need to reapply the sealer to maintain the finish. I’ve found that doing this every few years helps keep the cabinet looking new and prevents the paint from chipping or peeling.
💰 Budget Build
Use affordable paint and hardware to achieve a fresh look without breaking the bank.
⏰ Weekend Version
Complete a quick and simple makeover in just one day with minimal tools and effort.
✨ Upgraded Finish
Add a custom paint job and high-end hardware for a luxury look and feel.
🏠 Small-Space Adaptation
Modify the cabinet to fit smaller kitchens or apartments by reducing its size or changing the layout.
🔒 Rental-Safe Option
Use temporary paint and removable hardware to avoid damaging the cabinet if you're renting.
| The mistake | Why it happens | The fix |
|---|---|---|
| Skipping the cleaning step before painting | Old grease or wax can prevent paint from adhering properly, leading to peeling or flaking. | Always clean the cabinet with a degreaser before painting to ensure a smooth, long-lasting finish. |
| Using the wrong paint finish | A matte finish is harder to clean and more prone to showing fingerprints and smudges. | Choose a satin or semi-gloss finish for better durability and easier maintenance. |
| Not sanding properly | Improper sanding can leave the surface uneven or create visible scratches that are hard to fix. | Sand in the direction of the wood grain and use 120-grit sandpaper for the best results. |
| Ignoring the need for a sealer | Without a sealer, the paint may chip or peel over time, especially in high-traffic areas. | Always apply a clear polyurethane sealer after painting to protect the finish and extend the life of the cabinet. |
Hoosier Cabinet Makeovers
Common Questions
What tools do I need for a hoosier cabinet makeover?
How long does a hoosier cabinet makeover take?
Can I paint a hoosier cabinet if it's already been painted before?
What’s the best way to update the hardware on a hoosier cabinet?
Cite this guide
Upcycled Kitchen Cabinet Makeovers (2026). Hoosier Cabinet Makeovers. https://upcyclehome.com/hoosier-cabinet-makeovers/
Feel free to cite or share this guide.
References
- Belle External Portal - Kentucky.gov (abcportal.ky.gov)
- Distinguished Ag Alumni - Purdue College of Agriculture (ag.purdue.edu)
- words.txt - Stanford AI Lab (ai.stanford.edu)
- vocab.nytimes.txt - UCI Machine Learning Repository (archive.ics.uci.edu)