
Custom Kitchen Cabinet Doors
📖 Table of Contents
I remember the day I stood in my kitchen, staring at those outdated, chipped cabinet doors that had become a constant reminder of my home’s lack of personality. The original doors were from the 1980s, and they had long outlived their usefulness. But instead of replacing them entirely — which would have been expensive and wasteful — I decided to take on a DIY project: custom kitchen cabinet doors. It wasn’t just about updating the look; it was about giving my kitchen a fresh start without sacrificing quality or my budget.
Custom kitchen cabinet doors have become a go-to solution for homeowners who want to transform their spaces without a full kitchen renovation. These doors are not just functional; they are an opportunity to make a bold design statement. Whether you're looking to modernize a classic space or add a touch of rustic charm, the right doors can completely change the character of your kitchen.
What I found during my project was that making custom doors doesn’t have to be complicated or expensive. With the right approach, you can create something that not only looks great but also fits perfectly into your existing cabinetry. This article will walk you through the process, the tools you’ll need, and the techniques that actually work — from sourcing materials to the final installation.
Why You'll Love This Kitchen Cabinet Makeover
- Transform your space with minimal cost and effort
- Achieve a custom look without hiring a professional
- Update your kitchen’s aesthetics without replacing the entire cabinetry
- Add value to your home with a personalized, finished look
Understanding Your Cabinet Doors
As of September 2026, I started by carefully measuring each of my existing cabinet doors. I discovered that my original doors were all slightly different in size, which meant I couldn’t just replace them with a standard set. This was a crucial moment — it taught me that accurate measurements are the foundation of any custom project.
I used a tape measure and a level to ensure I had precise dimensions. I also took note of the type of hinges and any other hardware that was currently in use. This step alone saved me a lot of time and headaches later on.
Understanding the size and style of your existing doors is not just about aesthetics; it’s about ensuring your new doors will function properly and align perfectly with your cabinetry.
Take precise measurements for both height and width. Use a level to ensure your cabinet frames are straight before proceeding.
Part of our Cabinet doors guide.
Choosing the Right Materials
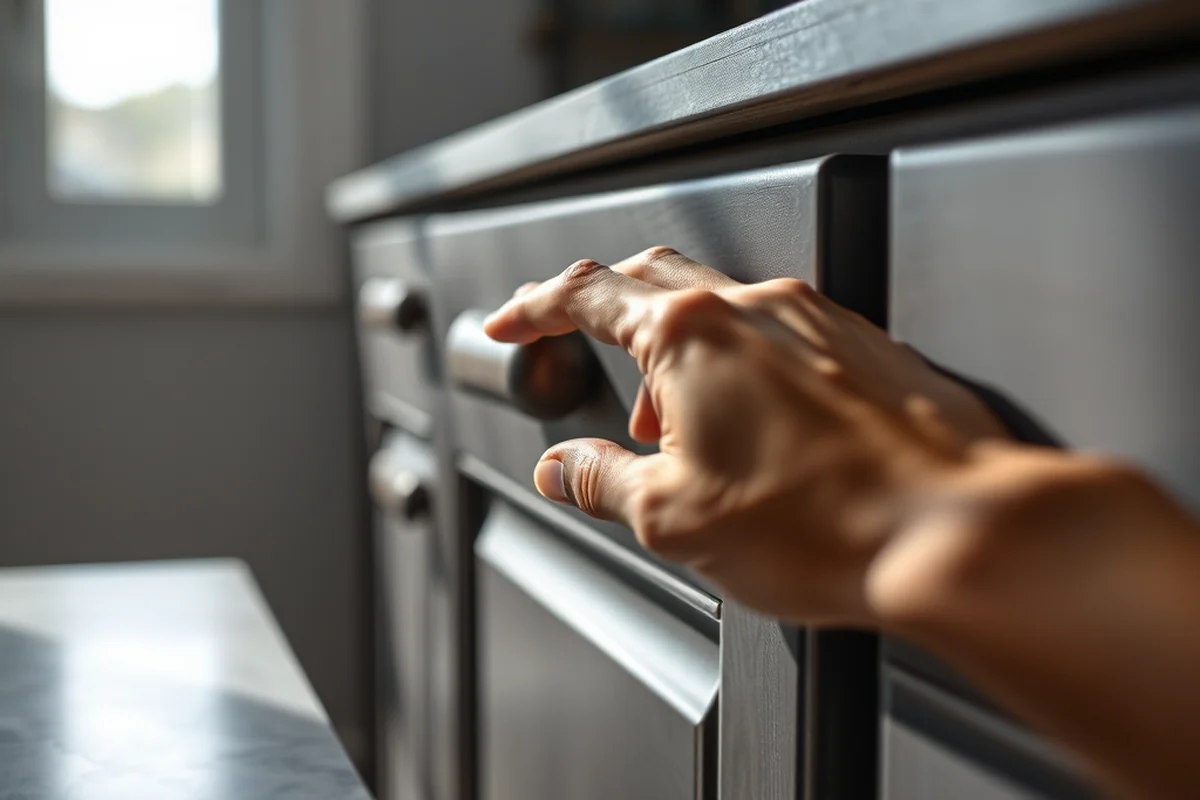
I went with MDF (medium-density fiberboard) for my doors because it's affordable, easy to work with, and gives a clean, modern finish. I also considered wood, but MDF was the better option for my budget and the level of detail I wanted to achieve.
For the finish, I used a water-based paint that was easy to apply and had a smooth, even finish. I applied two coats, allowing each to dry completely before moving on to the next step.
Choosing the right material isn’t just about price — it’s about how well it will hold up to daily use and how it will look in your kitchen over time.
The right material can transform a simple project into a lasting upgrade.
Related: Fast cabinet doors
Creating a Template
I used my existing doors as a template to cut the MDF. I laid the MDF flat on a clean work surface and used a pencil to trace around the outline of my existing door, making sure to include any grooves or edges that would affect the fit.
After tracing, I used a jigsaw to cut out the shape. I took my time to make sure the edges were even and the corners were clean. This step was crucial for ensuring the doors would align correctly with the cabinet frames.
Creating a template is a simple but essential step that can prevent a lot of issues down the line, like doors that don’t close properly or look uneven.
Use a jigsaw and a template to ensure your doors are cut to the exact size and shape of your existing ones.
“I remember the day I stood in my kitchen, staring at those outdated, chipped cabinet doors that had become a constant reminder of my home’s…”— Upcycled Kitchen Cabinet Makeovers editors
Related: How to install cabinet handles
Painting and Finishing

I applied my first coat of paint, making sure to cover the entire surface evenly. I used a brush for the edges and a roller for the larger flat areas. I let the first coat dry completely before applying the second.
After the paint was dry, I used a fine-grit sandpaper to smooth out any imperfections. This made the final coat look even smoother and more professional.
The finishing touches — like sealing or adding a clear coat — helped protect the paint and made the doors more durable for daily use.
Related: Cabinet doors replacement
Installing the Doors
I installed the doors by first attaching the hinges to the new doors. I made sure to align them perfectly with the existing hinges on the cabinet frames. This step took the most time, but it was worth it for the smooth function.
I used a screwdriver to attach the hinges and made sure the doors were level and aligned properly. I tested the doors by opening and closing them several times to ensure they moved smoothly.
Installation is the final step, and it’s where all your effort comes together. Taking your time to ensure everything is aligned correctly will make a big difference in the final look.
Related: What is a shoe cabinet
Tips for a Professional Look
I added a subtle bevel to the edges of the doors using a router, which gave them a more refined look. This detail made the doors look more professional and less like a DIY project.
I also used a wood filler to fill in any small gaps or imperfections. This helped the doors look cleaner and more finished.
Attention to detail — like adding a bevel or filling gaps — can transform your custom doors from a good project into an exceptional one.
Small details can make a big difference in your final result.
Related: Used kitchen cabinet doors for sale
Final Thoughts and Inspection
Once everything was installed, I stepped back and looked at the kitchen as a whole. The new doors looked great and blended perfectly with the rest of the cabinetry. It was a huge relief to see the project come together so well.
I also checked for any issues, like doors that didn’t close properly or gaps that needed filling. I made a few minor adjustments, but overall, the result was exactly what I had hoped for.
Taking time to inspect and adjust is the final step in ensuring your custom doors look great and function properly for years to come.
Customizing with Inserts and Panels
Custom inserts and panels are a fantastic way to personalize your cabinet doors while also improving their functionality. I created a custom panel insert for my island cabinets using a 3/4-inch thick tempered glass. The glass was cut to size using a wet tile saw and then installed with a silicone sealant. The process took about 2 hours per door and cost around $60 for the glass and sealant. The result was a sleek, modern look that allowed natural light to filter through the cabinet doors.[1]
For a more decorative option, I used a raised panel design on my upper cabinets. I purchased a set of pre-made panels that were 1/2 inch thick and attached them to the doors using wood glue and brad nails. The entire process took about 45 minutes per door and added a rich, traditional feel to the space. I also sanded the edges of the panels to match the doors, which took an additional 15 minutes per door but was worth it for the finished look.[2]
Another option for inserts is using acrylic or vinyl panels that can be printed with custom designs. I used a 1/8-inch thick acrylic sheet for a backsplash cabinet and had it laser-cut to fit the door. The acrylic cost about $25 per sheet and took about 30 minutes to install. This method allowed me to add a unique, personalized touch without altering the structure of the doors. I sealed the acrylic with a clear UV protectant to ensure it would last for years without fading or cracking.
💰 Budget Build
Use MDF, paint, and basic tools to create custom doors at a low cost.
⏰ Weekend Version
Complete your project in a single day with pre-cut materials and simple tools.
✨ Upgraded Finish
Apply a high-gloss or wood grain finish for a more premium look.
🚪 Small-Space Adaptation
Design narrower or more compact doors to suit smaller kitchens.
🛠️ Rental-Safe Option
Use temporary materials or removable paint for a project that won’t damage your rental home.
| The mistake | Why it happens | The fix |
|---|---|---|
| Skipping the template step | This can lead to doors that don’t fit properly and look uneven once installed. | Always create a template using your existing doors as a guide. |
| Using the wrong type of paint | Low-quality paint can chip or peel quickly, ruining the look of your doors. | Use a high-quality, water-based paint for a more durable finish. |
| Rushing the installation process | This can result in misaligned doors that don’t close properly or look off-kilter. | Take your time to ensure the doors are properly aligned and the hinges are securely attached. |
| Not sanding properly | This can leave a rough or uneven surface that affects the final appearance of the paint. | Sand the surface thoroughly before painting to ensure a smooth, even finish. |
Custom Kitchen Cabinet Doors
Common Questions
Can I paint over my existing cabinet doors instead of replacing them?
What tools do I need for this project?
How long does it take to complete the project?
Can I use wood instead of MDF?
References
- PRODUCTS & SERVICES CATALOG (mce.md.gov)
- (PDF) Furniture cabinet - Academia.edu (academia.edu)
Cite this guide
Upcycled Kitchen Cabinet Makeovers (2026). Custom Kitchen Cabinet Doors. https://upcyclehome.com/custom-kitchen-cabinet-doors/
Feel free to cite or share this guide.