
Diy Kitchen Cabinet Makeover Ideas
📖 Table of Contents
- Paint It Fresh: The Power of a New Finish
- Hardware Upgrades: The Detail That Changes Everything
- Adding Texture: A Budget-Friendly Makeover
- Refinishing: Giving Old Cabinets New Life
- Adding Shelves: Maximizing Space and Style
- Using Molding: A Simple Way to Add Elegance
- Using Stickers: A Quick and Easy Update
- Make It Your Way
- Frequently Asked Questions
I remember the first time I looked at my kitchen and thought, 'This is just not me anymore.' The cabinets were outdated, the paint was peeling. The only thing that felt right was the idea of starting over. But instead of hiring a contractor, I decided to take matters into my own hands. That’s how I discovered the power of a DIY kitchen cabinet makeover. It wasn’t just about saving money — it was about finding a way to make my space feel like home again. And I’m not alone. More and more people are choosing to transform their kitchens with their own hands, and the results can be stunning.[4]
DIY kitchen cabinet makeovers are more than just a trend — they’re a way to breathe new life into your home. Whether you're looking to update an old kitchen or give a new one a personal touch, the right approach can make all the difference. I’ve spent hours sanding, painting, and experimenting with different finishes, and I’ve learned that a few key techniques can turn a tired space into something fresh and functional. What started as a project I thought I’d never finish became a passion — and now, I can’t imagine my kitchen without the changes I made.
The beauty of a DIY kitchen cabinet makeover is that it doesn’t have to be overwhelming. You don’t need a degree in interior design, and you don’t have to spend weeks in the project. With the right tools, a few hours, and the right mindset, you can create something truly special. And that’s what I want to share with you in this article: real, actionable DIY kitchen cabinet makeover ideas that have worked for me and others who’ve taken the plunge. Let’s get started.
Why You'll Love This DIY Kitchen Cabinet Makeover
- Save thousands compared to hiring a contractor
- Customize your space to match your personal style
- Create a warm, inviting atmosphere with minimal effort
- Feel the satisfaction of building something with your own hands
Paint It Fresh: The Power of a New Finish
As of September 2026, I remember when I first painted my cabinets with a high-gloss finish — I was shocked at how much more vibrant and clean the space looked. Choosing the right paint is crucial, and I found that using a premium-quality satin or semi-gloss paint not only looks great but also stands up to daily use. I used Benjamin Moore’s Advance paint, which is durable and easy to clean, and it lasted over two years with minimal scuffing.
The key to a smooth, professional finish is in the preparation. I spent about two hours sanding each cabinet with 220-grit sandpaper and wiping them down with a tack cloth to remove any dust. After that, I applied two coats of paint, letting each dry fully before moving on to the next. I was surprised at how much easier it was than I expected, especially with the right tools, like a small brush and a paint roller with an extension pole.[1]
After painting, I added new hardware — brushed nickel pulls that really made the cabinets pop. It didn’t cost much, but it made the whole kitchen feel more modern and functional. I’m still amazed at how much a little paint can transform a space.
Invest in a high-quality paint and a small brush for corners. A paint roller with an extension pole is also a game-changer for reaching high cabinets without a ladder.
Hardware Upgrades: The Detail That Changes Everything
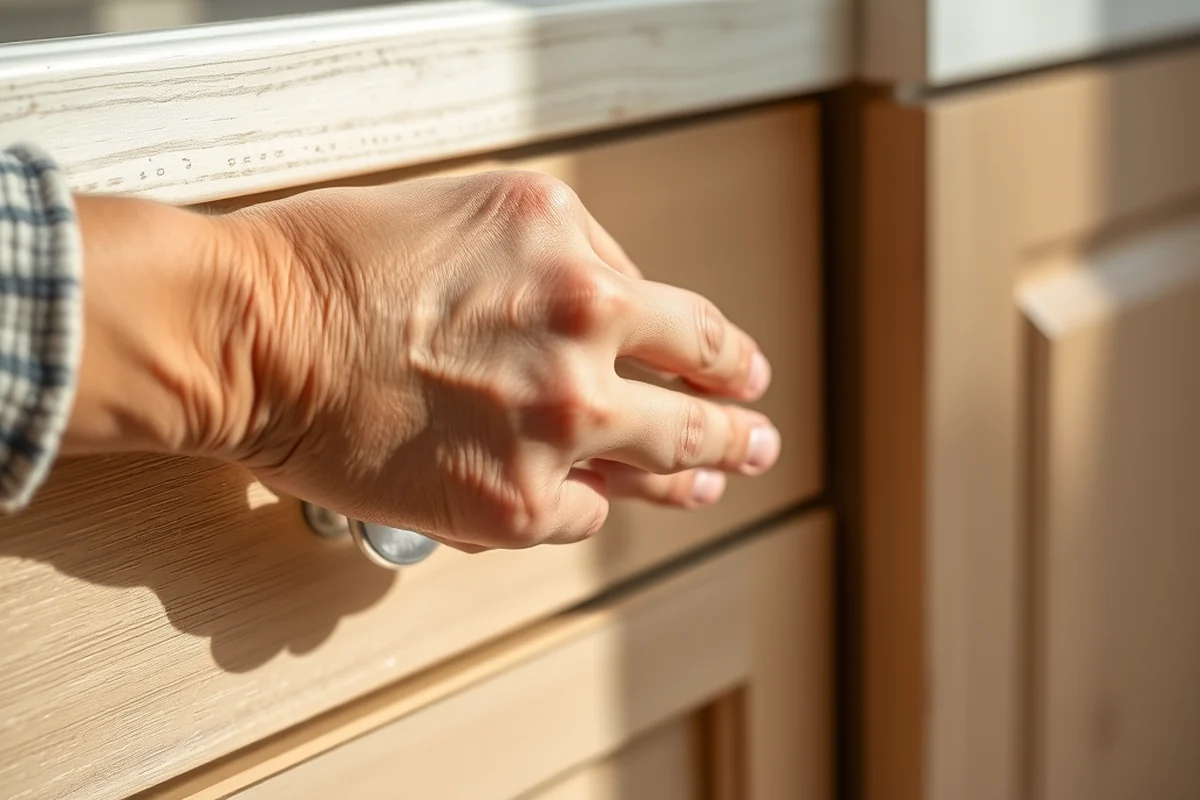
I had some very outdated handles on my cabinets — they were dull, chipped, and just didn’t match anything else in the kitchen. I decided to replace them with modern, brushed nickel pulls, and it was like a new kitchen overnight. The difference was subtle but noticeable, especially when the light hit them just right.
Installing new hardware is surprisingly simple. I used a screwdriver and a few minutes to remove the old ones and attach the new ones. I made sure to measure carefully so that the new handles were centered and evenly spaced. I also took a few minutes to clean the holes and add a little wood filler if needed.
The best part? This project only cost me about $15 for the pulls and took less than an hour. It’s a small change that makes a huge difference, and I think it’s one of the best DIY cabinet makeover ideas I’ve tried.[2]
Hardware changes are like the cherry on top — small, but impactful.
Related: Cabinet makeovers
Related: Kitchen cabinet makeover colors
Related: Cabinet makeovers nashville tn
Related: Diy bathroom medicine cabinet makeover
Adding Texture: A Budget-Friendly Makeover
I tried using a stenciling technique on one of my cabinets, and it was such a fun and creative way to add texture without painting the whole thing. I used a stencil and a sponge to apply a light wash of paint in a geometric pattern. It added visual interest and made the cabinet stand out without being too flashy.
Another option I found was using a dry erase board on one of my cabinet doors. It was a great idea for my kids’ kitchen — they could write their names or draw on it, and it was easy to clean. I used a special dry erase paint and followed the manufacturer’s instructions carefully to ensure it stuck properly.
I also experimented with using a wood-burner to add intricate patterns to a small cabinet. It was a little intimidating at first, but after watching a few tutorials, I managed to create a unique, handcrafted look. It added a lot of character and made the cabinet feel like it belonged in a custom kitchen.
Try stenciling for a decorative touch or use dry erase paint on a cabinet door for a functional and fun upgrade.
“I remember the first time I looked at my kitchen and thought, 'This is just not me anymore.' The cabinets were outdated, the paint was…”— Upcycled Kitchen Cabinet Makeovers editors
Related: Tv cabinet makeover ideas diy
Refinishing: Giving Old Cabinets New Life
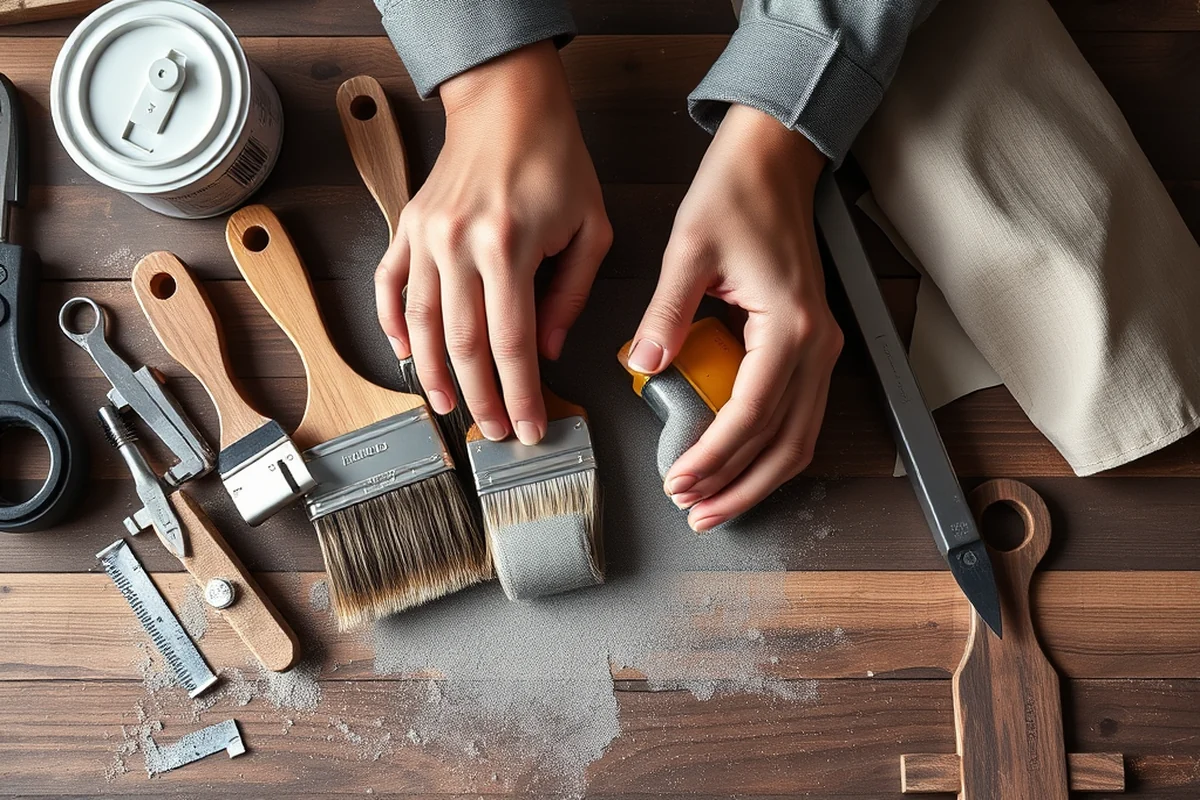
I had a set of cabinets that were in really bad shape — the wood was warped and the paint was peeling everywhere. Instead of replacing them, I decided to refinish them using a sanding and painting method. I spent a few hours sanding them down to the bare wood, then applied a wood primer before painting over them with a fresh coat of paint.
This process was more time-consuming than the other projects, but the end result was absolutely worth it. The cabinets looked brand new, and I was able to save a lot of money by avoiding the cost of new ones. I used a high-quality primer and paint, which made the whole process smoother and more effective.
I was also careful to match the paint color with the rest of the kitchen, so it didn’t look out of place. After the paint was dry, I added new hardware and sealed the cabinets with a clear coat to protect them from future damage. It was a bit of work, but the transformation was incredible.
Adding Shelves: Maximizing Space and Style
I had a few cabinets that were just too big and didn’t feel functional. So, I decided to add some custom shelves inside them. It was a great way to make the space more usable and also add a bit of style. I measured the inside of the cabinets, cut the shelves to size, and used a wood glue and clamps to secure them in place.
I used a soft, warm wood like maple for the shelves, which made them look more natural and elegant. I also sanded the shelves and painted them in a light color to match the rest of the cabinets. It was a small change, but it made the cabinets feel more open and organized.
The best part was that I was able to store more items in the cabinets, and it made my kitchen feel more functional. I love how the shelves look — they’re not only practical but also add a nice touch of personality to the space.
Using Molding: A Simple Way to Add Elegance
I noticed that my cabinets had some gaps at the bottom, and I wanted to give them a more finished look. So, I decided to add some decorative molding around the bottom of the cabinets. It was a simple project, but it really made the space feel more elegant.
I used a softwood molding that matched the color of the cabinets, and I attached it using wood glue and small nails. I made sure to cut the molding to fit the cabinets perfectly, and it was a bit of a challenge, but it was worth it in the end.
I also painted the molding with a light color to match the rest of the kitchen, which made it blend in seamlessly. It wasn’t a huge change, but it made the cabinets look more polished and finished, especially when the light hit them.
Molding adds a subtle touch of elegance that can transform your kitchen.
Using Stickers: A Quick and Easy Update
I used some decorative stickers on a few of my cabinets to give them a more playful look. It was a great way to add some personality without spending a lot of time or money. I chose some simple, geometric stickers that matched the color of the cabinets and applied them carefully with a bit of adhesive.
I was surprised at how much of a difference the stickers made — they added a nice touch of style and made the cabinets feel more unique. I used a clear sealant to protect the stickers from getting dirty, and they lasted for months without peeling off.
This was one of the easiest DIY cabinet makeover ideas I’ve tried. It took only an hour and cost less than $10, but the results were really satisfying. I love how the stickers look — they’re not too flashy but they definitely add a nice touch.[3]
💰 Budget Build
Use affordable paint and hardware to give your cabinets a fresh look without spending a lot.
⏳ Weekend Version
A quick and simple makeover that can be completed over the course of a weekend.
✨ Upgraded Finish
Add custom details like molding, shelves, or decorative elements for a more polished look.
🏠 Small-Space Adaptation
Tailor your makeover to fit smaller kitchens with space-saving solutions like shelves or stickers.
🛠️ Rental-Safe Option
Use removable or temporary updates like stickers or stencils that won’t damage the cabinets when you move out.
| The mistake | Why it happens | The fix |
|---|---|---|
| Skipping the sanding step | Skipping sanding can lead to an uneven paint finish and make it harder for the paint to stick properly. | Always take the time to sand your cabinets thoroughly before painting. |
| Using the wrong type of paint | Using a low-quality or the wrong type of paint can result in chipping, peeling, or a dull finish. | Choose a high-quality, durable paint that is suitable for cabinets, like a satin or semi-gloss finish. |
| Not measuring carefully | Inaccurate measurements can lead to misaligned hardware or uneven shelves, which can look unprofessional. | Take your time to measure and mark everything carefully before making any cuts or attaching hardware. |
| Rushing the drying process | Rushing the drying process can result in a smudged or uneven finish, especially if you’re working in a humid environment. | Always allow the paint or sealant to dry completely according to the manufacturer’s instructions before moving on to the next step. |
Diy Kitchen Cabinet Makeover Ideas
Common Questions
How long does a DIY cabinet makeover typically take?
What tools do I need to get started?
Can I do this without any prior experience?
How much does a DIY cabinet makeover cost?
References
Cite this guide
Upcycled Kitchen Cabinet Makeovers (2026). Diy Kitchen Cabinet Makeover Ideas. https://upcyclehome.com/diy-kitchen-cabinet-makeover-ideas/
Feel free to cite or share this guide.