
Buffet Sideboard Cabinet
📖 Table of Contents
- Why Choose a Buffet Sideboard Cabinet?
- How to Assess Your Cabinet's Condition
- Choosing the Right Paint and Finish
- Sanding and Preparing the Surface
- Adding New Hardware for a Fresh Look
- Painting Techniques for a Professional Finish
- Finishing Touches and Final Assembly
- Make It Your Way
- Frequently Asked Questions
There's something deeply satisfying about giving a second life to an old buffet sideboard cabinet. I remember the first time I laid eyes on mine — a forgotten relic in a flea market that had seen better days. It was covered in dust and grime, but the wood was still solid, and the shape was classic. After a weekend of sanding, painting, and a few carefully chosen hardware upgrades, it transformed into the centerpiece of my dining room. That cabinet didn’t just get a face lift; it became a functional, stylish piece that now holds my favorite dishes and family heirlooms.
Buffet sideboard cabinets are more than just storage solutions; they’re anchors for your home’s aesthetic. Whether you're hosting a dinner party or simply trying to keep your kitchen organized, a well-upcycled buffet sideboard cabinet can improve your space. I’ve experimented with a range of finishes, from matte chalk paints to glossy lacquers, each telling a different story about the space I want to create. The key is to start with a quality piece and work from there — the results are truly transformative.
What I love most about this project is how much you can customize it. I’ve painted mine in a soft sage green, while another version I made for a friend had a deep navy finish with brass pulls. The beauty of upcycling a buffet sideboard cabinet is that it allows you to express your personality in a way that ready-made furniture rarely does. It's a labor of love, but one that pays off in both style and utility.
Why You'll Love This Buffet Sideboard Cabinet Makeover
- Customizable design that reflects your personal style
- Cost-effective way to refresh your space without buying new furniture
- Adds functional storage and visual appeal to any room
- Increases the value of your home by enhancing its decor
Why Choose a Buffet Sideboard Cabinet?
As of October 2026, Buffet sideboard cabinets are designed to serve multiple purposes — they offer ample storage, can be used for serving during meals, and often feature elegant detailing. I've found that they're especially useful in kitchens and dining rooms where space is at a premium. One of my favorite aspects of these cabinets is that they come in a wide variety of styles, from traditional to modern, making it easy to find one that fits your decor.
When I first started upcycling, I was amazed at how much a well-chosen buffet sideboard cabinet could transform a room. The one I bought was a vintage piece with carved legs and a worn finish, but after a few coats of paint and some new hardware, it became the focal point of my kitchen. Its depth and height made it perfect for holding dishes, glassware, and even a coffee machine.
What makes a buffet sideboard cabinet so special is its ability to blend form and function. I've used mine to display my favorite cookbooks, hold my collection of mugs, and even serve as a makeshift bar during cocktail parties. It's not just storage — it's a design statement that adds character and charm to any space.
Look for a buffet sideboard cabinet with sturdy legs, solid wood construction, and minimal damage. Avoid pieces that are too short or too tall for your space — the ideal height is about 30-36 inches for a kitchen setup. ($30, sandia.gov)[1]
Part of our Kitchen cabinets guide.
How to Assess Your Cabinet's Condition
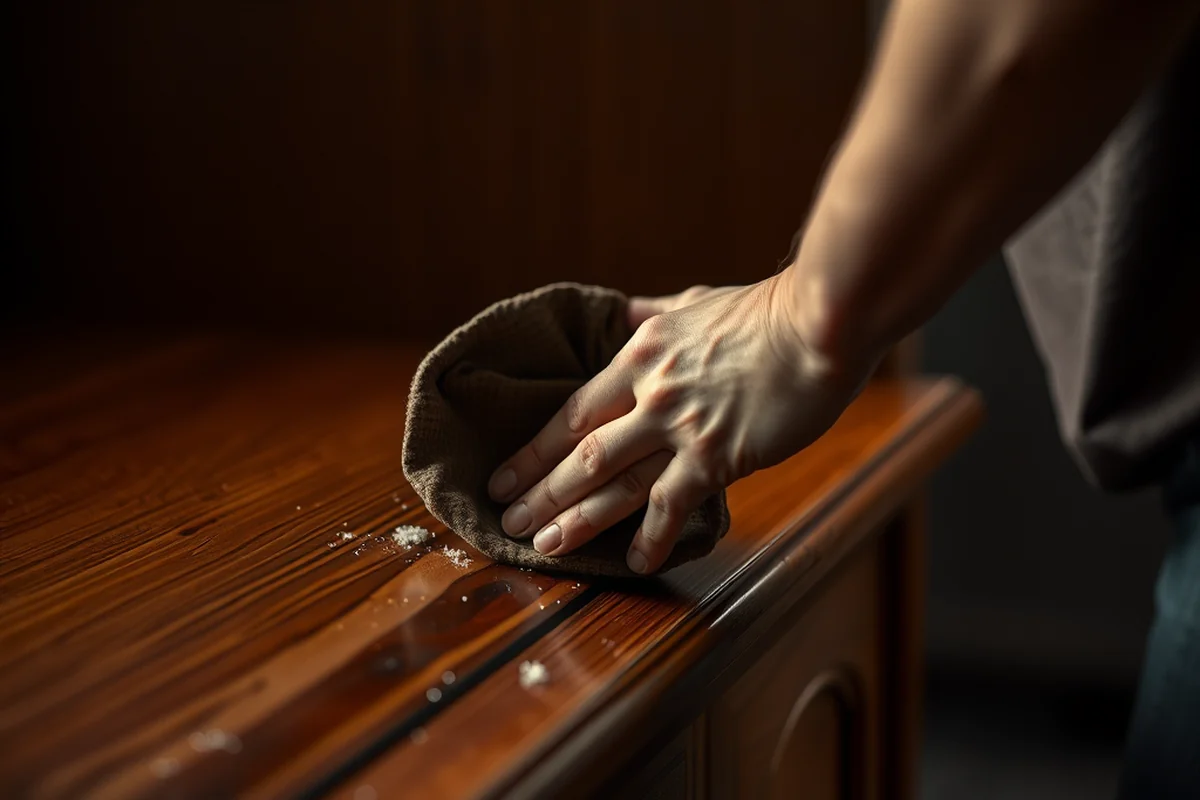
I always begin by inspecting the buffet sideboard cabinet for any cracks, warping, or structural issues. If the wood is intact and the joints are secure, the project is likely to be straightforward. However, if there are major damages, it might be worth considering whether it's worth repairing or if it's better to look for a different piece.
I once found a cabinet that looked promising, but upon closer inspection, I noticed that the back panel was bowed and the drawers didn't close properly. It took me an extra day to reinforce the frame and fix the drawer slides, but the result was still worth it. It's important to be thorough in your evaluation to avoid unexpected setbacks.
Another thing I look for is the type of wood — solid wood is ideal for upcycling, while particle board or MDF might not hold up as well. I've learned that investing a bit more in a quality piece pays off in the long run, both in terms of durability and aesthetics.
A little inspection goes a long way in ensuring your project is a success.
Related: Ready to assemble cabinets
Choosing the Right Paint and Finish
I've experimented with a variety of paints and finishes, and the results have been impressive. For a soft, matte look, I've used chalk paint, which is easy to apply and gives a vintage feel. For a more modern, glossy finish, I've used water-based lacquer, which is durable and easy to clean.
I once tried using oil-based paint on a cabinet, and it took three coats to get a smooth finish. It was time-consuming, but the result was worth it — the finish was incredibly smooth and had a rich, deep color. I've also used wood stain on some pieces to bring out the grain and texture of the wood.
What I've found is that the right finish not only enhances the appearance of the cabinet but also protects it from wear and tear. I've used polyurethane on the surface and edges for extra durability, especially in high-traffic areas like the kitchen.
Before applying paint to the entire cabinet, test it on a small, inconspicuous area to see how it looks in different lighting conditions. This will help you avoid any unwanted surprises later on.
“There's something deeply satisfying about giving a second life to an old buffet sideboard cabinet.”— Upcycled Kitchen Cabinet Makeovers editors
Related: What is the best kitchen cabinet cleaner
Sanding and Preparing the Surface
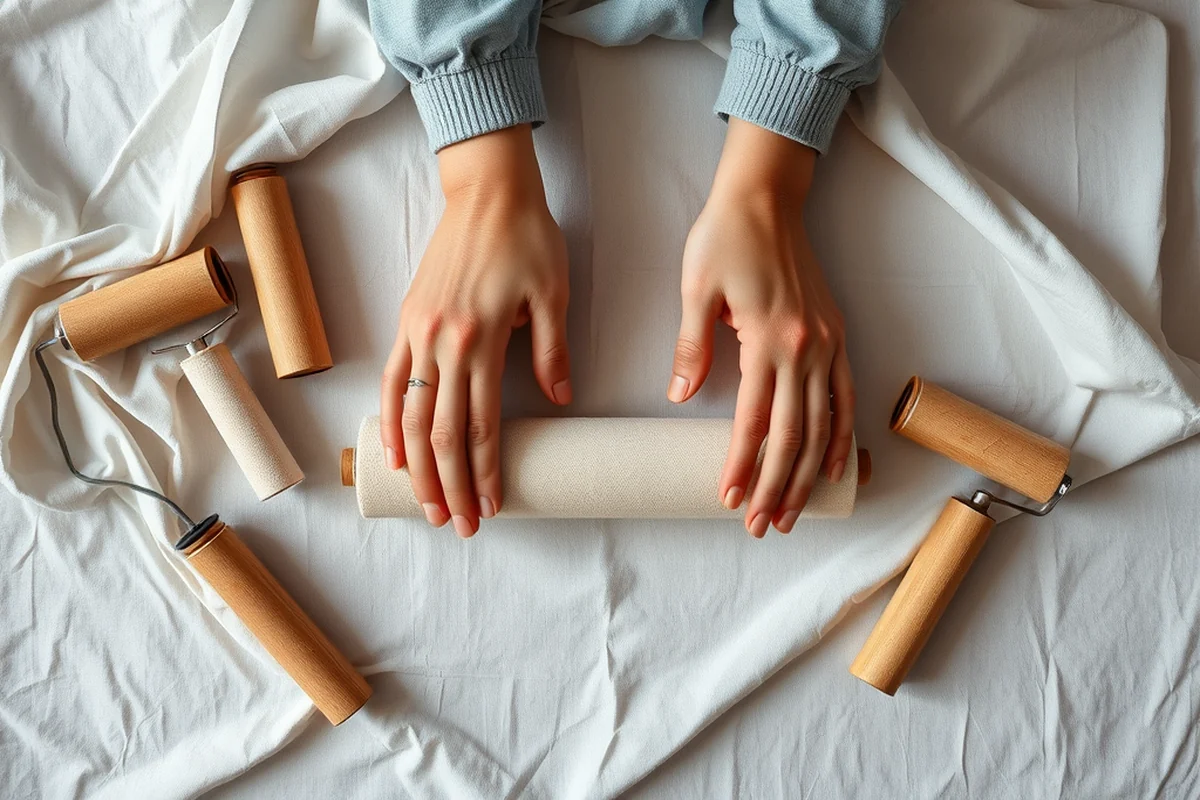
I always start by sanding the surface of the cabinet to remove any old paint, varnish, or debris. I use 120-grit sandpaper for rougher areas and 220-grit for a smoother finish. It's important to sand in the direction of the wood grain to avoid leaving scratches.[2]
After sanding, I wipe down the surface with a damp cloth to remove any dust or residue. I've found that using a tack cloth afterward helps eliminate any remaining particles that could interfere with the paint or finish. This step is crucial for ensuring a smooth, even application.
I've also learned that using a sanding block or electric sander can make the process much faster and more efficient. It's a small investment, but it's well worth it for larger pieces like a buffet sideboard cabinet.
Related: Best cleaner kitchen cabinets
Adding New Hardware for a Fresh Look
One of the easiest and most effective ways to refresh a cabinet is by replacing the handles and pulls. I've used a variety of styles, from modern minimalistic handles to ornate brass pulls, each giving the cabinet a different vibe. The choice of hardware can dramatically change the overall look of the piece.
I've found that using a screwdriver or a drill is the best way to remove old hardware. Be sure to mark the holes so you can easily replace the hardware in the same position. I've also used wood filler to patch up any damaged areas around the holes before installing the new hardware.
When selecting new hardware, I always consider the style of the cabinet and the overall decor of the room. For a more traditional look, I've used wrought iron pulls, while for a modern space, I've gone with sleek, matte black handles. The right hardware can make all the difference in the final look.
Related: What s the best cleaner for kitchen cabinets
Painting Techniques for a Professional Finish
I've found that using a brush with a fine tip is the best way to paint the edges and corners of the cabinet. For larger surfaces, I use a roller for even coverage. I've also used a spray gun for a more professional finish, but it requires more setup and cleanup.
To avoid brush strokes, I've used a technique called 'dry brushing,' where I lightly tap the brush on the surface to create a textured effect. This works especially well with chalk paint, giving the cabinet a vintage, aged look. I've also used a sponge to create a distressed look, which is great for adding character to the piece.
What I've learned is that painting in sections and working from top to bottom helps prevent drips and ensures a smoother finish. I've also found that using a paint tray and a roller makes it easier to apply multiple coats evenly and quickly.
Patience and technique make all the difference in the final look.
Related: Front porch pantry
Finishing Touches and Final Assembly
Once the paint is dry, I apply a clear topcoat to protect the finish. I've used both polyurethane and wax for this, depending on the type of paint and finish I want. The topcoat not only adds durability but also enhances the overall look of the cabinet.
I've also taken the time to reassemble any drawers or doors that I removed during the process. It's important to check that everything fits properly and moves smoothly. I've used wood glue to reinforce any joints that might have become loose over time.
The final step is to place the cabinet in its new location and step back to admire the results. I've found that the transformation is always worth the effort, and the satisfaction of seeing a once-forgotten piece brought back to life is incredibly rewarding.
💰 Budget Build
A simple paint job with basic hardware and minimal upgrades, perfect for those on a tight budget.
⏱️ Weekend Version
A quick and easy makeover that can be completed in one or two days with minimal effort.
✨ Upgraded Finish
A more detailed project with premium paints, custom hardware, and additional finishing touches.
🏠 Small-Space Adaptation
A streamlined version of the cabinet that's ideal for smaller kitchens or living areas.
🔒 Rental-Safe Option
A temporary or removable finish that can be applied without damaging the original piece or leaving any residue.
| The mistake | Why it happens | The fix |
|---|---|---|
| Skipping the sanding step | Without proper sanding, the paint may not adhere well and could peel or flake over time. | Always sand the surface thoroughly before applying any paint or finish. |
| Using the wrong type of paint | Some paints are not suitable for furniture and may not hold up as well in different conditions. | Choose a paint or finish that's specifically designed for furniture and interior use. |
| Applying too much paint in one go | This can lead to drips, uneven surfaces, and a longer drying time. | Apply thin, even coats and allow each coat to dry completely before applying the next. |
| Ignoring the topcoat step | The topcoat is essential for durability and protection, especially in high-traffic areas. | Always apply a clear topcoat to protect the paint and enhance the finish. |
| Not testing the paint on a small area first | This can lead to unexpected color or finish results that don't match your expectations. | Test the paint on a small, inconspicuous area to see how it looks in different lighting conditions. |
| Forcing hardware into the wrong holes | This can damage the cabinet and make it difficult to install the hardware properly. | Mark the holes before removing the old hardware and ensure the new hardware is installed in the same position. |
Buffet Sideboard Cabinet
Common Questions
Can I use this project for a different type of cabinet?
Do I need any special tools for this project?
How long does the paint typically last?
Is it possible to paint over an existing finish without sanding?
References
- Studies look at aging of electronics in nuclear weapons (sandia.gov)
- NCIC Code Manual as of March 31, 2025 - WILENET (wilenet.widoj.gov)
Cite this guide
Upcycled Kitchen Cabinet Makeovers (2026). Buffet Sideboard Cabinet. https://upcyclehome.com/buffet-sideboard-cabinet/
Feel free to cite or share this guide.