
Kitchen Cabinet Makeovers
📖 Table of Contents
- Choosing the Right Paint for Your Cabinets
- Preparing Your Cabinets for Paint
- Applying the Paint the Right Way
- Updating Cabinet Hardware for a Fresh Look
- Adding a Pop of Color for Personality
- Protecting Your New Paint Finish
- Finishing Touches and Enjoying the Results
- Make It Your Way
- Frequently Asked Questions
I still remember the day I stood in my cluttered kitchen, staring at the same tired cabinets I'd had for over a decade. They were warped, stained, and looked like they hadn't seen a cleaning rag in years. But instead of throwing in the towel, I grabbed my tools and decided to give them a new life. That weekend, I turned a project I thought would take weeks into a fresh, modern kitchen with just a few hours of work and a can of paint. It was a revelation — and the beginning of my journey into kitchen cabinet makeovers.
Kitchen cabinet makeovers are more than just a DIY trend; they're a way to breathe new life into your space without the cost of a full renovation. I've walked through hundreds of kitchens, from cramped apartments to sprawling country homes. Time and again, I've seen how a fresh coat of paint or a new set of pulls can transform the look and feel of an entire room. The best part? You don't need to be a professional to do it — just a little patience and the right tools.
What makes kitchen cabinet makeovers so appealing is that they're both functional and personal. I've seen homeowners use them to match new countertops, update outdated hardware, or even create a custom color palette that speaks to their style. Every project is different, but the result is always the same: a kitchen that feels new, updated, and entirely your own. If you're thinking about giving your cabinets a facelift, you're not alone — and you're in for a rewarding experience.
Why You'll Love This Kitchen Cabinet Makeover
- Transform your kitchen without the cost of a full renovation
- Customize your space to match your personal style
- Boost your home’s resale value with minimal effort
- Enjoy a sense of accomplishment with every completed project
Choosing the Right Paint for Your Cabinets
As of September 2026, when I first started, I used a standard latex paint on my cabinets, only to find that it chipped and yellowed within weeks. It took me a few tries to realize that the key to a long-lasting finish is using the right type of paint. I now exclusively use a high-gloss or semi-gloss paint, which not only resists stains and water but also highlights the texture of the wood.
I also learned that the sheen level makes a big difference in how the cabinets look. A high-gloss finish gives a sleek, modern look, while a semi-gloss is more forgiving and hides imperfections better. I once used a matte finish on a set of cabinets, and it looked flat and dull within days — not the effect I wanted.
Another important factor is the color. I recommend starting with a light, neutral tone if you're unsure. Light colors make a room feel larger and more open, which is especially helpful in smaller kitchens. I used a soft gray on my own cabinets, and it made the kitchen feel instantly more modern and welcoming.[1]
Opt for high-gloss or semi-gloss paint for durability and easy cleaning. Avoid matte finishes, which tend to look dull and are more prone to staining.
Preparing Your Cabinets for Paint
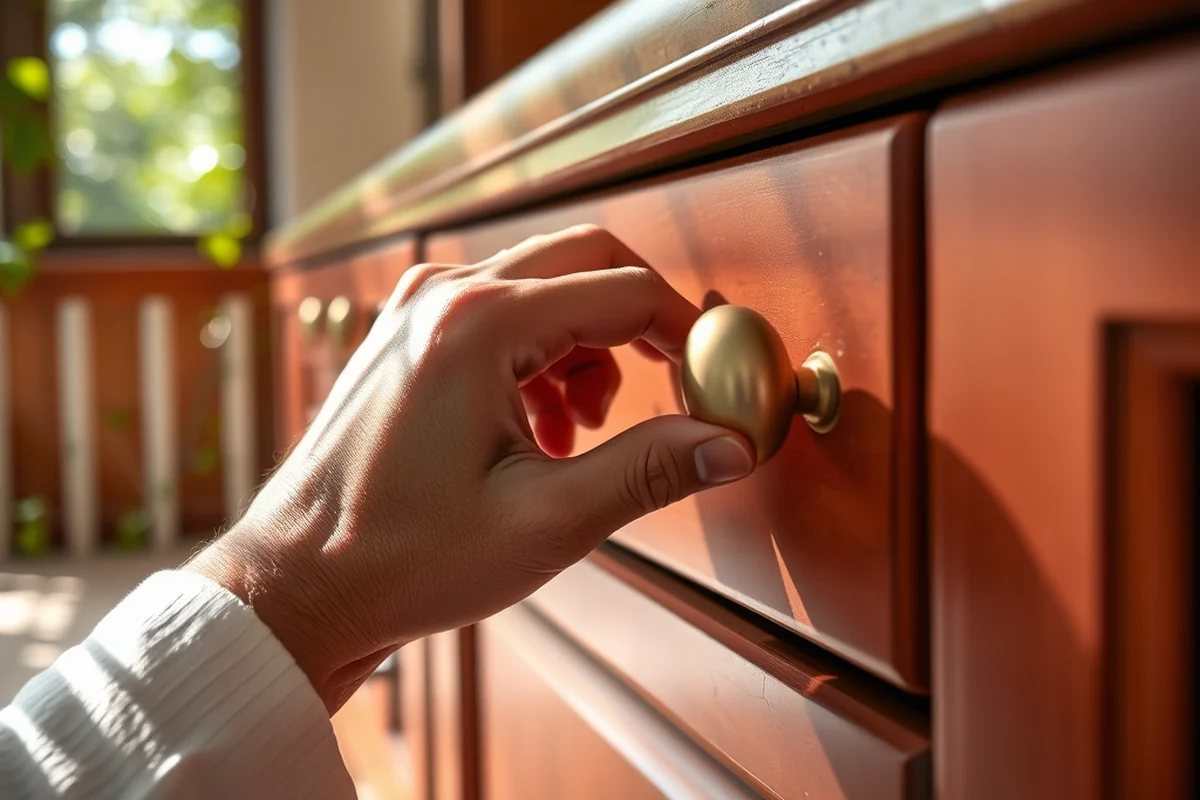
Before painting, I always start by removing all hardware, including knobs and pulls. This not only makes the process easier but also allows me to paint the holes without getting paint on the hardware later. I've made the mistake of leaving the pulls on, only to find that the paint dripped onto them and created a mess.
Next, I sand the cabinets thoroughly. I use a fine-grit sandpaper to smooth out any rough spots or old paint. I've found that sanding is essential for the paint to adhere properly. Without it, the paint is more likely to peel or flake.
After sanding, I wipe the cabinets down with a damp cloth to remove any dust or debris. I've learned that even a small amount of dust can affect the finish and make the paint look uneven. Taking the time to clean the cabinets thoroughly makes a big difference in the final result.
A little preparation goes a long way — and it can save you from a lot of headaches later.
Related: Diy bathroom medicine cabinet makeover
Related: Easy diy kitchen cabinet makeover
Related: Cheap diy kitchen cabinet makeover
Related: Cabinet makeover ideas
Related: What is the best kitchen cabinet color for 2026
Applying the Paint the Right Way
I've learned that using a brush is better than a roller for cabinet painting. A brush allows for more control and helps avoid streaks. I tried using a roller once, and it left visible lines across the cabinets — not the look I wanted.
I also use a small brush for the edges and corners, which are harder to reach. I've found that using a small brush helps me get into tight spaces and achieve a smoother finish. For the larger surfaces, I use a larger brush and work in sections, making sure to overlap each stroke to avoid streaks.
I always apply two thin coats of paint instead of one thick coat. It helps the paint dry evenly and reduces the risk of drips. I've made the mistake of applying a thick coat, only to find that it dripped and created an uneven finish. Taking the time to apply two coats ensures a professional-looking result.
A brush gives you better control and helps you avoid streaks and uneven paint. Use a small brush for edges and corners, and a larger one for larger surfaces.
“I still remember the day I stood in my cluttered kitchen, staring at the same tired cabinets I'd had for over a decade.”— Upcycled Kitchen Cabinet Makeovers editors
Updating Cabinet Hardware for a Fresh Look
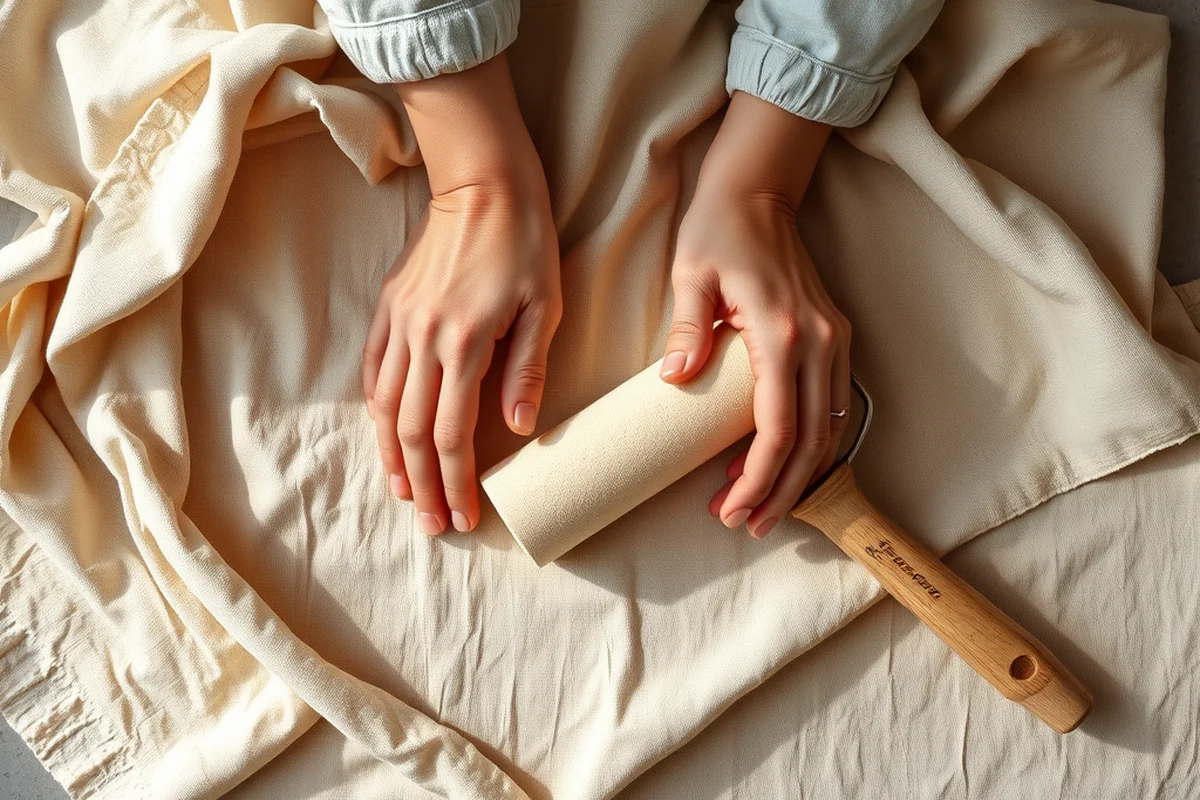
I've found that replacing old, worn-out hardware can instantly transform the look of your cabinets. I once had a set of cabinets with outdated brass pulls, and after replacing them with modern stainless steel ones, the entire kitchen looked newer and more updated.
When choosing new hardware, I recommend picking a style that complements your overall kitchen design. I've seen homeowners match their hardware with their countertops or backsplash for a cohesive look. It's a small detail that can make a big difference.[2]
I also take the time to measure the size of the cabinets before purchasing new hardware. It's easy to get hardware that doesn't fit, which can be frustrating and time-consuming to fix. Taking accurate measurements ensures that the hardware fits perfectly and looks great.
Adding a Pop of Color for Personality
I've found that using bold colors on your cabinets can add a unique touch to your kitchen. I once painted a set of cabinets a deep navy blue, and it immediately made the room feel more dramatic and stylish. It was a risk, but it paid off.
When using bold colors, I recommend using a high-gloss or semi-gloss finish to make the color pop even more. I've found that these finishes make the colors look richer and more vibrant. They also make the cabinets easier to clean and maintain.[3]
Another tip is to use color in a strategic way. I've seen homeowners paint just one set of cabinets a bold color to create a focal point in the kitchen. This approach is less overwhelming and allows the rest of the room to remain neutral. It's a great way to add personality without going overboard.
Protecting Your New Paint Finish
I've learned that using a clear top coat is essential for protecting the paint and making it more durable. I always apply a clear polyurethane top coat after painting, which helps the paint resist scratches and stains. I've found that without a top coat, the paint can wear away quickly, especially in high-traffic areas.
I use a water-based polyurethane top coat because it's easier to apply and doesn't yellow over time. I've used oil-based top coats before, and they tend to yellow and become sticky after a while. A water-based option is more forgiving and lasts longer.
I also recommend avoiding harsh cleaning products on your painted cabinets. I've found that using a mild soap and water solution is the safest way to clean them. I once used a strong cleaner on my cabinets, and it stripped away part of the paint. It was a lesson in patience and care.[4]
A little protection goes a long way — and it can help your cabinets look great for years to come.
Finishing Touches and Enjoying the Results
I've found that adding new drawer pulls or cabinet handles can make a big difference in the overall look of your kitchen. I once added modern, minimalist pulls to my cabinets, and it instantly gave them a more modern feel. It was a small change, but it had a big impact.
I also take the time to reattach the hardware and ensure everything is aligned properly. I've found that even a slight misalignment can be noticeable. Taking the time to double-check everything ensures a polished, professional look.
Finally, I step back and take a look at my work. There's something really satisfying about seeing a completed project and knowing that I did it myself. I've completed several cabinet makeovers, and each one has given me a sense of pride and accomplishment. It's a rewarding experience, and one that I highly recommend to anyone looking to update their kitchen.
💰 Budget Build
A low-cost option using affordable paint and hardware that still delivers a fresh, updated look.
⏰ Weekend Version
A quick and easy makeover that can be completed in a single day with minimal effort.
✨ Upgraded Finish
A high-end option that includes premium paint, top coats, and custom hardware for a luxury look.
🏠 Small-Space Adaptation
A tailored approach for smaller kitchens that maximizes space and enhances the overall look.
🔒 Rental-Safe Option
A temporary or reversible makeover that won't damage the rental property and can be removed at any time.
| The mistake | Why it happens | The fix |
|---|---|---|
| Skipping the sanding step | Without sanding, the paint is more likely to peel or flake because it doesn't adhere properly. | Always sand your cabinets thoroughly before painting to ensure the paint sticks and lasts. |
| Using the wrong type of paint | Using a matte finish or the wrong type of paint can lead to a dull, uneven finish and a shorter lifespan. | Use a high-gloss or semi-gloss paint for durability and a professional look. |
| Not cleaning the cabinets properly | Dust and debris on the cabinets can affect the finish and make the paint look uneven. | Wipe the cabinets with a damp cloth before painting to ensure they're clean and ready for paint. |
| Applying thick coats of paint | Thick coats of paint can lead to drips and an uneven finish, especially on vertical surfaces. | Apply two thin coats of paint instead of one thick coat for a smoother, more even finish. |
Kitchen Cabinet Makeovers
Common Questions
What tools do I need for a cabinet makeover?
Can I paint my cabinets without removing them?
How long does a cabinet makeover take?
What type of paint is best for cabinets?
References
Cite this guide
Upcycled Kitchen Cabinet Makeovers (2026). Kitchen Cabinet Makeovers. https://upcyclehome.com/kitchen-cabinet-makeovers/
Feel free to cite or share this guide.