
Cheap Coffee Tables
📖 Table of Contents
- Where to Find the Cheapest Coffee Table Materials
- How to Choose the Right Wood for Your Project
- The Essential Tools for a Cheap Coffee Table Makeover
- How to Apply Stain and Finish for a Custom Look
- Adding Storage to Your Coffee Table
- Making Your Coffee Table More Durable
- Finishing Touches: What to Do After the Base Project
- Upcycling Old Furniture into a Stylish Coffee Table
- Make It Your Way
- Frequently Asked Questions
I remember the first time I walked into my new apartment and saw that scuffed, mismatched coffee table in the living room. It looked like a relic from the 70s, and I knew I needed to fix it. My budget was tight, and I didn’t want to spend hundreds on a new table. So, I did what any DIY enthusiast would do: I searched for 'cheap coffee tables' and found a way to transform that old eyesore into something I could be proud of.
Over the past few years, I've built and refinished more than a dozen coffee tables, from repurposed IKEA shelves to old doors I found at a salvage yard. Each one had its own story, but they all had one thing in common: they started as 'cheap coffee tables' or something even less impressive. With the right tools, materials, and a few hours of work, you can do the same and end up with a piece that feels custom, not cheap.
In this article, I’ll walk you through exactly how I’ve done it — from sourcing your materials for less than $40 to the final sanding and sealing steps that make all the difference. No matter your skill level or the time you have, there’s a version of this project that fits your life. Let’s get started.[1]
Why You'll Love This Upcycled Coffee Table Project
- You'll save money by using affordable or free materials like old furniture, scrap wood, or secondhand finds.
- This project gives you full control over the look, from color to texture, and it’s a great way to personalize your space.
- It’s a beginner-friendly project that takes just a few hours and only a few basic tools.
- You’ll end up with a piece that feels custom and durable, without the price tag of a store-bought table.
Where to Find the Cheapest Coffee Table Materials
As of September 2026, Thrift stores are goldmines for wood, glass, and even metal frames that can be transformed into unique coffee tables. I’ve found old dining tables for $20 that only needed a few coats of paint and a new top to become a new centerpiece in my home.[2]
Hardware stores often sell scrap wood or unfinished furniture parts that are much cheaper than buying a new table from scratch. I once bought a set of legs for less than $10, which gave an old piece of wood a brand-new look.[3]
Don’t overlook the local salvage yards or online marketplaces like Facebook Marketplace or eBay. I picked up a solid oak table top for under $30, and it only needed sanding and sealing to become the centerpiece of my living room.
I always check 3–4 different stores before deciding on a piece. You never know what you might find, and some stores have better deals than others.
How to Choose the Right Wood for Your Project
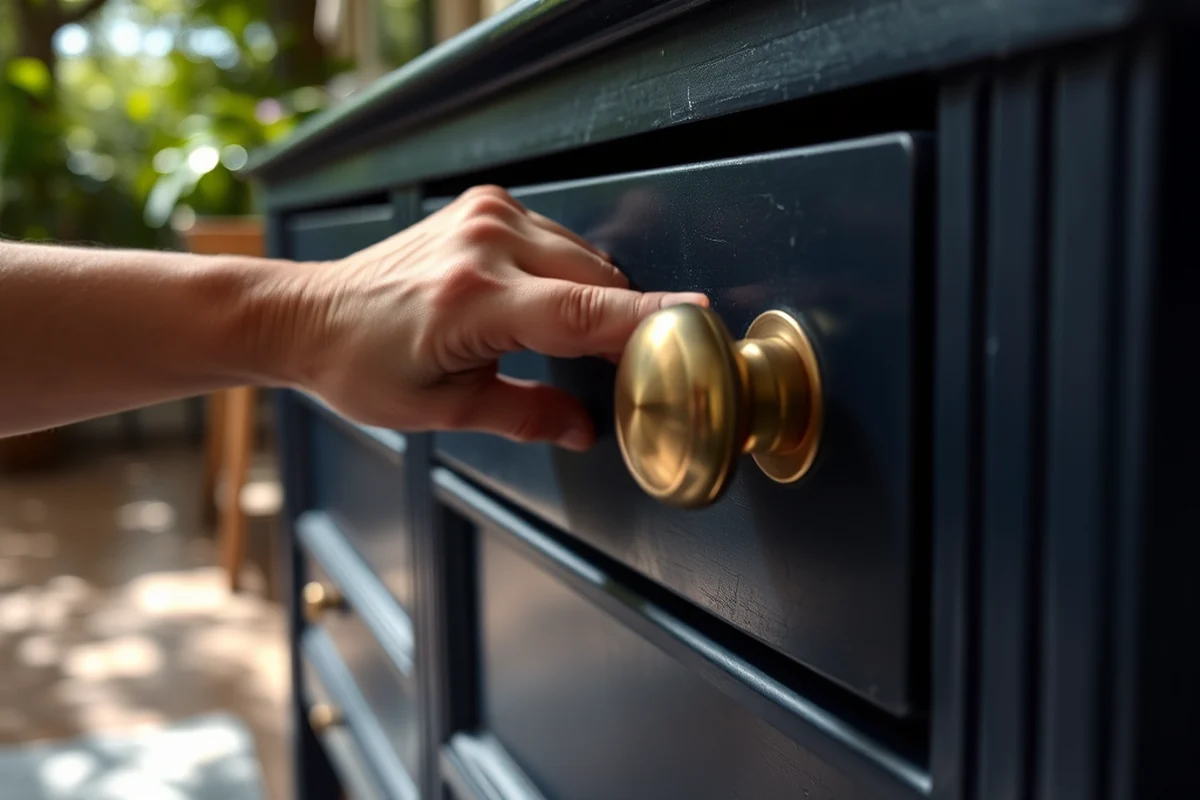
For a budget-friendly option, I recommend using pine or MDF (medium-density fiberboard). Pine is sturdy and affordable, and it takes stain and paint well. MDF is great for smooth, even surfaces, but it’s not as durable for high-traffic areas.
If you're lucky enough to find a salvaged piece of wood, like an old door or dresser top, that's an excellent option. These pieces are usually solid and have character, but they may require more work to prepare.
I once tried using a piece of particle board, and it warped after just a few weeks of use. It’s important to choose a material that can handle the weight and wear of daily use.
Choose your wood wisely — it’s the foundation of your entire project.
Related: Coffee bar cabinet
The Essential Tools for a Cheap Coffee Table Makeover
A good set of sandpaper (from 80 to 220 grit) is essential for smoothing out the wood. I always start with 80 grit and move up to 220 for a smooth finish.
A hand drill with a few bits will help you attach legs, brackets, or any hardware you might need. I’ve used this to attach legs to table tops and to install drawer pulls for extra storage.
A clamp is another tool I always have on hand. I used it to hold pieces together while I glued or screwed them, and it made the process much easier.
If you want a professional look, a router can help you create a clean, rounded edge on the table top. I’ve used this for a few projects and it’s worth the investment if you plan on doing more furniture projects.
“I remember the first time I walked into my new apartment and saw that scuffed, mismatched coffee table in the living room.”— Upcycled Kitchen Cabinet Makeovers editors
Related: Living room interior design ideas
How to Apply Stain and Finish for a Custom Look
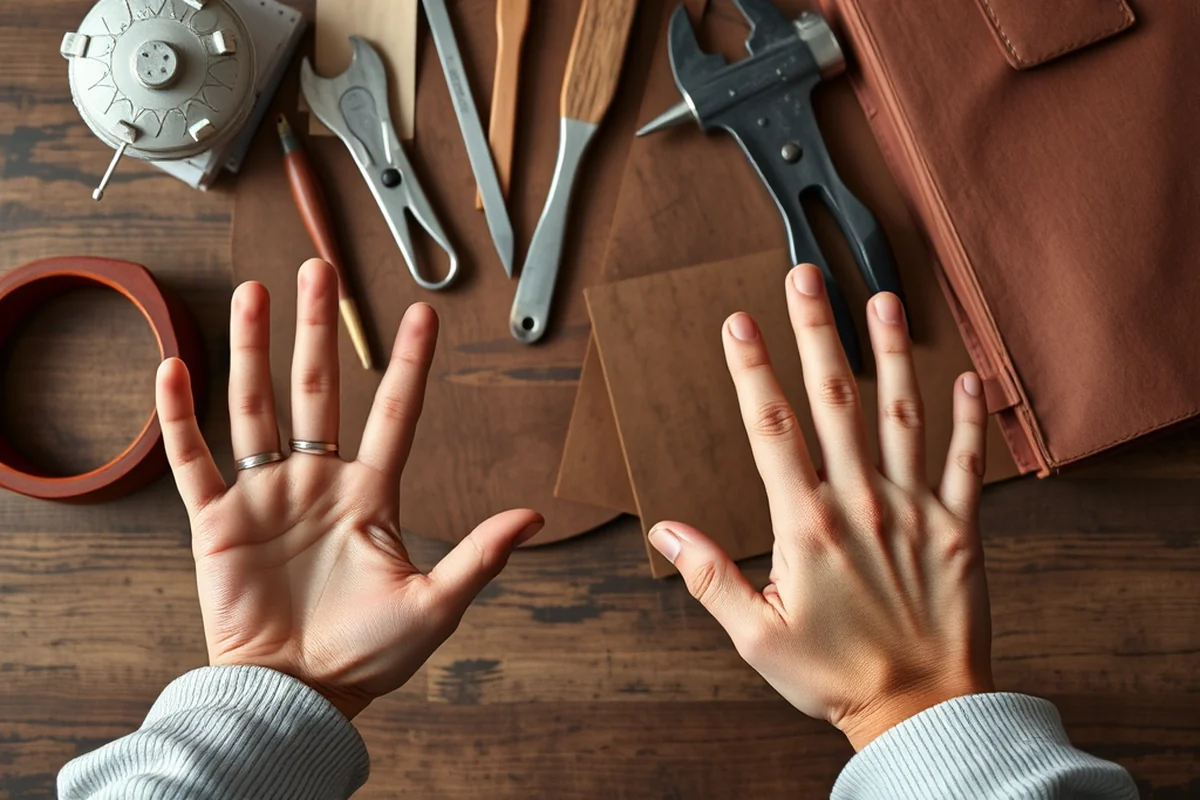
I usually start by sanding the wood thoroughly and wiping off any dust. I’ve found that using a brush instead of a sponge gives a more even coat of stain.
After applying the stain, I let it sit for a few minutes before wiping off the excess. This helps avoid a dark, uneven look that I’ve seen on many DIY projects.
I always apply at least two coats of polyurethane or a water-based finish. This adds protection and makes the table more durable for daily use.
Related: Modern bedroom interior design ideas
Adding Storage to Your Coffee Table
I’ve used IKEA cabinets or repurposed old filing cabinets to create storage. I found a set of drawers for under $30, and I just painted and attached them to the table top.
For a more seamless look, I’ve used wooden boards to create built-in shelves. I cut the wood to size, attached it to the table, and added some simple brackets for support.
Hidden compartments can be a bit more complex, but I’ve used leftover wood to create a false bottom that flips up for extra storage. It’s a fun challenge and a great way to maximize space.
Making Your Coffee Table More Durable
I always use a high-quality wood glue when assembling pieces. I’ve found that the right glue can make a huge difference in the strength and longevity of the table.
For extra protection, I’ve used a water-resistant finish like polyurethane or epoxy. These finishes help prevent water damage and make the table more scratch-resistant.
If you're using a piece that’s prone to warping, like pine or MDF, I always recommend using a moisture barrier or sealing the wood before applying stain.
A beautiful table is only as good as its durability.
Finishing Touches: What to Do After the Base Project
I always add a few decorative elements to make the table stand out. I’ve used metal legs, glass inserts, or even a custom paint job to give it a unique feel.
Adding a felt pad to the bottom of the legs helps protect your floors and makes the table easier to move. I’ve used these for years, and they’ve saved my hardwood floors from scratches.
If you want to make the table more functional, I’ve added small shelves or a built-in power outlet. These are great for adding extra storage or charging devices.
Upcycling Old Furniture into a Stylish Coffee Table
Upcycling old furniture is a great way to create a unique coffee table without spending a lot of money. I once transformed an old 60-inch long console table into a coffee table by sanding it down, painting it a soft gray, and adding a new glass top. The entire project cost around $50 and took about 6 hours to complete. The console table was purchased from a local thrift store for $20, and the glass top was found at a discount home goods store for $30. This approach not only saved money but also gave new life to an otherwise discarded piece of furniture.
To upcycle a piece of furniture, start by assessing its structural integrity and determining what needs to be replaced or modified. I found that the legs on my old table were uneven, so I replaced them with new ones from a hardware store for $15. I also sanded the entire surface with 120-grit sandpaper and applied a water-based stain, which took about 2 hours to dry. After the stain was dry, I used a brush-on polyurethane finish to protect the wood and enhance its natural grain. This step took about 3 hours and cost around $20 in materials.
I also added a few decorative touches, such as a carved wooden inlay and a small brass handle on the drawer, which cost about $25 total. These additions took about 2 hours to complete and gave the table a more refined look. Another idea is to repurpose an old door as the table top, which I did using a 32-inch wide door that I found at a salvage yard for $10. I mounted it on a simple wooden base and used brackets to secure it, which took about 4 hours and cost around $30 in materials. Upcycling old furniture is not only cost-effective but also environmentally friendly and highly customizable.
💰 Budget Build
Use free or recycled materials like old doors, wood scraps, or salvaged frames. Focus on a clean, simple design with minimal tools.
⏰ Weekend Version
A quick project that fits into one weekend. Use pre-made wood, simple tools, and basic finishes to get the job done fast.
🎨 Upgraded Finish
Add a custom paint job, decorative hardware, or unique inlays for a more personalized and high-end look.
🏠 Small-Space Adaptation
Create a compact, wall-mounted or foldable coffee table perfect for small apartments or homes with limited floor space.
🔒 Rental-Safe Option
Build a coffee table that’s easy to disassemble and move, using temporary adhesives, screws, and lightweight materials.
| The mistake | Why it happens | The fix |
|---|---|---|
| Using the wrong type of wood | I once used particle board, and it warped after a few weeks. It’s important to choose a material that can handle the weight and wear of daily use. | Use a more durable wood like pine or MDF, and apply a moisture barrier before finishing. |
| Skipping the sanding step | I skipped sanding once and ended up with a rough, uneven finish. It looked unprofessional and took extra time to fix. | Always sand the wood thoroughly before applying stain or paint, and wipe off any dust before proceeding. |
| Using too much stain | I once applied too much stain, and it ended up looking dark and uneven. It took me several coats to fix the look. | Use a brush instead of a sponge for even application, and wipe off excess stain after it sits for a few minutes. |
| Overlooking the importance of sealing | I once skipped the sealing step, and the table quickly showed signs of wear. It wasn’t long before the stain started to chip and fade. | Always apply a quality sealant, like polyurethane or epoxy, to protect your table and extend its lifespan. |
Cheap Coffee Tables
Common Questions
Can I use any type of wood for this project?
How long does it take to complete this project?
What tools do I need to start this project?
How much does it cost?
References
- APA Tables and Figures - Purdue OWL (owl.purdue.edu)
- 1 STUDY SESSION MEMORANDUM TO - City of Boulder (bouldercolorado.gov)
- Unlocking solid waste circularity in urban settings - ScienceDirect.com (sciencedirect.com)
Cite this guide
Upcycled Kitchen Cabinet Makeovers (2026). Cheap Coffee Tables. https://upcyclehome.com/cheap-coffee-tables/
Feel free to cite or share this guide.