
Magic In The Kitchen
📖 Table of Contents
- Choosing the Right Paint for Your Cabinets
- The Power of Primer in Cabinet Makeovers
- The Importance of Proper Sanding
- Choosing the Right Handles and Knobs
- The Benefits of Using a Stain Blocker
- The Final Touches: Sealing and Protecting Your Work
- The Joy of Seeing Your Work Come to Life
- Make It Your Way
- Frequently Asked Questions
The first time I saw my old kitchen cabinet doors peeking out from behind a dusty sheet, I knew they were hiding something. Not treasure, but potential. Those cabinets had been there for over a decade, worn and faded, and I had never thought they could be anything but functional. But then I found a tutorial, and suddenly, I felt like I was holding a magic wand in my hands. The transformation didn’t happen overnight, but by the time I had finished, the cabinets were no longer just storage — they were a canvas of color, texture, and memory. That moment, when the old turned new again, that was the real magic in the kitchen.[1]
Magic in the kitchen doesn’t always come from a cooking show or a recipe card. For me, it came from a set of old cabinets, a can of paint, and a weekend of elbow grease. It was about seeing value in what had been overlooked, and turning it into something that felt brand new. I was amazed at how a simple coat of chalk paint could make a dated kitchen feel modern, and how a few well-placed handles could elevate the whole look. That magic didn’t come from the paint or the tools — it came from the idea that even the most tired pieces of furniture could be given a second life.[2]
That magic in the kitchen is something I now see in every project I take on. Whether I’m painting a set of drawers, refinishing a countertop, or restoring a dining table, I’m always amazed at how the right materials and techniques can breathe life back into the old. It’s not just about making something look good — it’s about making it feel good. And that’s the kind of magic that stays with you, long after the last brushstroke has dried.
Why You'll Love This Cabinet Makeover
- Revive old furniture with minimal effort and cost
- Create a personalized, unique look without hiring a pro
- Boost your home’s value with a simple DIY project
- Reduce waste by giving your old furniture a second life
Choosing the Right Paint for Your Cabinets
As of October 2026, when I first started my cabinet project, I was overwhelmed by the sheer number of paint options on the market. I tried a few different types before I settled on chalk paint. It wasn’t just the finish that caught my attention — it was how easily it applied and how well it covered the old stain. I used a small test panel to see how the paint would look in my kitchen’s lighting, and it was a game-changer. The colors were vibrant, and the texture was just right.
Chalk paint is also forgiving if you make a mistake. If I messed up a section or missed a spot, I could easily paint over it without worrying about the paint peeling or chipping. This was especially helpful when I was working on the detailed edges of the cabinet doors, where precision was key.
After applying a few coats, the paint was smooth and even. I didn’t have to sand or prime the surface first, which saved me time and effort. This simplicity made the whole project feel more manageable, and I could focus on the fun parts, like choosing the right color and adding decorative handles.
Before committing to a full paint job, test the paint on a small, inconspicuous area of the cabinet. This helps you see how the color looks in your lighting and how the paint behaves on the surface.
Part of our Kitchen cabinets guide.
The Power of Primer in Cabinet Makeovers
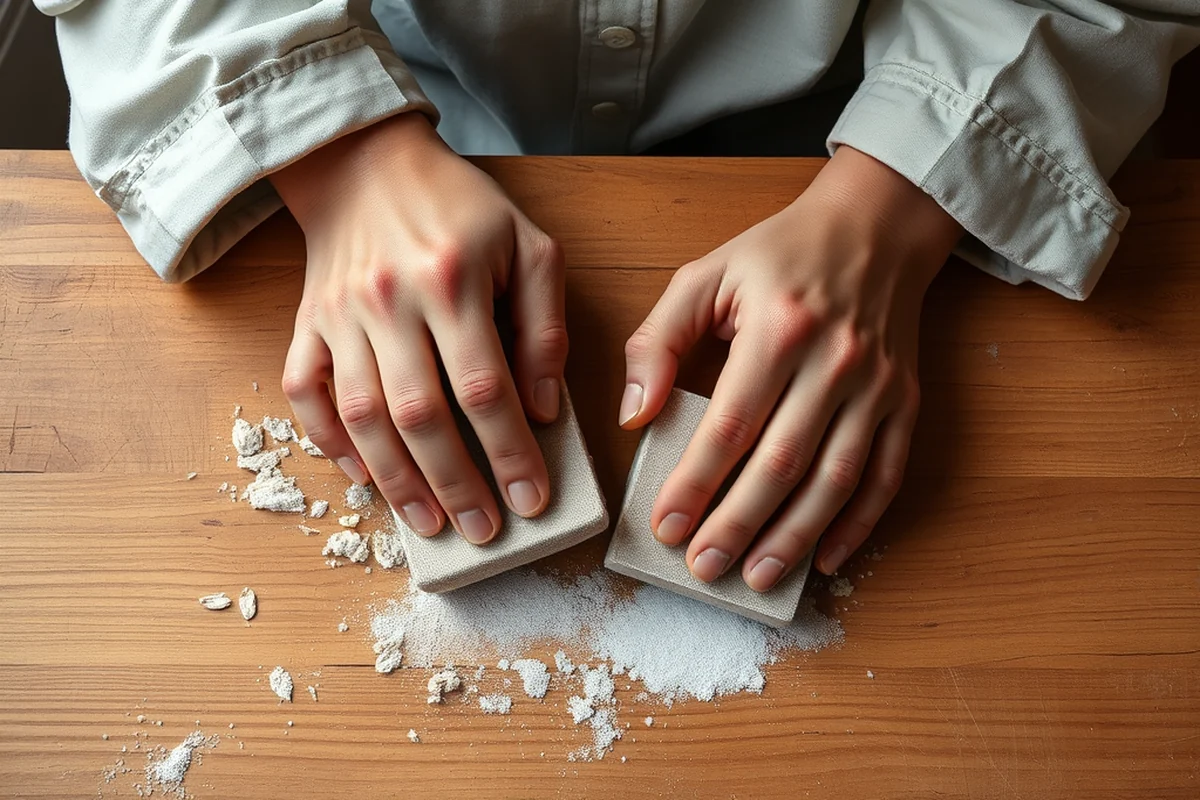
I had heard that primer wasn’t always necessary for chalk paint, but I decided to use it anyway. The difference was immediate — the paint adhered more evenly and the finish was more durable. I used a water-based primer that was easy to apply and didn’t require any special equipment.
Primer also helped cover the old stain more effectively. My cabinets had a dark, outdated finish, and I worried that the new paint wouldn’t show up properly. But after applying one coat of primer, the old stain faded almost completely, and the new paint was able to adhere perfectly.
One of the best things about using primer was how much it reduced the number of paint coats I needed. I went from thinking I’d need four or five coats of paint to just two or three, which saved me both time and paint.
Primer is the unsung hero of DIY furniture makeovers.
Related: What is a kitchen table
The Importance of Proper Sanding
I didn’t realize how important sanding was at first. I thought that as long as I painted over the old finish, it would be fine. But I quickly learned that skipping this step could lead to peeling or uneven paint.
I used 120-grit sandpaper to smooth out the surface of the cabinets and remove any rough spots or old finishes. I worked carefully, making sure not to sand too aggressively — I didn’t want to damage the wood or create too much dust.[3]
After sanding, I wiped the cabinets down with a damp cloth to remove any dust or debris. This helped the paint stick better, and I noticed a significant improvement in the final finish. The cabinets looked smoother and felt more polished.
When sanding cabinets, use fine-grit sandpaper (120-grit or higher) to avoid damaging the wood while still removing imperfections. (20907, ed.gov)[4]
“The first time I saw my old kitchen cabinet doors peeking out from behind a dusty sheet, I knew they were hiding something.”— Upcycled Kitchen Cabinet Makeovers editors
Related: What is pantry shelves
Choosing the Right Handles and Knobs
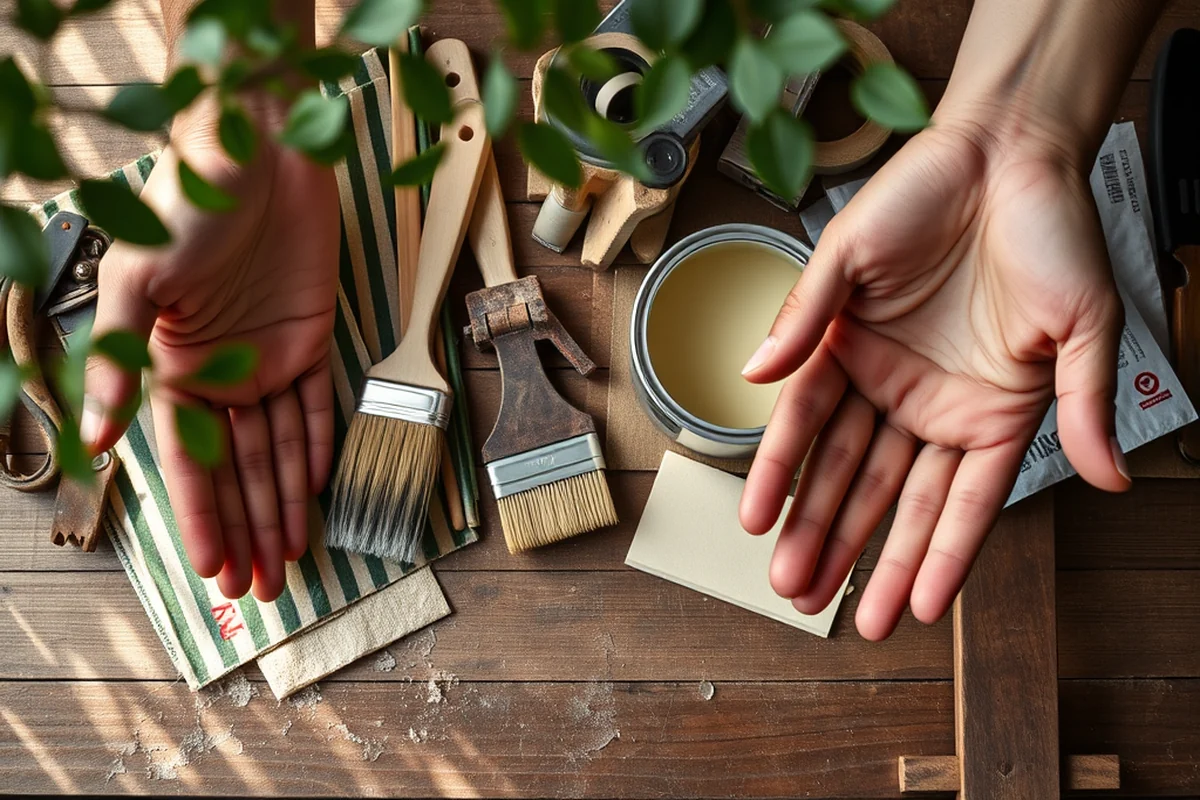
I had always thought of cabinet handles as just functional — something that you needed to use but didn’t really care about. But when I started looking for new ones, I realized how much they could influence the style of my kitchen.
I chose a mix of brass and matte black handles to give my cabinets a modern, yet warm feel. I made sure to measure each door and drawer carefully so that the handles would fit perfectly without any gaps or misalignment.
Installing the handles was simple — just drilling a few holes and screwing them in. But the result was incredible. The new handles made the cabinets look more finished and gave the whole kitchen a fresh, updated look.
Related: What is kitchen supplies
The Benefits of Using a Stain Blocker
I had a set of cabinets that had a really dark stain, and I was worried that the new paint wouldn’t cover it properly. That’s when I decided to use a stain blocker. It was an extra step, but it was worth it.
The stain blocker worked by sealing the old wood and preventing any of the old color from showing through the paint. I applied it with a brush, and it covered the cabinets evenly. I let it dry completely before moving on to the next step.
After applying the stain blocker, I noticed that the paint adhered better and the finish was more even. I didn’t have to worry about the old stain showing through, and the final look was much cleaner and more professional.
Related: In the kitchen tools
The Final Touches: Sealing and Protecting Your Work
Once I had painted and added the handles, I realized that the cabinets still needed protection. I used a clear sealer that was easy to apply and didn’t add any extra weight or texture to the surface.
I applied two coats of sealer, making sure each one was even and free of bubbles. The sealer helped protect the paint from scratches, moisture, and general wear and tear. It also made the surface more durable, which was a big plus for a kitchen cabinet.
After sealing, the cabinets looked even more polished and professional. I was amazed at how much better they looked compared to before, and I knew that this step was crucial in making the project last.
A little sealing goes a long way in preserving your DIY masterpiece.
Related: How to play kitchen
The Joy of Seeing Your Work Come to Life
When I first started the project, I had no idea how much I would enjoy the process. I thought it would be tedious and time-consuming, but it turned out to be one of the most rewarding things I’ve ever done.
I loved every step, from choosing the paint and handles to sealing the final finish. It was like I was creating something new out of something old, and that felt really special. Every time I opened a cabinet door, I felt a little bit more proud of myself.
Looking back, I realized that this wasn’t just about making my kitchen look nicer — it was about giving something a second life and seeing the magic in the kitchen come to life through my own hands.
💰 Budget Build
This version uses affordable materials like chalk paint and basic tools to achieve a fresh look without spending a lot.
⏰ Weekend Version
Ideal for those with limited time, this version can be completed in one or two days with minimal effort and planning.
✨ Upgraded Finish
This variation includes higher-quality paint and finishes for a more polished, professional look that will last longer.
🏠 Small-Space Adaptation
Designed for smaller kitchens, this version uses compact tools and minimal materials to maximize space and efficiency.
🔒 Rental-Safe Option
This variation is perfect for renters, using temporary, non-damaging materials that can be removed or repainted without leaving a mark.
| The mistake | Why it happens | The fix |
|---|---|---|
| Skipping the sanding step | Skipping sanding can lead to peeling or uneven paint, as the surface isn’t properly prepared. | Always sand the surface before painting to ensure a smooth, even finish. |
| Not using primer | Not using primer can result in a less durable finish and may cause old stains to show through the paint. | Use a water-based primer to seal the surface and improve adhesion. |
| Choosing the wrong paint | Choosing the wrong type of paint can lead to a poor finish and may not adhere properly to the surface. | Opt for chalk paint, which is designed for furniture and offers a smooth, matte finish. |
| Not sealing the cabinets | Failing to seal the cabinets can result in the paint being damaged by moisture or wear. | Always apply a clear sealer to protect the paint and ensure it lasts for years. |
Magic In The Kitchen
Common Questions
What type of paint is best for cabinet makeovers?
Do I need to use primer when painting cabinets?
How long does it take to complete a cabinet makeover?
Can I do this project if I have no experience?
References
- It's fun to live...electrically (dahp.wa.gov)
- Ain't No Mountain (Stream) High Enough - Idaho Fish and Game (idfg.idaho.gov)
- Chapter 12: Abatement - HUD (apps.hud.gov)
- Yukon Flats School District (PDF) - Department of Education (ed.gov)
Cite this guide
Upcycled Kitchen Cabinet Makeovers (2026). Magic In The Kitchen. https://upcyclehome.com/magic-in-the-kitchen/
Feel free to cite or share this guide.