
Cheap Diy Kitchen Cabinet Makeover
📖 Table of Contents
I remember the day I stood in my kitchen, staring at the outdated, chipped cabinets that had been in my home for over a decade. They were a constant reminder of my budget — or rather, my lack of it. But then I stumbled upon a YouTube tutorial that showed how to give old cabinets a new look with just a few dollars and a weekend. That’s when I realized I could do more than just dream about a kitchen upgrade: I could actually make it happen, on my own terms.
The idea of a 'cheap DIY kitchen cabinet makeover' was exactly what I needed. It didn’t require a huge investment, didn’t involve hiring contractors, and most importantly, it gave me the creative control I craved. I started by researching the cheapest ways to update my cabinets, from painting to re-facing. I found that with the right tools, materials and a little patience, I could transform my kitchen for less than $100 — and I did it in just one weekend.[1]
Now, my cabinets look brand new — the same ones I used to hate, but completely reimagined. The process was simple, the results were stunning, and the cost was nothing compared to what I would have paid for a professional overhaul. This is the kind of transformation that’s not only achievable but also empowering. Whether you're on a tight budget or just want to try your hand at DIY, a cheap DIY kitchen cabinet makeover is a great place to start.
Why You'll Love This Cheap DIY Kitchen Cabinet Makeover
- Update your space without breaking the bank — for less than $40 in materials
- Achieve a professional look with minimal effort and a few simple tools
- Enjoy the satisfaction of doing it yourself and seeing your kitchen come to life
- Make a big impact on your home’s appearance with a small investment of time and money
What You’ll Need to Start
As of August 2026, to begin this project, you’ll need a few basic tools: a screwdriver, sandpaper, a brush or roller, and a paint tray. For materials, you can pick up a can of paint, primer, and a few painter’s tapes. I used a $15 can of high-quality paint and a $5 primer — the difference was noticeable.[2]
In terms of preparation, I spent about an hour sanding each cabinet door and drawer, making sure the surface was clean and smooth. I used painter’s tape to protect the edges and hardware, which saved me from having to repaint later. It took me only a weekend to complete the entire project, including cleaning and organizing the cabinets.
I found that using a spray paint for the trim and edges gave a cleaner, more professional finish. It cut down on the time I would have spent with a brush, and it helped avoid the uneven strokes I’d seen in other DIY attempts. This made the overall look more refined and less like a quick fix.
Choose painter’s tape that sticks well to wood and peels off easily. I used 3M’s high-quality tape, which left no residue and protected the edges perfectly.
Choosing the Right Paint
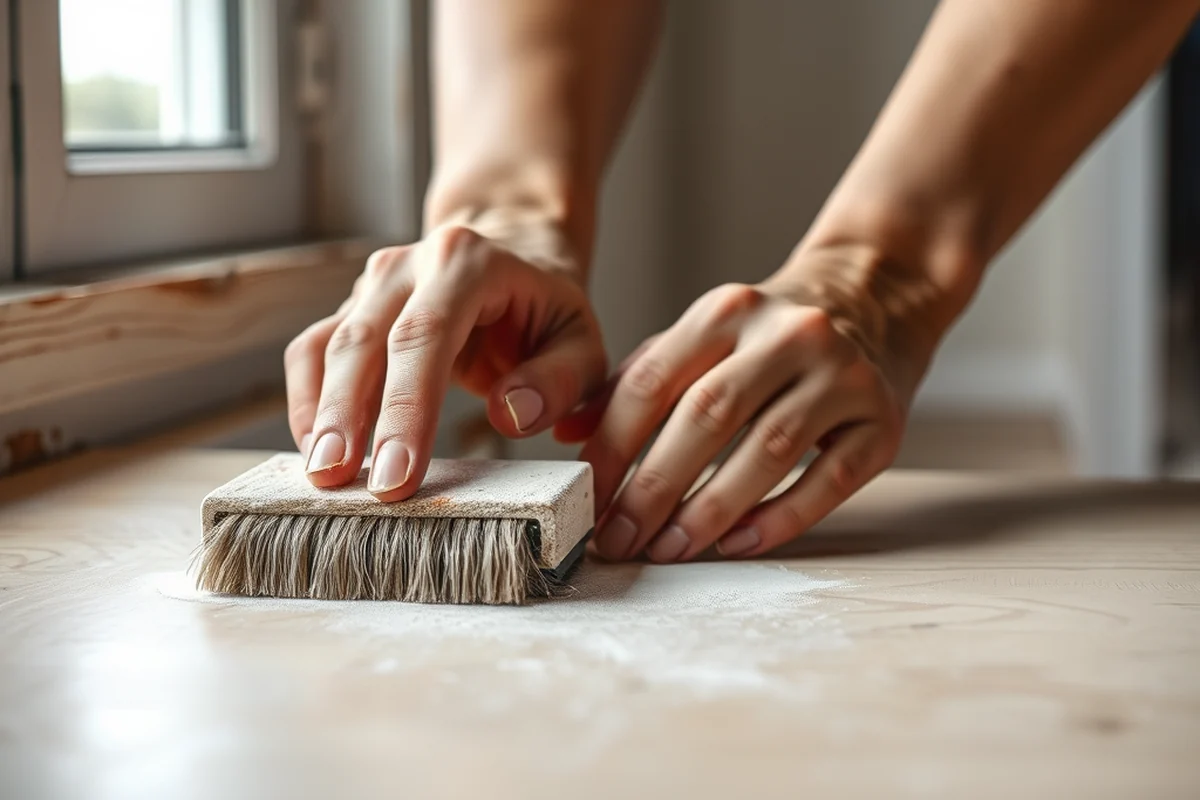
I went with a semi-gloss paint because it's more durable and easier to clean, which is essential for kitchen cabinets. I also used a primer to ensure the paint adhered properly and didn’t peel or chip over time. The primer made the paint go on more smoothly and gave a better finish.
I looked for a budget-friendly option and found that a $15 can of Benjamin Moore's Regal Select in a semi-gloss finish lasted me for two cabinets. It had a smooth application and dried quickly. I painted each drawer and door in sections, making sure to cover all areas evenly.[3]
I used a brush for the edges and a roller for the larger surfaces. It took me about 45 minutes to paint each cabinet, but the results were worth it. I was surprised at how much the paint transformed the look of my kitchen.[4]
Paint is the difference between a dated kitchen and a fresh, new look.
Related: Diy Bathroom Makeover Ideas
Related: Cabinet makeover ideas
Related: Upcycled Kitchen Hutch
Related: Bathroom Vanity Makeovers
Related: Upcycled Kitchen
Related: What Is A Mud Kitchen
Related: Diy Kitchen Cabinets
Related: Custom Kitchen Cabinet Doors
Related: What Is The Best Kitchen Cabinet Color For 2026
Related: Coffee Bar Cabinet
Related: What Is A Hutch Cabinet
Related: Diy Kitchen Cabinet Makeover Ideas
Related: Used Kitchen Cabinet Doors
Related: Diy Kitchen Island
Related: Cheap Coffee Tables
Related: What Is A Buffet Cabinet
Related: How To Make A Good Kitchen Rimworld
Related: Amerock Cabinet Pulls
Related: Base Cabinet For Drawers
Related: Cheap Kitchen Cabinets
Adding a Pop of Color
I decided to paint my cabinets in a soft, modern gray, which gave my kitchen a fresh and contemporary feel. I used the same paint for the cabinets and the trim, which made the entire look cohesive. I also used a small can of metallic paint for the hardware — it added a subtle shine without being too flashy.
I painted the cabinets in two coats, making sure to let each coat dry completely before applying the next. This gave a more even and professional finish. The paint was applied evenly, and I didn’t have to worry about drips or runs.
I was impressed with how well the paint held up. Even after a few weeks, it still looked as good as the day I finished. I was also happy with the way the color made the kitchen feel more open and modern.
Before painting the entire cabinets, test the color on a small section or a piece of cardboard. This helps you see how the color looks in your kitchen’s lighting and ensures it's the right choice.
“I remember the day I stood in my kitchen, staring at the outdated, chipped cabinets that had been in my home for over a decade.”— Upcycled Kitchen Cabinet Makeovers editors
Related: Flat Kitchen Cabinet Doors Makeover
Related: How To Make A Small Kitchen Look Bigger
Finishing Touches
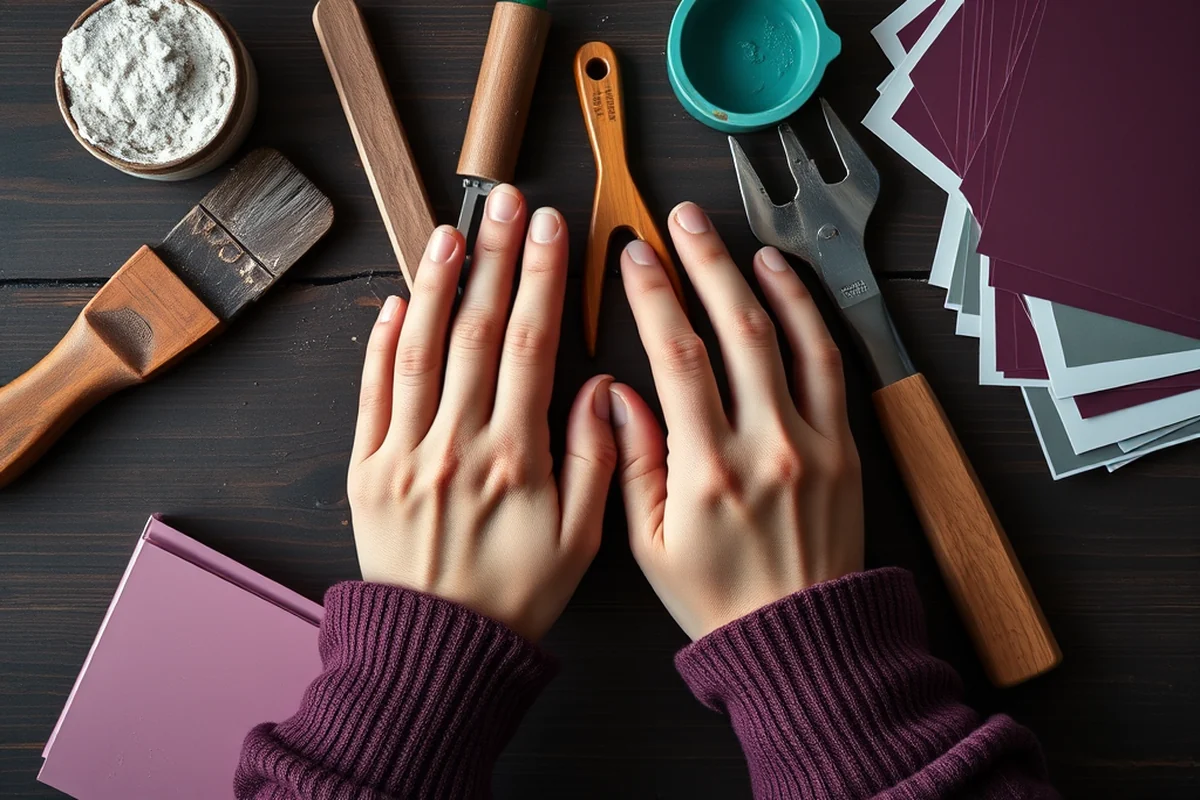
After the paint was dry, I added new cabinet handles and pulls. I found affordable ones at a local hardware store for about $5 each. The new handles gave my cabinets a more modern look and made them feel more updated.
I also cleaned the cabinets thoroughly to make sure they were free of dust and debris before applying the final coat of paint. This helped the paint stick better and prevented any smudges or fingerprints from showing up later.
I was happy with the way the cabinets looked after I was done. They were no longer the eyesore I used to hate, but now they were part of the kitchen’s new, updated look. I felt a real sense of accomplishment from completing the project myself.
The Time and Money Saved
I estimated that hiring a contractor to do the same job would cost at least $1,000 — maybe more. Instead, I spent just $40 on materials and completed the entire project in one weekend. That’s a savings of over $900, not to mention the time I saved by doing it myself.
I used a few hours on the weekend to sand, paint, and install the new hardware. It wasn’t hard work, but it was satisfying to see the transformation. I didn’t have to wait for a contractor to schedule the job or worry about delays.
I was also able to customize the look of the cabinets to my own taste, which is something I wouldn’t have been able to do if I had hired someone else. The result was exactly what I wanted, and I was proud of the work I did.
The Impact of a Cabinet Makeover
I was surprised by how much more organized my kitchen felt after I finished the makeover. The new paint made the cabinets easier to clean, and the new hardware made it easier to open and close them. It felt like a whole new kitchen.
I also noticed that the color of the cabinets made the kitchen feel more open and bright. The gray color helped reflect the light better, and it made the room feel more modern.
The impact wasn’t just visual — it was also emotional. I felt more confident in my home, and I was happy with the way the kitchen looked. It was a small project, but it made a big difference in my daily life.
A fresh coat of paint can make a world of difference in how you feel about your home.
Getting Started on Your Own Project
If you're ready to try a cheap DIY kitchen cabinet makeover, start by gathering your materials and tools. Make sure you have everything you need before you begin — this will help you avoid any delays or last-minute runs to the store.
Next, take some time to plan your project. Decide on the color, the tools you'll use, and how much time you're willing to invest. This will help you stay on track and avoid any unnecessary stress.
Finally, get started — and don't be afraid to make mistakes along the way. You're learning as you go, and every small step brings you closer to a beautiful, updated kitchen.
💰 Budget Build
A quick and inexpensive way to give your cabinets a fresh look using basic tools and affordable materials.
⏰ Weekend Version
A fast-paced project that can be completed in one day, perfect for those with limited time.
✨ Upgraded Finish
Add a touch of luxury by using higher-quality materials and finishes for a more refined look.
🏠 Small-Space Adaptation
Tailor the project to fit compact kitchens, using techniques that save space and maximize visual appeal.
🛡️ Rental-Safe Option
A temporary solution that won’t damage the cabinets, ideal for renters who want to make changes without committing to permanent alterations.
| The mistake | Why it happens | The fix |
|---|---|---|
| Skipping the primer step | The primer helps the paint adhere better and prevents peeling or chipping over time. | Always apply a coat of primer before painting to ensure the paint lasts and looks great. |
| Not sanding properly | If the cabinets aren’t sanded properly, the paint may not stick evenly and could look uneven or patchy. | Take the time to sand each cabinet thoroughly before painting to ensure a smooth, even finish. |
| Using the wrong type of paint | Using the wrong paint can lead to a less durable finish, which may chip or wear away quickly. | Choose a high-quality semi-gloss paint that’s designed for cabinets to ensure a long-lasting and professional look. |
| Not cleaning the cabinets before painting | If the cabinets are dirty or dusty, the paint may not stick properly, leading to an uneven finish. | Clean the cabinets thoroughly before painting to ensure the paint adheres correctly and looks smooth. |
Cheap Diy Kitchen Cabinet Makeover
Common Questions
Can I do this project if I have no prior experience?
What type of paint should I use for the cabinets?
How long does the paint take to dry?
Can I use the same paint for the trim and the cabinets?
Cite this guide
Upcycled Kitchen Cabinet Makeovers (2026). Cheap Diy Kitchen Cabinet Makeover. https://upcyclehome.com/cheap-diy-kitchen-cabinet-makeover/
Feel free to cite or share this guide.
References
- Tattered Elegance | La Plata MD - Facebook (charlescountymd.gov)
- Mayor's Corner - City of Coburg (coburgoregon.gov)
- Hoff Kitchen, Before & After | Coon Rapids, MN - Official Website (coonrapidsmn.gov)
- U-SNAP-BAC, councilmembers & community celebrate overhaul ... (detroitmi.gov)