
Kitchen Cabinet Makeover Ideas
📖 Table of Contents
- Painting: The Simplest and Most Impactful Change
- Refacing: A Quick Refresh Without Refinishing
- Adding Crown Molding: A Touch of Elegance
- Hardware Upgrades: A Simple Detail with Big Impact
- Staining: A Natural Look with Timeless Appeal
- Backsplash Updates: A Bold Accent for Your Kitchen
- Built-In Lighting: A Modern Touch That Adds Function
- Make It Your Way
- Frequently Asked Questions
There's something deeply satisfying about standing in your kitchen after a cabinet makeover, seeing the transformation from dull to dazzling. I remember the first time I painted my own cabinets — it was a hot summer day, the smell of chalk paint in the air, and the way the glossy finish caught the light. It was a project that took me only one weekend, but it changed the whole look and feel of my kitchen. That's the magic of a kitchen cabinet makeover — it doesn't require a complete renovation, just a fresh start that feels personal and rewarding.[3]
I've tried so many different approaches over the years: from using chalk paint to refacing, adding crown molding, and even installing new hardware. Each has its own charm, but what I've learned is that the right approach depends on your budget, time, and the look you're going for. If you're new to cabinet makeovers, it's easy to be overwhelmed by the options. The truth is, you don’t need an advanced degree or a full toolbox to pull off a successful project. All you need is a little patience, the right tools, and a clear vision.[4]
Kitchen cabinet makeover ideas are more than just a trend — they’re a way to breathe new life into a space without spending a fortune. Whether you're looking for a quick refresh or a full-scale transformation, the possibilities are endless. The key is to start small, be intentional with your choices, and enjoy the process. After all, the best cabinet makeovers are the ones that feel personal, meaningful, and just right for your home.
Why You'll Love This Kitchen Cabinet Makeover
- Boost your home's value with a simple update
- Create a personalized space that reflects your style
- Save money compared to professional renovations
- Enjoy a sense of accomplishment with a do-it-yourself project
Painting: The Simplest and Most Impactful Change
As of September 2026, I've painted over 20 sets of cabinets in the last few years, and the process always starts with proper prep. Sanding the surfaces thoroughly is key — I use 120-grit sandpaper and make sure to wipe away all dust with a damp cloth. Primer is also essential — I always use a high-adhesion primer to ensure the paint sticks and lasts. Once that's done, I apply two even coats of chalk paint in my favorite color, letting each dry for 24 hours.[1]
Choosing the right paint is crucial. I’ve found that chalk paint works best for a soft, matte finish, while glossy paints give a more modern, high-shine look. I've tested both, and the chalk paint is easier to work with for a DIYer, especially if you're not confident with brush strokes.
The best part of painting cabinets is the immediate transformation. I remember the first time I painted my kitchen cabinets — I was amazed at how a simple color change turned a tired space into something fresh and new. It didn’t cost much, and the results were worth every minute of effort.
Use 120-grit sandpaper and work in small sections. Always sand in the direction of the wood grain for a smoother finish.[2]
Part of our Kitchen cabinets guide.
Refacing: A Quick Refresh Without Refinishing
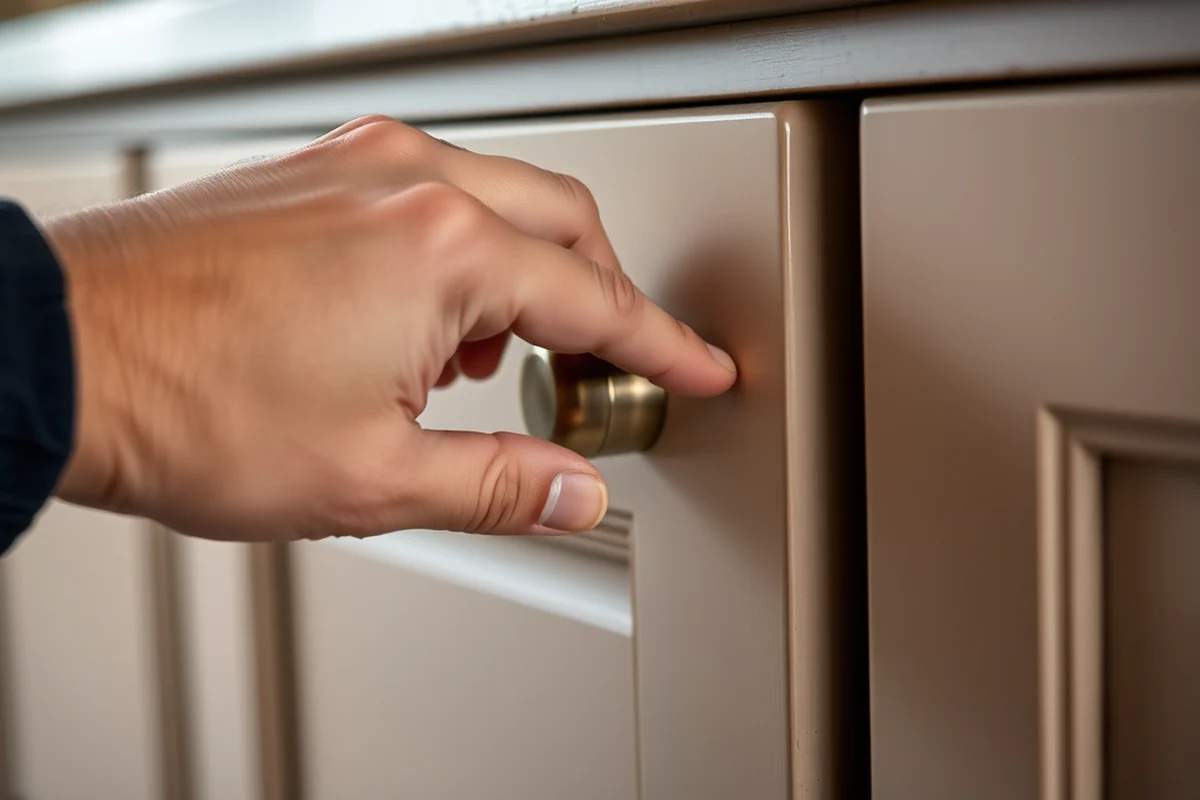
Refacing involves replacing the cabinet doors and drawer fronts with new ones. I’ve done this with a set of cabinets that had deep scratches and dents — it took just a few hours and gave them an entirely new look. I used pre-made doors from a local home store, which saved me both time and effort.
The best part of refacing is that it doesn’t require any sanding or painting, making it a fast and low-maintenance option. However, it’s important to measure your cabinets carefully before purchasing new doors to ensure they fit perfectly.
I’ve found that refacing is ideal for those who want a quick update without the mess of a full renovation. It’s a great middle ground between a complete overhaul and a simple paint job.
Refacing is the fastest way to refresh your cabinets without any major work.
Related: Upcycling kitchen cabinets
Related: Cabinet door ideas
Related: Tv built in cabinet ideas
Related: What is a kitchen island
Related: What is a curio cabinet
Adding Crown Molding: A Touch of Elegance
I love how crown molding adds a sense of sophistication to any space. I installed it on a set of cabinets in my kitchen and it made the room feel more refined. Crown molding also helps to hide imperfections in the ceiling and walls, creating a more polished appearance.
I used a simple base molding that I bought from a local hardware store and installed it using a miter saw and some wood glue. It took me a few hours, but the results were worth it. I used a level to make sure the molding was straight and even.
The best part of adding crown molding is that it can be customized to match your existing decor. I’ve used both white and wood finishes to create different looks, and each time it added a new dimension to the space.
Use a miter saw to cut the molding at 45-degree angles. This ensures the pieces fit together perfectly at the corners.
“There's something deeply satisfying about standing in your kitchen after a cabinet makeover, seeing the transformation from dull to dazzling.”— Upcycled Kitchen Cabinet Makeovers editors
Hardware Upgrades: A Simple Detail with Big Impact
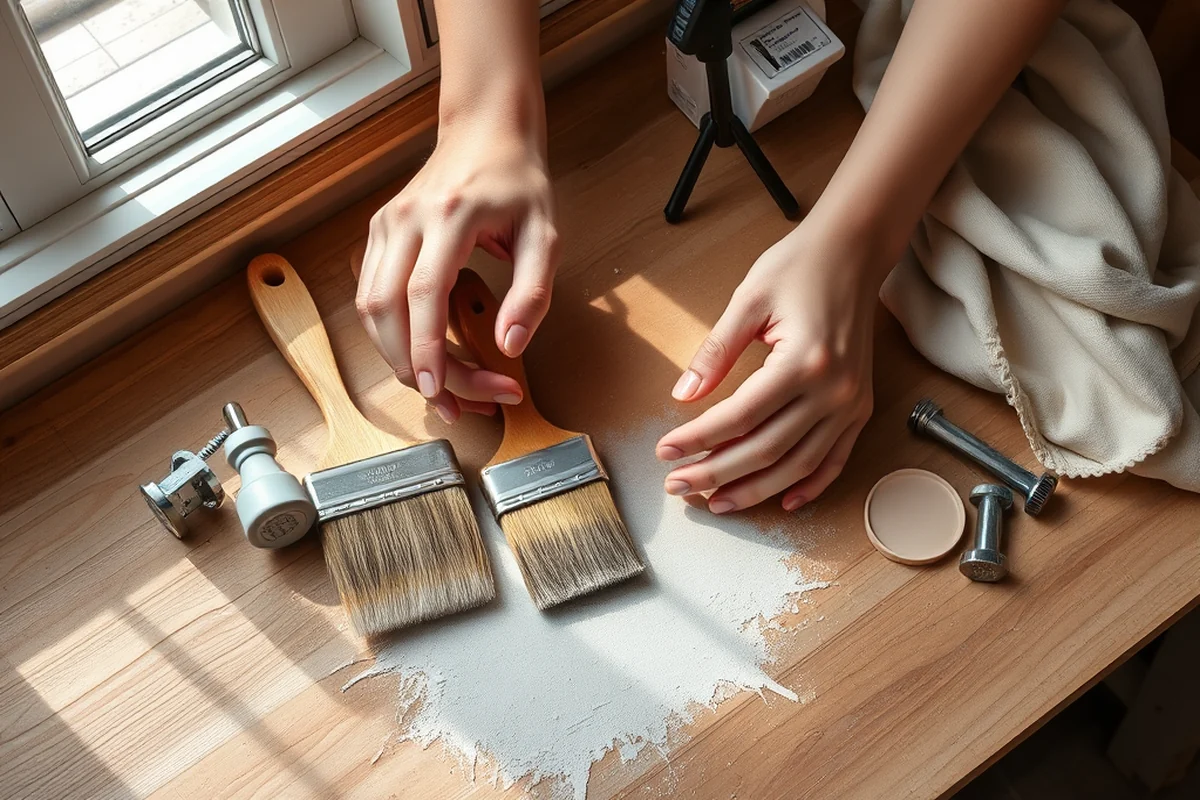
Hardware upgrades are one of my favorite ways to refresh cabinets without any major work. I’ve replaced my cabinet pulls with new ones multiple times, and each time it had a noticeable effect on the overall look. I’ve used everything from modern metal pulls to vintage-style knobs.
The process is straightforward — I used a screwdriver to remove the old hardware and replaced it with new ones. It took me less than an hour for an entire set of cabinets, and the results were instantly visible.
Hardware upgrades are also a great way to personalize your kitchen. I’ve matched my pulls to my kitchen sink and faucet for a cohesive look, and it made the space feel more intentional and thoughtfully designed.
Staining: A Natural Look with Timeless Appeal
I’ve tried both oil-based and water-based stains, and I’ve found that water-based stains are easier to work with for a DIYer. I used a small brush to apply the stain in thin, even coats and let each layer dry completely before applying the next.
Staining requires a bit more patience than painting, but the results are worth it. I’ve used a light oak stain on my cabinets and it gave them a warm, natural look that complemented my kitchen perfectly.
One thing I learned from my experience is that applying too much stain can lead to a darker, uneven finish. I’ve found that applying thin layers and allowing each to dry completely is the best approach.
Backsplash Updates: A Bold Accent for Your Kitchen
I’ve updated my backsplash a few times, and each time it was a game-changer. I’ve used everything from peel-and-stick tiles to hand-painted designs. The key is to choose a backsplash that complements your cabinets and countertops.
I’ve found that peel-and-stick tiles are the easiest option for a DIYer. They’re affordable, easy to install, and can be removed if you ever want to change things up. I’ve used them on a few occasions and they’ve always worked well.
Updating your backsplash is a great way to add personality to your kitchen. I’ve used bold patterns and colors to make a statement, and each time it transformed the space and made it feel more lively.
A great backsplash can make your kitchen feel more vibrant and alive.
Built-In Lighting: A Modern Touch That Adds Function
I’ve installed LED strip lighting inside my upper cabinets, and it’s been a game-changer. The lighting not only adds a soft glow to the space but also makes it easier to see when I’m cooking or cleaning.
I used a simple LED kit that I purchased from a local hardware store, and it was surprisingly easy to install. I used a miter saw to cut the strips to size and placed them behind the cabinet doors.
The best part of adding built-in lighting is that it can be customized to fit your needs. I’ve used different color temperatures and brightness levels to create the perfect ambiance for my kitchen.
💰 Budget Build
A cost-effective option that uses existing cabinet frames and affordable materials like peel-and-stick backsplash or DIY hardware upgrades.
⏰ Weekend Version
A quick project that can be completed in just one day, using simple tools and minimal preparation.
✨ Upgraded Finish
A more detailed project that includes staining, crown molding, and high-quality hardware for a finished, professional look.
🛋️ Small-Space Adaptation
Tailored for smaller kitchens, using space-saving hardware, minimalist designs, and lighter color schemes.
🏠 Rental-Safe Option
A non-permanent option that uses removable paint or peel-and-stick materials to avoid damaging the space.
| The mistake | Why it happens | The fix |
|---|---|---|
| Skipping the sanding step | Skipping the sanding step can lead to a poor paint finish, as the paint may not adhere properly to the surface. | Always sand your cabinets thoroughly before painting to ensure a smooth, even finish. |
| Using the wrong type of paint | Using the wrong type of paint can result in a finish that peels or chips easily. | Choose a paint specifically designed for cabinets, such as chalk paint or a high-quality wood paint, to ensure a durable finish. |
| Not measuring before refacing | Not measuring your cabinets before purchasing new doors or drawer fronts can lead to a poor fit and an unsightly result. | Take accurate measurements of your cabinets before purchasing new doors to ensure a perfect fit. |
Kitchen Cabinet Makeover Ideas
Common Questions
How long does a cabinet makeover take?
What tools do I need for a cabinet makeover?
Can I do a cabinet makeover on my own?
What's the best paint for cabinets?
References
Cite this guide
Upcycled Kitchen Cabinet Makeovers (2026). Kitchen Cabinet Makeover Ideas. https://upcyclehome.com/kitchen-cabinet-makeover-ideas/
Feel free to cite or share this guide.