
How To Cover Cabinets With Contact Paper
📖 Table of Contents
- Why Contact Paper Works for Cabinet Makeovers
- Prepping Your Cabinets for Contact Paper
- Choosing the Right Contact Paper
- Measuring and Cutting the Contact Paper
- Applying the Contact Paper
- Finishing Touches and Maintenance
- What to Do If the Contact Paper Doesn’t Stick
- Make It Your Way
- Frequently Asked Questions
The first time I considered covering my kitchen cabinets with contact paper, I was skeptical. I had heard stories of it peeling, looking cheap, and not lasting more than a few months. But after a weekend of frustration with a chipped cabinet door and a friend's suggestion to try this method, I decided to give it a shot. What I didn’t expect was how clean, modern, and satisfying the result would feel. The process was simple, and the cost was low—less than $50 for a complete redo.
I remember standing in front of my cabinets, staring at the peeling paint and stubborn stains, wondering if I’d ever get them to look good again. My budget was tight, and I didn’t want to spend hours or hundreds of dollars. That’s when the idea of contact paper came up. I had seen it in a home decor store, but I never thought it would be a real solution. I had no idea that it could transform my cabinets into something that looked like it belonged in a design magazine.
Now, with my cabinets covered in contact paper, I can’t believe how much better they look. The transformation took less than a day, and the results are stunning. I’ve had friends and even neighbors come over and ask how I did it. It’s not just about the look—it’s about the practicality. With my kids and the chaos of daily life, I needed something durable, easy to clean, and affordable. Contact paper has delivered on all of those promises.[1]
Why You'll Love This Cabinet Makeover
- Affordable and budget-friendly transformation
- Quick and easy with no need for paint or sanding
- Durable and easy to clean with a wipe
- Modern, customizable look for any kitchen style
Why Contact Paper Works for Cabinet Makeovers
As of August 2026, Contact paper isn’t just for covering old walls in a child’s room. It’s actually a fantastic choice for cabinet makeovers because it's smooth, adhesive, and comes in a wide range of colors and patterns. My favorite thing about it is that it doesn’t require painting, sanding, or waiting for paint to dry. Just measure, cut, and stick, and you’re done.[2]
I bought a roll of contact paper from a local hardware store, and the quality was surprisingly good. It stuck firmly to the cabinets without bubbling or peeling, even after a few weeks of use. The texture was smooth, and it made my cabinets feel brand new. I used a white patterned paper, and it gave my kitchen a clean, modern look.
One of the best parts was how easy it was to work with. I didn’t need any special skills or tools, just a few basic items. My cabinets, which had been dull and chipped, now look like they were made by a professional. It’s amazing how much of a difference a few rolls of contact paper can make.
A utility knife with a fresh blade is essential for cutting contact paper. I made a mistake the first time by using a dull knife, which resulted in frayed edges. Use a sharp blade and cut slowly for a clean, professional finish.
Prepping Your Cabinets for Contact Paper
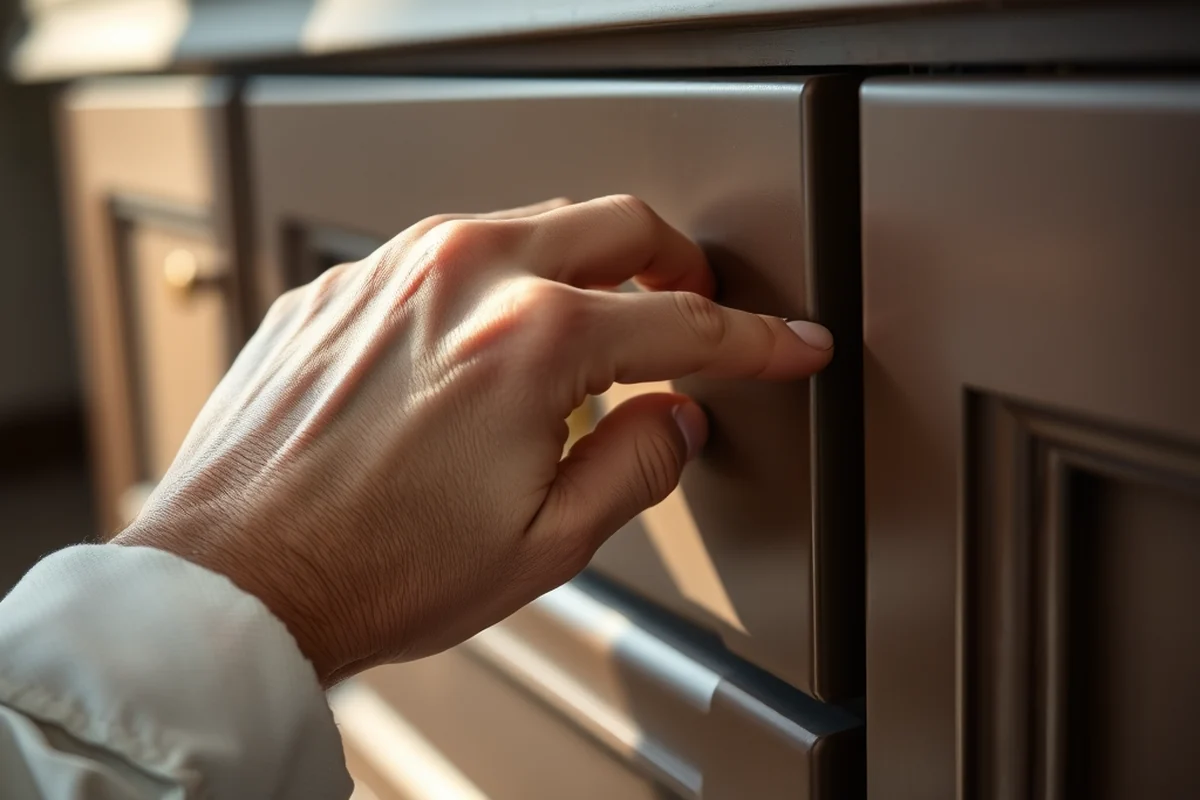
Before I applied the contact paper, I knew I had to make sure the cabinet surfaces were clean and dry. I wiped them down with a damp cloth and let them air dry completely. Any dust, grease, or residue could cause the paper to lift or peel in a few weeks.
I also made sure there were no bumps or lumps on the cabinet surfaces. I used a small piece of sandpaper to smooth out any rough spots. After that, I wiped the cabinets again with a dry cloth to remove any sanding dust. It felt like I was getting ready for a big home project, even if the work itself was simple.
I didn’t do anything fancy—just a few basic steps that made all the difference. The better the surface, the better the contact paper will stick. I didn’t even need any special cleaning products. Just water and a cloth worked wonders.
A clean surface is the foundation of a great contact paper project.
Related: Metal filing cabinet makeover with contact paper
Related: How to touch up bathroom cabinets
Related: Can you cover cabinets with contact paper
Related: How To Contact Paper Cabinets
Related: Redo kitchen cabinets with contact paper
Related: Contact Paper On Cabinets
Related: Best Cleaner For Greasy Cabinets
Related: Kitchen Cabinets For Wholesale
Related: What Is Farmhouse Kitchen Decor
Related: What Is Cloud Kitchen
Related: How To Make A Small Kitchen Look Bigger
Related: Shaker Style Cabinets
Choosing the Right Contact Paper
I spent some time in the store looking at the different options. I wanted something that would look good but also be durable enough for daily use. I ended up choosing a paper with a subtle pattern and a slight texture. The texture helped the paper grip the cabinets better, and it didn’t look too busy.
I also made sure to choose a paper that was labeled as 'sturdy' or 'heavy-duty.' Lighter papers tend to tear or lift easily. I read the labels and descriptions carefully to avoid that. I also checked the size of the rolls to make sure I had enough for the entire project.
I found that the right contact paper can really transform your kitchen. It’s not just about the color or pattern—it’s about how well it performs. I chose a white paper with a small geometric pattern, and it gave my kitchen a fresh, modern look that I love.
When selecting contact paper, look for labels that mention 'sturdy' or 'non-fracturing.' I made the mistake of choosing a thin paper, which tore easily. Opt for a thicker, more durable paper for the best results.
“The first time I considered covering my kitchen cabinets with contact paper, I was skeptical.”— Upcycled Kitchen Cabinet Makeovers editors
Related: Best Low Cost Kitchen Cabinets
Measuring and Cutting the Contact Paper
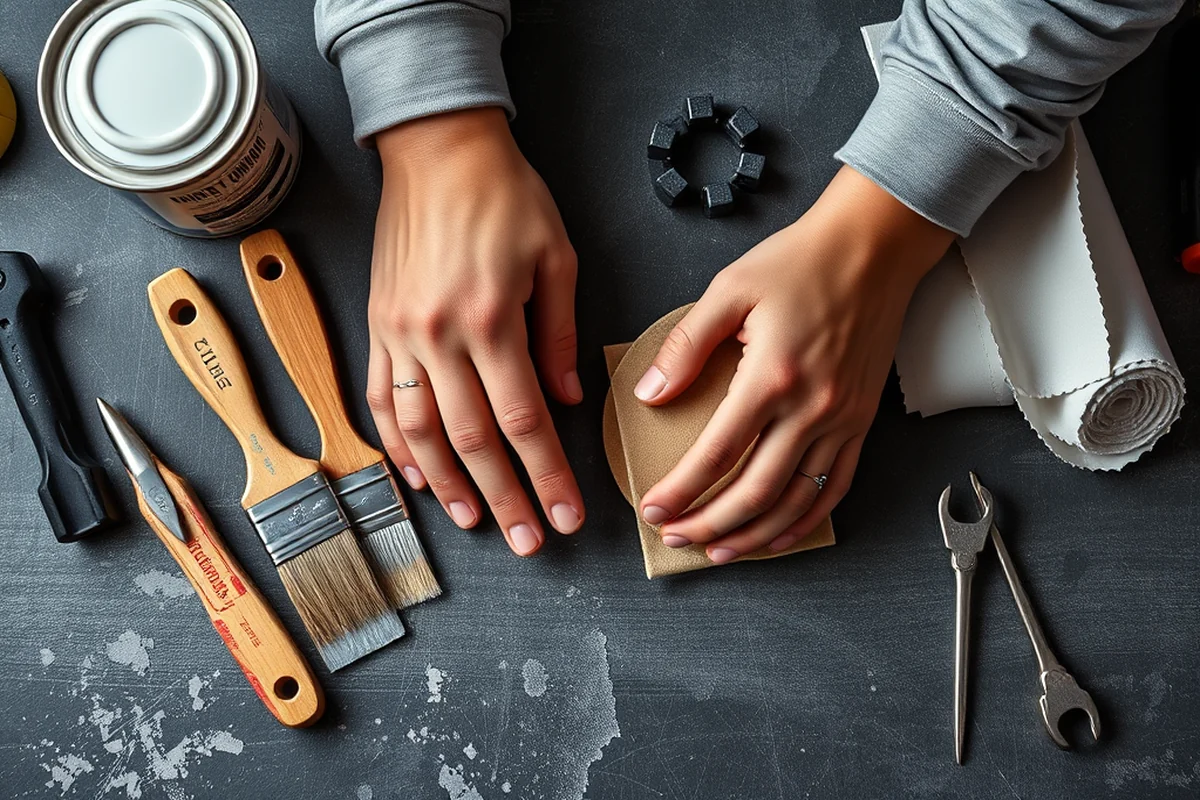
I measured each cabinet panel individually to make sure I had the right amount of paper. I used a tape measure and marked the lengths on the contact paper. Then I cut each piece carefully with a utility knife. I made sure to leave a little extra on the edges so I could overlap and trim later.
I found that the best way to measure was to start from the top and work my way down. I made sure to keep the paper aligned with the edges of the cabinets. If I had measured incorrectly, the paper would have been too short or too long, making the project harder.
I used a ruler and a sharp knife to make clean, straight cuts. I worked slowly and carefully, which made the process easier. I didn’t want any mistakes, so I took my time with each cut.
Applying the Contact Paper
I started with the largest cabinet first and worked my way through the others. I peeled back the backing of the contact paper slowly and applied it to the cabinet, smoothing it out as I went. I used my hands to press the paper firmly against the surface, making sure there were no bubbles or wrinkles.
I made sure to stretch the paper slightly when applying it, but not too much. If I stretched it too much, it would crease or tear. I worked from the center outwards, smoothing the paper with my fingers or a cloth. I made sure to keep the edges aligned with the cabinet edges.
I used a squeegee to press the paper down and remove any air bubbles. I found that it made the process much easier. After applying the paper, I trimmed the edges with a utility knife and wiped away any excess adhesive. The result was clean, smooth, and professional-looking.
Finishing Touches and Maintenance
After applying the contact paper to all the cabinets, I let them dry for a few hours. I didn’t touch them or move anything around for that time. It helped the adhesive stick better and prevented any bubbles or wrinkles from forming.
I also made sure to clean the cabinets regularly with a damp cloth. I avoided using any harsh chemicals or abrasive materials, which could damage the paper. I used a mild cleaner and water, and it worked well.
I’ve been using the contact paper-covered cabinets for a few months now, and they still look brand new. I’ve had no issues with peeling or cracking. It’s surprising how well it holds up with daily use.
A little patience and care after installation go a long way in ensuring your contact paper lasts.
What to Do If the Contact Paper Doesn’t Stick
I had a small section of contact paper that started to lift after a few days. I didn’t know why at first, but I realized that it was because I had applied it in a humid area of the kitchen. I didn’t want to replace the entire section, so I tried a few fixes.
I used a dry cloth to press down the lifted section and added a little more adhesive. It worked, and the paper stuck again. I also made sure to avoid using any wet or damp cloths on the paper in the future.
If I had known that humidity could be a problem, I would have taken more precautions. I made sure to apply the paper in a dry, well-ventilated space and let it dry completely. The result was a smooth, clean finish that lasted.
💰 Budget Build
Use basic contact paper and minimal tools for a low-cost cabinet upgrade.
⏰ Weekend Version
Complete your cabinet transformation in less than a day with minimal effort.
✨ Upgraded Finish
Choose premium contact paper with a glossy or textured finish for a more refined look.
🛋️ Small-Space Adaptation
Use contact paper on small cabinets or shelves to add a pop of color or pattern.
🚪 Rental-Safe Option
Use removable contact paper that can be easily taken off without damaging the cabinets.
| The mistake | Why it happens | The fix |
|---|---|---|
| Not cleaning the cabinets properly before applying contact paper. | Dust, grease, or residue on the cabinets can cause the paper to lift or peel after a few weeks. | Wipe the cabinets with a damp cloth and let them dry completely before applying contact paper. |
| Using the wrong type of contact paper. | Thin or low-quality contact paper can tear easily or not stick properly. | Choose a sturdy, non-fracturing contact paper that is labeled as 'heavy-duty' for the best results. |
| Applying the paper in a humid or damp environment. | Humidity can cause the contact paper to bubble or lift, especially in areas like kitchens or bathrooms. | Apply the paper in a dry, well-ventilated area and avoid using it in highly humid spaces. |
| Stretching the paper too much when applying it. | Stretching the paper can cause it to tear or form wrinkles, making the finish look unprofessional. | Apply the paper slowly and smoothly, avoiding any excessive stretching. |
How To Cover Cabinets With Contact Paper
Common Questions
Can I use contact paper on my kitchen cabinets if I have pets?
How long does contact paper last on cabinets?
Is contact paper suitable for laminate cabinets?
What should I do if the contact paper starts to peel?
References
- Minimum Standards for Child-Care Centers (hhs.texas.gov)
- About Lead in Paint | Childhood Lead Poisoning Prevention - CDC (cdc.gov)
Cite this guide
Upcycled Kitchen Cabinet Makeovers (2026). How To Cover Cabinets With Contact Paper. https://upcyclehome.com/how-to-cover-cabinets-with-contact-paper/
Feel free to cite or share this guide.