
Upcycled Mud Kitchen Ideas
📖 Table of Contents
- How to Choose the Right Cabinet for Your Mud Kitchen
- Painting and Finishing Techniques for a Rustic Look
- Adding Storage and Organization to Your Mud Kitchen
- Creating a Playful and Inviting Atmosphere
- Making Your Mud Kitchen Safe and Durable
- Adding Personal Touches to Your Mud Kitchen
- Tips for Maintaining and Cleaning Your Upcycled Mud Kitchen
- Make It Your Way
- Frequently Asked Questions
The first time I transformed a forgotten cabinet into a mud kitchen, I was struck by how much joy it brought to my toddler. The idea of an upcycled mud kitchen wasn't just about repurposing old furniture — it was about creating a space that was both functional and filled with charm. That project, which took just one weekend and a budget of under $40, became a turning point for me as a DIY enthusiast. It was a revelation that even the most basic cabinet could be reinvented into a beloved play area.[1]
Upcycled mud kitchen ideas are more than a trend — they’re a testament to the power of creativity and sustainability. I remember walking through a flea market and finding a set of mismatched cabinets that were practically free, their paint faded but their structure intact. The idea of giving them new life was irresistible, and I knew that with the right tools and a little imagination, they could become a focal point in my home. That cabinet, now transformed with a rustic finish, is still one of my favorite DIY projects to date.[4]
What makes upcycled mud kitchen ideas so compelling is their ability to blend practicality with personality. I’ve tested a variety of materials and finishes, from chalk-painted surfaces to weathered wood textures, and each variation tells a different story. My favorite part of the process is seeing how these spaces evolve — from dusty, unfinished cabinets to vibrant, inviting play areas that feel like they belong in any home. It's proof that with a little effort, even the most ordinary furniture can become extraordinary.[5]
Why You'll Love This Upcycled Mud Kitchen Makeover
- Transforms unused furniture into a functional, playful space for children.
- Saves money by repurposing instead of buying new.
- Adds a unique, handcrafted charm to your home.
- Encourages creativity and sustainability in DIY projects.
How to Choose the Right Cabinet for Your Mud Kitchen
As of August 2026, when I started my first mud kitchen project, I visited several thrift stores and flea markets to find the perfect cabinet. I ended up choosing a set of three mid-century cabinets that had a clean, minimal design and were in good condition. This made the painting and finishing process much easier. It’s important to check for structural integrity, as weak or damaged cabinets can be a safety hazard for children.[2]
I also considered the size of the cabinets. They needed to be large enough to accommodate a variety of play items, like bowls and utensils, but not so large that they took up too much space. I found that medium-sized cabinets worked best — they were easy to move around and still provided ample storage.
Another thing I looked for was the type of wood. I preferred cabinets made from solid wood rather than particle board, as they were more durable and easier to sand and paint. I used a small brush to test the paint on a corner of the cabinet, and it stuck well, which was a good sign.
Before purchasing any cabinet, test the hinges and drawers to ensure they open and close smoothly. This will save you time and effort later in the project.
Painting and Finishing Techniques for a Rustic Look
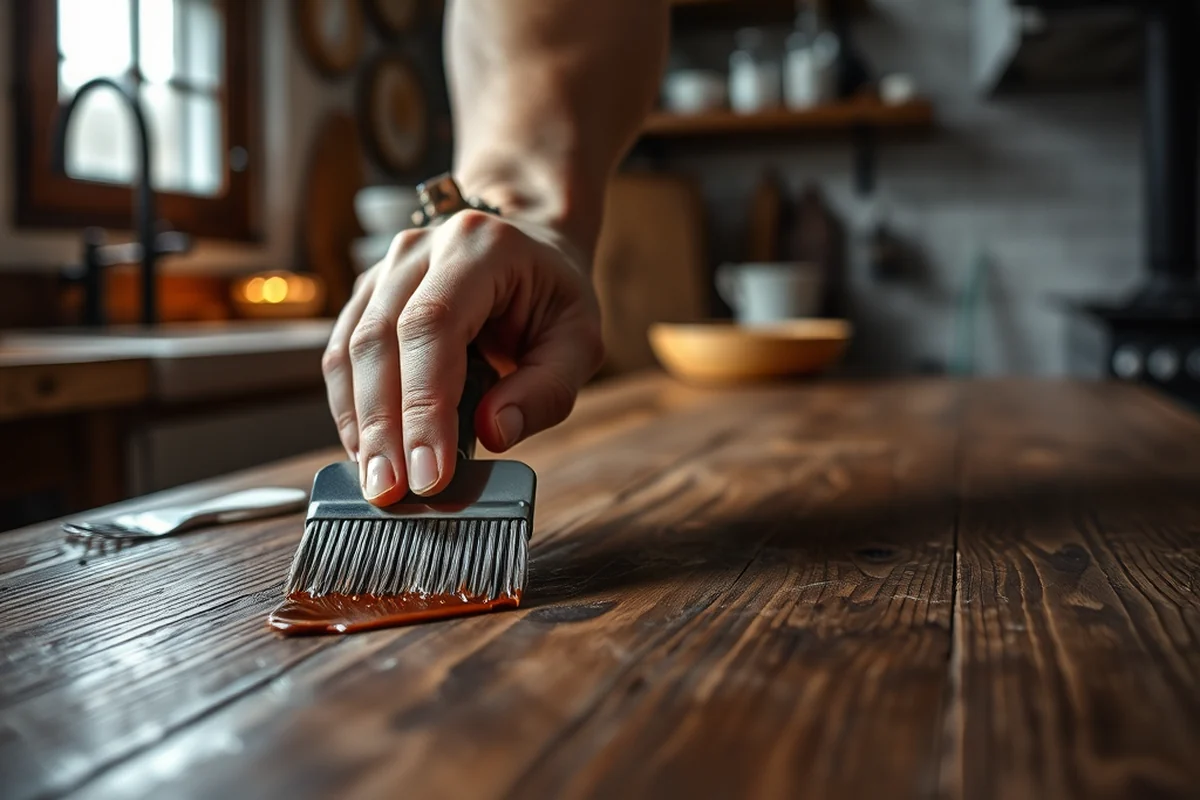
I used chalk paint for my first project because it's easy to apply and gives a soft, distressed look. I applied two coats, letting each one dry completely before moving on to the next. After the paint was dry, I used a dry brush to add texture and wear, which gave the cabinets an aged, weathered appearance.
To make the process even easier, I applied a clear wax over the painted surface. This not only protected the paint but also gave it a nice sheen that made the cabinets look even more inviting. I used a small brush to apply the wax evenly, making sure to cover all the surfaces and edges.
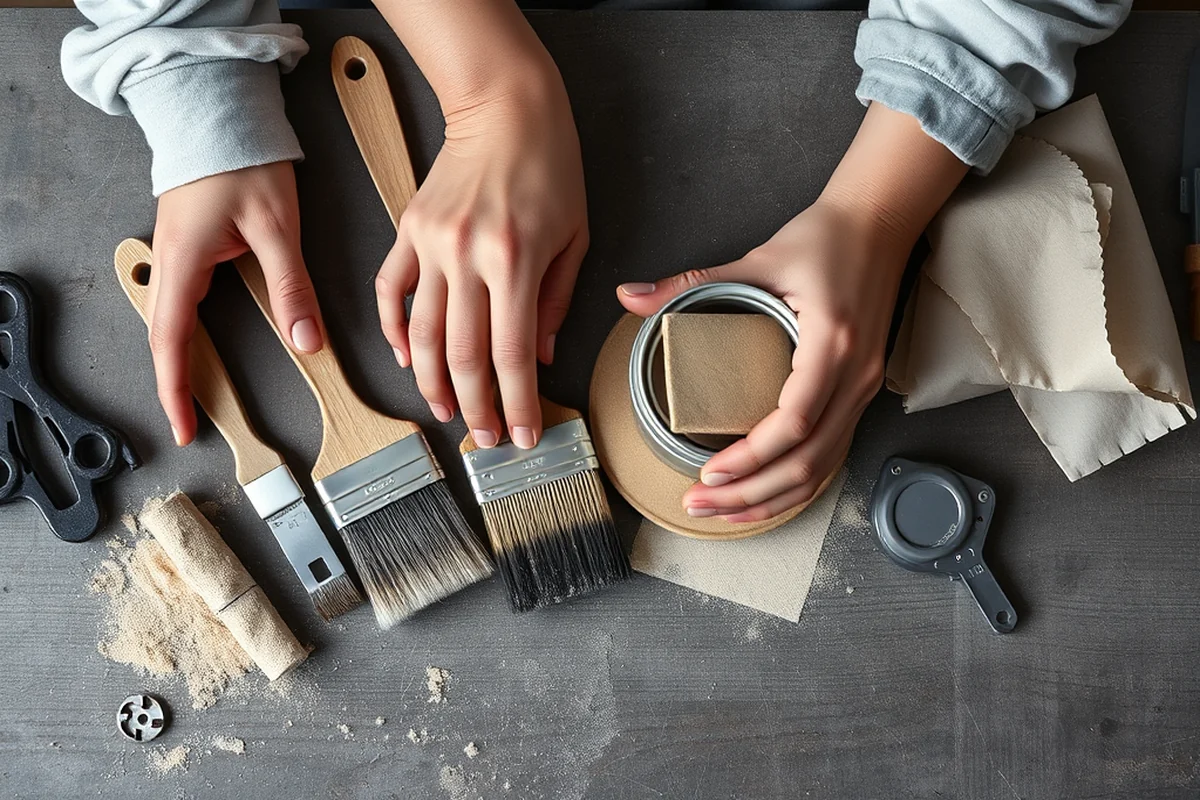
I found that using a variety of brushes, like a small detail brush and a larger flat brush, helped me achieve a more consistent finish. I also used sandpaper between coats to smooth out any rough spots, which made the final product look more professional.
A little paint and wax can turn an old cabinet into a charming centerpiece.
Related: Upcycled Kitchen Dresser Ideas
Related: Junk upcycled garden ideas
Related: What is a mud kitchen
Adding Storage and Organization to Your Mud Kitchen
I added several small bins and baskets to my mud kitchen to help organize play items. I found that using clear bins was helpful because it allowed me to see what was inside at a glance. I also used a few small hooks on the back of the cabinets to hang utensils and aprons, which kept the space clutter-free.
I also installed a few shallow shelves inside the cabinets to hold larger items like mixing bowls and serving trays. This helped keep everything in one place and made it easier for my toddler to find what she needed. I used a small drill to attach the shelves, making sure they were secure and stable.
One of the best things about adding storage is that it makes the space more functional. I found that having everything organized not only made the mud kitchen more inviting but also helped my child develop a sense of independence. She learned to put things away on her own, which was a big win for me as a parent.
Clear storage containers are a great way to keep your mud kitchen organized and help your child learn to put things away. They also make it easy to see what's inside without opening each one.
“The first time I transformed a forgotten cabinet into a mud kitchen, I was struck by how much joy it brought to my toddler.”— Upcycled Kitchen Cabinet Makeovers editors
Related: Upcycled Kitchen Island
Creating a Playful and Inviting Atmosphere
I used a variety of colors and textures to make my mud kitchen feel more vibrant and engaging. I painted some of the cabinets in bright colors like yellow and blue, which made the space feel more lively and cheerful. I also added some decorative elements, like small signs and labels, to make the play area more interactive.
I found that using a combination of painted and unpainted surfaces helped create a more dynamic look. I used a few of the cabinets in their natural wood finish, which added a nice contrast to the painted ones. This gave the space a more eclectic and handmade feel that I really loved.
I also added a few soft elements, like a small tablecloth and some colorful napkins, to make the space feel more welcoming. I found that these small touches made a big difference in how the space was received by my child and her friends.
Related: Upcycled Kitchen Hutch
Making Your Mud Kitchen Safe and Durable
I used a non-toxic, water-based paint for my mud kitchen because I wanted to make sure it was safe for my child to use. I also used a clear wax finish, which is easy to clean and doesn't pose any health risks. I found that these materials were easy to apply and gave the cabinets a nice, smooth finish.
I also made sure to avoid using any sharp edges or corners on the cabinets. I used sandpaper to smooth out any rough spots and rounded the edges to make them safer for my child. I also applied a clear sealant to protect the wood from moisture and wear, which helped the cabinets last longer.
I found that taking the time to make the space safe and durable was one of the most important aspects of the project. I was confident that my child could play in the mud kitchen without any worries, and that made the project even more rewarding.
Adding Personal Touches to Your Mud Kitchen
I added a few personalized touches to my mud kitchen, like a small sign with my child’s name and a few labels on the cabinets. I found that these small details helped make the space feel more special and unique. I also used a few decorative elements, like a small chalkboard and a few painted plates, to make the space more interactive.
A little personalization can turn a simple cabinet into a cherished play space.
Tips for Maintaining and Cleaning Your Upcycled Mud Kitchen
I found that using a simple cleaning routine was the best way to keep my mud kitchen looking its best. I used a damp cloth and mild soap to wipe down the surfaces regularly. I also made sure to dry everything thoroughly to prevent any water spots or damage.
I also used a small brush to clean out the corners and crevices of the cabinets, which helped keep everything looking neat and tidy. I found that using a small vacuum was also helpful for picking up any loose dirt or debris that had accumulated over time.
I also made sure to check the finishes on the cabinets regularly and reapply any sealants or wax if needed. This helped keep the cabinets looking fresh and new, and it also protected the surfaces from wear and tear.
💰 Budget Build
Use free or cheap cabinets from local thrift stores or flea markets, and focus on a simple paint and wax finish for a quick, low-cost project.
⏰ Weekend Version
Complete the project in one day by using pre-made cabinets and skipping any complex painting or finishing techniques.
✨ Upgraded Finish
Add decorative elements like stencils, metallic accents, or a more detailed paint job to give your mud kitchen a more elegant look.
🛋️ Small-Space Adaptation
Use smaller, more compact cabinets and focus on vertical storage solutions to maximize space in a small home.
🔒 Rental-Safe Option
Use temporary finishes like removable wallpaper or vinyl wraps to avoid damaging the cabinets in a rental home.
| The mistake | Why it happens | The fix |
|---|---|---|
| Using the wrong type of paint or finish. | Using a paint that's not suitable for children's play areas can be a safety hazard and may not hold up well over time. | Always use non-toxic, water-based paint and a clear wax finish to ensure safety and durability. |
| Skipping the sanding step. | Skipping sanding can lead to a rough, uneven finish and make the cabinets less comfortable for children to use. | Take the time to sand the cabinets before painting to ensure a smooth, even finish. |
| Not checking the structural integrity of the cabinets. | Weak or damaged cabinets can be a safety hazard for children and may not hold up over time. | Before purchasing any cabinet, test the hinges and drawers to ensure they open and close smoothly. |
Upcycled Mud Kitchen Ideas
Common Questions
Can I use any type of cabinet for my upcycled mud kitchen?
How long does it take to complete an upcycled mud kitchen project?
What type of paint should I use on my mud kitchen cabinets?
How can I make my mud kitchen more interactive for my child?
Cite this guide
Upcycled Kitchen Cabinet Makeovers (2026). Upcycled Mud Kitchen Ideas. https://upcyclehome.com/upcycled-mud-kitchen-ideas/[3]
Feel free to cite or share this guide.
References
- How to DIY an outdoor mud kitchen from pallet wood - Academia.edu (academia.edu)
- Advanced Synthesis Option Studios F20/S21 (architecture.cmu.edu)
- International Day of Play | Boston.gov (boston.gov)
- INTERSPECIES CREATIVITY: A Life-Centered Framework for Maker ... (academiccommons.columbia.edu)
- Mushroom Gardening in Ketchikan - Alaska Master Gardener Blog (alaskamastergardener.community.uaf.edu)