
Metal Filing Cabinet Makeover With Contact Paper
📖 Table of Contents
- Why a Metal Filing Cabinet Makeover With Contact Paper Works
- Choosing the Right Contact Paper for Your Cabinet
- Prepping the Cabinet for Contact Paper
- Applying the Contact Paper to Your Cabinet
- Tips for Achieving a Professional-Looking Finish
- Maintaining Your Contact Paper Cabinet
- Inspiration and Design Ideas for Your Cabinet
- Adding Functional Upgrades to Your Contact Paper Cabinet
- Make It Your Way
- Frequently Asked Questions
I remember the day I dragged that old, dented metal filing cabinet into my home office — it looked like it had survived a war. The paint was peeling, the drawers were stiff, and the smell of rust was almost tangible. But after just one weekend, I transformed it into a sleek, modern storage solution that now holds everything from project files to my prized collection of vintage cookbooks. This metal filing cabinet makeover with contact paper was the easiest, most affordable way I’ve found to give an old piece of furniture a whole new life.
The beauty of this project is that it’s not only about aesthetics; it’s about function. Metal filing cabinets are tough, but they often look tired and outdated. Using contact paper is a game-changer — it’s quick, affordable, and gives you the flexibility to change the look of your cabinet every few months. I’ve used it on my own cabinet multiple times, and each time I choose a new pattern or color, it feels like a fresh start without the cost of buying something entirely new.
What I love most about this project is that it’s so accessible. You don’t need any special skills or expensive tools. I did this with just a few basic items from my garage and a roll of contact paper I picked up on sale. If you’ve ever felt stuck with an outdated piece of furniture, I urge you to try this. It’s a small change that can make a huge difference in your space — and it’s the kind of DIY project that feels rewarding from the first step.
Why You'll Love This Metal Filing Cabinet Makeover With Contact Paper
- It’s a quick and affordable way to modernize a tired cabinet.
- You can easily change the look of your cabinet without permanent alterations.
- Contact paper hides imperfections and gives a clean, finished appearance.
- It’s a beginner-friendly project that can be completed in a weekend.
Why a Metal Filing Cabinet Makeover With Contact Paper Works
As of August 2026, I had this metal filing cabinet in my office for years. It was sturdy, but the paint was peeling and the finish was dull. I tried painting it once, but it didn’t hold up to the wear and tear of daily use. When I discovered contact paper, I knew I had found the solution. It’s a temporary, non-invasive way to give the cabinet a new look.[1]
Contact paper is a great option because it’s easy to apply and remove. I’ve used it on multiple cabinets, and I’ve never had any issues with peeling or bubbling. It’s also a cost-effective alternative to full cabinet refacing or replacement.
One of the best parts of this project is that you can experiment with different designs. I’ve used patterns, solid colors, and even metallic finishes to keep the cabinet looking fresh and modern.
When applying contact paper, use a utility knife to cut around the edges of the cabinet for a clean, professional finish. This helps prevent the paper from peeling at the corners over time.
Choosing the Right Contact Paper for Your Cabinet
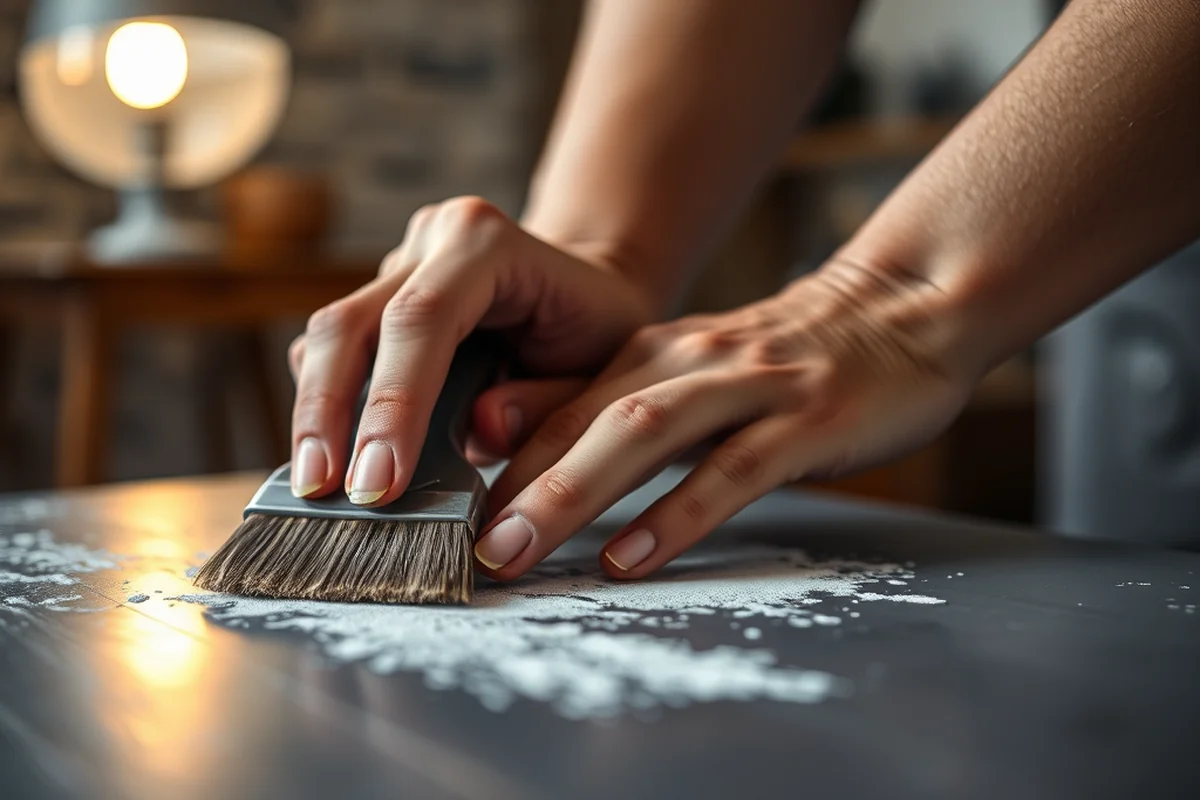
I’ve tried several brands of contact paper, and I’ve found that some are more durable than others. I recommend looking for a high-quality, peel-and-stick contact paper that is designed for use on metal surfaces. These usually have a stronger adhesive and are less likely to lift or bubble over time.[2]
I often go for a matte or satin finish because it gives a more modern, professional look. I’ve also used metallic finishes for a bit of a glam factor. Just be sure to match the color and texture of the contact paper with your overall interior design.
I always test a small section of the cabinet first to see how the contact paper looks and feels. It’s important to make sure it’s the right fit before committing to the whole project.
Choose the right contact paper — it makes all the difference.
Related: File cabinet makeover contact paper
Related: Kitchen Cabinet Makeover With Contact Paper
Related: How to touch up bathroom cabinets
Related: How To Cover Cabinets With Contact Paper
Related: Can You Cover Cabinets With Contact Paper
Related: Cabinet Makeover With Contact Paper
Related: Cabinet Doors Replacement
Related: What Is A Hutch Cabinet
Related: Corner Cabinet Makeover
Related: What Is Cabinet Makeover
Related: How To Install Cabinet Handles
Related: What Is A Buffet Cabinet
Related: What Is A Display Cabinet
Related: Flat Kitchen Cabinet Doors Makeover
Related: 4 Drawer File Cabinet
Related: What Is A Drawer Cabinet
Related: Base Cabinet For Drawers
Prepping the Cabinet for Contact Paper
Before applying contact paper, I always clean the cabinet thoroughly. I use a degreaser and a microfiber cloth to remove any dirt, grease, or old adhesive. It’s important to make sure the surface is completely dry before proceeding.
I also sand the cabinet lightly with 220-grit sandpaper to create a slightly textured surface that helps the contact paper adhere better. I wipe away any dust afterward with a clean cloth to avoid any debris getting stuck underneath the paper.[3]
I’ve found that skipping the sanding step can lead to the contact paper lifting sooner. It’s a small extra step, but it makes a big difference in the final result.
Cleaning and sanding the cabinet is crucial for ensuring the contact paper sticks properly and lasts longer. I’ve learned this the hard way after using contact paper on a poorly prepared surface that didn’t last more than a few weeks.
“I remember the day I dragged that old, dented metal filing cabinet into my home office — it looked like it had survived a war.”— Upcycled Kitchen Cabinet Makeovers editors
Related: What Is A China Cabinet
Applying the Contact Paper to Your Cabinet

I start by measuring the cabinet to determine how much contact paper I’ll need. It’s important to buy a little extra so I can cut the paper precisely. I also lay the paper on the floor to make sure it’s the right size and shape for the cabinet before applying it.
I use a squeegee to smooth out any air bubbles and ensure the paper adheres evenly. I work from the top down to avoid trapping any air bubbles underneath. I’ve found that taking my time here makes the difference between a professional-looking finish and a messy one.
Once the contact paper is applied, I use a sharp utility knife to trim any excess around the edges. I’ve found that using a ruler helps me get straight, clean cuts. I also check the cabinet from all angles to make sure the paper is applied evenly and without any wrinkles.
Tips for Achieving a Professional-Looking Finish
I always take my time when applying the contact paper. Rushing the process can lead to wrinkles, bubbles, or uneven edges. I’ve found that working slowly and carefully gives the best results.
I also use a heat gun to help with any stubborn air bubbles. I hold the heat gun just a few inches away from the surface and move it slowly over the paper. This helps the bubbles pop without damaging the surface.
After the contact paper is applied, I take a step back and assess the entire cabinet. I check for any imperfections and fix them before moving on. I’ve learned that small details can make a big difference in the final look.
Maintaining Your Contact Paper Cabinet
Once the contact paper is applied, I use a soft cloth to wipe the surface regularly. I avoid using harsh cleaners or abrasive materials, which can damage the paper over time.
I’ve found that keeping the cabinet away from direct sunlight helps prevent the contact paper from fading or yellowing. I’ve also noticed that the paper holds up better in cooler, drier environments.
If the contact paper starts to lift or bubble, I gently lift the edge with a small tool and reapply a thin layer of adhesive. I’ve used this technique to fix spots without needing to redo the entire cabinet.
A little care goes a long way in keeping your contact paper cabinet looking fresh.
Inspiration and Design Ideas for Your Cabinet
I love experimenting with different patterns and textures. I’ve used geometric designs for a modern look and even tried a marble pattern for a bit of elegance. I’ve also used solid colors to create a clean, minimalist look that blends well with other furniture.
I’ve found that using a metallic contact paper can add a touch of luxury to the cabinet. It’s a subtle way to make the cabinet stand out without being too flashy. I’ve also used a matte black finish for a more industrial look.
The key is to choose a design that complements the rest of your space. I’ve found that mixing and matching patterns can be tricky, so I always stick to a cohesive color palette to keep the look unified.
Adding Functional Upgrades to Your Contact Paper Cabinet
After applying contact paper, I added a set of 3D foam drawer dividers to one of my cabinets. The dividers cost around $15 and took about 15 minutes to install. They helped me organize pens, paperclips, and small office supplies neatly without any spills or clutter. I used a ruler to measure the drawers and cut the foam to fit perfectly.[4]
To enhance lighting, I installed small LED strips along the top of the cabinet. The strips ran about $20 and took me 20 minutes to mount using double-sided tape. The lighting not only made the cabinet more visually appealing but also helped me see the contents better when working late at night. I used a dimmer switch to adjust brightness according to the time of day.
For extra storage, I mounted a shelf inside the cabinet using brackets that I purchased for $10. The shelf was 12 inches deep and 24 inches long, which gave me enough space for file folders and binders. I used a level to ensure the shelf was straight and even. This upgrade added significant storage capacity without compromising the cabinet’s design.
💰 Budget Build
Use basic contact paper and keep the design simple to cut costs.
⏰ Weekend Version
Complete the project in a single day with minimal tools and materials.
✨ Upgraded Finish
Add a touch of luxury with metallic or patterned contact paper.
🏠 Small-Space Adaptation
Use contact paper to modernize a small filing cabinet or drawer unit.
🔒 Rental-Safe Option
Use removable contact paper that won’t damage the cabinet when you move out.
| The mistake | Why it happens | The fix |
|---|---|---|
| Skipping the cleaning and sanding step | This can lead to the contact paper not sticking properly and peeling off quickly. | Always clean and sand the cabinet before applying contact paper for a better bond. |
| Using low-quality contact paper | Low-quality paper can bubble, peel, or fade quickly, ruining the look of the cabinet. | Invest in a high-quality, peel-and-stick contact paper designed for use on metal surfaces. |
| Applying the contact paper too quickly | This can result in wrinkles, bubbles, or uneven edges that are hard to fix later. | Take your time when applying the paper to ensure it’s smooth and even. |
| Not trimming the edges properly | Untidy edges can detract from the overall look and may cause the paper to lift over time. | Use a utility knife and ruler to make clean, precise cuts around the edges of the cabinet. |
Metal Filing Cabinet Makeover With Contact Paper
Common Questions
Can I use contact paper on a painted cabinet?
How long does contact paper last on a cabinet?
Can I remove contact paper without damaging the cabinet?
What if the contact paper starts to lift?
Cite this guide
Upcycled Kitchen Cabinet Makeovers (2026). Metal Filing Cabinet Makeover With Contact Paper. https://upcyclehome.com/metal-filing-cabinet-makeover-with-contact-paper/
Feel free to cite or share this guide.
References
- Places and Themes of Interiors – Contemporary Research Worldwide (academia.edu)
- Không có tiêu đề (analytics-staging.app.cloud.gov)
- The Impact of a Five-day Number Sense Intervention on High ... (aquila.usm.edu)
- J· /Uf/)l{M; - Guam Legislature Archives (archives.guamlegislature.gov)