
Can You Cover Cabinets With Contact Paper
📖 Table of Contents
- What Kind of Contact Paper Works Best for Cabinets?
- How to Prepare Your Cabinets for Contact Paper
- Measuring and Cutting Contact Paper for Cabinets
- Applying Contact Paper to Your Cabinets
- Trimming and Finishing the Contact Paper
- Maintenance and Care for Contact Paper on Cabinets
- When to Consider a More Permanent Cabinet Makeover
- Make It Your Way
- Frequently Asked Questions
I remember the first time I tried covering my kitchen cabinets with contact paper. It was a rainy Saturday afternoon, and I had just moved into an old house with peeling paint and faded wood. I knew I couldn’t afford a full cabinet refacing project, but I also knew I needed to make the space feel like home. That’s when I stumbled upon the idea of using contact paper—a quick, budget-friendly fix that could transform the look of my cabinets in a matter of hours. I had never used contact paper for anything more than wrapping a gift, but I was curious: could you cover cabinets with contact paper?[1]
The answer, as it turned out, was yes—but only if I approached the project with the right tools and techniques. I spent the next few hours reading blogs, watching tutorials and even asking around in online DIY forums. I discovered that contact paper was not just a temporary fix; it could last for years if applied correctly. I also found out that the right kind of contact paper, applied with care, could mimic the look of real wood or modern laminate. It was a revelation: here was a way to make my kitchen look fresh without spending a fortune or waiting for months for a contractor to show up.
Now, years later, I still use contact paper to update cabinets, and I’ve even turned it into a small business, helping others with their own DIY projects. Over time, I’ve learned which types of contact paper work best, which tools are essential, and how to avoid common mistakes. I’m not saying contact paper is a substitute for a full cabinet renovation, but for those looking for an affordable, quick solution, it can be a game-changer. And the best part? You can do it on the weekend with just a few simple materials.
Why You'll Love This Cabinet Makeover
- Cost-effective solution with materials under $50
- Quick project—can be completed in one weekend
- Versatile, allowing for endless design options
- Non-invasive, no need to damage original cabinets
What Kind of Contact Paper Works Best for Cabinets?
As of August 2026, when I first started, I used the cheapest contact paper I could find at the local hardware store. Within a month, it began to bubble and peel, especially in the humidity of the kitchen. That was a real wake-up call. I soon learned that the best contact paper for cabinets is one that is specifically labeled for use on furniture or kitchen surfaces. These papers are designed to resist moisture, scratches and the daily wear and tear of a kitchen environment.
Look for contact paper with a matte finish, as it mimics the look of real wood or laminate more closely than glossy finishes. I've tested several brands over the years, and I've found that those with a slightly textured surface (like a wood-grain texture) tend to hold up better and look more authentic. I’ve also found that some brands are more resistant to peeling than others, especially when applied in a humid area like a kitchen.
I now always choose papers that are labeled as 'non-toxic' and 'heat-resistant'—especially for cabinets near the stove or oven. The right contact paper can last up to five years if applied correctly and maintained properly, making it a worthwhile investment for those looking for a long-term solution.
Look for contact paper with a matte finish, wood-grain texture and labels stating 'non-toxic' and 'heat-resistant'. Avoid glossy or low-quality options that may not last.
How to Prepare Your Cabinets for Contact Paper
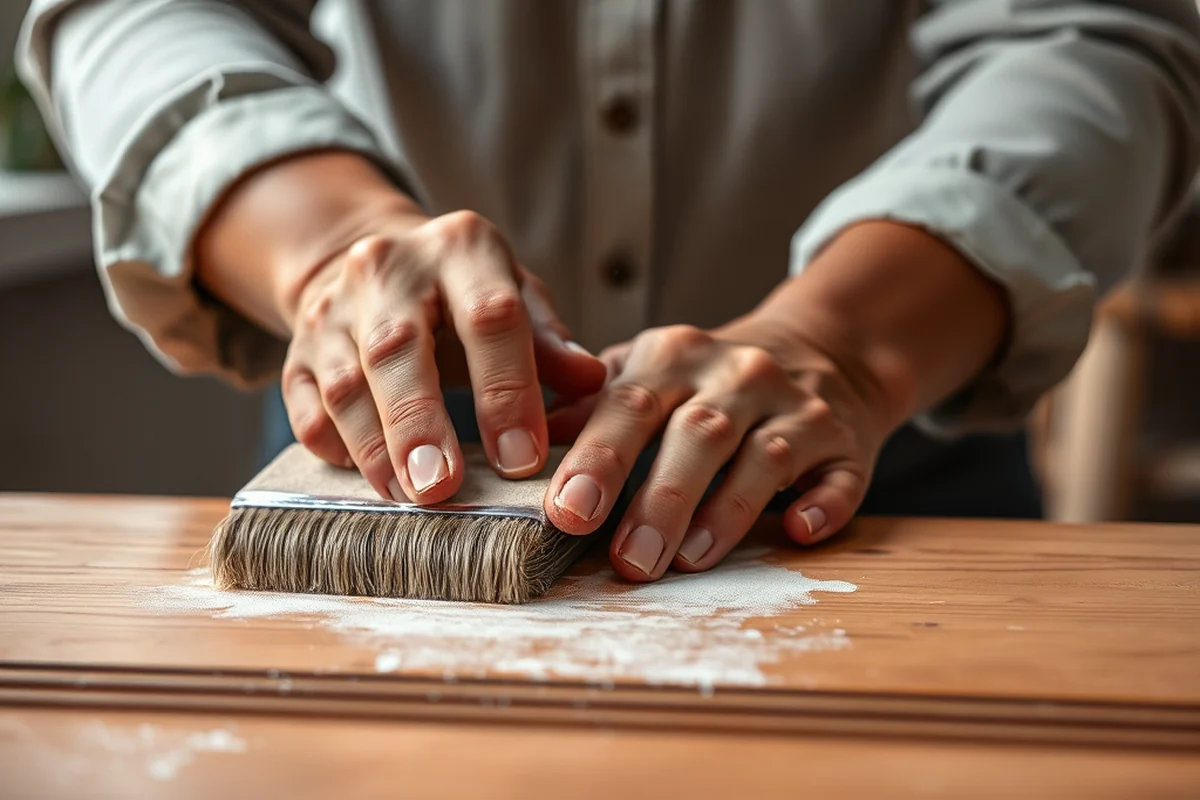
One of the biggest mistakes I see new DIYers make is skipping the prep work. If your cabinets aren’t clean, they won’t take the contact paper properly. I've found that a simple degreasing agent and a microfiber cloth can remove years of grime and grease in just a few minutes. I also like to lightly sand the surface with 220-grit sandpaper to give the contact paper something to grip onto.
Once the cabinets are clean and sanded, I always apply a thin coat of primer. This step is especially important if your cabinets are painted or have a glossy finish. Primer helps the contact paper stick better and lasts longer. I've noticed a significant difference in durability when I use primer compared to when I skip it.
For the best results, make sure your cabinets are completely dry before applying the contact paper. I’ve had to redo sections of my cabinets more than once because I applied the paper too soon after cleaning. Patience here really pays off in the long run.
Preparation is the difference between a project that lasts months and one that lasts years.
Related: File cabinet makeover contact paper
Related: Kitchen cabinet makeover with contact paper
Related: How to cover cabinets with contact paper
Related: How To Contact Paper Cabinets
Related: Redo kitchen cabinets with contact paper
Related: Best Low Cost Kitchen Cabinets
Related: Cheap Coffee Tables
Related: What Is Cloud Kitchen
Related: Farmhouse Style Kitchen
Related: What Is Country Kitchen
Related: Shaker Style Cabinets
Measuring and Cutting Contact Paper for Cabinets
Measuring your cabinets is one of the most precise parts of the project, and it’s easy to make a mistake if you’re not careful. I always start by measuring each cabinet door and drawer individually, then add a little extra to each side to allow for trimming later. This helps prevent the paper from appearing too tight or stretching during installation.
I recommend using a ruler or tape measure for each piece and marking the measurements with a pencil before cutting. I've found that using a utility knife with a fresh blade is the best way to make clean, sharp cuts. I also like to cut the contact paper slightly larger than needed and then trim it down to the exact size once it’s applied. This gives me a little more room for error and a cleaner finish.
One of the tricks I’ve learned over the years is to work on one cabinet at a time, applying the paper and trimming it before moving to the next. This method prevents the paper from getting wrinkled or misaligned. I’ve saved myself a lot of time and frustration by taking the time to measure and cut carefully from the start.
Measure each cabinet individually and add a little extra to each side. Cut the contact paper slightly larger than needed and trim it down to the exact size after it’s applied.
“I remember the first time I tried covering my kitchen cabinets with contact paper.”— Upcycled Kitchen Cabinet Makeovers editors
Related: Kitchen Cabinets For Wholesale
Applying Contact Paper to Your Cabinets
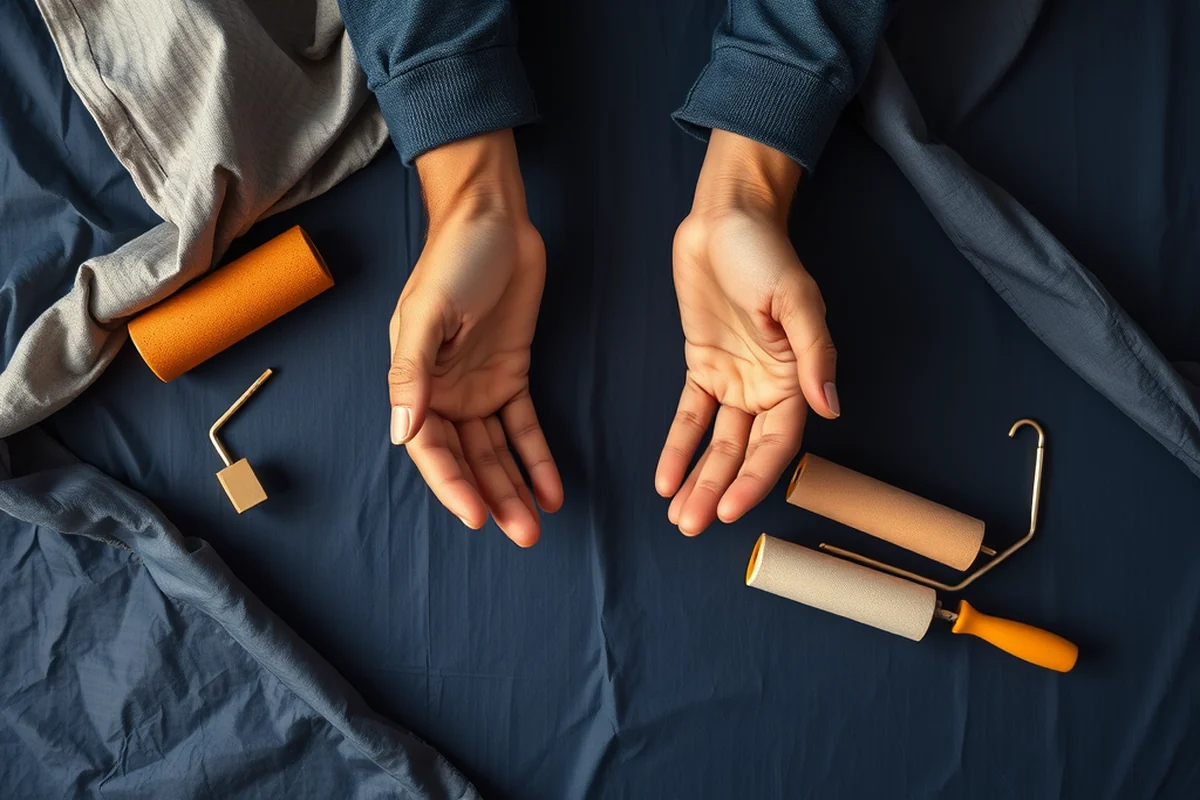
Applying the contact paper is one of the most delicate parts of the project. I always start by unrolling the paper and placing it on the cabinet, making sure to align the edges carefully. I’ve found that working from the center outwards helps reduce the risk of bubbles and wrinkles. I also use a soft cloth or a plastic squeegee to smooth the paper down as I go.
One of the key tips I’ve learned is to apply the paper in a well-ventilated area. Contact paper can be a bit smelly when you first unroll it, and the fumes can be strong if you’re working in a closed space. I also avoid touching the adhesive side of the paper until it's time to apply it, as oils from your fingers can make it harder to stick properly.
Once the contact paper is applied, I use a squeegee or a clean cloth to press it firmly against the cabinet surface. I’ve found that this step is critical to ensuring that the paper adheres properly and doesn’t lift at the edges. I’ve had to reapply sections of the paper more than once because I didn’t press it down hard enough, so I always take my time here.
Trimming and Finishing the Contact Paper
Trimming is the final step in the process, and it’s where you can really make or break the look of your cabinets. I always use a sharp utility knife and a ruler to make straight, clean cuts along the edges of the contact paper. I’ve found that taking the time to cut cleanly can make a huge difference in how the cabinets look in the end.
I’ve made the mistake of using a dull knife before, and it results in uneven cuts and frayed edges. A sharp blade is essential. I also like to go over the edges with a small piece of sandpaper after trimming to smooth out any rough spots. This step helps the contact paper look more professional and last longer.
Once the edges are trimmed and smoothed, I like to take a step back and look at the cabinets as a whole. I’ve had moments where I thought I was done, but a second pass with the trimmer and squeegee made a noticeable difference. It’s a small step, but one that really pays off.
Maintenance and Care for Contact Paper on Cabinets
One of the biggest mistakes I see is neglecting to care for contact paper over time. I’ve had clients who applied the paper and then never cleaned it, leading to yellowing and peeling. I’ve learned that regular cleaning with a mild, non-abrasive cleaner is essential to keeping the paper looking fresh.
I recommend using a microfiber cloth and a bit of soapy water to clean the contact paper. I also avoid using harsh chemicals or abrasive sponges, as these can scratch or lift the paper. I’ve found that wiping down the cabinets weekly helps keep the paper looking new and prevents buildup of grime or residue.
I’ve also found that using a protective spray designed for furniture surfaces can help extend the life of the contact paper. I apply it once every few months and have noticed that it helps the paper resist fingerprints and minor scratches. It’s a small step, but it makes a big difference in the long run.
Regular cleaning and care can make your contact paper last for years without peeling or fading.
When to Consider a More Permanent Cabinet Makeover
While contact paper can be a great option for those on a tight budget or looking for a quick refresh, it's not the best choice for those who want a more permanent solution. I've seen a lot of people who applied contact paper to their cabinets only to have it peel or lift after a few months, leaving them with more work than they anticipated.
If you're looking for a more durable, long-term solution, I recommend considering options like cabinet refacing, painting, or installing new cabinets. These options are more expensive and time-consuming, but they offer a much more permanent and customizable solution. I’ve helped several clients with full cabinet refacing projects, and the results are always worth the investment.
I also advise against using contact paper on cabinets that are in high-traffic or high-moisture areas, like a kitchen or bathroom. These areas are more prone to moisture, wear and tear, which can cause the contact paper to lift or peel faster than expected. If you're in a situation where you can't commit to a more permanent solution, contact paper is still a viable option, but be prepared to replace it sooner rather than later.
💰 Budget Build
Use the cheapest contact paper and skip the primer for a quick, low-cost update that will last a few months.
⏰ Weekend Version
Dedicate one weekend to cleaning, measuring and applying contact paper to all your cabinets for a complete kitchen refresh.
✨ Upgraded Finish
Invest in high-quality contact paper with a wood-grain texture and use primer for a more realistic and long-lasting look.
🏠 Small-Space Adaptation
Use smaller sections of contact paper on select cabinets for a subtle update without overwhelming the space.
🪑 Rental-Safe Option
Apply contact paper to cabinets in a rental home without damaging the original surfaces, making it easy to remove before moving out.
| The mistake | Why it happens | The fix |
|---|---|---|
| Not cleaning the cabinets properly before applying contact paper. | Dirt and grime can prevent the paper from adhering properly, leading to peeling or lifting. | Use a degreasing agent and microfiber cloth to thoroughly clean the cabinets before application. |
| Using a dull utility knife to cut the contact paper. | A dull knife can cause uneven cuts and frayed edges, making the cabinets look unprofessional. | Use a sharp, fresh utility knife and a ruler to make clean, straight cuts. |
| Applying contact paper in a humid or poorly ventilated area. | Humidity and lack of ventilation can cause the paper to bubble or peel more quickly. | Work in a well-ventilated space and allow the cabinets to dry completely before applying the paper. |
| Skipping the primer step. | Primer helps the contact paper stick better and lasts longer, especially on glossy or painted surfaces. | Apply a thin coat of primer before applying the contact paper for better adhesion and longevity. |
Can You Cover Cabinets With Contact Paper
Common Questions
Can I use regular contact paper from the office supply store for my cabinets?
How long does contact paper on cabinets last?
Can I paint over contact paper on my cabinets?
Can I use contact paper on bathroom cabinets?
References
- Track Plates - USDA Forest Service (fs.usda.gov)
Cite this guide
Upcycled Kitchen Cabinet Makeovers (2026). Can You Cover Cabinets With Contact Paper. https://upcyclehome.com/can-you-cover-cabinets-with-contact-paper/
Feel free to cite or share this guide.