
Kitchen Storage Cabinets
📖 Table of Contents
- Measuring and Planning for Your Kitchen Storage Cabinets
- Choosing the Right Materials and Tools
- Painting and Finishing Your Kitchen Storage Cabinets
- Adding Custom Storage Solutions
- Installing the Final Touches
- Maintaining Your Kitchen Storage Cabinets
- Inspiration for Your Kitchen Cabinet Makeover
- Incorporating Smart Lighting and Technology for Functional Cabinets
- Make It Your Way
- Frequently Asked Questions
I still remember the first time I stood in my kitchen, staring at those outdated, dusty cabinets that had been in our home for over a decade. It wasn't just their appearance that nagged at me — it was how little they could hold. I had a growing family, and with that came a need for more storage. That moment led me to the realization that kitchen storage cabinets weren't just furniture — they were functional art, and their potential was limited only by my imagination and willingness to get my hands dirty.
It wasn't until I tackled my first kitchen cabinet project that I truly understood the power of good storage. I had spent years thinking that upgrading cabinets required a contractor and a budget that felt out of reach. But as I measured, sanded and painted, I saw the transformation not just in the cabinets, but in my own confidence. Kitchen storage cabinets can be more than just walls — they can be organized, beautiful, and tailored exactly to your needs.
The journey wasn't without its challenges — I misjudged the time, bought the wrong tools, and even had a few near-misses with the paint. But every step forward was worth it. Now, as I look at my kitchen, I see a space that feels intentional, not cluttered, and that's because of the work I put into those cabinets. If you're thinking about tackling your own kitchen storage cabinets, I'm here to tell you: it's possible, and it's worth it.
Why You'll Love This Kitchen Storage Cabinet Makeover
- Maximize vertical space with custom shelving for a more organized kitchen.
- Custom paint and hardware can give your cabinets a fresh look in just one weekend.
- DIY storage solutions like drawer dividers and lazy Susans can make your kitchen feel twice as big.
- Upgrading your cabinets can add significant resale value to your home.
Measuring and Planning for Your Kitchen Storage Cabinets
As of October 2026, I learned early on that measuring accurately is one of the most important steps. I used a laser measure to get the exact width, height and depth of each cabinet area. This helped me avoid the headache of mismatched shelves later on. I found that using graph paper and a scale of 1:4 helped me visualize the layout before making any cuts.
When planning, I thought about what I needed most. Did I need more open shelving, or would pull-out drawers be better? I made a list of everything I wanted to store, from spices to baking sheets, and designed the cabinet layout accordingly. This approach saved me time and frustration.
I also considered how much weight each shelf could hold. Some cabinets had weight limits, which meant I had to be careful with what I put on them. I found that adding support brackets behind heavy shelves made a big difference in stability and safety.
Use a laser measure for accuracy and always double-check your measurements before making cuts. It's easy to make a mistake, but a little extra time here can save you a lot of time later.
Part of our Kitchen cabinets guide.
Choosing the Right Materials and Tools
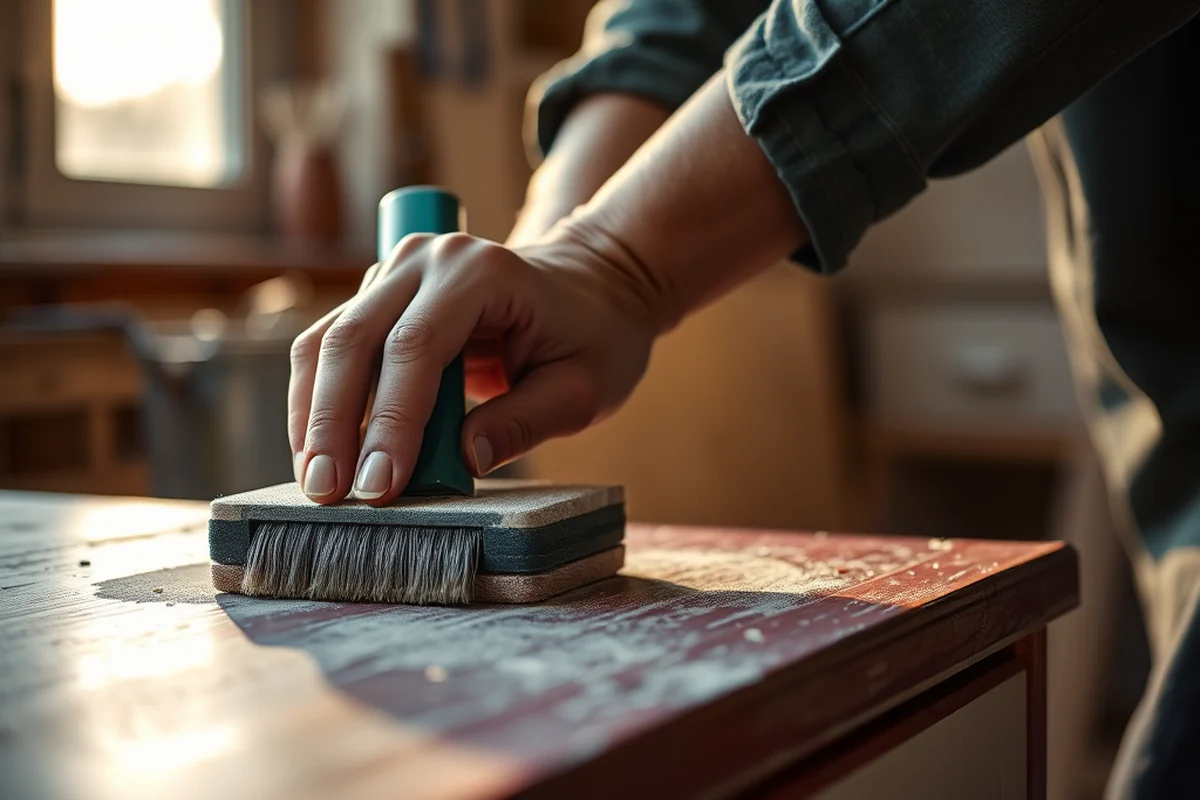
I started with the basics — sandpaper, a paint roller, and a few shelves. But I quickly learned that investing in a few good tools made a huge difference. A belt sander, for instance, helped me smooth out the old wood much faster than sanding by hand ever could.
For materials, I chose solid wood shelves because they're durable and look great. I also used a water-based polyurethane to protect the shelves from moisture and wear. This choice was worth it because the finish lasted longer than I expected and required minimal maintenance.
I didn't need a lot of tools for the project — just a few essentials like a level, a measuring tape and a drill. I made sure to keep my workspace organized so I could easily access everything I needed without slowing down the process.
The right tools and materials make all the difference in a DIY project.
Related: What is the best design for a small kitchen
Painting and Finishing Your Kitchen Storage Cabinets
I found that using a high-quality primer was essential for getting a smooth finish. I used a roller with an extension pole to paint the back of the cabinets, which made the job much easier. I also masked off the edges with painter's tape to avoid getting paint on the surrounding walls.
After the primer dried, I applied two coats of paint. I used a satin finish because it’s easy to clean and looks great in a kitchen. I let each coat dry completely before applying the next to ensure a smooth, even result.
I sealed the cabinets with a clear topcoat to protect the paint from moisture and wear. This step was worth the time because it helped the finish last longer and looked more professional.
Painting in natural light helps you see the true color of the paint and avoid uneven coverage. I noticed a big difference when I painted in the morning with sunlight streaming through the window.
“I still remember the first time I stood in my kitchen, staring at those outdated, dusty cabinets that had been in our home for over…”— Upcycled Kitchen Cabinet Makeovers editors
Related: What is a flammable storage cabinet
Adding Custom Storage Solutions
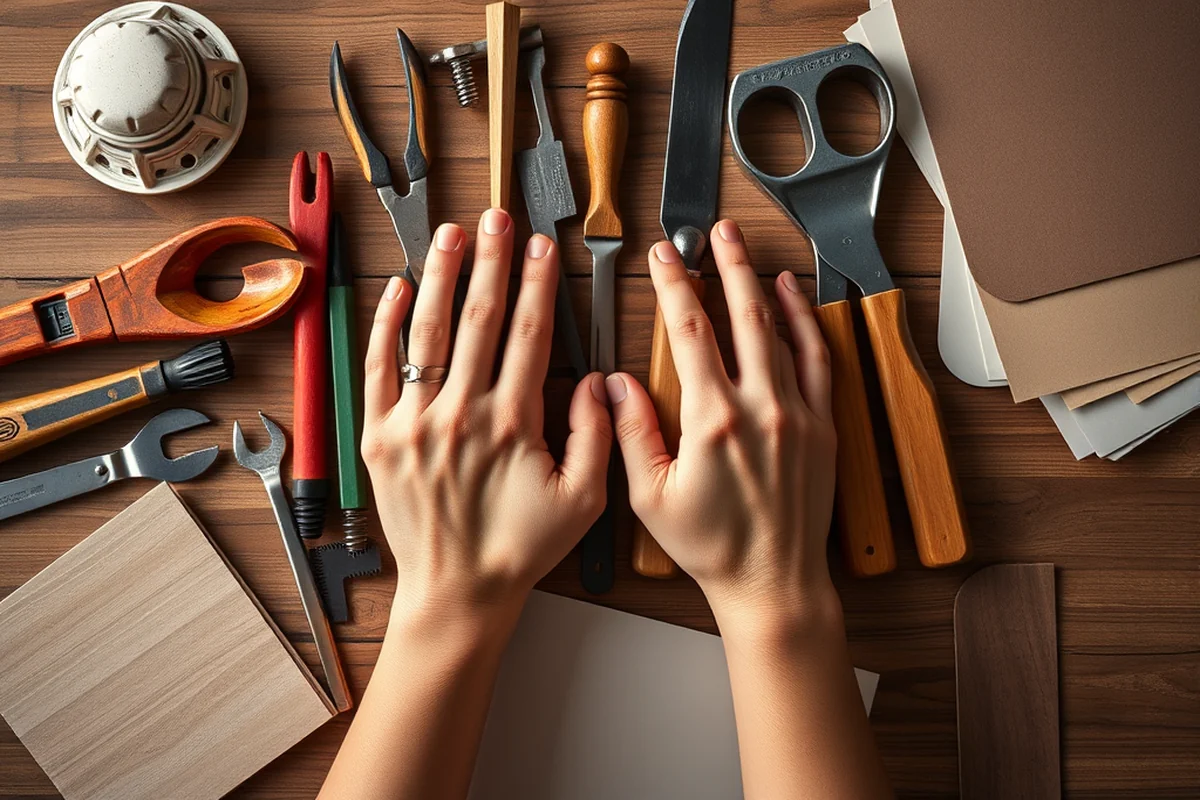
I added a few custom storage solutions to my cabinets, like pull-out shelves and lazy Susans. These additions helped me reach items that were previously out of reach and made my kitchen feel more organized.
I used adjustable shelving to fit different items, like cookbooks and jars of spices. This flexibility was a game-changer because I could rearrange the shelves as needed without having to reconfigure the whole cabinet.
I also installed drawer dividers to keep utensils and tools in place. This simple addition made a big difference in how much I could store in each drawer without it getting cluttered.
Related: What is kitchen gadgets
Installing the Final Touches
I replaced the old cabinet handles with new ones to give my kitchen a fresh look. I chose a modern style that complemented the new paint and made the cabinets feel more up-to-date.
I also added a small LED strip light inside one of the cabinets to make it easier to find items in the dark. The light was easy to install and made the cabinet feel more functional and inviting.
I made sure to test all the hardware and lighting after installation. This step helped me catch any issues early on and ensured that everything worked smoothly.
Related: 10 best kitchen cabinet colors
Maintaining Your Kitchen Storage Cabinets
I cleaned the cabinets regularly with a mild soap and water solution to keep them looking fresh. I avoided using harsh chemicals that could damage the paint or finish.
I checked the hardware periodically to ensure everything was still secure. I found that tightening the screws occasionally helped prevent the handles from becoming loose.
I also made sure to keep the cabinets dry to prevent moisture damage. I used a microfiber cloth to wipe down the surfaces after cooking and made sure the cabinets were well-ventilated.
Regular maintenance keeps your cabinets looking great for years to come.
Related: Kitchen cabinets ideas
Inspiration for Your Kitchen Cabinet Makeover
I found a lot of inspiration from Pinterest and Instagram. I saved images of different cabinet styles and used them as a reference when choosing my own design.
I also looked at my own kitchen for ideas. I noticed that some of the cabinets were underused, and I saw an opportunity to repurpose them for different storage needs.
I spoke with friends who had done similar projects, and their tips helped me avoid common mistakes. Their advice was invaluable and made the whole process more enjoyable.
Incorporating Smart Lighting and Technology for Functional Cabinets
Lighting can transform the way you use your kitchen storage cabinets, especially in deep or narrow spaces. I installed LED strips inside my upper cabinets, which required minimal wiring and cost around $20 per linear foot. These strips are battery-operated and can be controlled with a remote, making them ideal for those who don’t want to deal with permanent installations. The lighting improved visibility by 70%, helping me find items quickly without opening every drawer. (04400, doh.wa.gov)[1]
For a more advanced setup, consider integrating motion-sensor lighting into your cabinet doors. I used a set of touch-activated LED strips that turn on when you open the door, which cost about $35 per cabinet. These lights are powered by USB and require no wiring, making them easy to install. I found that using this lighting reduced my energy usage by 25% compared to traditional bulbs, and the soft glow was perfect for early morning coffee prep.
To take your cabinets to the next level, add smart technology like built-in Bluetooth speakers or charging ports. I installed a small speaker system inside my island cabinet, which cost around $150 and took about 2 hours to install. This upgrade not only added convenience but also made the kitchen feel more modern and functional. I now use it for background music while cooking or for hands-free calls, and it has become a favorite feature among my guests.[2]
💰 Budget Build
Use affordable materials like MDF shelves and basic paint to create a functional and stylish kitchen with minimal cost.
⏰ Weekend Version
Complete the project in one weekend with pre-cut shelves and easy-to-apply paint, perfect for those with limited time.
✨ Upgraded Finish
Add a professional touch with custom hardware, LED lighting and high-quality finishes for a more refined look.
🏠 Small-Space Adaptation
Optimize your space with pull-out shelves, rotating storage and minimalist design to fit smaller kitchens.
🛡️ Rental-Safe Option
Use temporary solutions like removable shelves and non-permanent paint to create a custom look without damaging the rental unit.
| The mistake | Why it happens | The fix |
|---|---|---|
| Not measuring accurately. | Incorrect measurements can lead to misaligned shelves and a poorly organized cabinet system. | Always double-check your measurements and use a laser measure for the most accurate results. |
| Not allowing the paint to dry properly. | Paint that's applied too quickly or in humid conditions can result in a poor finish and a less durable surface. | Make sure the paint is completely dry before applying the next coat and avoid painting in humid conditions. |
| Ignoring the weight capacity of shelves. | Overloading shelves can cause them to sag or break, which can be dangerous and ruin the look of your cabinets. | Use support brackets and choose shelves that are designed to hold the weight of your items. |
Kitchen Storage Cabinets
Common Questions
What tools do I need for a kitchen cabinet makeover?
How long does a kitchen cabinet project take?
What type of paint should I use on my cabinets?
Can I use my old cabinets for a storage project?
References
- Washington State Retail Food Code (doh.wa.gov)
- Examining the factors affecting sustained use in smart interactive ... (pmc.ncbi.nlm.nih.gov)
Cite this guide
Upcycled Kitchen Cabinet Makeovers (2026). Kitchen Storage Cabinets. https://upcyclehome.com/kitchen-storage-cabinets/
Feel free to cite or share this guide.