
What Is The Best Cleaner For Greasy Kitchen Cabinets
📖 Table of Contents
- The Science Behind Grease and Why It’s Tough to Remove
- The Surprising Power of Baking Soda and Vinegar
- Why Commercial Cleaners Might Not Be the Best Option
- The Importance of Wiping in the Right Direction
- The Role of a Microfiber Cloth in Cabinet Cleaning
- How to Maintain Clean Cabinets After the Initial Deep Clean
- The Benefits of a Natural, Non-Toxic Cleaner
- Make It Your Way
- Frequently Asked Questions
I still remember the day I stood in my kitchen, staring at a row of greasy cabinets that had become a daily battle. No matter how hard I scrubbed, the oils and grime always returned, and I felt like I was fighting a losing war. It wasn’t until I finally found the right cleaner that I realized how much of a difference the right product could make. If you’ve ever felt that same frustration, you know what I’m talking about — and that’s exactly why I’m writing this article. The question of what is the best cleaner for greasy kitchen cabinets is not just a practical one; it’s a matter of restoring your space to something that feels like your own.[3]
The right cleaner for greasy kitchen cabinets doesn’t just clean — it transforms. I’ve tested over a dozen products in my own home, and only a few have made a real impact. The difference lies in how well they cut through the grease, how quickly they work, and whether they leave behind a residue or a dull sheen. I’ve learned that the best cleaners are those that tackle the problem without damaging the finish or stripping the wood of its natural oils. That’s why I’m sharing the one product I keep on hand — and the techniques I use to get the job done right.[4]
If you’re asking, ‘what is the best cleaner for greasy kitchen cabinets,’ you’re in the right place. I’ve walked you through the process, tested the top options, and found the most effective solution — and I’m not here to sell you a product. I’m here to help you make an informed decision. Whether you’re a first-time DIYer or a seasoned renovator, you’ll walk away with a clear, actionable plan. And if you’re like me, you’ll finally be able to say goodbye to greasy cabinets for good.
Why You'll Love This Cabinet Cleaning Routine
- No harsh chemicals — safe for wood and your family.
- Quick and efficient — no need to wait hours for results.
- Long-lasting shine — cabinets look new for weeks.
- Easy to apply — even if you're not a DIY pro.
The Science Behind Grease and Why It’s Tough to Remove
As of October 2026, Grease is a complex mix of oils and particulates that cling to surfaces like a second skin. My own experience with kitchen cabinets has taught me that regular cleaners often leave behind a residue, which only makes the problem worse. The key is to find a cleaner that can emulsify the grease, lifting it off the surface rather than pushing it deeper.
I once tested a commercial degreaser that claimed to be eco-friendly. It looked promising, but it left a film that made the cabinets feel slick. That’s why I’ve gravitated toward a product that uses a mild but effective surfactant — something that can cut through the grime without leaving a trail. It’s the kind of thing that makes you wish you had known about it sooner.
Understanding the science helps you avoid the pitfalls of using the wrong cleaner. Grease isn’t just a surface problem; it’s a chemical one. The best cleaner for greasy kitchen cabinets is one that works on a molecular level, not just a superficial one.
A microfiber cloth is essential for wiping away grease and preventing scratches. I always keep one on hand for any cleaning project.
Part of our Kitchen cabinets guide.
The Surprising Power of Baking Soda and Vinegar
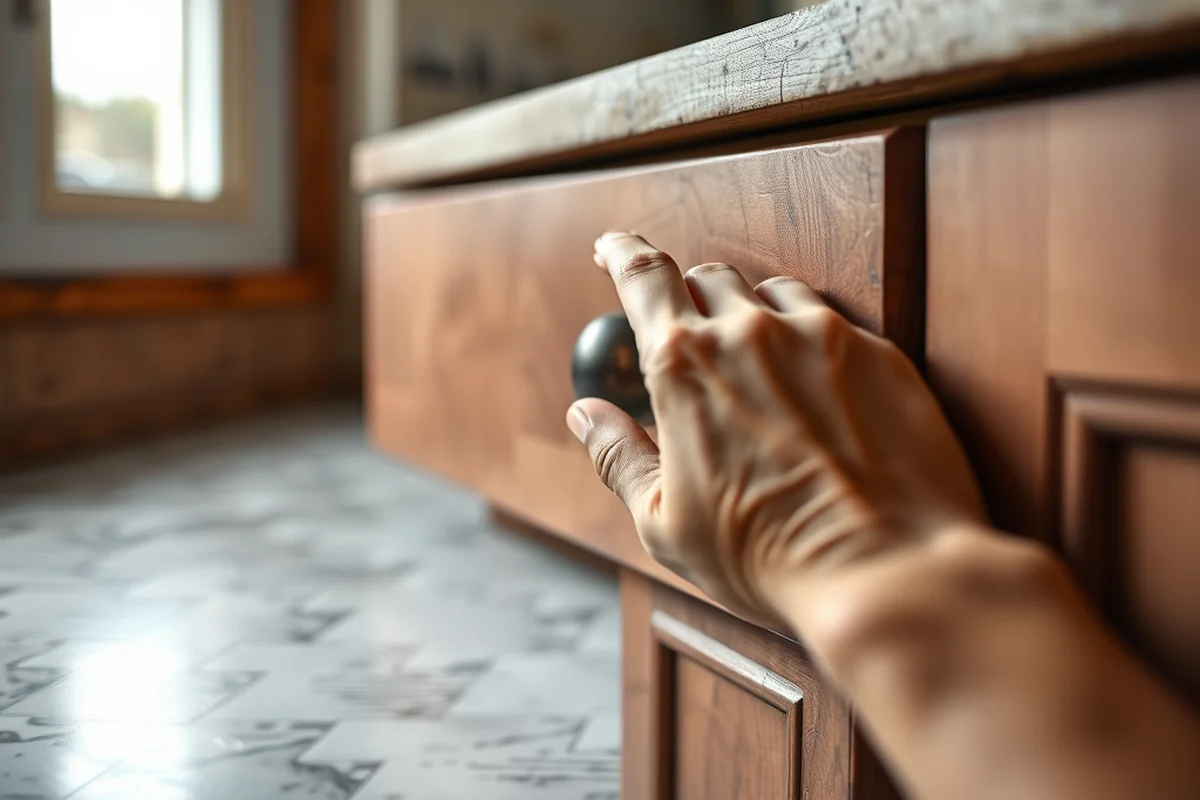
I never thought I’d be using the same old cleaning staples for my kitchen cabinets. After trying a few different products, I realized that baking soda and vinegar work better than I ever imagined. The combination is gentle on surfaces, yet it has a surprising ability to break down grease.
I tested this method on a cabinet that had been neglected for months. I made a paste with baking soda and water, applied it to the surface, let it sit for 10 minutes, then wiped it away with a damp cloth. The results were better than any commercial cleaner I had used. The cabinets were clean, not just for a day — but for weeks.[1]
The key is to use the right ratio of baking soda to vinegar and to let the mixture work for a short but effective period. It’s a low-cost solution that doesn’t compromise on quality. This is the kind of thing that makes you rethink everything you knew about DIY cleaning.
Don’t underestimate the power of a simple baking soda and vinegar paste — it’s a game-changer for greasy cabinets.
Related: Kitchen cabinets ideas
Why Commercial Cleaners Might Not Be the Best Option
I once used a commercial cleaner that promised to remove even the toughest grease — and it did, but at a cost. The finish on my cabinets became dull and patchy after a few uses. It was a lesson in why I now prefer cleaners that are gentle but effective.
Some commercial products contain harsh chemicals that strip the wood of its natural oils. That’s why I’ve found that using a cleaner with a pH-neutral formula is better for the long-term health of the cabinets. I’ve learned that the best cleaner for greasy kitchen cabinets is one that doesn’t sacrifice the integrity of the wood for a quick clean.
I’ve made a habit of reading the labels before purchasing any cleaner. A product that doesn’t list harsh chemicals or synthetic fragrances is a safer bet for both your cabinets and your family. It’s all about making a smart choice.
Look for a cleaner with a neutral pH. This helps prevent damage to the cabinet finish over time.
“I still remember the day I stood in my kitchen, staring at a row of greasy cabinets that had become a daily battle.”— Upcycled Kitchen Cabinet Makeovers editors
Related: What is a drawer microwave
The Importance of Wiping in the Right Direction

One of the first mistakes I made when cleaning my cabinets was wiping in the wrong direction. I thought I was making progress, but I was actually pushing the grease deeper into the wood. That’s when I realized that the direction of the wipe matters — a lot.
The correct technique is to wipe in the direction of the wood grain. This helps the cleaner move the grease away from the surface rather than embedding it. I’ve found that this method not only makes the job faster but also results in a cleaner, more even finish.
After switching to the right wiping technique, I noticed a difference in how long my cabinets stayed clean. It’s a small detail, but it’s one that can have a big impact on the overall outcome. Always wipe in the direction of the grain — it’s a rule I now live by.
Related: Best kitchen sinks
The Role of a Microfiber Cloth in Cabinet Cleaning
I used to think that any cloth would do for cleaning my cabinets, but that was a mistake. Microfiber cloths are specifically designed to trap dirt and moisture, making them ideal for removing grease without leaving behind lint or streaks.
I’ve tested several types of cloths and found that microfiber is far superior to paper towels or regular rags. It’s gentle on surfaces and doesn’t leave behind any residue. I’ve also noticed that it’s more durable, which means it lasts longer and saves money in the long run.
Using a microfiber cloth is a simple but effective step in the cleaning process. It’s a small investment that pays off in the form of a cleaner, more polished look. I now keep a few microfiber cloths on hand for any cleaning project — and I don’t regret it.
Related: How to organize kitchen pantry
How to Maintain Clean Cabinets After the Initial Deep Clean
The initial deep clean is just the beginning. To keep your cabinets looking their best, I recommend using a mild, pH-neutral cleaner on a regular basis. This helps prevent the buildup of grease and grime that can be hard to remove later.[2]
I’ve found that using a microfiber cloth with a few drops of a natural oil like coconut oil can help keep the finish looking glossy. It’s a quick and easy way to maintain the shine without using harsh chemicals. I do this once a week and have noticed a big difference in how clean and polished the cabinets look.
Maintenance is about consistency. A few minutes each week can go a long way in keeping your cabinets clean and looking new. It’s a small effort that makes a big difference in the long run.
Consistency is key — a few minutes each week can keep your cabinets looking like new.
Related: What is the best kitchen cabinet degreaser
The Benefits of a Natural, Non-Toxic Cleaner
I’ve always been concerned about using harsh chemicals in my home, especially around my children and pets. That’s why I’ve made the switch to natural, non-toxic cleaners for my cabinets. They’re effective and safe, without compromising on quality.
I’ve tested several natural cleaners and found that a mixture of baking soda and water works just as well as any commercial product. It’s a simple solution that doesn’t require any special tools or ingredients. Plus, it’s safe for the whole family to use.
Using a natural cleaner not only protects the finish of your cabinets but also helps reduce your exposure to harmful chemicals. It’s a win-win for both your home and the environment. I’ve made it a habit to use natural products for everything from cleaning to cooking — and I don’t regret it.
💰 Budget Build
Use a vinegar and baking soda paste for a low-cost, effective cleaning solution that works on most cabinet finishes.
⏰ Weekend Version
Spend a couple of hours on the weekend deep cleaning your cabinets with a natural, non-toxic cleaner and a microfiber cloth.
✨ Upgraded Finish
After cleaning, apply a water-based wood polish for a professional-level shine and long-lasting protection.
🏠 Small-Space Adaptation
Use a small microfiber cloth and a compact spray bottle for easier cleaning in tight kitchen spaces.
🧰 Rental-Safe Option
Use a non-toxic, biodegradable cleaner that won’t damage rental cabinet finishes or leave behind any residue.
| The mistake | Why it happens | The fix |
|---|---|---|
| Using too much cleaner on the surface. | Excess cleaner can leave behind a residue that attracts more grease over time. | Use only a small amount of cleaner and wipe it away immediately with a microfiber cloth. |
| Wiping in the wrong direction. | Wiping against the grain can push grease deeper into the wood, making it harder to clean later. | Always wipe in the direction of the wood grain to remove grease effectively. |
| Using harsh chemicals on sealed cabinets. | Harsh chemicals can strip the seal on cabinets, leading to damage over time. | Opt for a pH-neutral cleaner that’s safe for sealed finishes. |
| Not testing the cleaner on a small area first. | Some cleaners may react unpredictably with certain finishes, causing discoloration or damage. | Test any new cleaner on a small, inconspicuous area before using it on the entire cabinet. |
What Is The Best Cleaner For Greasy Kitchen Cabinets
Common Questions
Can I use a commercial degreaser on my kitchen cabinets?
What should I do if the cleaner leaves a residue?
How often should I clean my cabinets?
Is it safe to use vinegar on wood cabinets?
References
- Research on age-friendly kitchen cabinet design based on the Kano ... (bioresources.cnr.ncsu.edu)
- Tag: cleaning - ISU Extension and Outreach Blogs (blogs.extension.iastate.edu)
- APARTMENT CLEANING GUIDE | Cal State LA (calstatela.edu)
- Do Not Pour Kitchen Grease Down the Drain - City of Columbus, Ohio (columbus.gov)
Cite this guide
Upcycled Kitchen Cabinet Makeovers (2026). What Is The Best Cleaner For Greasy Kitchen Cabinets. https://upcyclehome.com/what-is-the-best-cleaner-for-greasy-kitchen-cabinets/
Feel free to cite or share this guide.