
How To Wallpaper A Dining Room
📖 Table of Contents
I still remember the first time I hung wallpaper in my dining room — the smell of the paste, the way the paper curled as I tried to smooth it. The thrill of watching the room transform from dull to divine. Wallpapering a dining room is more than a DIY project; it's a way to inject personality, warmth, and style into a space that's often overlooked. Whether you're a first-timer or a seasoned renovator, this guide will walk you through every step, from measuring to trimming.[1]
There's something deeply satisfying about taking a bare wall and turning it into a canvas for your imagination. For me, the dining room was the last room in my home to get the attention it deserved. I had spent months updating the kitchen and living room, and finally, it was time for the dining room. The process was meticulous, but the results were worth every drop of paste and every hour spent smoothing seams. If you're thinking about how to wallpaper a dining room, you're not alone — and the reward is well worth the effort.
Wallpapering a dining room is not only a creative outlet but also a practical way to update your space without the cost of a full renovation. I found that the right pattern can make a room feel larger, cozier, or even more elegant, depending on your choice. The key is to plan ahead, gather the right tools, and take your time. This guide will give you the confidence and knowledge you need to tackle the project, no matter your skill level.[2]
Why You'll Love This Dining Room Makeover
- A dramatic transformation with minimal cost
- A chance to express your personal style
- Increased home value through a thoughtful update
- A project that's achievable for beginners
Choosing the Right Wallpaper
As of September 2026, I spent hours in the store, running my fingers over different textures and patterns, considering how each would reflect the room's lighting and the furniture already in place. I went with a bold geometric design in a deep emerald green — it was a risk, but it worked. When choosing wallpaper, consider the room's natural light, the size of the space, and the overall aesthetic you want to achieve.
For a dining room, I found that darker, bolder patterns can create a dramatic effect, while lighter, more subtle designs can make the space feel more open. I also considered the durability of the wallpaper, since the dining room is often a high-traffic area. I went with a vinyl-based wallpaper, which is easy to clean and resistant to moisture and stains.
I learned that it's important to bring a sample of the wallpaper home to see how it looks in the room's lighting at different times of the day. This helped me avoid any surprises once the project was underway. Taking the time to choose the right wallpaper can make all the difference in the final result.
Before you start, measure each wall carefully and make a note of any outlets, switches, or other obstacles. This will save you time and prevent mistakes.
Gathering Materials and Tools
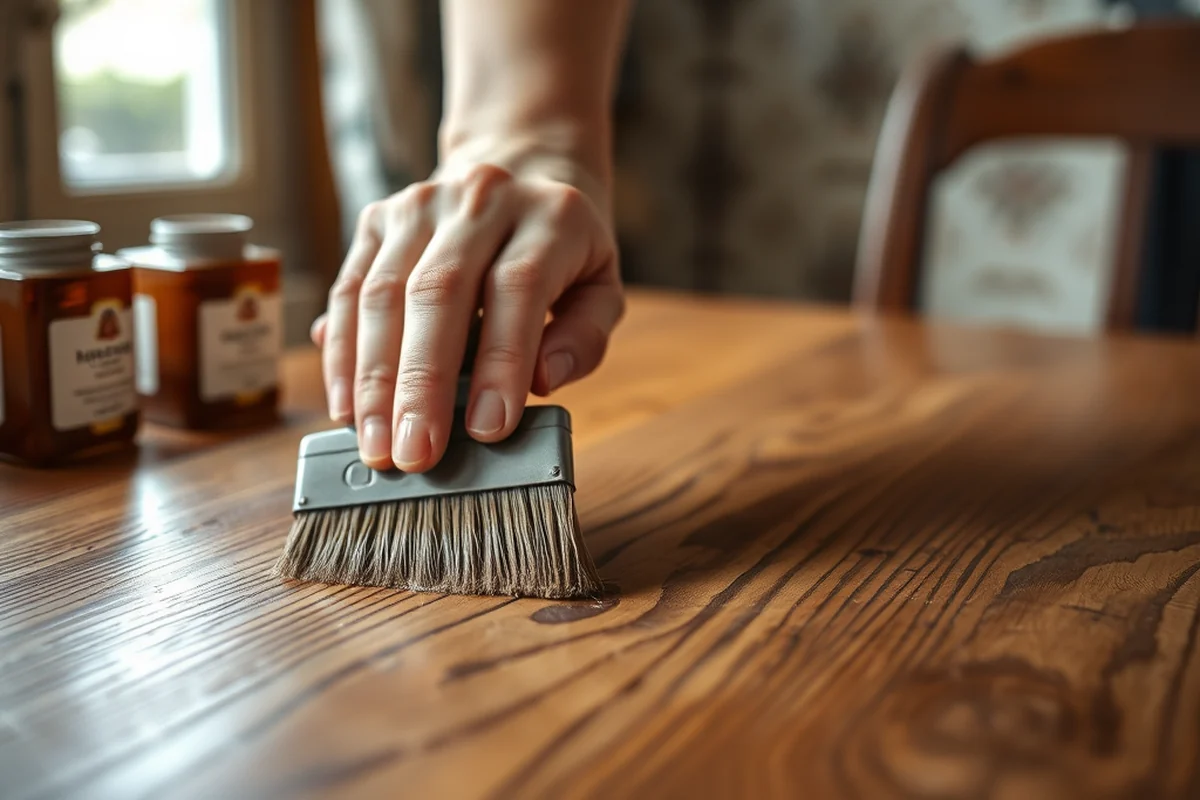
I made a list of everything I would need before I even left the house. This included the wallpaper, a utility knife, a smoothing brush, a bucket, a sponge, and a pencil. I also purchased a few extra rolls of wallpaper just in case I miscalculated the amount needed. I found that the right tools can make a huge difference in the quality of the final result.
I was surprised by how few tools were actually needed for the project. The most important ones were a good pair of scissors or a paper trimmer, a smoothing brush, and a taping knife. I also made sure to have a level, which I used to ensure the wallpaper was straight and even as I hung it.
I also invested in a few extra rolls of the same wallpaper, just in case I ran short. It turned out I needed them — I had underestimated the amount of wall space and had to make a few last-minute adjustments. Being prepared with the right materials can save you a lot of time and frustration.
A well-prepared DIYer is half the battle won.
Related: Diy bathroom vanity makeover ideas
Preparing the Walls for Wallpaper
I spent the day before the project sanding the walls and filling any cracks or holes. I used a fine-grit sandpaper to make the surface as smooth as possible and then wiped it down with a damp sponge to remove any dust. I found that a clean, smooth surface makes a huge difference in how the wallpaper adheres and looks once it's up.
I also made sure to patch any holes or cracks in the walls with spackle and allowed it to dry completely before proceeding. I used a level to check the walls for any imperfections and made sure they were as flat as possible before starting. I learned that skipping this step can lead to visible bubbles or uneven seams down the line.
One of the most important parts of the preparation process was applying a primer to the walls. I used a water-based primer, which helped the wallpaper stick better and ensured it wouldn't peel off after a few weeks. I found that taking the time to prepare the walls properly was one of the most important steps in the entire project.
A water-based primer is essential for helping the wallpaper stick to the wall and preventing it from peeling over time.
“I still remember the first time I hung wallpaper in my dining room — the smell of the paste, the way the paper curled as…”— Upcycled Kitchen Cabinet Makeovers editors
Related: Modern living room interior design ideas
Cutting and Applying the Wallpaper
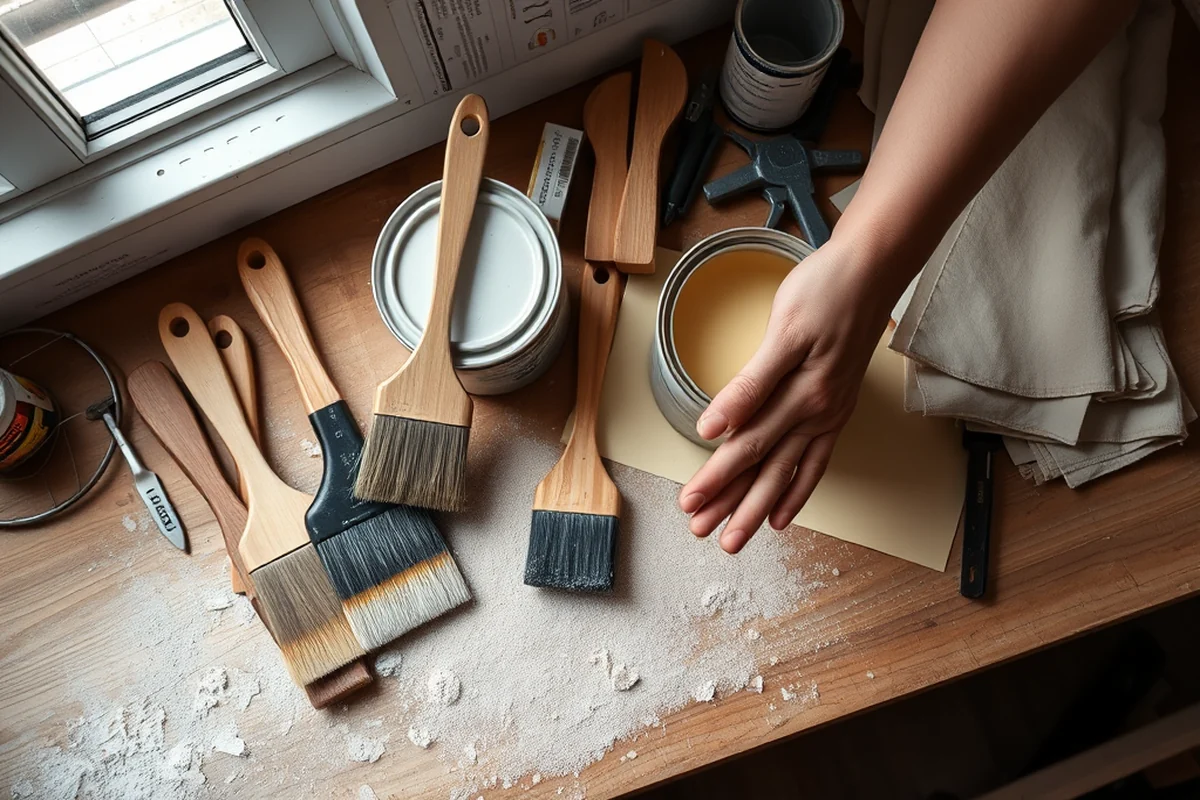
I began by cutting the wallpaper to the correct length for each wall. I measured each wall carefully and marked the wallpaper with a pencil before cutting it. I found that it was easier to work with the wallpaper on a flat surface, so I laid it out on the floor and made my cuts there. I also made sure to leave some extra length on each piece for trimming later.
I applied the wallpaper in sections, starting from the top and working my way down. I used a smoothing brush to press the wallpaper against the wall and remove any air bubbles. I found that applying the wallpaper in sections made it easier to manage and ensured that the seams were straight and even.
I used a utility knife to trim any excess wallpaper at the edges and made sure the seams were tight. I repeated this process for each section, taking my time to ensure the wallpaper was properly aligned and smooth. I found that the most important part of this step was being methodical and patient — rushing through this part could lead to mistakes later on.
Related: Unique bathroom cabinet ideas
Smoothing and Trimming the Wallpaper
After I had applied the wallpaper to the wall, I used a smoothing brush to press it against the surface and remove any air bubbles. I found that this step was crucial in ensuring the wallpaper looked smooth and even once it was finished. I also used a sponge to dampen the wallpaper slightly, which helped it stick better to the wall.
I trimmed any excess wallpaper at the edges using a utility knife, making sure the cuts were clean and even. I also used a taping knife to smooth out any wrinkles or bubbles that had formed. I found that taking the time to smooth the wallpaper properly was one of the most important parts of the entire project.
Once the wallpaper was applied and trimmed, I stepped back to check my work. I found that the final result was worth all the effort — the room looked completely different and felt more inviting. I had transformed the dining room from a dull, outdated space into a vibrant, stylish area that reflected my personal taste.
Related: Bathroom closet design ideas
Finishing Touches and Maintenance
I used a dry sponge to gently press the wallpaper and remove any excess paste. I found that this step helped the wallpaper set properly and ensured it didn't look cloudy or uneven once it was dry. I also made sure to clean up any excess paste or residue from the floor and walls after the project was completed.
I took a few days to let the wallpaper dry completely before moving any furniture back into the room. I found that waiting a few days helped the wallpaper set properly and ensured that it didn't peel or bubble after I moved everything back in. I also made sure to keep the room well-ventilated during the drying process.
Once the wallpaper was fully dry, I gave the room a thorough cleaning and moved the furniture back in. I was amazed at how different the space looked — the wallpaper had transformed the room and made it feel more modern and stylish. I had created a space that was not only beautiful but also functional and comfortable.
A little patience goes a long way in any DIY project.
Related: Bathroom closet remodel ideas
Enjoying Your New Dining Room
After I completed the wallpapering project, I sat down at the dining table and marveled at the transformation. The room looked completely different — the wallpaper had added a new dimension of style and personality to the space. I had created something that was not only visually appealing but also a reflection of my own taste and creativity.
I noticed how the wallpaper had changed the way the room felt — it was more inviting, more elegant, and more functional. I had chosen the right pattern and color, and the result was well worth the effort. I had taken a room that had been neglected for years and given it a new lease on life.
Since I completed the project, I've received so many compliments from friends and family. They can't believe how much the room has changed and how much effort I put into the project. I've learned that a little creativity and effort can go a long way in transforming a space into something truly special.
💰 Budget Build
Use pre-pasted wallpaper to save time and money on the project.
🕒 Weekend Version
Focus on one wall at a time and keep the process simple and manageable.
✨ Upgraded Finish
Choose a textured or metallic wallpaper for a more luxurious look.
🛋️ Small-Space Adaptation
Use vertical stripes to create the illusion of more space in a small dining room.
🔒 Rental-Safe Option
Use removable wallpaper that can be easily taken down without damaging the walls.
| The mistake | Why it happens | The fix |
|---|---|---|
| Not measuring the walls correctly | This can lead to running out of wallpaper or having to cut it in awkward places. | Measure each wall carefully and make sure to account for all obstacles like outlets and switches. |
| Skipping the primer step | This can cause the wallpaper to peel or bubble after a few weeks. | Always apply a water-based primer to the walls before applying the wallpaper. |
| Rushing through the smoothing process | This can lead to air bubbles or uneven seams that are hard to fix later. | Take your time and use a smoothing brush to press the wallpaper against the wall and remove any air bubbles. |
| Not leaving enough extra wallpaper for trimming | This can result in having to cut the wallpaper in awkward places or not having enough to cover the entire wall. | Always cut extra wallpaper and allow for trimming on each side. |
How To Wallpaper A Dining Room
Common Questions
How long does it take to wallpaper a dining room?
What is the best type of wallpaper for a dining room?
Can I wallpaper over existing wallpaper?
How do I handle outlets and switches when wallpapering?
References
Cite this guide
Upcycled Kitchen Cabinet Makeovers (2026). How To Wallpaper A Dining Room. https://upcyclehome.com/how-to-wallpaper-a-dining-room/
Feel free to cite or share this guide.