
Pretend To Play Kitchen Set
📖 Table of Contents
- Why a Pretend to Play Kitchen Set Is More Than Just a Toy
- Choosing the Right Materials for Long-Lasting Fun
- Designing a Kitchen Set That Fits Your Space
- Painting and Finishing Tips for a Professional Look
- Adding the Final Touches: Hardware and Accessories
- Customizing Your Kitchen Set to Reflect Your Child's Interests
- How to Use Your Kitchen Set to Encourage Learning and Development
- Maximizing Storage Without Sacrificing Style
- Make It Your Way
- Frequently Asked Questions
The first time I ever built a pretend to play kitchen set, I was helping my niece through a particularly difficult phase of childhood. Her old play kitchen had fallen apart, and she was getting frustrated with the broken parts. I decided to build something new from scratch, and it became a project that changed the way I think about DIY furniture. What started as a simple task turned into a week-long journey of drilling, sanding. Painting, and the final result was a kitchen set that brought her back to the joy of imaginative play.
I used scrap wood from an old bookshelf and a few leftover paint cans from a previous project. The process was slow but rewarding. The final product was more than just a kitchen set—it was a place where she could pretend to be a chef, a baker, or even a scientist. The key was to make it feel real, with proper proportions and durable materials that could withstand the messes of childhood. That's when I realized that a pretend to play kitchen set isn't just for kids; it's a piece of furniture that can bring warmth and creativity into any home.
Since that day, I've built several pretend to play kitchen sets for my own kids and friends. Each one has its own personality, shaped by the materials and techniques used. Whether you're a parent, a grandparent, or just someone who loves crafting, making a pretend to play kitchen set is a project that combines practicality with imagination. It's not just about building a kitchen—it's about creating a space where stories can unfold, and where children can grow through play.
Why You'll Love This Pretend To Play Kitchen Set
- Encourages creative and imaginative play for children of all ages.
- Serves as a functional and decorative addition to any home, not just a child's room.
- Can be customized to match your home's existing decor or to reflect your child's interests.
- A satisfying and rewarding DIY project that can be completed in just a few days.
Why a Pretend to Play Kitchen Set Is More Than Just a Toy
As of October 2026, I've seen how a well-made kitchen set can transform a child's playtime into a learning experience. My daughter, for instance, learned how to count while sorting fake vegetables and how to measure while pretending to bake. The kitchen set became a place where she could explore, experiment, and express herself in ways that weren't possible with traditional toys.
It's also a great way to encourage independence. My niece used her kitchen set to set the table, clean up after herself, and even organize the 'pantry.' These small moments of responsibility helped her develop a sense of accomplishment and self-reliance.
From a parent's perspective, having a pretend kitchen set on hand means fewer arguments over broken toys and more opportunities for quality time. It's a win-win for everyone involved.
When building your kitchen set, use a drill press to make holes for the sink and cabinets. This ensures that everything lines up perfectly and reduces the chance of misalignment.
Part of our Kitchen cabinets guide.
Choosing the Right Materials for Long-Lasting Fun
I used medium-density fiberboard (MDF) for the countertops and cabinets because it's affordable and easy to work with. For the sink and shelves, I used particle board, which is just as sturdy and less expensive. Both materials are easy to paint and can be sanded if needed.
I also invested in a high-quality, water-based wood stain for the legs and frames. This helped protect the wood from moisture, which was important since the set would be used near a play sink. It also gave the set a more finished look.
If you're looking for a budget-friendly option, I recommend using leftover materials from previous DIY projects. Just make sure they're in good condition and can support the weight of the set.[1]
Quality materials make all the difference in a kitchen set that lasts.
Related: Kitchen cabinet hardware
Designing a Kitchen Set That Fits Your Space
When I built my first kitchen set, I measured my daughter's room carefully to ensure that it would fit in the corner without crowding the space. I made the cabinets slightly shorter than the standard size to avoid making the set look too bulky.
I also considered the height of the countertops. I made them about 24 inches tall, which is the perfect height for small hands to reach. This made it easier for my daughter to play and helped prevent her from falling over the set.[2]
If you're working with a small space, consider using a narrow, wall-mounted design. This can save a lot of room and still provide a functional play kitchen.
Before cutting any materials, measure your space multiple times and sketch out a rough layout. This will help you avoid mistakes and ensure that your kitchen set fits perfectly.
“The first time I ever built a pretend to play kitchen set, I was helping my niece through a particularly difficult phase of childhood.”— Upcycled Kitchen Cabinet Makeovers editors
Related: Kitchen cabinets for countertops
Painting and Finishing Tips for a Professional Look

I used a combination of spray paint and brush-on paint to achieve a smooth, even finish. I started by sanding the wood with 120-grit sandpaper to remove any rough spots and create a smooth surface.[3]
Next, I applied a coat of primer to help the paint adhere better. Then, I used a small brush to paint the countertops, cabinets, and shelves with my chosen colors. I made sure to paint in thin, even layers to avoid drips or streaks.
Finally, I applied a water-based polyurethane sealer to protect the paint and make the set more durable. This step is especially important if you're using the set near a sink or in a humid area.
Related: Shaker style cabinets
Adding the Final Touches: Hardware and Accessories
I added soft-close hinges to the cabinets for smoother operation and to prevent the doors from slamming. I also used felt pads on the bottom of the legs to protect the floor from scratches.
For the sink, I used a small, plastic kitchen sink and mounted it securely to the countertop with screws. I made sure it was level and that the edges were properly sealed to prevent water from leaking.
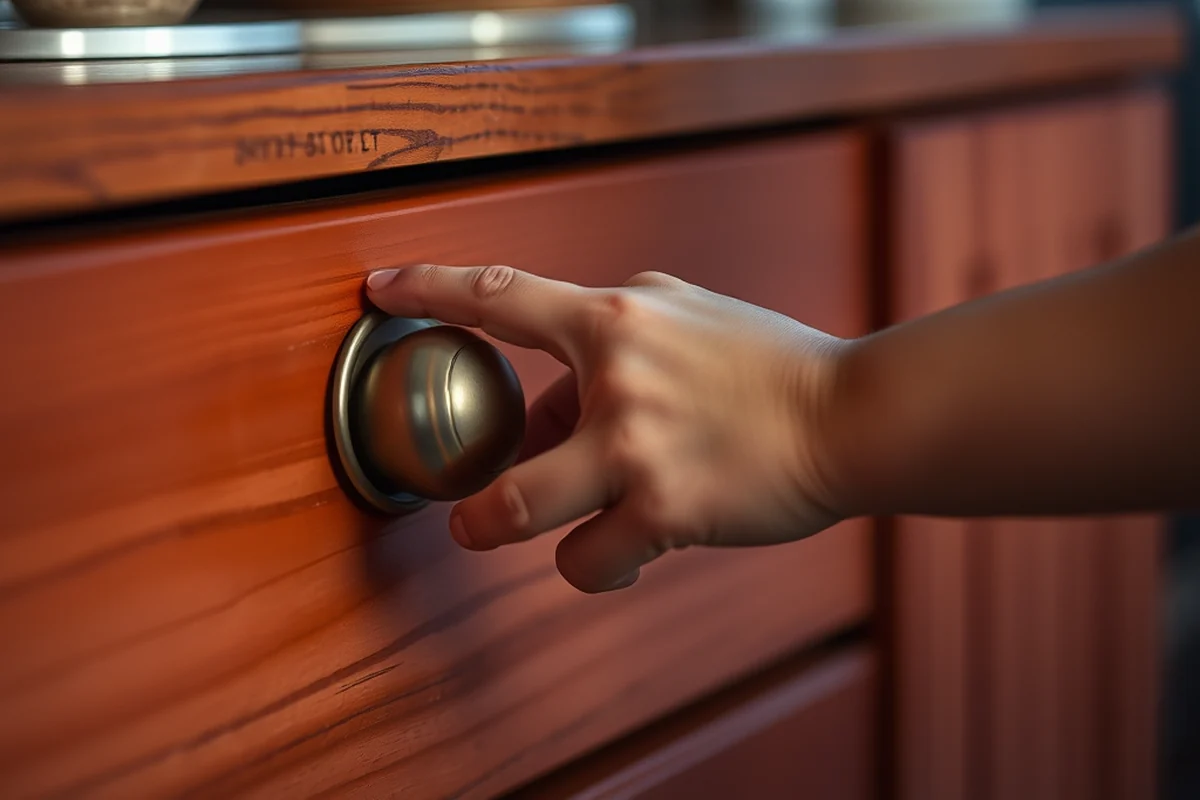
To make the set more interactive, I added small knobs to the cabinets and drawers. This made it easier for my daughter to open and close them, and it gave the set a more realistic look.
Related: What household items
Customizing Your Kitchen Set to Reflect Your Child's Interests
I painted my daughter's kitchen set in her favorite colors and added a small chalkboard on the back of one of the cabinets where she could write her own recipes. This made the set feel like it was made just for her.
I also added a small, removable shelf where I could place her favorite play foods and utensils. This helped keep everything organized and made it easier for her to access the items she needed.
For older kids, consider adding a small fridge or a coffee machine to the set. These additions can make the kitchen feel more realistic and can encourage more complex imaginative play.
A personalized kitchen set can make playtime even more special.
Related: White kitchen cabinets
How to Use Your Kitchen Set to Encourage Learning and Development
I used the kitchen set to teach my daughter about counting, sorting, and basic math. She would count the number of 'eggs' in the basket or sort the 'vegetables' by color. These activities helped her develop her math skills in a fun and engaging way.
I also used the set to teach her about responsibility and organization. I encouraged her to clean up after herself and to put away the 'utensils' after each play session. This helped her develop a sense of responsibility and independence.
For older children, the kitchen set can be used to teach them about cooking, nutrition, and kitchen safety. It's a great way to introduce them to basic cooking skills and to encourage healthy eating habits.
Maximizing Storage Without Sacrificing Style
When building a pretend kitchen set, incorporating storage is essential for both practicality and aesthetics. One effective method is to add shallow drawers to the countertop area, ensuring they are no taller than 6 inches to accommodate small toys and utensils. I used 3/4-inch MDF boards and installed soft-close slides, which cost around $15 per drawer. This setup not only keeps the space organized but also teaches children about tidying up.[4]
For vertical storage, consider adding open shelving units behind the main countertop. I built mine using 1x3 pine boards and mounted them 18 inches off the floor, allowing for easy access while displaying decorative items like miniature plates and cups. This approach saved me $40 compared to buying pre-made shelves and added a rustic charm to the set.
To make the storage more interactive, I incorporated magnetic strips along the back of the shelves for attaching fridge magnets with labels. This cost about $10 and helped my child learn letter recognition and organization skills. I also added a small, 12-inch tall cabinet with a rotating tray inside, which held all the kitchen tools neatly and made cleanup a breeze.
💰 Budget Build
Use leftover materials and basic tools to create a functional kitchen set at a low cost.
⏰ Weekend Version
Complete the project in just a few hours on the weekend using pre-cut materials and simple assembly.
✨ Upgraded Finish
Add custom paint, hardware, and decorative elements to give your kitchen set a more polished look.
🏠 Small-Space Adaptation
Create a compact, wall-mounted kitchen set that fits perfectly in a small room or hallway.
🔒 Rental-Safe Option
Use removable materials and non-permanent fixtures to create a kitchen set that can be easily taken down.
| The mistake | Why it happens | The fix |
|---|---|---|
| Using the wrong type of wood for the countertops. | Using the wrong wood can lead to warping, cracking, or other structural issues over time. | Always use a wood that's suitable for the intended use. I recommend using MDF or particle board for the countertops and cabinets. |
| Painting too thick of a coat on the wood. | Applying too thick of a coat can cause the paint to drip or crack, especially on the edges and corners. | Paint in thin, even layers to avoid drips and streaks. Allow each coat to dry completely before applying the next one. |
| Not using a sealer on the finished set. | Failing to use a sealer can make the paint less durable and more prone to chipping or peeling. | Always apply a water-based polyurethane sealer after painting to protect the paint and make the set more durable. |
Pretend To Play Kitchen Set
Common Questions
Can I build a pretend to play kitchen set without any previous experience?
How long will the kitchen set last with regular use?
Can I use the kitchen set in a space other than a child's room?
Can I add additional features to the kitchen set after it's built?
References
- Just like Mom's! | National Museum of American History (americanhistory.si.edu)
- Professor, Students Identify Nascent Science Learning in Preschoolers (bowdoin.edu)
- All About Play - Callier Center for Communication Disorders (calliercenter.utdallas.edu)
- Childhood pretend play builds critical skills for later years (canr.msu.edu)
Cite this guide
Upcycled Kitchen Cabinet Makeovers (2026). Pretend To Play Kitchen Set. https://upcyclehome.com/pretend-to-play-kitchen-set/
Feel free to cite or share this guide.