
Kitchen Islands With Storage
📖 Table of Contents
I remember the first time I stood in my kitchen, staring at that empty 6-foot gap between the cabinets and the dining area. Realizing I needed a kitchen island — one that could hold my coffee maker, a few cutting boards, and still leave space for my cat to nap. It wasn’t just about aesthetics; it was about function. That’s when I started researching kitchen islands with storage, and I realized how few people actually talk about the nitty-gritty of building one from scratch. Most guides either skip over the storage solutions or assume you have a carpenter on speed dial.[2]
After weeks of trial and error, I ended up building my own island — one that’s not just a visual centerpiece. A storage powerhouse with drawers, open shelving, and even a hidden compartment for the wine I like to keep out of reach of my toddler. The process taught me a lot about materials, layout, and how much you can actually store in a 36-inch-deep cabinet. If you're considering a kitchen island with storage, you need to know that it’s more than just a trendy upgrade — it’s a smart investment for any home.[1]
What I didn’t expect was how much of a conversation starter it became. Friends would stop by, ogle the island, and ask how I managed to fit so much into such a small footprint. That’s the power of a well-designed kitchen island with storage — it’s not just functional, it’s a statement. And if you’re like me, who enjoys a hands-on DIY project, then this is your kind of challenge.[3]
Why You'll Love This Kitchen Island Makeover
- Maximize every inch of your kitchen with smart storage solutions
- Create a focal point that’s both beautiful and practical
- Customize the design to match your existing décor
- Achieve a professional look without the price tag
Choosing the Right Location for Your Island
As of October 2026, I measured my kitchen twice before starting — once with a tape measure, and once with a mental calculation about how much space I’d need for my toddler to crawl around. If your island is too close to the stove or sink, it can create a bottleneck, especially during meal prep.[4]
I found that placing the island about 4 feet from the main cabinets worked best. That gave enough room for people to move freely but kept the storage within arm’s reach. I also made sure there was at least 3 feet of space between the island and any walls or other furniture.
Another consideration is the proximity to outlets. I had to run an extension cord for my coffee maker, but it was a pain. So I added a small, hidden electrical box inside the island — a small but essential upgrade.
Before you start drilling or sawing, measure twice. I can’t stress this enough — even a 2-inch miscalculation can throw off your entire layout.
Part of our Kitchen cabinets guide.
Materials That Make a Difference
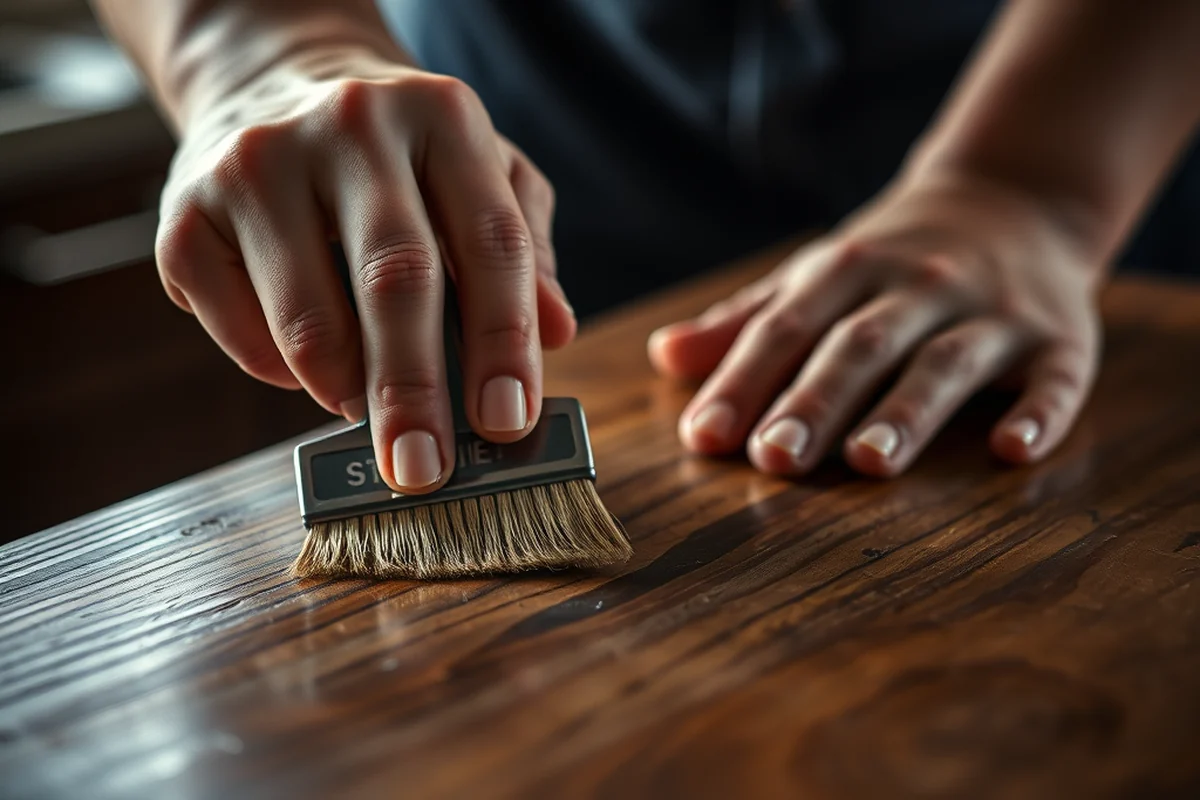
I used MDF for the main structure because it’s affordable and easy to work with. But I painted it with a water-based, high-gloss lacquer — the kind you see in commercial kitchens — and it’s held up better than I expected. It’s also easy to clean, which is a huge plus.
For the countertop, I went with a 3/4-inch thick, solid wood board — oak, to be specific. It’s not the cheapest option, but it’s durable and gives a warm, organic feel. I sanded it down and sealed it with a food-safe mineral oil to protect it from moisture and heat.
I also used a couple of 4x8 sheets of plywood for the drawers and shelves. It was a bit heavy, but it added stability. I was worried about the weight, but after a few months, the island has barely shifted.
The right materials make all the difference in how your island stands the test of time.
Related: What is a display cabinet
Designing the Storage Layout
I started by sketching out the island on graph paper — no, I didn’t use CAD, but I did take precise notes. I measured everything, down to the width of my blender and the height of my jars. That helped me figure out where to place the drawers and open shelves.
I made sure there was a deep drawer on the bottom for storing larger items like cutting boards and mixing bowls, and a smaller one above for utensils and measuring cups. The open shelves were perfect for displaying cookbooks and holding my coffee machine.
I also added a hidden compartment behind a false panel. It’s great for keeping small items like keys, phone chargers, and even a mini tool kit. I never thought I’d need it, but it’s been a lifesaver.
Design your storage around how you use your kitchen. I stored my most-used items in the easiest-to-reach drawers and reserved the lower ones for less-used items.
“I remember the first time I stood in my kitchen, staring at that empty 6-foot gap between the cabinets and the dining area, and realizing…”— Upcycled Kitchen Cabinet Makeovers editors
Related: Diy kitchen cabinets
Cutting and Assembling the Frame
I used a circular saw to cut the MDF and plywood into the required pieces. It took about an hour just to cut everything out, but I made sure to measure each piece twice before cutting. I used a clamping system to hold the pieces in place, which made the assembly much easier.
Once the pieces were cut, I assembled the frame using 3-inch wood screws. I used a level to make sure everything was straight. I also used corner brackets for added stability. It was a bit tedious, but the frame came out solid.
I had to drill a few holes for the outlets and the hidden compartment, which required some careful planning. I used a drill press to get the holes straight and consistent. It took some time, but it was worth it for the clean finish.
Related: What is small kitchen appliances
Adding the Countertop and Finishing Touches
I placed the solid wood countertop onto the frame and used wood screws and brackets to secure it. I made sure it was level and evenly spaced. I also used a wood filler to patch up any gaps or imperfections in the wood before sealing it.
After the countertop was attached, I painted the entire island — the MDF, the frame, and the drawers — with the high-gloss lacquer. I used a brush and a roller to cover all the surfaces. It took about two coats and a few hours to dry, but the finish was worth the wait.
I added the final touches by installing the drawers and open shelves. I used drawer slides for the deep drawers and simple brackets for the shelves. I also installed the outlet box and finished the hidden compartment with a matching panel. The island looked like it came from a showroom.
Related: What is pantry cabinet
Sealing and Protecting the Surface
I used a food-safe mineral oil to seal the wood countertop. I applied it in thin layers, letting each layer dry completely before applying the next. It gave the wood a rich, natural look and protected it from spills and heat.
For the MDF, I used the high-gloss lacquer I mentioned earlier. It was a bit expensive, but it gave the island a professional finish. I applied it with a brush and then used a roller to get even coverage. It took about two coats and a few hours to dry.
I also used a water-resistant sealant on the drawers and shelves. It’s not as heavy as the lacquer, but it’s enough to keep them from getting scratched or damaged. It’s a small step, but it makes a big difference in the long run.
A little sealing goes a long way — it’s the difference between a temporary fix and a lasting investment.
Related: What is kitchen decor
Testing and Final Adjustments
I tested the drawers first, making sure they opened and closed smoothly. I used a little wax on the slides to help them glide more easily. I also tested the hidden compartment to see if the panel was secure and the compartment was accessible.
I checked the countertop for any warping or unevenness. I used a level to make sure it was straight and even. I also tested the outlets to make sure they worked properly. I had to replace one of the outlets because it was too close to the edge, but it was an easy fix.
Finally, I moved the island to its final location and tested the flow of the kitchen. I made sure there was enough space for movement and that the island didn’t block any important areas. I also made sure the storage areas were easy to access and that everything was in its place.
💰 Budget Build
Use affordable materials like MDF and a basic paint finish for a cost-effective kitchen island with storage.
📅 Weekend Version
A quick and simple project that can be completed in one weekend with minimal tools and materials.
✨ Upgraded Finish
Add a premium finish like a high-gloss lacquer or a custom wood stain for a show-stopping look.
🏠 Small-Space Adaptation
Create a compact island with narrow drawers and shelves to maximize space in smaller kitchens.
🔒 Rental-Safe Option
Use removable materials and temporary finishes that can be taken with you if you move.
| The mistake | Why it happens | The fix |
|---|---|---|
| Using the wrong materials | Using low-quality materials can lead to a weak, unstable island that doesn’t last. | Choose durable materials like MDF or solid wood for the frame and countertop. |
| Skipping the sealing process | Not sealing the wood can lead to warping, cracking, and damage from moisture and heat. | Always apply a sealant or finish to protect the surface of your island. |
| Ignoring the outlet placement | Putting outlets in the wrong spot can be inconvenient or even dangerous. | Plan the outlet placement carefully and make sure they are easily accessible. |
| Overlooking the hidden compartment | Not thinking about the hidden compartment can leave you without a place to store small items like keys or tools. | Add a hidden compartment during the assembly process to maximize storage space. |
Kitchen Islands With Storage
Common Questions
What’s the best material for the countertop?
How do I make sure the island is level?
Can I use MDF for the main structure?
How long does the project take?
References
- (PPT) UNDERSTANDING THE BASIC KITCHEN LAYOUT (academia.edu)
- Kitchen Organization in Full-Service Restaurants: Reducing Heat ... (bu.edu)
- Provider Details - K820058356 - Child Care Locator (ccl.dhs.ok.gov)
- Thielke Kitchen Remodel | Coon Rapids, MN - Official Website (coonrapidsmn.gov)
Cite this guide
Upcycled Kitchen Cabinet Makeovers (2026). Kitchen Islands With Storage. https://upcyclehome.com/kitchen-islands-with-storage/
Feel free to cite or share this guide.