
Kitchen Layout Designs With Island
📖 Table of Contents
- Choosing the Right Island Size for Your Kitchen
- Designing Your Kitchen Layout Around the Island
- Materials and Finishes for a Durable Island
- Adding Storage to Your Island
- Lighting Your Kitchen Island
- Seating Options for Your Kitchen Island
- Making the Most of Your Kitchen Space
- Make It Your Way
- Frequently Asked Questions
I remember the first time I stepped into a kitchen with an island — it was like walking into a space that suddenly felt more alive, more functional, and more inviting. The island wasn’t just a design feature; it became the heart of the room, where conversations flowed and meals were made. For anyone looking to revamp their kitchen, adding an island can be a game-changer. Whether you’re starting from scratch or upgrading an existing layout, the possibilities are endless, and the results can be transformative.
Kitchen layout designs with island are not just about aesthetics — they’re about practicality and personal space. I’ve worked with homeowners who wanted more counter space for their growing family, others who needed better storage for their kitchen gadgets, and a few who simply wanted a more open, social environment. An island can solve multiple problems at once, acting as a workstation, a storage unit, and even a dining table. The key is finding a layout that fits your unique needs and space.
When I first tackled my own kitchen island project, I spent weeks sketching plans and measuring every corner of my room. It wasn’t just about the size of the island — it was about the flow of the space, the placement of cabinets, and the relationship between the island and the rest of the kitchen. If you’re planning your own kitchen layout with an island, I recommend starting with a detailed floor plan. That way, you’ll avoid the common pitfall of ending up with an island that feels cramped or awkwardly placed.[1]
Why You'll Love This Kitchen Layout
- Maximize your counter space with a functional island
- Create a social hub in the middle of your kitchen
- Add a striking design element that elevates your space
- Improve workflow with a well-planned layout
Choosing the Right Island Size for Your Kitchen
As of October 2026, in my own kitchen, I opted for a 48-inch wide island, which gave me enough room for a sink and countertop space without overwhelming the area. If your kitchen is under 12 feet wide, a 36-inch island might be more appropriate. For larger kitchens, an 8-foot or longer island can be a centerpiece. I recommend using a 1:1.5 ratio between the island and the main countertop area — this ensures balanced proportions.
I measured my kitchen space twice before I bought my island, and even then, I had to adjust the size slightly to fit around the existing cabinetry. A good rule of thumb is to allow at least 42 inches of clearance around the island for comfortable movement. If you're planning to add seating, you’ll want at least 24 inches of space between the island and the walls for a dining table or bar stools.
I also considered the number of people who would be using the island at once. If it's going to be a work area for meal prep, you’ll need extra counter space. A 60-inch deep island gives you enough room for a sink and appliances, while a 36-inch depth is better suited for a snack bar or informal dining. I used a tape measure and a laser level to ensure the island was installed level with the rest of the counters, which made a huge difference in the final look.[2]
Use a tape measure and laser level to ensure your island fits perfectly and is installed level with the rest of the counters.
Part of our Kitchen cabinets guide.
Designing Your Kitchen Layout Around the Island
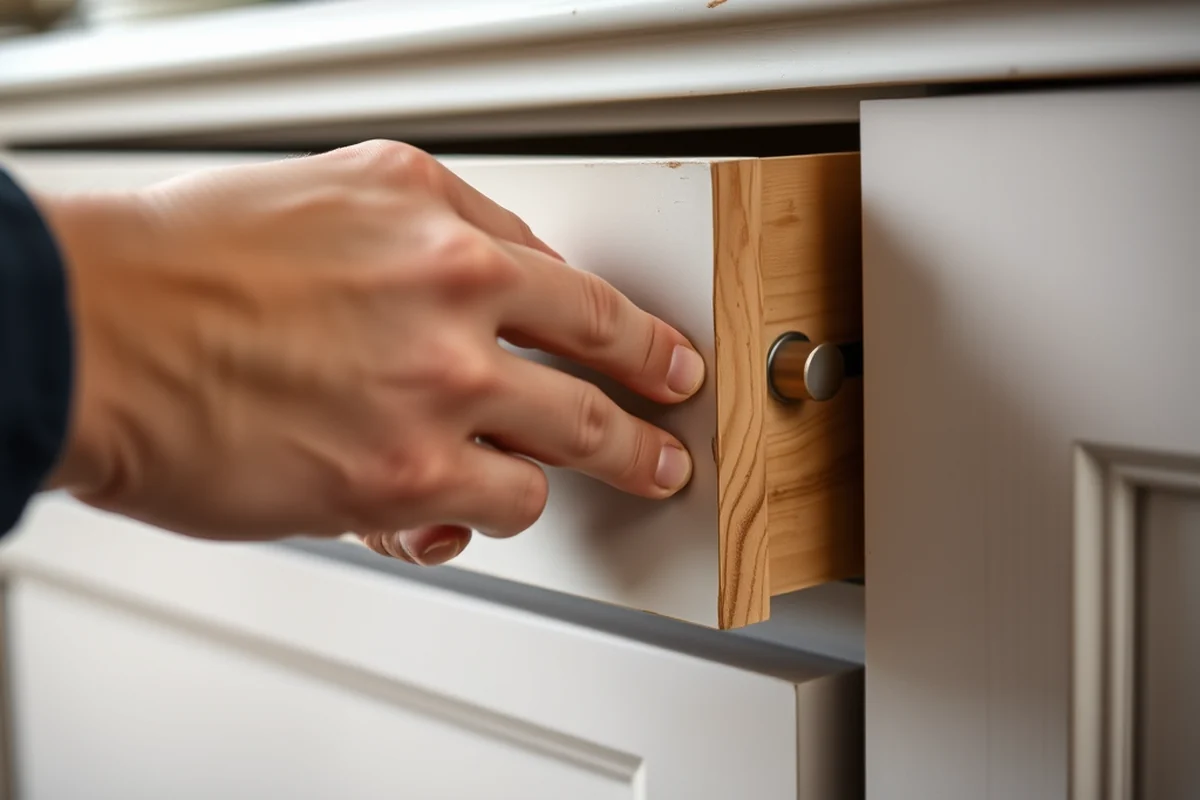
I designed my kitchen layout with the island as the focal point. I placed it in the center of the room, which allowed for even distribution of traffic flow. The layout also ensured that the sink, stove, and refrigerator were arranged in a logical triangle around the island. This made meal prep more efficient and less stressful.
I used a floor plan software to visualize different layouts before I started. It helped me see how the island would interact with the rest of the kitchen. I also considered the placement of outlets and lighting — I wanted the island to be well-lit for cooking and to look inviting at night. I added under-cabinet lighting and a pendant light above the island, which made the space feel more open and airy.
I found that the layout also affected the storage space. I added open shelving on either side of the island for quick access to frequently used items. I made sure the island itself had storage underneath — a pull-out shelf and a deep drawer made it easy to store pots, pans, and baking supplies. This approach helped me maximize the space without cluttering the kitchen.
A well-planned kitchen layout can make all the difference in the flow and functionality of the space.
Related: What is village pantry
Materials and Finishes for a Durable Island
I opted for a butcher block countertop for my island because it added warmth and character to the space. It was also easy to maintain — I just applied mineral oil every few months to keep it looking new. If you're looking for a more modern look, quartz or granite countertops are great options. They’re scratch-resistant and don’t require as much maintenance.
I also considered the legs of the island. I used a solid wood base with a matte finish, which gave the island a clean, contemporary look. If you're working with a budget, you can use MDF (medium-density fiberboard) for the base and paint it to match your cabinetry. I painted my island base with a chalkboard paint — it made it easy to write notes and plan meals.
I also added a backsplash to the island area. I used subway tiles, which were affordable and gave the space a classic look. I made sure the tiles were sealed with a water-resistant grout to prevent mold and mildew. This small detail made a big difference in the durability of the island.
Butcher block is great for a warm, rustic feel, while quartz or granite are more modern and durable. Always consider how the island will be used in daily life.
“I remember the first time I stepped into a kitchen with an island — it was like walking into a space that suddenly felt more…”— Upcycled Kitchen Cabinet Makeovers editors
Related: Top kitchen cabinet colors in 2026
Adding Storage to Your Island
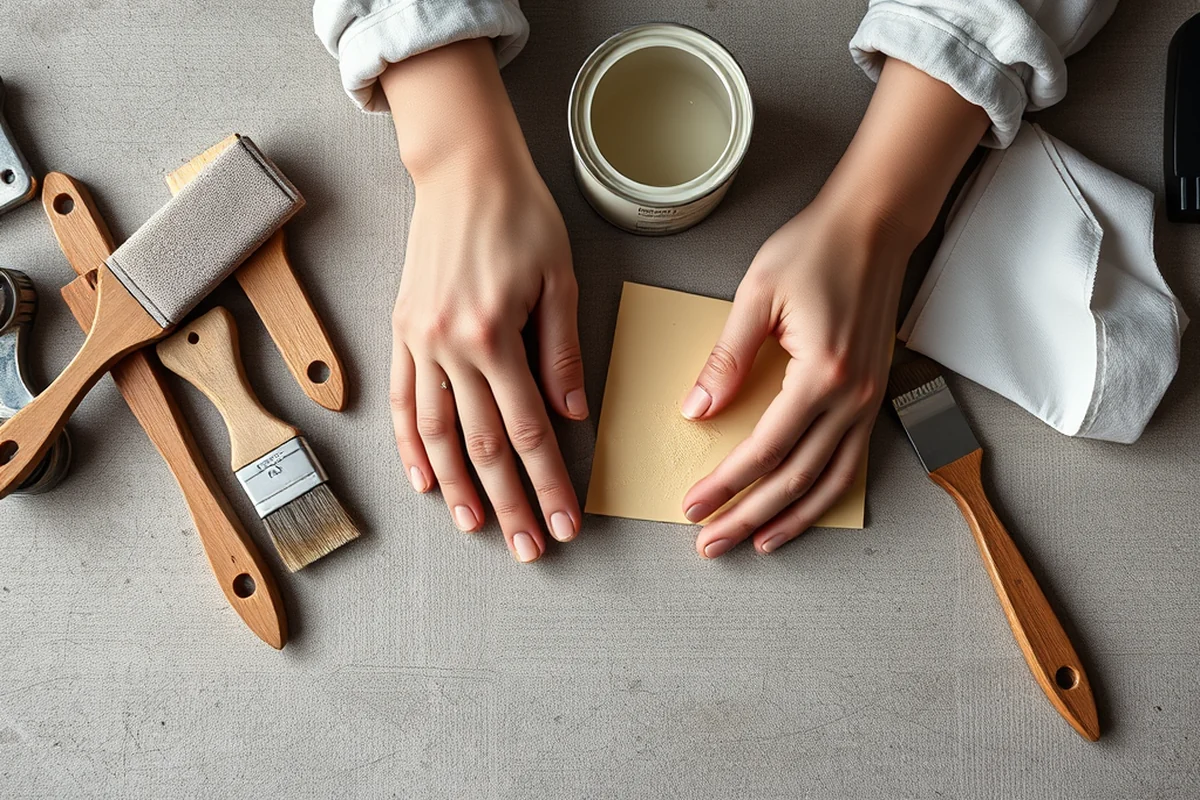
I designed my island with storage in mind. I added a pull-out shelf on one side for pots and pans, and a deep drawer on the other for baking supplies. This helped me keep the kitchen organized and made it easier to find what I needed. I also used the space underneath the island for extra storage — it was perfect for storing rarely used items like holiday dishes or seasonal cookware.
I used cabinet hardware that matched my existing cabinetry. This gave the island a cohesive look and made it feel like a seamless part of the kitchen. I also added a small cabinet on one end of the island for storing small appliances like a coffee maker or a toaster. This made the kitchen more functional and less cluttered.
I found that adding storage to the island didn’t just help with organization — it also made the space feel more spacious. By keeping frequently used items within reach and storing less-used items in hidden compartments, the kitchen felt more open and inviting. This small change made a big impact on the overall look and functionality of the space.
Related: What is kitchen triangle
Lighting Your Kitchen Island
I added under-cabinet lighting to my island to provide even illumination during meal prep. I used LED strips, which are energy-efficient and long-lasting. I also installed a pendant light above the island — it was a statement piece that added a touch of style to the space. The combination of ambient and task lighting made the island feel more welcoming and practical.
I made sure the lighting was positioned correctly — the under-cabinet lights were placed just below the countertop, which helped reduce shadows. The pendant light was hung about 30 inches above the island surface, which gave the space a balanced look. I also used a dimmer switch to adjust the brightness based on the time of day and the activity in the kitchen.
I found that the right lighting can transform the mood of the kitchen. During the day, the natural light from the windows was enough, but at night, the combination of under-cabinet and pendant lighting made the space feel warm and inviting. This attention to detail made the island not just a functional part of the kitchen, but a beautiful one.
Related: Sink in the kitchen
Seating Options for Your Kitchen Island
I installed a bar-height table on my island with two bar stools. It was perfect for quick breakfasts or informal dinners. I made sure the stools were the right height — about 28 inches for the seat, which matched the 42-inch countertop height. I also added a small bench on one side of the island for extra seating during gatherings.
I used a durable fabric for the bar stools — a microfiber that was easy to clean and resistant to spills. I also added a small tray on the island for holding drinks and snacks. This made it easier to entertain guests and kept the space looking neat. I found that seating at the island made the kitchen feel more like a gathering place and less like a work area.
I also considered the layout of the seating. I made sure there was enough space between the stools and the walls for people to move comfortably. I also added a small table next to the island, which gave me even more space for meals and activities. This small change made the kitchen more functional and welcoming for family and friends.
Seating at your island can turn your kitchen into the heart of the home.
Related: What is the best kitchen cabinets
Making the Most of Your Kitchen Space
I made sure my island was positioned to create a natural workflow in the kitchen. The sink, stove, and refrigerator were arranged in a triangle around the island, which made meal prep more efficient. I also added a small prep area on the island, which was perfect for chopping vegetables or mixing ingredients.
I used the island as a place for quick meal prep. I added a small cutting board and a set of knives, which made it easy to prepare ingredients while cooking. I also used the space for storing small appliances like a microwave or a coffee maker, which kept the kitchen organized and clutter-free.
I found that the island helped me move around the kitchen more easily. It created a natural path for traffic flow and made the space feel more open. By using the island as a central hub, I was able to create a more functional and efficient kitchen that worked well for my lifestyle.
💰 Budget Build
A cost-effective option with basic materials and minimal customization.
⏰ Weekend Version
A quick and easy project that can be completed in a single weekend.
✨ Upgraded Finish
A premium option with high-end materials and custom details.
🏠 Small-Space Adaptation
A compact island designed for smaller kitchens or apartments.
📦 Rental-Safe Option
A temporary solution that can be easily removed and stored.
| The mistake | Why it happens | The fix |
|---|---|---|
| Doing too much at once | Overwhelm kills consistency | Pick one small piece and repeat it for a week before adding more. |
| Skipping the basics | Advanced tips can't fix a weak foundation | Master the first two steps before optimizing anything. |
Kitchen Layout Designs With Island
Common Questions
How do I determine the right size for my kitchen island?
What materials are best for a kitchen island?
How can I add storage to my kitchen island?
What are the benefits of adding seating to the island?
References
- (PPT) UNDERSTANDING THE BASIC KITCHEN LAYOUT (academia.edu)
- S-1 - SEC.gov (sec.gov)
Cite this guide
Upcycled Kitchen Cabinet Makeovers (2026). Kitchen Layout Designs With Island. https://upcyclehome.com/kitchen-layout-designs-with-island/
Feel free to cite or share this guide.