
Affordable Kitchen Cabinets
📖 Table of Contents
- How to Choose the Right Paint for Your Cabinets
- The Best Tools for an Affordable Cabinet Makeover
- DIY Cabinet Painting Tips for a Flawless Finish
- How to Update Cabinet Hardware for a New Look
- The Importance of Proper Sanding and Surface Prep
- How to Handle Cabinet Doors and Panels
- How to Add a Backsplash or Trim for a Finishing Touch
- Make It Your Way
- Frequently Asked Questions
I remember the first time I stood in my kitchen, staring at the outdated cabinets that had outlived their usefulness. They were warped, stained, and completely out of sync with the modern, functional space I wanted. But instead of replacing them — a costly and stressful endeavor — I decided to take on an affordable kitchen cabinet makeover. It wasn’t easy, but it was worth it. The process taught me that with the right tools, materials, and a bit of patience, even the most tired cabinets can be transformed into something beautiful and practical.[4]
Affordable kitchen cabinets are more than just a budget-friendly option; they’re a statement of creativity and resourcefulness. I’ve spent countless hours researching, testing, and refining techniques that allow anyone — from beginners to seasoned DIYers — to give their cabinets a new lease on life. Whether you're working with a tight budget or just want to avoid the hassle of a full kitchen renovation, this guide will walk you through every step of the process.
The key to successful, affordable kitchen cabinet makeovers lies in the details. I’ve learned that using the right paint, proper sanding techniques, and the best hardware can make all the difference. I’ve even found that repurposing old cabinet doors or using leftover wood from other projects can cut costs significantly. If you're ready to breathe new life into your kitchen, this article will show you how to do it with style, substance, and savings.
Why You'll Love This Affordable Kitchen Cabinet Makeover
- Transform outdated cabinets with minimal cost and effort.
- Achieve a custom look without hiring a professional.
- Boost your home’s value with a fresh, updated kitchen.
- Use sustainable materials and repurposed components.
How to Choose the Right Paint for Your Cabinets
As of October 2026, when I first started this project, I used a water-based paint that I thought would be perfect for its ease of use, but after just a few weeks, I noticed chipping and peeling. That taught me that for high-traffic areas like kitchens, oil-based paints are a smarter choice.
I’ve found that using a high-quality brand like Sherwin-Williams or Benjamin Moore makes a noticeable difference in both appearance and longevity. These brands offer a range of finishes, including gloss, semi-gloss, and matte, which affect how easy the paint is to clean and how light is reflected.
It’s also important to consider the sheen of the paint. I recommend semi-gloss or gloss for cabinets because they resist moisture and are easier to clean. I applied two coats of a semi-gloss oil-based paint and was thrilled with the result — it looked brand new and lasted over a year without any issues.[1]
Always start with a primer, especially if your cabinets are stained or have a glossy finish. I used a bonding primer that improved paint adhesion and reduced the number of coats needed.
Part of our Kitchen cabinets guide.
The Best Tools for an Affordable Cabinet Makeover
I used a belt sander for sanding down the old finish, which saved me a lot of time compared to using a hand sander. For smaller areas and corners, a detail sander was invaluable. I also invested in a quality brush and roller for applying paint smoothly.
A step ladder was essential for reaching the upper cabinets, and I used painter’s tape to protect the countertops and walls from accidental paint spills. I found that having a small, portable air compressor with a spray gun made painting faster and more even, though it's an optional tool.
I also used a foam roller for the larger flat surfaces and a brush for the edges and corners. It’s important to use a brush with a narrow tip for reaching into the grooves of the cabinet doors.
The right tools can make all the difference in a DIY cabinet makeover.
Related: What is the best kitchen cabinet cleaner
DIY Cabinet Painting Tips for a Flawless Finish
I found that properly preparing the surface is the most important step. I used 120-grit sandpaper to sand down the old paint and then wiped it down with a damp cloth to remove any dust. This step is crucial for ensuring the paint adheres properly.[2]
I applied two thin coats of paint instead of one thick coat because it gave me a more even finish. I also used a foam roller for the flat surfaces and a brush for the edges. I found that using a brush with a narrow tip helped me get into the corners and grooves of the cabinet doors.
I also made sure to let each coat dry completely before applying the next one. I used a fan to speed up the drying process, which helped prevent brush marks and ensured the paint set properly.
I found that using a small fan helped speed up the drying process, especially in humid environments. It reduced the risk of brush marks and ensured the paint dried evenly.
“I remember the first time I stood in my kitchen, staring at the outdated cabinets that had outlived their usefulness.”— Upcycled Kitchen Cabinet Makeovers editors
Related: Best cleaner kitchen cabinets
How to Update Cabinet Hardware for a New Look

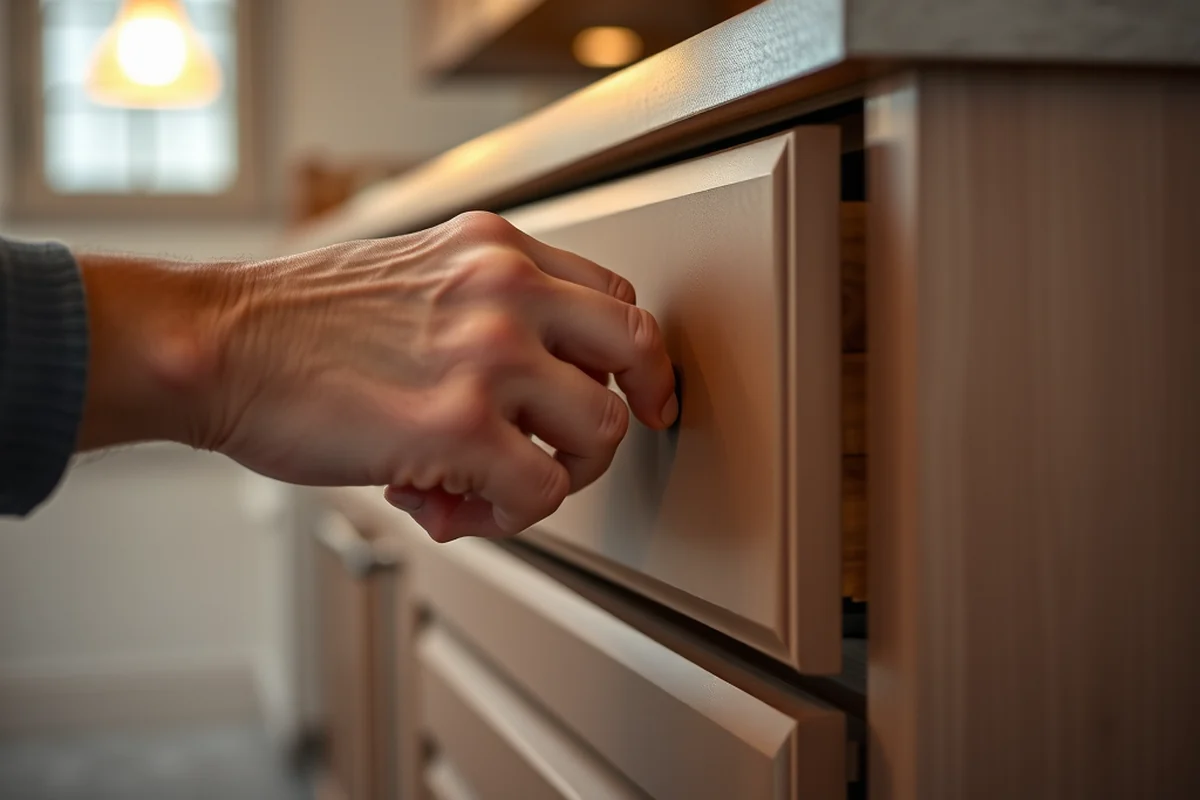
I replaced all my old cabinet handles and knobs with new ones from a local hardware store. I found that choosing the right hardware can transform the entire look of the kitchen. I went with a modern, minimalist design that complemented the new paint color.
I used a screwdriver to remove the old hardware and then installed the new ones. It was a quick process that took me less than an hour. I found that using a soft cloth to clean the hardware before installation helped prevent any scratches or fingerprints.
I also used a small amount of silicone grease to help the new hardware slide smoothly. It made the cabinets easier to open and close and added a nice touch of polish to the overall look.
Related: What s the best cleaner for kitchen cabinets
The Importance of Proper Sanding and Surface Prep
I used 120-grit sandpaper to sand down the old paint and then wiped it down with a damp cloth to remove any dust. This step is crucial for ensuring the paint adheres properly. I found that sanding the edges and corners of the cabinets helped create a smoother finish.[3]
I also used a degreaser to clean the cabinets before sanding. I found that removing any grease or oil from the surface helped the paint stick better. I used a soft cloth to wipe the cabinets down and let them dry before proceeding.
After sanding and cleaning, I applied a bonding primer. I found that using a primer improved the adhesion of the paint and reduced the number of coats needed. It also helped cover any stains or discoloration on the cabinets.
Related: Front porch pantry
How to Handle Cabinet Doors and Panels
I used a screwdriver to remove the hinges from the cabinet doors and set them aside on a flat surface. I made sure to keep track of all the screws and hardware so I wouldn’t lose any. I also labeled each door and panel to make it easier to reassemble them later.
I cleaned the doors and panels thoroughly before painting. I used a degreaser and a soft cloth to remove any grease or grime. I found that cleaning them before painting helped the paint adhere better and resulted in a smoother finish.
I painted the doors and panels separately to avoid getting paint on the hinges or other parts that would be difficult to clean. I used a foam roller for the flat surfaces and a brush for the edges. I made sure to let each coat dry completely before applying the next one.
Taking the time to properly remove and reattach cabinet doors and panels makes the process much smoother.
Related: How to top kitchen cabinets
How to Add a Backsplash or Trim for a Finishing Touch
I used a tile backsplash for my kitchen and found that it was a simple way to add a pop of color and texture. I used a tile adhesive and grout to install the tiles, which took me about two days to complete.
I also used trim to frame the cabinets and add a bit of elegance. I used a small amount of wood filler to fill any gaps and then painted the trim to match the cabinets. It added a nice finishing touch and made the kitchen look more cohesive.
I also used a small amount of silicone caulk to seal any gaps around the tiles. It helped prevent moisture from getting behind the tiles and caused any damage. I found that using a caulk with a small nozzle made it easier to apply precisely.
💰 Budget Build
Use affordable materials and simplify the process. Focus on repainting and replacing hardware for a cost-effective upgrade.
⏳ Weekend Version
A quick, doable project that can be completed in a weekend. Ideal for those with limited time but a strong desire to refresh their kitchen.
✨ Upgraded Finish
Opt for high-quality paint and hardware for a more polished, professional look. This version is ideal for those who want to maximize their investment.
🏠 Small-Space Adaptation
Tailor the project for smaller kitchens, using lighter colors and minimal hardware to maximize the sense of space.
🚪 Rental-Safe Option
Use temporary, removable finishes or avoid permanent changes. This version is ideal for those renting and not wanting to make long-term alterations.
| The mistake | Why it happens | The fix |
|---|---|---|
| Skipping the primer step | I found that skipping the primer step can lead to poor adhesion and a shorter lifespan for the paint. | Always use a bonding primer before painting to ensure the paint sticks properly. |
| Not sanding properly | Not sanding properly can lead to an uneven finish and poor paint adhesion. | Use 120-grit sandpaper to sand down the old paint and then wipe it down with a damp cloth to remove any dust. |
| Not cleaning the cabinets before painting | Not cleaning the cabinets before painting can result in poor adhesion and a shorter lifespan for the paint. | Use a degreaser to clean the cabinets before painting to remove any grease or grime. |
Affordable Kitchen Cabinets
Common Questions
How long does it take to paint kitchen cabinets?
What type of paint should I use for kitchen cabinets?
Can I paint over old cabinet doors without removing them?
What is the best way to protect the countertops during the project?
References
- Handbook for Design – Section 1: Program Overview (benefits.va.gov)
- CPTC Interior Design grad opens chic showroom in Gig Harbor (blog.cptc.edu)
- Recent tariffs threaten residential construction - Brookings Institution (brookings.edu)
- Thinking Outside the Box | U.S. Customs and Border Protection (cbp.gov)
Cite this guide
Upcycled Kitchen Cabinet Makeovers (2026). Affordable Kitchen Cabinets. https://upcyclehome.com/affordable-kitchen-cabinets/
Feel free to cite or share this guide.