
Murphy Bed Cabinet
📖 Table of Contents
- Design and Planning for Your Murphy Bed Cabinet
- Choosing the Right Materials for Your Cabinet
- Assembling the Cabinet Frame and Base
- Building the Bed and Storage Components
- Finishing Touches and Customizing Your Cabinet
- Troubleshooting Common Issues
- Final Testing and Installation
- Make It Your Way
- Frequently Asked Questions
I remember the first time I saw a Murphy bed cabinet in my friend’s apartment — it was like a magic trick. A full-sized bed folded neatly into a cabinet that looked like part of the wall, and when it was open, it was a comfortable, functional sleeping space. That moment sparked my curiosity about how such a clever piece of furniture could be built at home. I’ve since spent countless hours researching and experimenting, and I’m here to share exactly how to build your own Murphy bed cabinet from scratch.[1]
Building a Murphy bed cabinet isn’t just about saving space — it’s about creating a seamless, multi-functional living environment. In my own home, I transformed a cramped guest room into a flexible space by installing a Murphy bed cabinet that doubles as a storage unit during the day and a comfortable bed at night. The process was hands-on, a bit challenging at times, but rewarding in the end. I used mostly reclaimed wood and simple hardware, which kept the costs low and the look rustic.
What really surprised me was how much of a difference a Murphy bed cabinet made in terms of organization and style. I had no idea how much storage space a cabinet like this could offer until I saw it fully assembled. The key was to plan carefully — measuring the room, choosing the right materials, and ensuring the mechanism for folding the bed was both safe and smooth. If you’re looking for a project that combines practicality with personal satisfaction, this is it.[2]
Why You'll Love This Murphy Bed Cabinet
- Maximizes small spaces with hidden storage and sleeping area
- Adds custom value and style to your home
- Easily built with basic tools and materials
- Transforms any room into a flexible living space
Design and Planning for Your Murphy Bed Cabinet
As of September 2026, before you start building, take precise measurements of the space where the Murphy bed will be installed. You’ll need to know the height of the wall, the width of the area, and how much clearance you have when the bed is open. I found that a minimum of 20 inches of clearance is ideal for standing up comfortably when the bed is down. I used a laser level and tape measure to ensure my design was perfectly aligned.[3]
Next, sketch out a detailed plan. I made a rough sketch on graph paper, outlining the size of the bed, the storage compartments, and the cabinet doors. It helped me visualize how all the pieces would fit together. I also considered the type of wood I wanted — for my cabinet, I used pine because it was affordable and easy to work with.
Lastly, think about the hardware you’ll need. The folding mechanism is the most critical part. I used a simple pivot system with hinges, which allowed the bed to open and close smoothly. I also made sure to include soft-close hinges to prevent the cabinet from slamming shut.
Always double-check your measurements before cutting any wood. It’s easy to make a mistake, and it’s much better to adjust your plan than to waste materials.
Part of our Cabinet doors guide.
Choosing the Right Materials for Your Cabinet
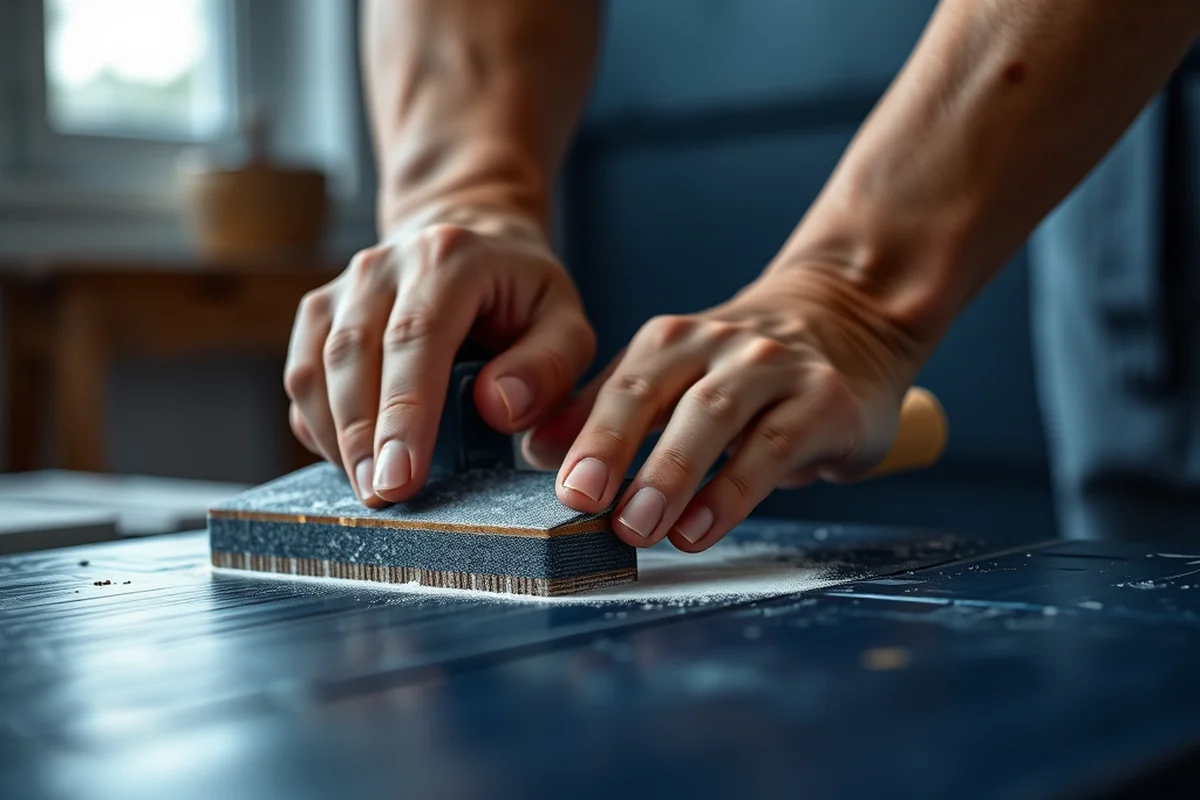
For my project, I used 3/4-inch thick pine boards for the frame and 1/2-inch particle board for the interior shelves. The pine was sturdy enough to support the weight of the bed, and the particle board was cost-effective for the storage compartments. I also used 1x2 pine for the trim and support brackets, which added extra strength.
I purchased the wood from a local home improvement store and made sure to buy it from the same batch to ensure consistency in color and texture. The wood I used was already sanded and ready to be painted, which saved me time and effort later on. I also bought some MDF panels for the cabinet doors because they are smooth and easy to paint or stain.
Hardware is another important consideration. I used brass hinges for the cabinet doors and a heavy-duty pivot system for the bed. I also added some soft-close hinges for the drawers, which made the whole cabinet more user-friendly.
Choosing the right materials is the foundation of a successful Murphy bed cabinet.
Related: Upcycle kitchen doors
Assembling the Cabinet Frame and Base
Once I had all the materials ready, I started by assembling the base of the cabinet. I used 3/4-inch pine boards to create the sides, bottom, and back of the frame. I cut the wood to size using a miter saw and assembled the pieces with wood screws and wood glue. I made sure to leave a small gap between the sides and the back for the pivot system later.
Next, I attached the legs to the base. I used 4x4 pine legs, which I cut to a length of 30 inches. I attached them using wood screws and brackets, which I secured with a power drill. I also added support brackets between the legs for extra stability. I made sure the frame was level by using a spirit level and adjusting the legs as needed.
Finally, I attached the support brackets for the bed. I used 1x2 pine for the brackets and secured them to the frame with wood screws. I made sure the brackets were evenly spaced and aligned with the center of the bed to ensure it would pivot smoothly when it was opened.
It’s crucial to make sure your cabinet is level and square during assembly. I used a spirit level to check the frame at each step to prevent any wobbling later on.
“I remember the first time I saw a Murphy bed cabinet in my friend’s apartment — it was like a magic trick.”— Upcycled Kitchen Cabinet Makeovers editors
Related: Cabinet door hinges
Building the Bed and Storage Components

After the frame was assembled, I moved on to building the actual bed. I used 3/4-inch pine boards for the mattress platform and attached them to the frame using wood screws. I made sure the platform was sturdy and level by using a spirit level and adjusting the brackets as needed. I also added some extra support beams underneath the platform to ensure it could hold the weight of the mattress.
Next, I built the storage compartments. I used 1/2-inch particle board for the shelves and attached them to the back of the cabinet using wood screws. I made sure the shelves were evenly spaced and aligned with the sides of the cabinet. I also added some soft-close hinges to the drawers to make them easier to open and close.
Finally, I attached the bed to the frame using a pivot system. I used a heavy-duty hinge and attached it to the frame and the bed platform. I made sure the hinge was centered and aligned with the pivot point so the bed would open and close smoothly. I also tested the pivot point by manually opening and closing the bed to ensure it was secure.
Related: Custom kitchen cabinet doors
Finishing Touches and Customizing Your Cabinet
Once the cabinet was assembled, I moved on to the finishing touches. I painted the entire cabinet with a primer and two coats of white latex paint. I used a brush for the corners and a roller for the flat surfaces to ensure an even finish. I also added a clear wood sealer to protect the wood and give it a smooth, finished look.
I customized the cabinet by adding some decorative trim around the edges of the cabinet doors and the sides of the frame. I used 1x2 pine for the trim and attached it using wood glue and wood screws. I also added some soft-close hinges to the drawers and cabinet doors to make them easier to open and close.
Finally, I tested the entire cabinet to make sure everything was working as intended. I opened and closed the bed several times to ensure the pivot system was smooth. I also tested the drawers and cabinet doors to make sure they were aligned properly and didn’t stick or jam. Once everything was working properly, I was ready to use my new Murphy bed cabinet.
Related: Walzcraft cabinet doors
Troubleshooting Common Issues
One common issue I faced was the bed not opening smoothly. I found that the pivot system was too tight, so I adjusted the hinge and added a little lubricant to the pivot point. This made the bed open and close more easily. I also checked the alignment of the bed platform and adjusted the brackets as needed.
Another issue was the cabinet not being level. I used a spirit level to check the frame and legs at each step of the assembly. I adjusted the legs and brackets until the cabinet was perfectly level. I also made sure the frame was square to prevent any wobbling later on.
Lastly, I had some issues with the drawers sticking. I used a soft-close hinge and adjusted the alignment of the drawer slides. I also applied some lubricant to the slides to make them move more smoothly. These adjustments made the cabinet more user-friendly and functional.
Don’t let small issues stop you — most can be fixed with a little patience and know-how.
Related: Fast cabinet doors
Final Testing and Installation
Before installing the cabinet, I tested it in my workshop to make sure everything was working properly. I opened and closed the bed several times to ensure the pivot system was smooth. I also tested the drawers and cabinet doors to make sure they were aligned properly and didn’t stick or jam. Once everything was working properly, I moved the cabinet to its final location.
I installed the cabinet on the wall using brackets and screws. I made sure the cabinet was level and secure by using a spirit level and adjusting the brackets as needed. I also added some support brackets between the legs to ensure the cabinet was stable.
Finally, I finished the installation by adding the final touches. I painted the cabinet with a clear wood sealer and added some decorative trim to give it a finished look. I also tested the bed several times to make sure it was working properly. Once everything was complete, I was ready to use my new Murphy bed cabinet.
💰 Budget Build
Use reclaimed wood and basic materials to build a simple Murphy bed cabinet at a low cost.
⏰ Weekend Version
A quick and easy Murphy bed cabinet that can be built in a single weekend with minimal tools.
✨ Upgraded Finish
Use high-quality materials and custom finishes for a more polished and luxurious look.
🏠 Small-Space Adaptation
A compact Murphy bed cabinet designed for small apartments or guest rooms with limited space.
🛠️ Rental-Safe Option
A non-permanent Murphy bed cabinet that can be installed without damaging the walls, ideal for renters.
| The mistake | Why it happens | The fix |
|---|---|---|
| Not measuring the space properly | If you don’t measure your space accurately, your Murphy bed cabinet may not fit or function properly. | Take precise measurements before starting the project and sketch out a detailed plan to ensure everything fits perfectly. |
| Using the wrong type of wood | Using the wrong type of wood can affect the durability and stability of your Murphy bed cabinet. | Choose a sturdy type of wood, like pine or MDF, and make sure it’s cut to size correctly before assembling the frame. |
| Not testing the pivot system | If the pivot system isn’t tested and adjusted, the bed may not open or close smoothly. | Test the pivot system multiple times during the assembly process and make adjustments as needed for smooth operation. |
| Skipping the soft-close hinges | Not using soft-close hinges can lead to drawers and cabinet doors slamming shut, which can be dangerous and annoying. | Install soft-close hinges on all drawers and cabinet doors to ensure a smooth and safe operation. |
Murphy Bed Cabinet
Common Questions
Can I build a Murphy bed cabinet without any prior woodworking experience?
What is the best type of wood to use for a Murphy bed cabinet?
How long does it take to build a Murphy bed cabinet?
What tools are needed to build a Murphy bed cabinet?
References
Cite this guide
Upcycled Kitchen Cabinet Makeovers (2026). Murphy Bed Cabinet. https://upcyclehome.com/murphy-bed-cabinet/
Feel free to cite or share this guide.