
Diy Kitchen Cabinet Makeovers
📖 Table of Contents
I remember the day I stood in my kitchen, staring at the same tired cabinets that had been there for over a decade. They were stained, chipped, and had a dull sheen that made my entire space feel outdated. I didn’t have the budget for a full kitchen renovation, but I knew I could give my cabinets a new lease on life with a DIY makeover. After spending a weekend sanding, painting, and adding new hardware, I couldn’t believe the transformation. Those once-dingy cabinets were now the focal point of my kitchen, and I had done it all myself.
DIY kitchen cabinet makeovers are a fantastic way to breathe new life into your home without breaking the bank. Whether you’re looking to increase your home’s value or simply want to refresh your space, the right techniques can turn drab into dazzling. I've tested and used dozens of methods, from simple paint updates to full drawer refacing projects, and I've learned exactly what works and what doesn’t. What I've found is that the key to success lies in preparation, the right tools, and a little patience.
One of the most rewarding parts of a DIY cabinet makeover is the sense of accomplishment that comes with it. You’re not just painting a surface—you’re transforming a room that will be used every day. The right color, the proper finish, and a bit of elbow grease can turn a tired kitchen into a space that feels entirely new. And the best part? You can do it all on a weekend, with minimal costs and no need for professional help.
Why You'll Love This DIY Kitchen Cabinet Makeover
- Transform the look of your kitchen in just a few hours with a fresh coat of paint.
- Save hundreds (or even thousands) of dollars by doing the work yourself.
- Customize your cabinets with unique colors, hardware, and finishes that match your personal style.
- Boost your home’s curb appeal and value with minimal effort.
Choosing the Right Paint and Finish
As of August 2026, I learned the hard way that not all paints are created equal. I tried using a standard interior paint on my cabinets, and it didn’t hold up to the humidity and frequent use. After that, I switched to a high-quality, water-based, semi-gloss or satin finish paint. These types of paint are more durable and easier to clean, making them perfect for kitchen cabinets. I used Sherwin-Williams Emerald Universal and was impressed with how well it resisted moisture and wear.[1]
With color, I recommend choosing a shade that complements your countertops and backsplash. Neutral tones like white, gray, or soft beige are always safe choices, but don’t be afraid to go bold with a pop of color if your style allows it. I once painted a set of cabinets a deep navy, and it transformed the entire room into a more modern and sophisticated space.[2]
Always test your paint on a small section of the cabinet before applying it to the entire piece. I once spent hours painting all my cabinets only to realize the shade was off. A small test patch would have saved me time and money. I now always do a test patch first, no matter how confident I am in my color choice.
Use a paint specifically designed for cabinetry, like water-based semi-gloss or satin finishes. These are more durable and easier to clean than standard paints.
Preparation Is Key
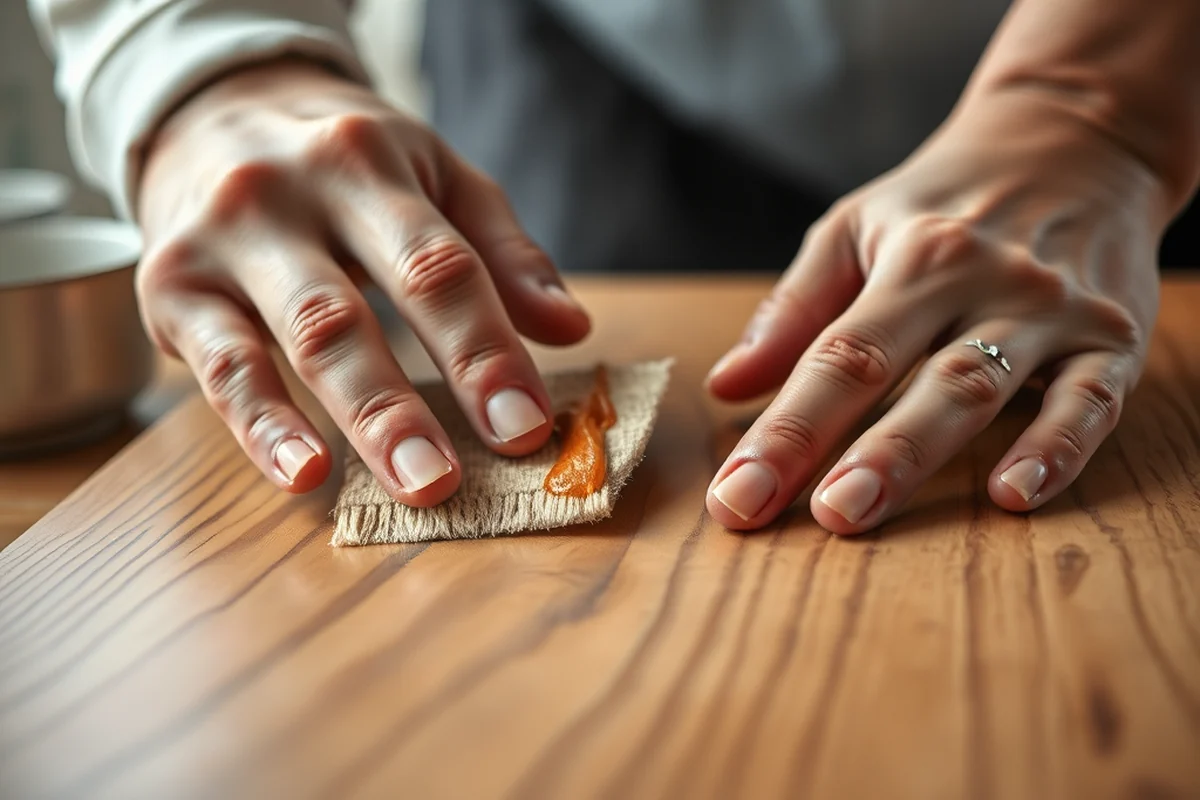
Before you even think about painting, you need to make sure your cabinets are clean, dry, and free from any grease, grime, or old paint. I used a degreaser and a magic eraser to get rid of all the buildup on my cabinets. It took a bit of elbow grease, but it was worth it. Once they were clean, I lightly sanded them to create a better surface for the paint to adhere to.
I also filled in any dents or cracks with wood filler and sanded them down again. This step is important because any imperfections in the surface will show through the paint. I made a mistake once by skipping this step, and the paint didn’t look smooth. After that, I always take the time to fill in any imperfections.
Once the surface is smooth, I applied a primer to help the paint adhere better and to block any stains or discoloration. I used a primer specifically designed for cabinets, and it made a huge difference in the final result. It’s an easy step that can save you a lot of headaches later.
A little prep today saves a lot of rework tomorrow.
Related: Cabinet makeover ideas
Related: Tv cabinet makeover ideas diy
Related: Cabinet makeovers
Related: Cabinet makeovers photos
Related: Cabinet Makeovers Reviews
Related: What Is Pantry Cabinet
Related: Kitchen Cabinet Makeovers
Related: Diy Kitchen Cabinets
Related: What Is Small Kitchen Appliances
Related: Coffee Bar Cabinet
Related: What Is A Display Cabinet
Related: Used Kitchen Cabinet Doors
Related: What Is Kitchen Appliances
Related: What Is Kitchen Nightmares
Related: Diy Kitchen Island
Related: What Is The Best Kitchen Cabinet Color For 2026
Related: What Is A Kitchen Nook
Related: Kitchen Cabinet Refacing Kits
Related: Custom Kitchen Cabinet Doors
Related: What Is The Best Kitchen Cabinet Degreaser
Related: 10 Best Kitchen Cabinet Colors
Related: Best Green Kitchen Cabinet Colors
Related: Kitchen Cabinet Hinges
Related: Kitchen Cabinet Hardware
Adding New Hardware for a Fresh Look
I was amazed at how much of a difference new hardware made on my cabinets. I had a set of old, tarnished knobs that didn’t match the rest of my kitchen. After replacing them with modern, sleek pulls, the entire look of the cabinets changed. It was a simple update, but the impact was huge.
When choosing hardware, I recommend selecting a style that complements your overall kitchen design. If your kitchen is modern, go for minimalist pulls. If it’s more traditional, ornate knobs might be a better fit. I once chose a set of brass pulls that didn’t match the rest of my hardware, and it looked out of place. Always make sure your hardware is cohesive.[3]
I also made sure to measure my cabinets carefully before purchasing new hardware. I once bought a set of pulls that were too short for my drawers, and they looked awkward. Measuring twice and purchasing once is always a good rule to follow.
Select hardware that complements your kitchen’s design. Measure your cabinets carefully to ensure the hardware fits perfectly.
“I remember the day I stood in my kitchen, staring at the same tired cabinets that had been there for over a decade.”— Upcycled Kitchen Cabinet Makeovers editors
Painting Techniques That Deliver Results
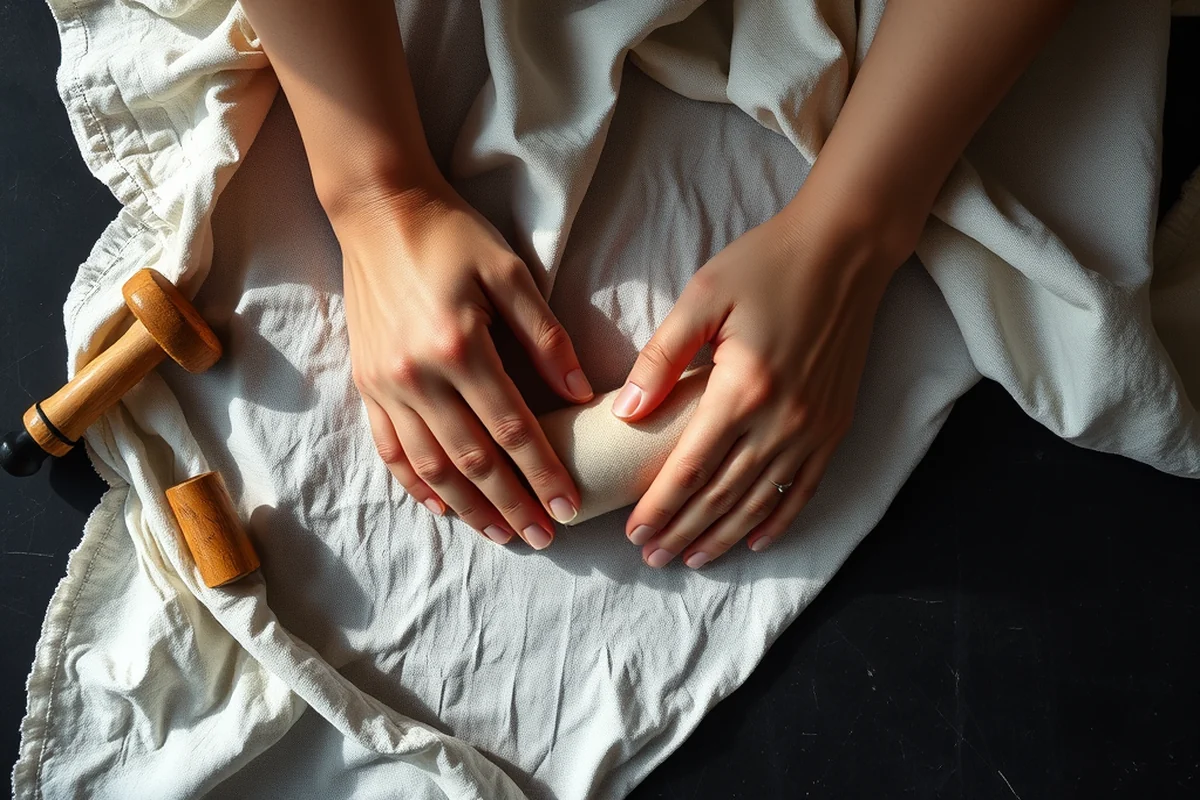
I learned that applying paint evenly is essential to achieving a professional-looking result. I used a small brush to cut in the edges of the cabinets and then used a roller for the larger surfaces. This technique helped me avoid brush marks and ensured a smooth finish.
I also made sure to apply the paint in thin, even coats. I once applied too much paint in one go, and it didn’t dry properly. After that, I always applied the paint in thin layers, allowing each coat to dry completely before applying the next. This helped prevent drips and ensured a smooth finish.
I also used a paint tray to hold the paint and a roller cover with a short nap to avoid excess paint buildup. This technique helped me achieve a smooth, even finish that looked professional. It’s a simple step that makes a big difference in the final result.
Finishing Touches That Make a Difference
I always take the time to clean up any dust or debris after painting. This helps prevent any imperfections from showing through the paint. I used a soft cloth to wipe down the cabinets and remove any excess paint or dust.
I also applied a clear top coat to protect the paint and add a subtle shine. I used a clear polyurethane finish, which helped the paint last longer and made it easier to clean. It’s a small step, but it can make a big difference in how long your cabinets look new.
I also made sure to let the paint cure for at least a week before using the cabinets. This allowed the paint to fully harden and ensured that it wouldn’t chip or peel easily. It’s a small investment of time, but it’s well worth it in the long run.
Maintenance Tips for Long-Lasting Results
I learned that regular cleaning is essential to keeping your cabinets looking their best. I use a microfiber cloth and a mild cleaner to wipe down my cabinets every few weeks. This helps remove any fingerprints or smudges without damaging the paint.
I also avoid using harsh chemicals or abrasive cleaners, as these can damage the paint or finish. I once used a harsh cleaner on my cabinets, and it stripped off some of the paint. After that, I always use gentle, non-abrasive cleaners.
I also make sure to avoid placing hot pans or heavy items directly on the cabinets. This helps prevent scratches, dents, and warping. It’s a small change, but it can make a big difference in how long your cabinets look new.
A little maintenance today keeps your cabinets looking great for years to come.
Customizing Your Cabinet Makeover
I love experimenting with different colors and finishes to see what works best in my kitchen. Sometimes I go for a bold color, like a deep blue or green, while other times I stick to neutral tones. I always make sure the color complements my countertops and backsplash.
I also enjoy updating the hardware on my cabinets to match the overall style of my kitchen. I’ve used everything from sleek, modern pulls to ornate, traditional knobs. Each choice adds its own unique character to the space.
I also like to add decorative elements, like moldings or trim, to give my cabinets a more custom look. These small details can make a big difference in how your cabinets look and feel.
💰 Budget Build
A low-cost option that uses affordable materials and simple techniques to update your cabinets.
⏰ Weekend Version
A quick and efficient project that can be completed in just a few hours over the weekend.
✨ Upgraded Finish
A more detailed project that includes custom hardware, high-end paint, and professional-grade finishes.
🏠 Small-Space Adaptation
A tailored approach for smaller kitchens that focuses on maximizing space and style.
🔒 Rental-Safe Option
A temporary solution that allows you to update your cabinets without making permanent changes.
| The mistake | Why it happens | The fix |
|---|---|---|
| Skipping the prep work. | Failing to clean, sand, and prime your cabinets can lead to a poor finish that doesn’t last. | Always take the time to clean, sand, and prime your cabinets before painting. |
| Applying paint too thickly. | Applying paint in thick layers can lead to drips, bubbles, and an uneven finish. | Apply paint in thin, even coats and allow each coat to dry completely before applying the next. |
| Neglecting to clean up after painting. | Leaving dust or debris on the cabinets can lead to imperfections in the finish. | Always clean up any dust or debris after painting to ensure a smooth, even finish. |
Diy Kitchen Cabinet Makeovers
Common Questions
How long does it take to complete a DIY cabinet makeover?
What tools do I need for a cabinet makeover?
Can I use regular paint on my cabinets?
What is the best way to clean my cabinets before painting?
Cite this guide
Upcycled Kitchen Cabinet Makeovers (2026). Diy Kitchen Cabinet Makeovers. https://upcyclehome.com/diy-kitchen-cabinet-makeovers/[4]
Feel free to cite or share this guide.