
How To Replace Bathroom Cabinet
📖 Table of Contents
I still remember the first time I stood in my bathroom, staring at the cracked and discolored cabinet that had seen better days. It wasn’t just unsightly — it was a constant reminder of how much time and effort I had poured into other parts of my home, only to be let down by this one stubborn piece of furniture. That cabinet wasn’t just a storage solution; it was the heart of my morning routine, and I knew it had to go. So I rolled up my sleeves, grabbed my tools, and set out to replace my bathroom cabinet — and it was the most rewarding DIY project I’ve ever undertaken.[1]
Replacing a bathroom cabinet isn’t a task for the faint of heart, but it’s also not as intimidating as it might sound. I’ve spent the last year working through every step of this process, from measuring and sourcing the right materials to the final installation and finishing touches. Whether you’re looking to update your bathroom’s look, improve functionality, or simply remove a cabinet that’s been holding your home back, this guide will walk you through everything you need to know — and I promise, it’s worth it.[2]
If you're like me, you want a bathroom that feels fresh, modern, and tailored to your lifestyle. Replacing your cabinet can be a game-changer — it's not just about aesthetics; it's about creating a space that works for you. I'll walk you through each step of the process, sharing the tools I used, the mistakes I made, and the results I achieved. By the end of this article, you'll feel confident enough to tackle your own bathroom cabinet replacement, and maybe even proud of the work you've done.
Why You'll Love This Bathroom Cabinet Replacement
- Transform your bathroom into a functional, stylish space
- Customize your storage and layout to suit your needs
- Save money compared to hiring a professional
- Enjoy the satisfaction of a DIY project completed
Why Replace Your Bathroom Cabinet?
As of September 2026, a bathroom cabinet is more than just a place to store your toiletries — it's a central piece of your bathroom that affects your daily routine. If your cabinet is damaged, outdated, or doesn't fit your storage needs, it's time to replace it. I found that my old cabinet had warped over time, making it difficult to close and causing my items to spill out. Replacing it was the first step in creating the bathroom I wanted.[3]
Modern cabinets offer better storage solutions, including deeper drawers, more compartments, and even built-in organizers. I opted for a cabinet with soft-close drawers, which made a noticeable difference in how smoothly my mornings went. If your cabinet is causing you frustration, it might be time to consider replacing it with something more functional and durable.
Replacing a cabinet also allows you to match your bathroom’s style and color scheme, creating a cohesive look that can increase the overall value of your home. Whether you're going for a rustic look or a sleek, modern design, the right cabinet can make all the difference.
Before replacing your cabinet, inspect it for signs of water damage, such as warping, discoloration, or mold. If the damage is extensive, replacing the cabinet is a must.
Part of our Cabinet doors guide.
Measuring and Sourcing the Right Cabinet
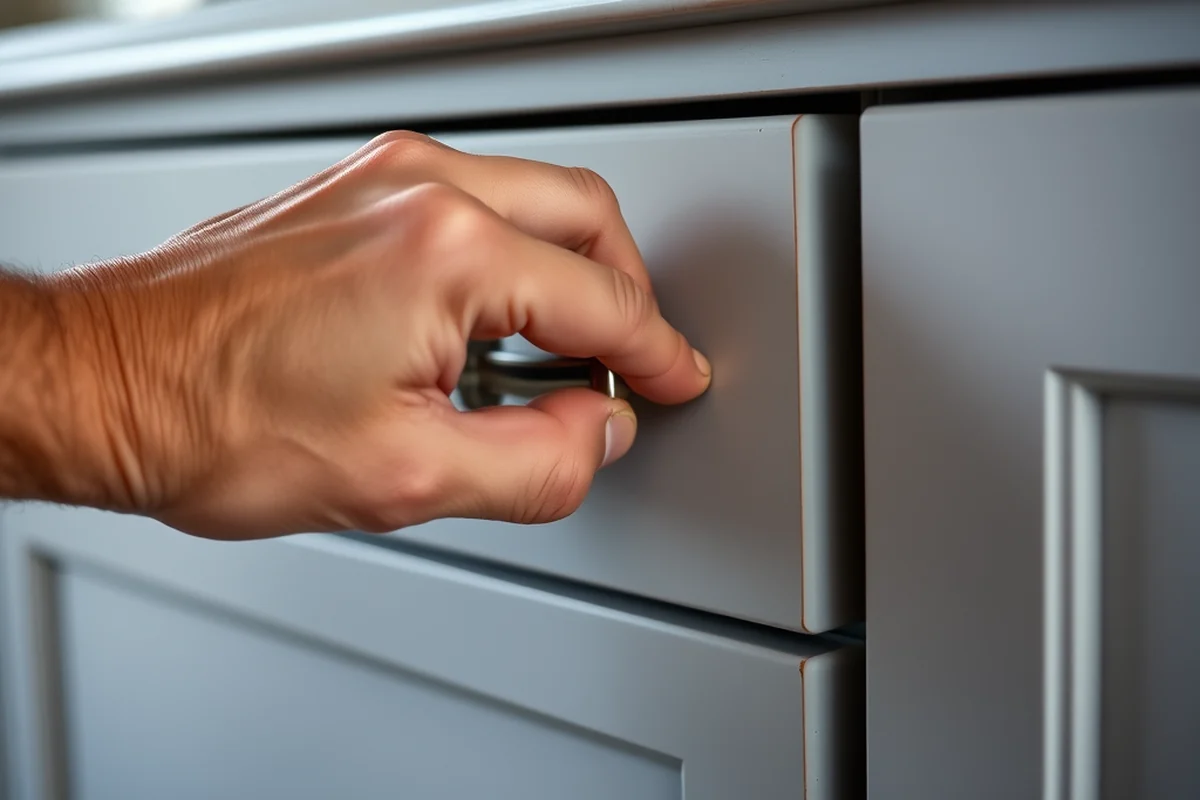
One of the most crucial steps in replacing your bathroom cabinet is taking precise measurements. I used a tape measure to record the height, width, and depth of the existing cabinet, making sure to account for any irregularities in the space. I also measured the distance from the floor to the bottom of the vanity, which helped me determine the correct height for the new cabinet.
Once I had the measurements, I started sourcing a new cabinet. I found a great option at a local home improvement store that fit my budget and style preferences. I made sure to check that the cabinet was compatible with my existing plumbing and electrical outlets, which saved me from potential headaches later on.
If you're unsure about the right cabinet for your space, don't hesitate to consult with a sales associate or even a professional carpenter. I spoke with a carpenter before making my purchase, and his advice helped me choose a cabinet that would last for years to come.
Measure twice, install once — it’s the golden rule for any DIY project.
Related: Second hand kitchen cabinet doors for sale
Related: Curio cabinet ideas
Related: Used kitchen cabinet doors for sale
Related: Cabinet doors replacement
Related: Fast cabinet doors
Gathering the Right Tools and Materials
Before starting the replacement, I made sure I had all the necessary tools and materials. A few essentials included a screwdriver, a level, a drill, a utility knife, and a saw if I needed to make any adjustments. I also gathered sandpaper, wood filler, and paint if I wanted to finish the cabinet myself.
In addition to the tools, I needed a few key materials. The new cabinet was the obvious one, but I also made sure to have a few replacement screws, wood glue, and a few boxes of nails. I also picked up a few cleaning supplies — I wanted to make sure my new cabinet was installed in a clean, dust-free environment.
I found that having everything laid out and ready to go before starting the project made the process much smoother. I didn’t want to stop halfway through just to run to the hardware store for something I had forgotten. Taking the time to plan ahead helped me stay on track and finish the job in just one weekend.
Always have a backup plan for tools and materials — I always carried a small tool kit in my car, just in case something was missing.
“I still remember the first time I stood in my bathroom, staring at the cracked and discolored cabinet that had seen better days.”— Upcycled Kitchen Cabinet Makeovers editors
Removing the Old Cabinet
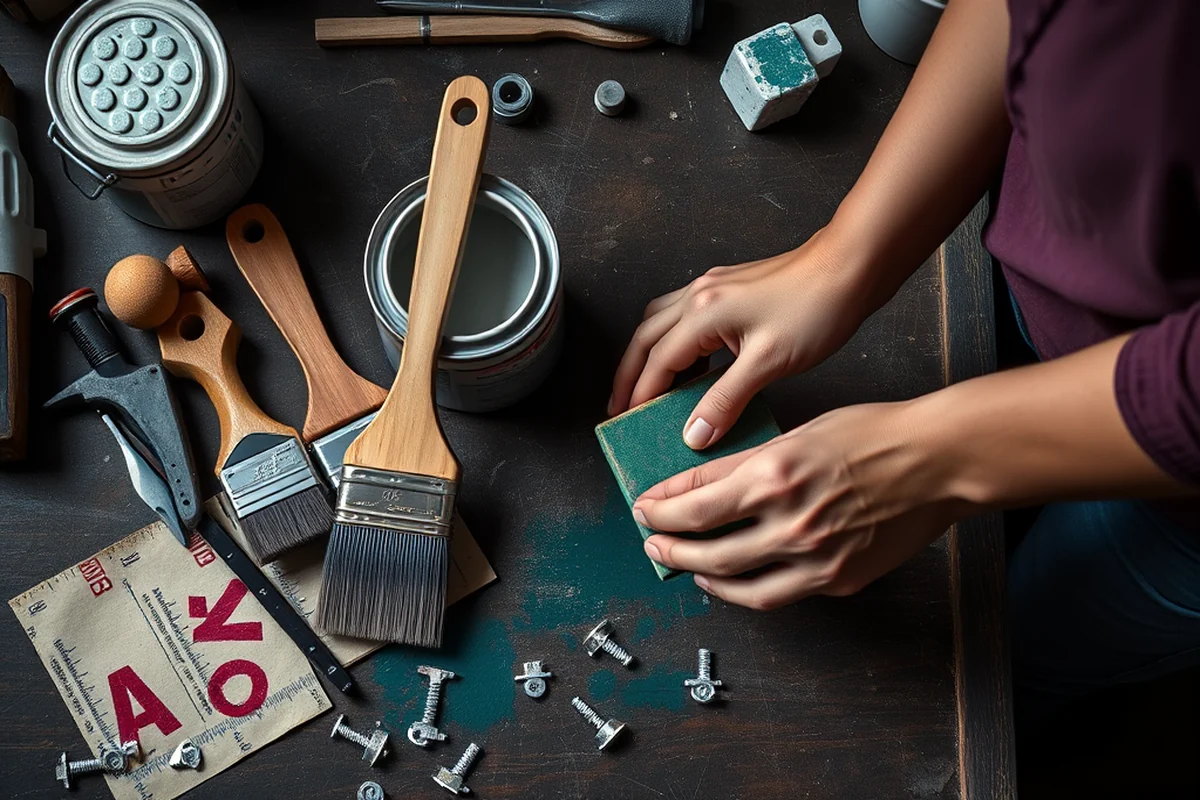
Removing the old cabinet was one of the more labor-intensive parts of the project. I started by unplugging any outlets that were connected to the cabinet and turning off the power to the bathroom. I used a screwdriver to remove the screws holding the cabinet in place, carefully taking note of where each screw was located so I could reinstall them later.
After removing the screws, I used a utility knife to cut through any adhesive or sealant that was holding the cabinet in place. I made sure to work slowly and carefully to avoid damaging the surrounding wall or floor. Once the cabinet was loose, I lifted it out and set it aside for disposal.
I was careful not to damage the surrounding drywall or flooring during the removal process. If the cabinet was stuck, I used a little bit of force, but I made sure to be gentle and avoid cracking the drywall. It was a bit of a challenge, but I managed to get the old cabinet out without any major issues.
Installing the New Cabinet
Once the old cabinet was removed, I was ready to install the new one. I carefully placed the new cabinet in the space, making sure it was level and aligned with the surrounding walls. I used a level to check the cabinet’s position and made adjustments as needed.
I used a drill to secure the cabinet to the wall, making sure the screws were evenly spaced and tight. I also checked that the cabinet was the right height and that the drawers and doors opened and closed smoothly. I took my time with this step to ensure everything was properly aligned and secure.
After the cabinet was installed, I used a utility knife to trim any excess molding or trim that didn’t fit perfectly. I also made sure to clean up any dust or debris from the installation process. At this point, I was ready to move on to the finishing touches.
Finishing Touches and Customization
Once the cabinet was installed, I focused on the finishing touches. I applied a coat of paint to the exterior of the cabinet, making sure to cover all the surfaces evenly. I let the paint dry completely before applying a second coat for a more even finish.
I also added some decorative hardware, such as knobs and pulls, to give the cabinet a more modern look. I made sure the hardware matched the rest of my bathroom’s decor, which helped create a cohesive look. I also added some shelving inside the cabinet to maximize the storage space.
Finally, I made sure everything was clean and organized. I wiped down the cabinet with a damp cloth and let it dry. I also took a step back and admired my work — it was a great feeling to see my new cabinet looking so polished and functional.
Details make the difference — don’t skip the finishing touches.
Maintenance and Long-Term Care
After installing the new cabinet, I made sure to take steps to maintain it over time. I used a mild cleaner to wipe down the cabinet regularly, which helped keep it looking new. I also avoided using harsh chemicals that could damage the finish.
I made sure to check the hardware and screws periodically to ensure everything was still secure. I also kept the cabinet well-ventilated to prevent any mold or mildew buildup. I found that these small steps made a big difference in how long the cabinet lasted.
I also made sure to keep the cabinet organized and free of clutter. I used drawer organizers and storage bins to keep everything in place. I found that a well-maintained cabinet not only looked better but also functioned better in the long run.
💰 Budget Build
Use basic materials and minimal hardware to replace your cabinet without breaking the bank.
⏰ Weekend Version
Complete the replacement in one day with pre-assembled cabinets and pre-measured tools.
✨ Upgraded Finish
Add custom paint, hardware, or built-in storage for a more personalized and high-end look.
🏠 Small-Space Adaptation
Choose a compact cabinet design that fits perfectly in small bathrooms without sacrificing functionality.
🔒 Rental-Safe Option
Use non-permanent installation methods that won’t damage the walls or fixtures, ideal for renters.
| The mistake | Why it happens | The fix |
|---|---|---|
| Not measuring accurately | If the new cabinet doesn’t fit the space, it can lead to misalignment and structural issues. | Double-check all measurements before purchasing the cabinet and make sure to leave a little extra room for any adjustments. |
| Skipping the leveling step | An unlevel cabinet can cause doors and drawers to not close properly and may even damage the cabinet over time. | Always use a level to ensure the cabinet is perfectly aligned before securing it in place. |
| Neglecting to check for water damage | If the old cabinet has water damage, it could lead to mold or structural issues with the new cabinet. | Inspect the area thoroughly before installing the new cabinet and address any water damage before proceeding. |
| Using the wrong type of screws or hardware | Using the wrong hardware can lead to a loose or unstable cabinet. | Always use the hardware and screws recommended by the manufacturer or consult with a professional if unsure. |
How To Replace Bathroom Cabinet
Common Questions
How long does it take to replace a bathroom cabinet?
Do I need any special tools for this project?
Can I install the new cabinet myself, or should I hire a professional?
How much does it cost to replace a bathroom cabinet?
References
- 2004nil01.xml - Loc - The Library of Congress (tile.loc.gov)
- Chapter 11: Interim Controls - HUD (hud.gov)
- Q18 Is there anything you would like to add about ... - Eugene, Oregon (eugene-or.gov)
Cite this guide
Upcycled Kitchen Cabinet Makeovers (2026). How To Replace Bathroom Cabinet. https://upcyclehome.com/how-to-replace-bathroom-cabinet/
Feel free to cite or share this guide.