
What Is A Kitchen Hutch
📖 Table of Contents
- What is a Kitchen Hutch and How It Differs from a Cabinet
- Where to Place a Kitchen Hutch in Your Kitchen
- What to Store in a Kitchen Hutch for Maximum Utility
- How to Build a Kitchen Hutch from Scratch
- How to Customize a Kitchen Hutch for Your Space
- How to Choose the Right Size for Your Kitchen Hutch
- How to Maintain and Care for Your Kitchen Hutch
- Make It Your Way
- Frequently Asked Questions
I remember the first time I saw a kitchen hutch in a friend's home. It was tucked into the corner of their kitchen, holding a collection of mismatched mugs, a set of vintage knives, and a small ceramic dish filled with herbs. At the time, I didn’t know what it was called, but I immediately felt a spark of inspiration. It was a piece that seemed to hold both function and beauty, and I couldn’t help but wonder how I could create something similar for my own space. That spark led me to learn more about what a kitchen hutch really is — and it turns out, it’s a versatile, practical, and surprisingly simple addition to any home kitchen. What is a kitchen hutch, you ask? Let me break it down for you. It's not just a piece of furniture; it's an opportunity to blend utility with personality in a way that feels entirely personal.[2]
A kitchen hutch is more than just a shelf — it's a statement piece that can define the look and feel of your kitchen. I’ve built a few myself over the years, and each one has had its own character. Some are built from repurposed wood, while others are custom-made with a focus on clean lines and modern aesthetics. The beauty of a kitchen hutch is that it can be tailored to fit your lifestyle, whether you need extra storage, a place to display your favorite cookware, or a surface for your morning coffee. What is a kitchen hutch, exactly? It’s a freestanding cabinet or shelf unit that typically sits near the kitchen counter, often with open shelving and a lower cabinet. But it’s not just about storage — it’s also about style, personality, and functionality. This is where I start to get excited, because the possibilities are endless.
If you’re thinking about adding a kitchen hutch to your home, the first thing you need to know is that it’s not an intimidating project. I’ve seen people with no prior experience build one in a single weekend, using just a few basic tools and a few affordable materials. What is a kitchen hutch, after all? It’s a piece that can be made to fit any budget, skill level, or design preference. Whether you’re looking to create a rustic farmhouse look or a sleek, modern space, there’s a way to make it happen. And the best part? You don’t need to break the bank or spend weeks on the project. What is a kitchen hutch, in the end, is simply a chance to transform your kitchen into a space that feels both beautiful and functional — and that’s a goal worth pursuing.
Why You'll Love This Kitchen Hutch Project
- A kitchen hutch adds extra storage space without requiring a full cabinet installation.
- It can be built in a weekend with minimal tools and basic skills.
- A kitchen hutch offers a unique opportunity to personalize your kitchen space.
- You can repurpose or upcycle materials to create a one-of-a-kind piece.
What is a Kitchen Hutch and How It Differs from a Cabinet
As of September 2026, one of the first things I learned about kitchen hutches is that they are not the same as built-in cabinets. A kitchen hutch is a standalone unit, typically placed near the kitchen counter or dining table. It usually has open shelving on the top portion and a closed cabinet or drawer below, which is where the real difference lies. Unlike traditional cabinets that are mounted directly into the kitchen walls, a kitchen hutch can be moved, repositioned, or even repurposed for another room. This flexibility is one of the reasons I love them so much — they’re not only functional but also versatile.
In my experience, the key features of a kitchen hutch include its open shelving. Is great for displaying cookware, utensils, or decorative items, and the lower cabinet or drawers, which provide storage without taking up valuable counter space. Unlike most cabinets, which are integrated into the kitchen, a hutch is freestanding and can be placed anywhere in the kitchen — even in a corner or near the entryway. I’ve placed mine right next to my counter, and it has become the perfect spot for storing my most-used kitchen tools and displaying my favorite kitchenware.
One thing to note is that kitchen hutches are often built from solid wood or repurposed materials, which can make them more durable than standard cabinets. I’ve used old pallet wood for a few of mine, and the result was both rustic and functional. The open shelving of a hutch also makes it easier to access items. Is a big advantage over built-in cabinets where you might have to dig through a full cabinet to find a specific item. So, if you’re looking for a practical and stylish addition to your kitchen, a hutch is a great choice.
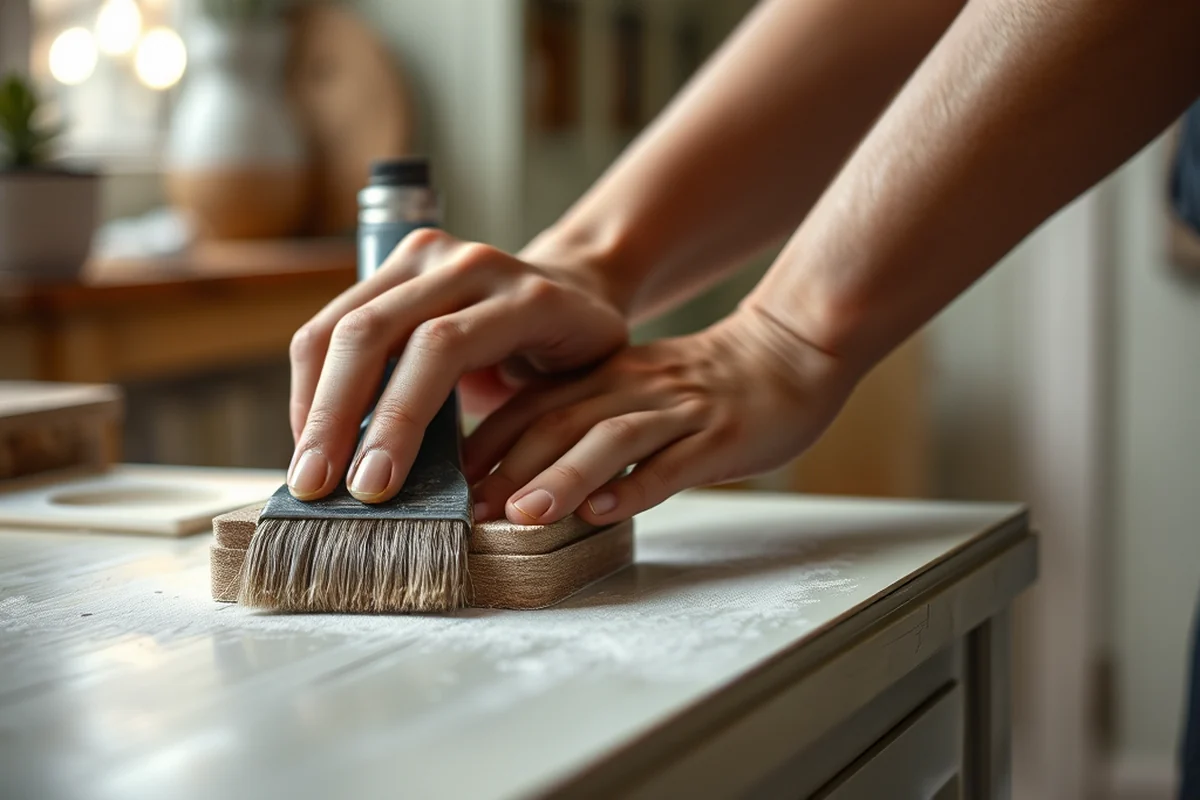
I've found that using repurposed wood, like old pallets or salvaged wood planks, adds a rustic charm and can be more cost-effective than buying new materials. Sand the wood thoroughly and apply a clear coat for durability.
Where to Place a Kitchen Hutch in Your Kitchen
With where to place a kitchen hutch, the location can make a huge difference in how it functions. I’ve found that the most common and effective spots are near the kitchen counter, dining table, or entryway. Placing it near the counter allows for easy access to kitchen tools, while positioning it near the dining table can give it a more decorative role. I’ve even placed mine near the entryway of my kitchen, which turned it into a great spot for storing guest items or displaying decorative objects when I’m entertaining.
One thing to consider is the size of your kitchen. In smaller spaces, a hutch placed against a wall or tucked into a corner can maximize the use of available space. In larger kitchens, it can be positioned to act as a room divider or even a focal point. I’ve had friends who placed their hutch right in the middle of their kitchen, and it created a natural division between the cooking and dining areas. It’s a great way to add a bit of structure to an otherwise open space.
The height of the hutch is also important. I recommend keeping it at a similar height to your counter so that the items on the shelves are easily accessible. If it's too tall, you might find yourself stretching to reach something, which can be uncomfortable. On the other hand, if it's too short, it might look out of place. Finding the right height is part of the fun — and it’s one of the reasons I love building them from scratch, because I can tailor the dimensions to fit my space perfectly.[1]
Place your hutch where it can double as both a functional and decorative piece.
Related: Kitchen island design ideas
Related: What is a hutch cabinet
Related: A wooden bowl kitchenaid
What to Store in a Kitchen Hutch for Maximum Utility
One of the joys of having a kitchen hutch is deciding what to store in it. I’ve found that the best approach is to use the open shelves for items you use on a daily basis, like mixing bowls, cutting boards, or your favorite set of knives. The lower cabinet or drawers are great for storing items that you don’t need to access as often, such as seasonal cookware, extra baking sheets, or even holiday decorations. I’ve had mine filled with everything from my spice rack to my collection of vintage teacups — it’s a great way to showcase your personality while keeping things organized.
Another thing to consider is the type of materials you use for storage. I’ve found that using open shelving allows for better visibility and makes it easier to find what you need without rummaging through a cabinet. If you’re storing items like mugs or bowls, you can even arrange them by color or size for a more visually appealing setup. I’ve had friends who used their hutch as a display for their favorite cookbooks or even for their collection of vintage kitchenware — it’s a way to make your kitchen feel personal and lived-in.
Don’t be afraid to get creative with what you store in your hutch. I’ve even used mine as a display for my plants, which brought a nice touch of greenery into my kitchen. The key is to find a balance between functionality and aesthetics — after all, a kitchen hutch should make your life easier while also adding to the overall look of your space.
I've found that keeping daily-use items on open shelves makes them easy to access and keeps your kitchen looking organized. Store items like cutting boards, mixing bowls, and your favorite cookware on display for quick access.
“I remember the first time I saw a kitchen hutch in a friend's home.”— Upcycled Kitchen Cabinet Makeovers editors
Related: 101 craft kitchen
How to Build a Kitchen Hutch from Scratch
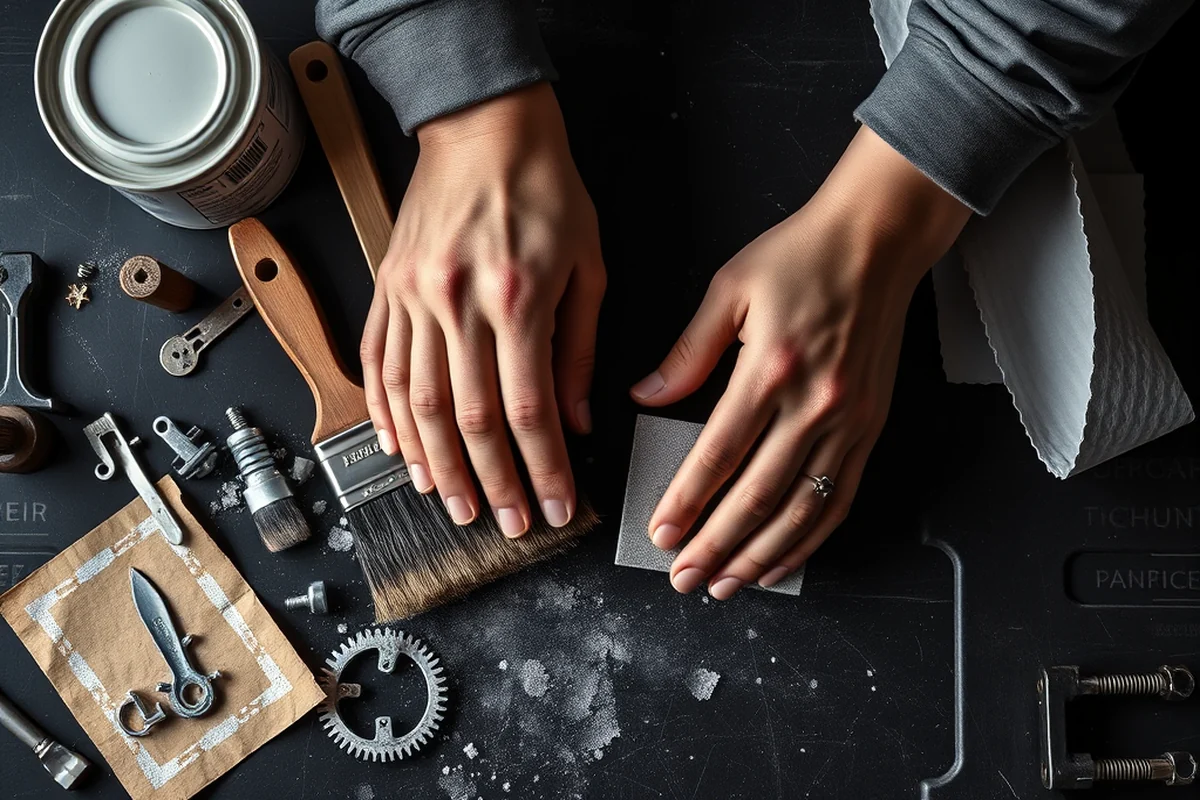
If you’re considering building your own kitchen hutch, you’re in for a surprisingly simple and rewarding project. I’ve built a few over the years, and each time, it was a weekend project that didn’t require any advanced skills. The first step is to gather your materials — I’ve used everything from salvaged wood planks to repurposed cabinets. The key is to make sure you have a sturdy frame, which can be constructed from 2x4s or even repurposed wood. Once you have the frame, you can attach the shelves and cabinets.
Another thing to consider is the tools you’ll need. I’ve found that a basic set of tools — a saw, a drill, a level, and a screwdriver — is all you need to build a hutch. The most challenging part is ensuring that the shelves and cabinet are level, which is why I always use a level during the building process. I’ve also found that using wood glue in addition to screws makes the structure more stable, especially if you’re using repurposed wood. Once the frame is assembled, you can attach the shelves and cabinet, then sand everything down and apply a finish.
One thing to note is that building a hutch from scratch gives you the freedom to customize it to your exact specifications. I’ve built a few with open shelving on the top and a lower cabinet, but I’ve also seen people build hutches with multiple shelves and no cabinet at all. The possibilities are endless, and that’s one of the things I love most about this project. It’s not just about creating storage space — it’s about creating a piece that reflects your style and needs.
How to Customize a Kitchen Hutch for Your Space
One of the best things about a kitchen hutch is that it’s highly customizable. I’ve found that the way you customize it depends on your space, your design preferences, and your storage needs. If you have a small kitchen, you might want a more compact hutch that doesn’t take up too much room. On the other hand, if you have a larger kitchen, you might opt for a hutch with more shelves and storage options. I’ve even seen people build hutches with drawers instead of cabinets for added convenience.
Another thing to consider is the material you choose. I’ve used everything from solid wood to repurposed pallets, and each material gives the hutch a different look and feel. If you’re going for a rustic look, using reclaimed wood is a great option. If you want something more modern, you might choose a sleek, finished wood or even a metal frame. I’ve also experimented with adding glass doors to the cabinet for a more elegant look, which has been a great addition to a few of my hutches.
Customizing a hutch also gives you the freedom to experiment with color and finish. I’ve painted mine in everything from white to deep blue, and each color has transformed the look of my kitchen. I’ve even tried using a chalk paint finish, which gives the hutch a more vintage feel. The key is to choose a finish that complements your kitchen’s overall design — after all, a hutch is more than just storage; it’s also a design element.
How to Choose the Right Size for Your Kitchen Hutch
One of the most important decisions you’ll make when building a kitchen hutch is its size. I’ve learned over the years that getting the size right is essential — a hutch that’s too large can overwhelm a small space, while one that’s too small may not provide enough storage or display options. The best way to determine the right size is to measure your space and think about how you’ll use the hutch. I’ve found that a good rule of thumb is to make the hutch no wider than the height of your kitchen counter, which ensures it doesn’t look out of place.
Another thing to consider is the height of the hutch. I’ve found that keeping the hutch at a similar height to your counter allows for easier access to items on the shelves. If it’s too tall, you might find yourself stretching to reach something, which can be uncomfortable. On the other hand, if it’s too short, it might look out of place. Finding the right height is part of the fun — and it’s one of the reasons I love building them from scratch, because I can tailor the dimensions to fit my space perfectly.
I’ve also found that the number of shelves and the depth of the shelves can make a big difference in how the hutch functions. If you’re using it for displaying items, you’ll want shelves that are deep enough to hold larger items like mixing bowls or cutting boards. If you’re using it for storage, you might want to add a lower cabinet or drawers for more functionality. The key is to think about how you’ll use the hutch and build it accordingly.
Measure your space first — a well-sized hutch can make all the difference.
How to Maintain and Care for Your Kitchen Hutch
Once you’ve built your kitchen hutch, it’s important to take care of it to ensure it lasts for years. I’ve found that the main thing to consider is the type of finish you applied. If you used a clear coat or a sealant, you’ll need to make sure it’s maintained properly. I usually wipe down the shelves and cabinet with a damp cloth to remove dust and debris. If you used a paint finish, you can use a mild soap and water solution to clean it — just be sure to avoid harsh chemicals that might damage the paint.
Another thing to consider is the material you used for the hutch. If you used wood, you might need to apply a wood polish or oil occasionally to keep it looking shiny and new. If you used a metal frame, you might want to wipe it down with a dry cloth to prevent rust. I’ve found that keeping the hutch clean and dry is the best way to maintain it over time. I’ve also seen people use natural oils like beeswax on their wooden hutches, which gives them a nice sheen and helps protect the wood from moisture.
If your hutch is placed in an area with a lot of moisture, like near the sink or in a high-traffic kitchen, you might want to consider using a water-resistant finish. I’ve had a few hutches that were exposed to more humidity, and I found that applying a clear water-based sealant helped protect them from warping or peeling. Regular maintenance might seem like a small detail, but it can make a big difference in how long your hutch lasts and how good it looks over time.
💰 Budget Build Kitchen Hutch
A cost-effective hutch built from salvaged wood and basic tools, perfect for those on a tight budget.
⏰ Weekend Kitchen Hutch
A quick and easy hutch that can be assembled in just a few hours, ideal for a last-minute project.
✨ Upgraded Finish Kitchen Hutch
A hutch with a high-end finish, including painted or stained wood, for a more polished look.
🏠 Small-Space Kitchen Hutch
A compact hutch designed for smaller kitchens, maximizing storage without taking up too much room.
🔒 Rental-Safe Kitchen Hutch
A temporary or portable hutch that can be easily moved or removed, making it perfect for renters.
| The mistake | Why it happens | The fix |
|---|---|---|
| Using the wrong type of wood for the hutch frame. | Using a weak or unstable wood can cause the hutch to warp or break over time, especially if it's placed in an area with humidity or moisture. | Choose a sturdy wood like oak, maple, or even repurposed wood that has been properly dried. Avoid using softwoods like pine unless they've been treated for strength. |
| Not ensuring the shelves and cabinet are level. | If the shelves or cabinet are not level, the hutch may wobble or look unbalanced, which can be both unsightly and dangerous. | Use a level during the building process to ensure everything is aligned properly. You can also use shims to adjust the frame if needed. |
| Not considering the weight of the items stored in the hutch. | Overloading the shelves or cabinet with heavy items can cause the hutch to become unstable or even collapse over time. | Make sure to distribute the weight evenly across the shelves and avoid placing extremely heavy items on the top shelves. Use the lower cabinet for heavier items to prevent strain on the frame. |
What Is A Kitchen Hutch
Common Questions
Can I build a kitchen hutch without any prior woodworking experience?
What tools do I need to build a kitchen hutch?
How long does it take to build a kitchen hutch?
Can I use repurposed materials to build a kitchen hutch?
References
- What's Under Your Kitchen Sink? • AnswerLine • Iowa State ... (blogs.extension.iastate.edu)
- Furniture | Housing and Residence Life - Western Michigan University (wmich.edu)
Cite this guide
Upcycled Kitchen Cabinet Makeovers (2026). What Is A Kitchen Hutch. https://upcyclehome.com/what-is-a-kitchen-hutch/
Feel free to cite or share this guide.