
Corner Cabinet Makeover
📖 Table of Contents
I remember the first time I walked into my new home and saw that awkward, sun-bleached corner cabinet. It was like a forgotten relic from the 1970s, wedged between the kitchen and the living room, taunting me with its outdated finish and lack of storage space. That moment was the catalyst for my first DIY project — a corner cabinet makeover. I spent the weekend with a sanding block, a can of chalk paint. A few hours of focused effort, and by Sunday evening, I had transformed that eyesore into a statement piece that made the whole room feel cohesive and modern. The key wasn’t just the materials or the technique, but how I approached the entire process with a clear plan and a little bit of grit.[4]
A corner cabinet makeover is more than just a weekend project — it’s an opportunity to breathe new life into a space that’s often overlooked. These cabinets are tricky to work with because of their unique shape. With the right tools and a bit of patience, you can turn them into a functional and stylish addition to your kitchen or living area. I’ve done this transformation multiple times. Each time, I’ve learned something new — like the importance of proper surface preparation or the power of adding soft, warm lighting behind the cabinet to create a focal point.
If you’re thinking about taking on a corner cabinet makeover, you’re not alone. In my experience, this project is a favorite among DIYers because it’s both rewarding and manageable. It doesn’t require a lot of space or time, and it can be tailored to fit your style, budget, and the overall aesthetic of your home. Whether you’re going for a rustic farmhouse look or a sleek modern finish, there’s a way to make it work. The best part? You’ll be amazed at how much of a difference a little paint and some thoughtful hardware can make.
Why You'll Love This Corner Cabinet Makeover
- Transforms an overlooked space into a statement piece
- Adds instant visual appeal and functionality
- Can be customized to match your home's decor
- Cost-effective compared to replacing the entire cabinet
Why Choose a Corner Cabinet Makeover?
As of September 2026, Corner cabinets are often ignored, but they can be a great opportunity for a fresh start. With just a few coats of paint and some new hardware, you can completely transform the look and feel of your kitchen or living room. I’ve found that even the most outdated cabinets can be brought back to life with minimal effort and expense.[1]
One of the best things about a corner cabinet makeover is that it doesn’t require a lot of tools or materials. I’ve completed several projects using just a few basic items — a sanding block, paint, a brush, and a few new knobs. This makes it a great option for beginners who want to try their hand at DIY.
The results are often more dramatic than you’d expect. I remember one particular project where I painted a dark, stained cabinet a soft white and added some modern pulls. The change was so immediate that my guests couldn’t believe it was the same cabinet. It made the room feel brighter, more open, and more inviting.
Choose a medium-grit sanding block for old cabinets and a fine-grit one for new ones. A high-quality brush will give you a smoother finish, and don’t forget to use painter’s tape to protect surrounding areas.
Part of our Cabinet doors guide.
Preparing the Surface for a Makeover
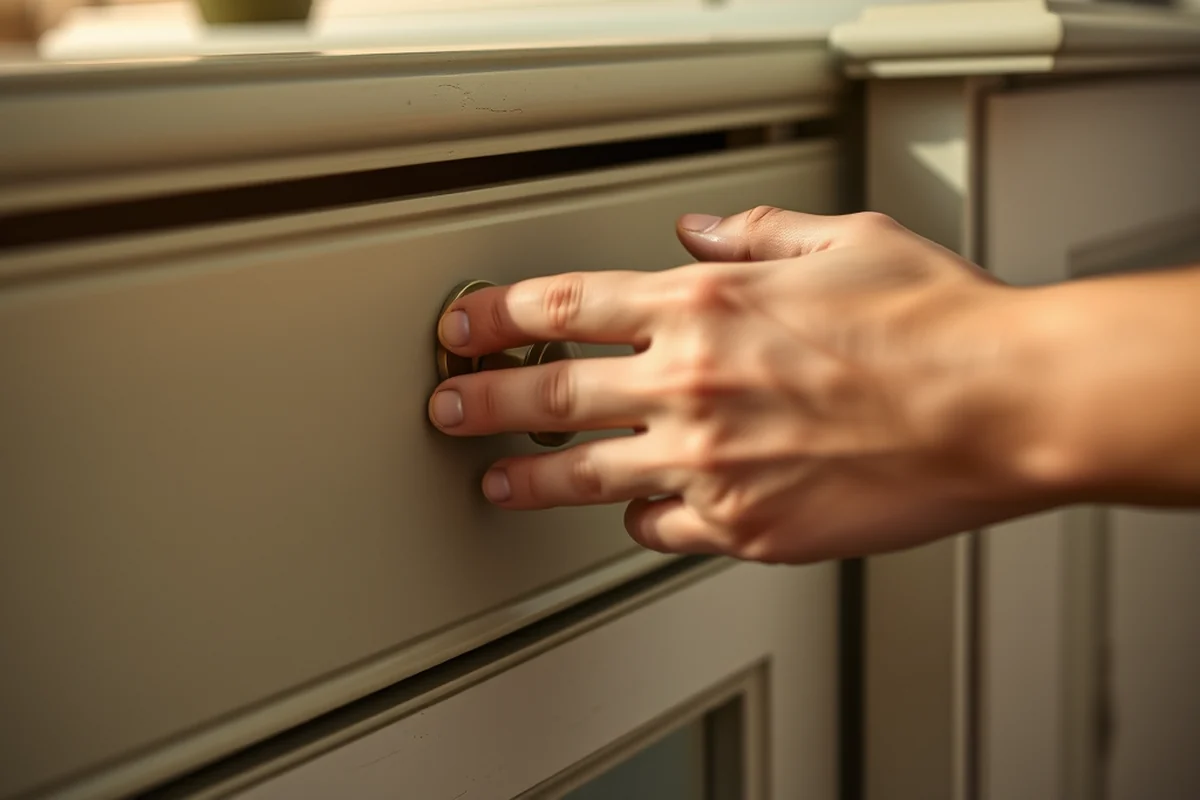
I always start by cleaning the cabinet thoroughly with a degreaser and water. This removes any grease, grime, or old adhesives that might be on the surface. It’s a simple step, but it makes a huge difference in how well the paint adheres.
Next, I sand the cabinet with a fine-grit sanding block. This helps to create a smooth surface and removes any old paint that might be flaking off. I’ve found that even if the paint is still in good condition, sanding it lightly can help the new paint stick better.
After sanding, I wipe down the cabinet with a damp cloth to remove any dust or debris. This ensures that the paint will go on evenly and without any bumps or imperfections. I’ve made the mistake of skipping this step before, and the paint didn’t go on smoothly — it was a lesson I won’t forget.
Never skip the cleaning and sanding steps — they make all the difference.
Related: Upcycle kitchen doors
Related: Bathroom cabinet makeover diy
Related: Second hand kitchen cabinet doors for sale
Related: Used kitchen cabinet doors
Related: Curio cabinet ideas
Choosing the Right Paint and Finish
I’ve found that chalk paint is a great option for cabinets because it’s easy to apply and doesn’t require a lot of prep work. It also has a matte finish that works well with most styles. If you want a glossy or semi-gloss finish, you can use a regular latex paint and apply a clear top coat afterward.
When choosing a color, it’s important to consider the overall look of your kitchen or living room. I like to use a neutral color like white or light gray for a modern look, or a warm wood tone for a rustic feel. I’ve also tried using bold colors like navy or deep green for a dramatic effect, and it worked surprisingly well.
I always test the paint on a small section of the cabinet before painting the whole thing. This helps me see how the color looks in the actual lighting and how it complements the rest of the room. It’s an extra step, but it can save you from a costly mistake.
Before committing to a color, test it on a small section of the cabinet. This gives you a better idea of how it will look in your space and helps avoid expensive mistakes.
“I remember the first time I walked into my new home and saw that awkward, sun-bleached corner cabinet.”— Upcycled Kitchen Cabinet Makeovers editors
Applying the Paint
I use a high-quality brush to apply the paint, working in long, even strokes. I’ve found that using a brush rather than a roller gives a smoother finish, especially on the edges and corners of the cabinet. It’s also easier to control the amount of paint you’re applying.
I apply two thin coats of paint, allowing each coat to dry completely before applying the next one. This ensures even coverage and a more durable finish. I’ve tried applying too much paint at once, and it ended up leaving streaks and bubbles, which I had to sand down and repaint.
After the paint is fully dry, I apply a clear top coat to protect it. This helps the paint last longer and makes it easier to clean. I’ve used both water-based and oil-based top coats, and both work well, though I find the water-based ones are easier to apply and clean up.
Upgrading the Hardware
I always replace the hardware on my cabinets during a makeover. It’s a small detail that can make a big impact on the overall look. I’ve used everything from modern pulls to rustic knobs, depending on the style I’m going for.
When choosing new hardware, I look for something that complements the paint color and the overall style of the room. I’ve found that using hardware in a contrasting color — like brass or black — can add a nice pop of interest to a neutral-colored cabinet.
Installing the new hardware is simple. I use a screwdriver to remove the old pulls and knobs, then attach the new ones with the screws that came with them. It’s a quick step, but it can really change the look of the cabinet.
Adding Lighting for Extra Impact
I’ve found that adding a small LED strip light behind the cabinet can make a huge difference in how it looks. The light highlights the paint and hardware and creates a nice ambient glow in the room.
I’ve used both battery-powered and plug-in LED strips, and both work well. I’ve found that battery-powered ones are easier to install, while plug-in ones can be controlled with a dimmer switch for more flexibility.
The effect is subtle but effective. I’ve had guests comment on how much better the room looks with the added lighting, and I can’t argue with that. It’s a simple addition that can really enhance the overall look of the cabinet and the space it’s in.
A little lighting can turn a basic cabinet into a showstopper.
Final Touches and Maintenance Tips
After the paint and hardware are all in place, I take a step back and assess the overall look. I check for any missed spots or imperfections and touch them up as needed. It’s a small detail, but it can make a big difference in the final result.
I also make sure to clean the cabinet thoroughly after the project is done. This helps remove any dust or debris that might have accumulated during the process. A quick wipe down with a microfiber cloth usually does the trick.
For long-term maintenance, I recommend using a soft cloth and mild cleaner to keep the cabinet looking its best. I’ve found that avoiding harsh chemicals and abrasive materials is key to preserving the paint and finish over time.[2]
💰 Budget Build
A low-cost option using leftover paint and basic hardware to give your cabinet a fresh look without breaking the bank.
⏰ Weekend Version
A quick and easy makeover that can be completed in just one weekend, perfect for those with limited time.
✨ Upgraded Finish
A more detailed project featuring a high-quality paint finish and premium hardware for a polished, professional look.
🏠 Small-Space Adaptation
A version tailored for compact spaces, focusing on maximizing storage and minimizing clutter.
арендатор Rental-Safe Option
A temporary solution that can be easily removed and restored without damaging the original cabinet or leaving any permanent marks.
| The mistake | Why it happens | The fix |
|---|---|---|
| Skipping the sanding step | Skipping sanding can lead to poor paint adhesion, resulting in a patchy or peeling finish. | Always sand the cabinet thoroughly before painting to ensure the paint sticks properly. |
| Using the wrong type of paint | Using a paint that’s not suitable for cabinets can lead to a dull or uneven finish. | Choose a paint that’s designed for cabinets or wood surfaces, and test it on a small area first. |
| Not cleaning the cabinet properly | Grease, grime, or old adhesives on the surface can prevent the paint from sticking properly. | Clean the cabinet thoroughly with a degreaser and water before starting the project. |
| Applying too much paint at once | Applying too much paint can cause streaks, bubbles, and uneven coverage. | Apply thin, even coats and allow each coat to dry completely before applying the next one. |
Corner Cabinet Makeover
Common Questions
How long does a corner cabinet makeover typically take?
What tools do I need for a corner cabinet makeover?
Can I do this project if I have no prior experience?
What’s the best paint to use for a cabinet makeover?
Cite this guide
Upcycled Kitchen Cabinet Makeovers (2026). Corner Cabinet Makeover. https://upcyclehome.com/corner-cabinet-makeover/[3]
Feel free to cite or share this guide.
References
- the furniture and furnishing of st james's palace 1714-1715 (academia.edu)
- Campus Construction Update: June 10, 2022 | News - Bates College (bates.edu)
- News Flash • Burlington County, NJ (burlingtoncountynj.gov)
- Tattered Elegance | La Plata MD - Facebook (charlescountymd.gov)