
Cabinet Makeover With Contact Paper
📖 Table of Contents
- Why Contact Paper Works So Well for Cabinet Makeovers
- Choosing the Right Contact Paper for Your Cabinets
- Preparing Your Cabinets for the Makeover
- Cutting and Applying the Contact Paper
- Finishing Touches and Maintenance
- Customizing Your Cabinet Makeover
- Long-Term Considerations for Your Cabinet Makeover
- Make It Your Way
- Frequently Asked Questions
I remember the first time I saw my outdated kitchen cabinets and felt the urge to refresh them without spending a fortune. The cabinets were a dull beige, chipped in places, and the space felt stale. I had heard about cabinet makeovers with contact paper, and I was skeptical. How could something as simple as contact paper change the look of an entire room? But after watching a few tutorials and doing some research, I decided to give it a try. I wanted something that was fast, affordable, and didn’t involve the stress of painting or sanding.[1]
The process was simpler than I expected, and the results were nothing short of transformative. I picked a bold geometric pattern in a deep navy blue, and within a few hours, my kitchen felt brand new. The contrast between the cabinets and the white countertops made the space feel more modern and intentional. I didn’t just update the cabinets—I transformed the way I interacted with my kitchen every day.
Since that day, I've done several cabinet makeovers with contact paper, each time experimenting with different patterns and colors. What I’ve learned is that this method is remarkably versatile, and it’s not just for kitchens. Whether you're working with bathroom cabinets, bookshelves, or even furniture, the same technique can work. If you're looking for a quick and cost-effective way to give your cabinets a fresh look, this is a project worth trying.
Why You'll Love This Cabinet Makeover With Contact Paper
- It’s one of the fastest ways to refresh your cabinets without major renovation.
- You can achieve high-end looks for a fraction of the cost of painting or replacing cabinets.
- It’s a great option for renters or those who can’t commit to permanent changes.
- You can customize the look with a wide variety of patterns and colors.
Why Contact Paper Works So Well for Cabinet Makeovers
As of August 2026, Contact paper is designed to stick firmly to flat, clean surfaces and holds up well to moisture and light use. I've used it on my kitchen cabinets for over a year, and I haven’t noticed any peeling or lifting, even in high-traffic areas. It's also incredibly forgiving if you make a mistake during the application process, which is a huge plus for beginners.
Another thing I love about contact paper is the variety of patterns and colors available. I’ve used everything from subtle wood grains to bold geometric prints. The versatility makes it easy to match your personal style or existing decor without having to commit to a paint color or cabinet refinish.
I’ve found that using contact paper is significantly less time-consuming than painting or sanding. I can complete a full cabinet makeover in just a few hours, which is a huge advantage if you're on a tight schedule or working around a busy household.
Before cutting the contact paper, take precise measurements of each cabinet panel to avoid waste. It’s easy to miscalculate, but double-checking can save you both time and money.
Choosing the Right Contact Paper for Your Cabinets
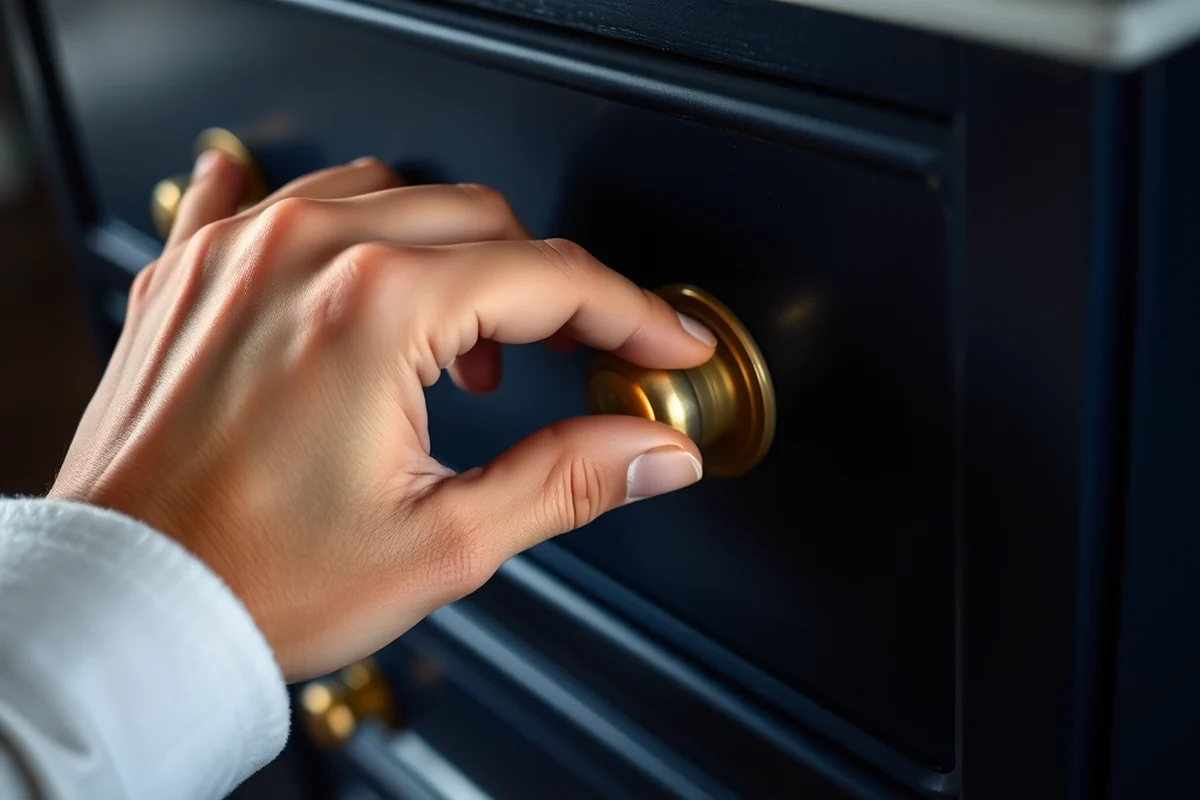
Not all contact paper is created equal. I learned the hard way that cheaper, low-quality paper can peel off in weeks or even days, especially in humid environments like kitchens. It’s worth investing in a reputable brand that offers durability and a strong adhesive. I’ve used brands like 3M and Avery, and they both hold up well over time.
When selecting a pattern, consider the size of your cabinets. Bold, large patterns can overwhelm small cabinets, while small, intricate designs might get lost on large panels. I’ve found that medium-sized patterns work best for most spaces. Also, think about the lighting in your room—some patterns look more dramatic in natural light than others.
If you're unsure about your choice, I recommend buying a small sample piece first. It allows you to test how the pattern looks in your space under different lighting conditions. This step can prevent costly mistakes and ensure that the final result meets your expectations.[2]
Invest in quality contact paper for long-lasting results.
Related: Redo kitchen cabinets with contact paper
Related: Kitchen cabinet makeover with contact paper
Related: Can you put contact paper on kitchen cabinets
Related: Contact paper on cabinets
Preparing Your Cabinets for the Makeover
The first step is to clean your cabinets thoroughly. I use a mild soap and water solution to remove any grease, grime, or residue. A clean surface is essential for proper adhesion. If your cabinets are particularly dirty or stained, a degreaser can help remove persistent buildup.
Next, I make sure the cabinets are completely dry before applying the contact paper. Any moisture left on the surface can cause the paper to lift or bubble. I let my cabinets air dry for at least an hour after cleaning, which gives me peace of mind that the surface is ready for the next step.
I also take the time to smooth out any uneven surfaces or bumps on the cabinet doors. If there are any ridges or grooves that could interfere with the paper’s adhesion, I use a small putty knife to gently press them down or apply some filler. This step ensures that the contact paper lies flat and looks professional.
Before applying the contact paper, test a small corner of the cabinet with a sample piece. This allows you to see how the paper adheres and looks on the surface.
“I remember the first time I saw my outdated kitchen cabinets and felt the urge to refresh them without spending a fortune.”— Upcycled Kitchen Cabinet Makeovers editors
Related: How to contact paper cabinets
Cutting and Applying the Contact Paper
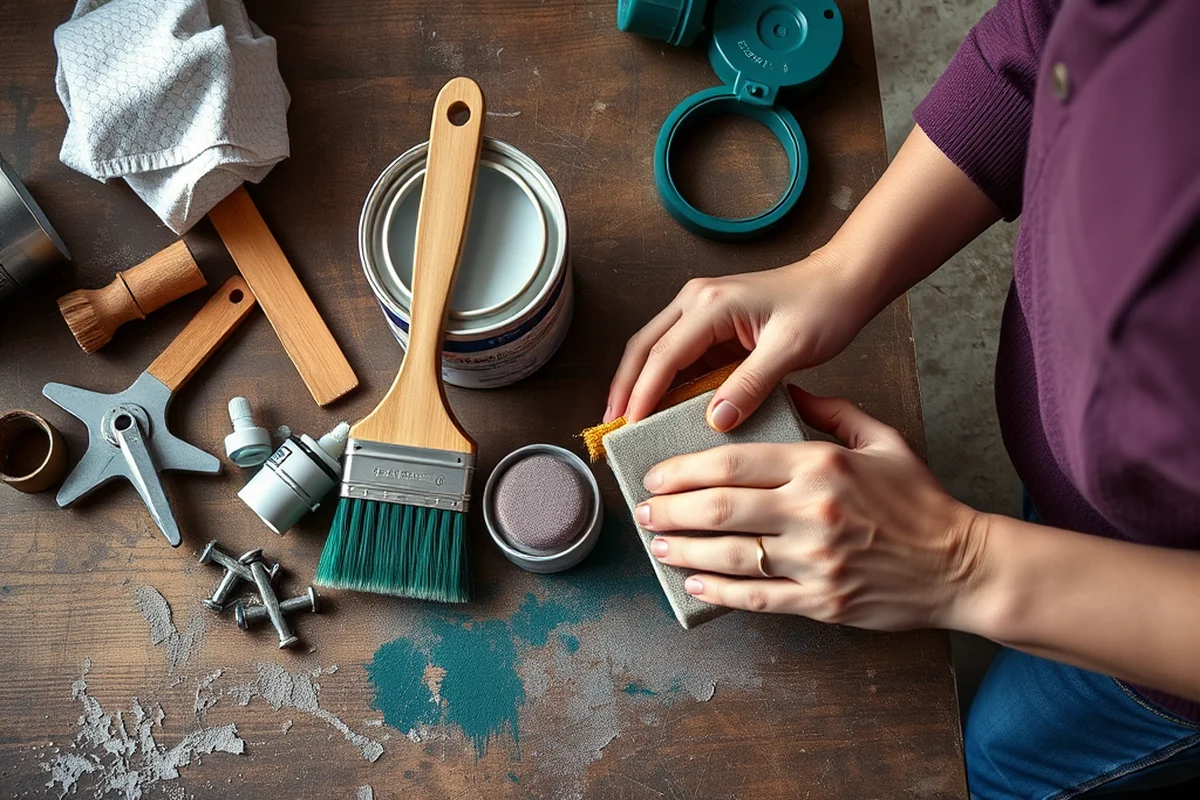
I always cut the contact paper on a flat surface, using a ruler and a sharp utility knife. I find that scoring the paper with the blade first makes it easier to tear along the lines, which helps avoid jagged edges. For larger sections, I use a straight edge to ensure accuracy.
When applying the paper to the cabinets, I start from the top and work my way down, pressing firmly as I go. I use a squeegee or a clean cloth to smooth out any air bubbles or wrinkles. This step is critical, as any bubbles or creases will show through the paper and affect the overall look.
I also take the time to trim any excess paper around the edges, using the same utility knife and ruler for precision. This not only gives the cabinets a clean, finished look but also ensures that the paper stays in place over time.
Finishing Touches and Maintenance
Once the contact paper is fully applied, I let it sit for a day to allow the adhesive to set completely. This helps prevent any lifting or peeling that might occur if I use the cabinets too soon after application. I’ve noticed that waiting a full day makes a noticeable difference in the durability of the finish.
For maintenance, I recommend avoiding using abrasive sponges or harsh cleaners, as these can damage the surface of the contact paper. Instead, a soft, damp cloth is ideal for cleaning spills or smudges. I’ve found that wiping the cabinets with a microfiber cloth and a mild cleaner works best for keeping them looking new.[3]
If you ever need to remove the contact paper, I recommend using a hairdryer to gently warm the surface. This makes the adhesive easier to lift without tearing the paper. I’ve used this method a few times, and it’s worked like a charm without leaving any residue behind.[4]
Customizing Your Cabinet Makeover
I’ve experimented with adding metallic accents or creating a border effect with a contrasting color. It’s a great way to add a touch of personality to your kitchen without going overboard. I also like to mix and match patterns on different cabinets to create a layered, custom look.
For a more dramatic effect, I sometimes use contact paper with a subtle texture, such as wood grain or stone. These types of paper can give your cabinets a more natural, authentic feel. I’ve found that they look especially good when paired with a matte finish, as it adds depth and dimension.
Another idea is to use contact paper in combination with other materials, such as decorative trim or hardware. I’ve added small, decorative handles to my cabinets to complement the contact paper finish, and it’s made a huge difference in the overall aesthetic of the space.
Don’t be afraid to get creative with your cabinet makeover.
Long-Term Considerations for Your Cabinet Makeover
While contact paper is a great short-term solution, it’s not designed to last forever. I’ve noticed that in high-traffic areas or spaces with frequent moisture exposure, the paper may begin to peel after a year or two. If you're looking for a longer-lasting finish, you might want to consider a paint or laminate solution.
However, for those who are renting or don’t want to make a permanent change, contact paper is still an excellent choice. It’s easy to remove and replace if you decide to change your style in the future. I’ve done a few overhauls in my own home, and each time, I’ve been able to update the look of my cabinets without any hassle.
If you're using contact paper in a commercial kitchen or high-moisture environment, I recommend looking for a specialized, moisture-resistant version. These are more expensive but better suited for environments where the cabinets are used daily and exposed to heat or steam.
💰 Budget Build
A no-frills approach using basic materials and minimal tools to update your cabinets without spending much.
⏰ Weekend Version
A quick and efficient project that can be completed in just a few hours over the weekend.
✨ Upgraded Finish
Add a touch of luxury with high-quality contact paper and decorative accents that elevate the look of your cabinets.
📏 Small-Space Adaptation
Tailor your cabinet makeover to fit compact kitchens or bathrooms, using smaller patterns and focused areas for maximum impact.
🏠 Rental-Safe Option
A temporary, removable solution that works well for renters who want to update their space without leaving a permanent mark.
| The mistake | Why it happens | The fix |
|---|---|---|
| Not cleaning the cabinets before applying contact paper. | Dirt, grease, or residue on the surface can prevent the contact paper from adhering properly, leading to peeling or bubbling. | Make sure to clean the cabinets thoroughly with soap and water before applying the contact paper. |
| Using low-quality contact paper. | Cheap contact paper is more likely to peel or lose adhesion over time, especially in high-moisture areas like kitchens. | Invest in a high-quality contact paper with a strong adhesive for better results. |
| Not smoothing out the contact paper properly. | Air bubbles or wrinkles can create an uneven finish that’s difficult to fix later. | Use a squeegee or a clean cloth to smooth the paper as you apply it, ensuring a flat, wrinkle-free finish. |
| Not measuring the cabinets before cutting the paper. | Incorrect measurements can result in wasted material or a poor fit, which affects the final look. | Measure each cabinet panel carefully before cutting the contact paper to avoid mistakes. |
Cabinet Makeover With Contact Paper
Common Questions
Can I use contact paper on any type of cabinet?
How long will contact paper last on my cabinets?
Is it possible to paint over contact paper?
Can I use contact paper on my bathroom cabinets?
References
- 30 Day Interior Makeover Challenge - NYIAD Design Articles (nyiad.edu)
- Sandia leads three-year alliance with companies interested in ... (sandia.gov)
- Makeover Your Art Room to Start the New Year with a Fresh ... (theartofeducation.edu)
- Renter-Friendly DIY Upgrades to Transform Your Dorm or Apartment ... (wordpress.morningside.edu)
Cite this guide
Upcycled Kitchen Cabinet Makeovers (2026). Cabinet Makeover With Contact Paper. https://upcyclehome.com/cabinet-makeover-with-contact-paper/
Feel free to cite or share this guide.