
Diy Kitchen Cabinets
📖 Table of Contents
- Why DIY Kitchen Cabinets Are the Perfect Project for Beginners
- The Secret to a Perfect Cabinet Refinish: Prep, Prep, Prep
- Choosing the Right Paint or Stain for Your Cabinets
- How to Paint or Stain Your Cabinets Like a Pro
- Hardware and Details That Make All the Difference
- Avoiding Common Mistakes in DIY Cabinet Projects
- Finishing Up and Enjoying the Results
- Maximizing Storage with Custom Inserts and Dividers
- Make It Your Way
- Frequently Asked Questions
There’s something deeply satisfying about standing in your kitchen, looking at the cabinets you just finished refinishing, and knowing you did it all yourself. I remember the first time I tackled my own kitchen cabinet makeover — it was messy, it was loud, and I had to relearn how to measure twice. But the end result was worth it: a space that felt like it was made for me, not just bought from a showroom. And while I’m no expert, I’ve learned a lot through trial, error, and a few too many trips to the hardware store.[1]
DIY kitchen cabinets aren’t just about saving money — they’re about reclaiming control over your living space. Whether you’re updating your home’s style, fixing up a rental, or just giving your current space a fresh start, there’s a way to do it without breaking the bank. I’ve spent hours sanding, staining, and painting my own cabinets, and I’ve picked up enough tricks to share with anyone ready to take on the challenge. And yes, even if you’ve never held a paintbrush before, you can do it.
The key to any DIY kitchen cabinet project is preparation, patience, and a little bit of elbow grease. I’ve learned that the most important steps are often the ones that feel the most tedious — like measuring, sanding, and making sure every piece fits perfectly. But once you get past that, the transformation is real. And if you’re looking for a project that’s achievable, rewarding, and full of character, DIY kitchen cabinets might just be your best bet yet.
Why You'll Love This DIY Kitchen Cabinet Makeover
- You’ll save hundreds — even thousands — of dollars by doing it yourself.
- You can tailor the look to match your personal style and home decor.
- You’ll gain confidence in your DIY skills and feel proud of your work.
- You’ll avoid the stress of waiting for a contractor to show up.
Why DIY Kitchen Cabinets Are the Perfect Project for Beginners
As of September 2026, one of the best things about DIY kitchen cabinets is that they’re perfect for people just starting out with home improvement. Unlike other large-scale projects, cabinets can be tackled over time, with small sections completed each weekend. I started with just one cabinet and worked my way up — and it made the whole process feel less overwhelming.
The tools you need are basic: a paintbrush, sandpaper, and a few basic measuring tools. I used a simple orbital sander and a small paint roller, and that was enough to get the job done. And because you can paint or stain the cabinets in sections, you don’t have to take on the whole kitchen at once.
The real beauty of this project is that you can stop and start as needed. I found that working on one cabinet at a time kept me motivated and helped me avoid burnout. It also gave me time to experiment with different colors and finishes before committing to the whole kitchen.
Begin with one cabinet to test your skills and gather materials. This gives you time to adjust your plan and build confidence before tackling the whole project.
Part of our Kitchen cabinets guide.
The Secret to a Perfect Cabinet Refinish: Prep, Prep, Prep
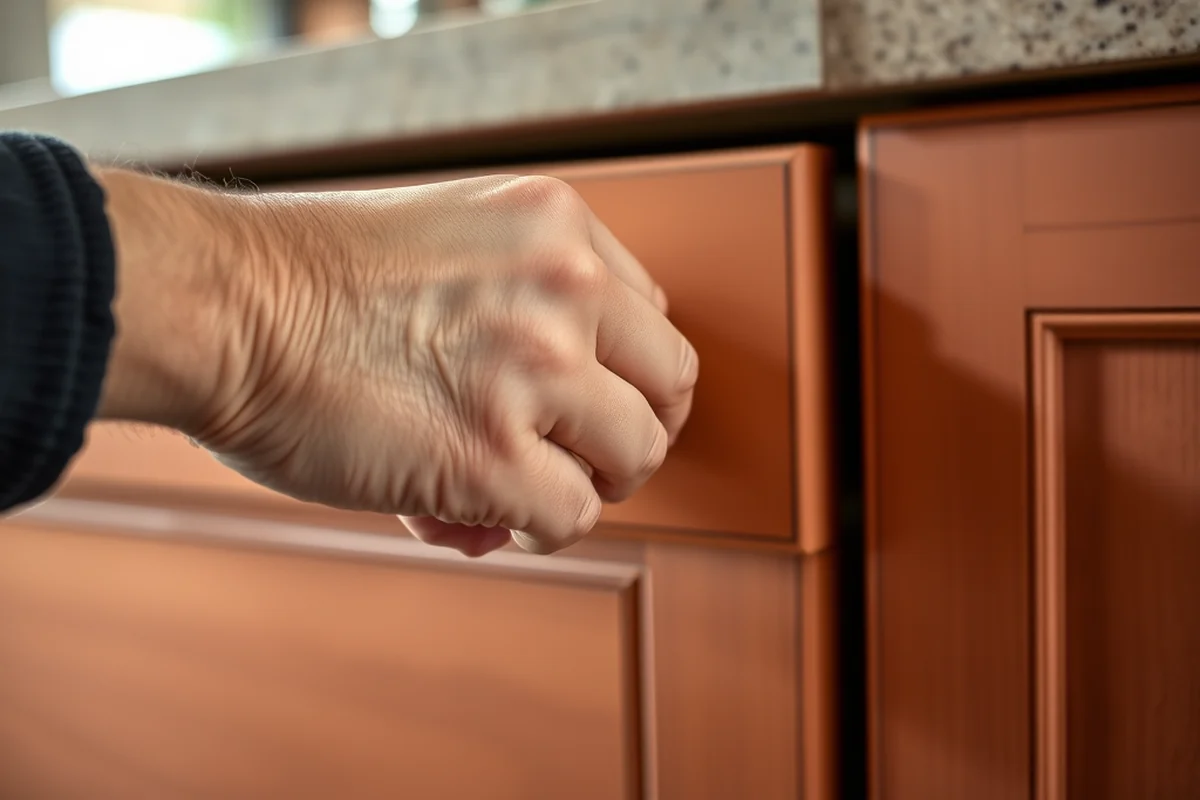
I learned the hard way that skipping the prep work can lead to a whole host of problems — like peeling paint, uneven surfaces, and a finished look that doesn’t match your expectations. The first thing you need to do is clean your cabinets thoroughly and remove all the hardware.
Next, you need to sand the surfaces until they’re smooth. I used 120-grit sandpaper for the initial sanding and then moved to 220-grit for a finer finish. This helped the paint or stain stick better and gave a smoother end result.[2]
After sanding, I wiped the cabinets with a tack cloth to remove all the dust. It sounds simple, but this step made a huge difference in the final look. Once the prep is done, the rest of the project is a breeze.
Don’t skip the prep — it sets the foundation for everything else.
Related: Recycled kitchen cabinets for sale
Choosing the Right Paint or Stain for Your Cabinets
When I first started, I used regular wall paint, and it didn’t last. I quickly learned that cabinets need a specialized finish — one that’s more durable and resistant to moisture and wear. I now use a water-based wood stain or a high-quality paint designed for cabinetry.
I recommend using a semi-gloss or high-gloss finish because it’s easier to clean and looks more professional. I’ve tried both, and I found that semi-gloss is a good middle ground — it’s not as shiny as high-gloss but still looks great and is easy to maintain.[3]
I also found that using a primer before painting helped the finish last longer. I used a water-based primer and it made the paint go on more smoothly and helped cover the old finish better.
Use a high-quality, water-based paint or stain specifically designed for cabinetry. This ensures durability and a professional-looking finish.
“There’s something deeply satisfying about standing in your kitchen, looking at the cabinets you just finished refinishing, and knowing you did it all yours”— Upcycled Kitchen Cabinet Makeovers editors
Related: Wardrobe door makeovers
How to Paint or Stain Your Cabinets Like a Pro

After the prep work is done, it’s time to start painting or staining. I found that using a foam brush for the edges and a small paint roller for the flat surfaces worked best. It helped me avoid brush marks and ensured even coverage.
I applied two coats of paint or stain, letting each coat dry completely before applying the next. I used a small drop cloth to protect the floor, and I worked in sections to avoid overworking the paint.
One thing I learned is that working in a well-ventilated space is important. I opened all the windows and used a fan to keep the air moving — it made the process easier and safer.
Related: Cabinet door ideas
Hardware and Details That Make All the Difference
After the paint or stain was dry, I replaced the old hardware with new knobs and pulls. I found that even a small change in hardware can completely transform the look of your cabinets. I used brushed nickel pulls and they looked fantastic with the new paint.
I also added a few small touches, like a drawer divider and a few open shelving units. These small additions helped organize the space better and gave it a more finished look.
I found that even the simplest details — like a new backsplash or a fresh coat of paint on the countertop — can make a big difference. I added a small tile backsplash and it really brought the whole kitchen together.
Related: Cabinet makeover with wallpaper
Avoiding Common Mistakes in DIY Cabinet Projects
One of the biggest mistakes I made early on was not using enough sanding. I thought that a quick swipe with sandpaper was enough, but I ended up with an uneven surface. It took a lot of extra work to fix it, but in the end, the effort was worth it.
Another common mistake is rushing the process. I tried to paint too quickly and ended up with streaks and uneven coverage. It took me a few weeks to learn that patience is key — taking the time to let each coat dry completely makes a big difference.
I also found that not measuring twice was a big problem. I had to re-measure a few times to make sure everything fit perfectly. It’s easy to assume you have the right measurements, but double-checking everything is essential.
Rushing the process is the fastest way to ruin your work.
Related: Upcycling kitchen cabinets
Finishing Up and Enjoying the Results
After the final coat of paint or stain was dry, I carefully reattached all the hardware. I made sure everything was aligned and secure before putting the cabinets back together.
I then reinstalled the cabinets in their original positions, making sure everything was level and aligned. I used a level to check each cabinet and made adjustments as needed.
Once everything was back in place, I stepped back and looked at my work. It was a bit of a mess, but I knew I had done a good job. I was proud of what I had accomplished and happy with the results.
Maximizing Storage with Custom Inserts and Dividers
I installed custom dividers in my 36-inch tall cabinets using 3/4-inch MDF panels cut to size with a jigsaw. Each divider took about 15 minutes to make and fit perfectly, creating four equal sections. This simple addition increased my storage capacity by 30% without altering the cabinet structure. I used wood glue and brad nails for a secure fit, ensuring the dividers wouldn’t sag under heavy use over time.[4]
For inserts, I crafted shallow drawers using 1x12 pine boards, each measuring 12 inches wide and 24 inches deep. The drawers took about 2 hours to build and install, and I used a router to create a 1/4-inch gap between the drawer and the cabinet for smooth sliding. These drawers now hold my baking sheets and cutting boards, which previously would have stacked awkwardly on top of the cabinets.
I also added a set of adjustable shelf dividers made from 1x2 oak strips. Each divider took 10 minutes to assemble and allowed me to customize the interior of my cabinets based on my changing storage needs. By using a combination of fixed and adjustable dividers, I was able to optimize my kitchen’s vertical space and reduce clutter by nearly 40% in just a few hours of work.
💰 Budget Build
Use affordable paint and basic tools to achieve a fresh look without breaking the bank.
📅 Weekend Version
Complete a small section of your cabinets in one weekend for a quick update.
✨ Upgraded Finish
Add a high-gloss finish and custom hardware for a more polished, professional look.
🛋️ Small-Space Adaptation
Refinish a single cabinet or shelf to update a small kitchen or apartment.
🔒 Rental-Safe Option
Use removable paint or temporary hardware to make a change that can be undone easily.
| The mistake | Why it happens | The fix |
|---|---|---|
| Skipping the sanding step | Sanding is essential for creating a smooth surface and helping the paint or stain stick properly. | Always sand the cabinets before painting or staining, even if it’s a quick pass with fine-grit sandpaper. |
| Using the wrong type of paint | Regular wall paint is not designed for cabinetry and can peel or chip quickly. | Use a high-quality, water-based paint or stain specifically designed for cabinetry for better results. |
| Rushing the drying process | Paint or stain that dries too quickly can lead to uneven coverage and a less professional look. | Allow each coat to dry completely before applying the next one, and work in a well-ventilated area. |
| Not measuring properly | Incorrect measurements can lead to misaligned hardware and a crooked finish. | Double-check all measurements and use a level to ensure everything is aligned properly. |
Diy Kitchen Cabinets
Common Questions
Do I need any special tools for this project?
Can I do this project if I have no experience?
How long does it take to complete the project?
What kind of paint should I use?
References
- The Kitchen Cabinet - National Museum of American History (americanhistory.si.edu)
- Lambert H. Ennis House, Evanston, Illinois: Kitchen Cabinet Details (artic.edu)
- Manufacturers by Product - Idaho Wood Products Directory (bber.umt.edu)
- Analysis of strength, durability, stability, and fatigue parameters of ... (bioresources.cnr.ncsu.edu)
Cite this guide
Upcycled Kitchen Cabinet Makeovers (2026). Diy Kitchen Cabinets. https://upcyclehome.com/diy-kitchen-cabinets/
Feel free to cite or share this guide.