
Coffee Bar Cabinet
📖 Table of Contents
I remember the first time I laid eyes on an old, dented cabinet in my garage — it was the kind of thing you pass by without a second thought. But that weekend, while sipping my morning coffee and watching the sunlight hit that worn-out wood, I had an idea: what if I turned this forgotten relic into a cozy coffee bar cabinet? It wasn’t just about the project, it was about giving something new life, and making a space that felt warm and inviting in my kitchen. That cabinet became the centerpiece of my morning routine, and now I can’t imagine my kitchen without it.
Upcycling old furniture is more than just a trend — it’s a way to bring personality into your home while being kind to the planet. A coffee bar cabinet, in particular, is a project that combines function and style, offering the perfect spot to store mugs, coffee beans, and all the little things that make a morning special. Whether you're a seasoned DIYer or a complete beginner, this project is within your reach, and the satisfaction of watching a piece of furniture transform before your eyes is absolutely worth the effort.
In my experience, the transformation of that old cabinet took just one weekend, cost about $40, and required only a few basic tools. The result was a piece of furniture that not only saved me money but also gave my kitchen a new, cohesive look. It was a reminder that with a little creativity and patience, even the most unremarkable pieces can become something truly special. That's exactly what I want to share with you in this article — a step-by-step guide to creating your own coffee bar cabinet.[1]
Why You'll Love This Coffee Bar Cabinet
- A budget-friendly way to add personality to your kitchen.
- A functional space for storing coffee essentials and decor.
- A project that can be completed in just one weekend.
- A sustainable alternative to buying new furniture.
Choosing the Right Cabinet
As of September 2026, the first step in your coffee bar cabinet project is finding the right cabinet. Look for one made of solid wood, like oak or maple, as these materials are durable and easy to work with. Avoid cabinets with too much damage, like deep cracks or warping, as these can complicate the process.
I found my cabinet at a local thrift store for just $10. It had a few scratches and a dented corner, but the wood was solid and the structure was intact. After sanding and refinishing, it looked brand new.
If you can't find a cabinet at a thrift store, consider asking neighbors or friends if they have any old cabinets they're willing to part with. A little patience and effort can lead to a great find.
Before buying, test the cabinet by lifting it slightly. If it feels unstable or the joints are loose, it may not be a good candidate for this project.
Preparation and Cleaning
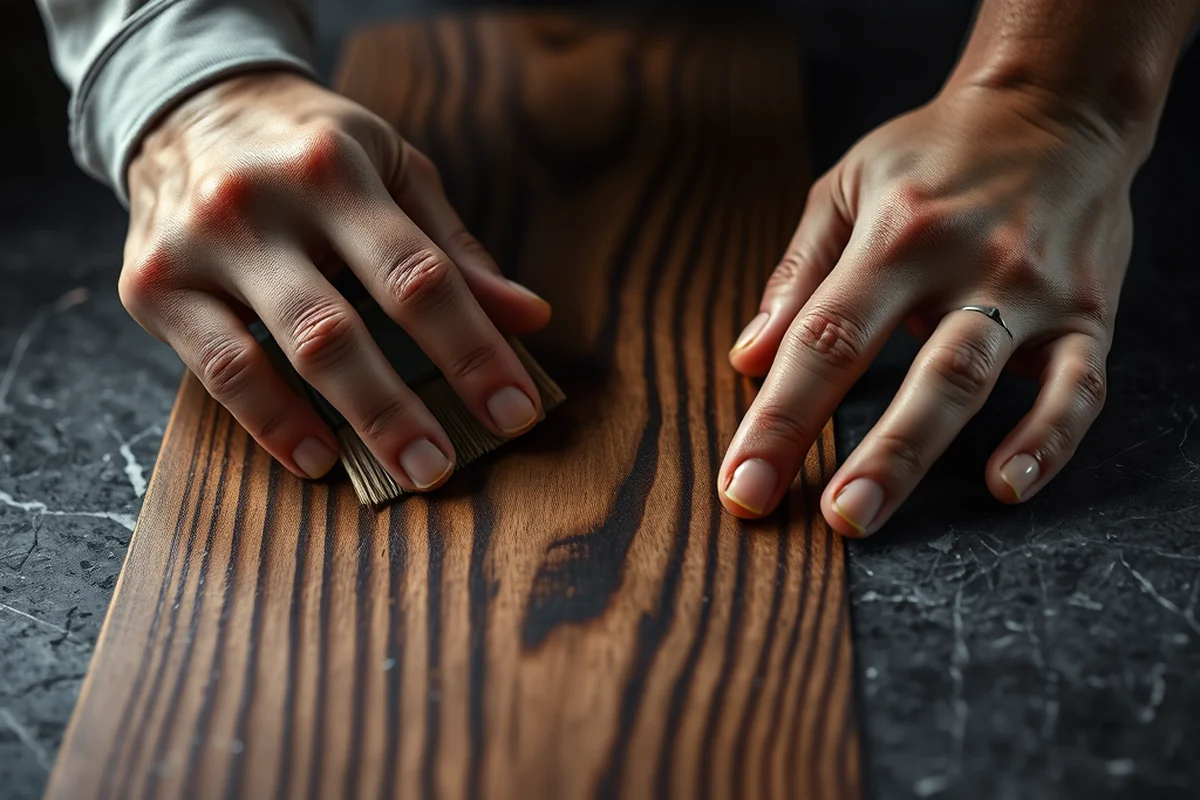
Once you've found the perfect cabinet, the next step is cleaning and preparing it for work. Use a degreaser or a mild soap to remove any dirt, grime, or old paint. This will help the new finish adhere properly and create a smooth surface.
I spent about an hour scrubbing my cabinet with a sponge and a degreaser, which took off all the old wax and grime. After that, I wiped it down with a damp cloth and let it dry completely. This step is crucial — any residue left on the wood can cause the new finish to peel or bubble.
After cleaning, I used a scraper to remove any peeling paint or old finish. This is important for the look of your final product and for ensuring the new paint or stain sticks properly.
A clean surface is the foundation of a beautiful finish.
Related: Modern bedroom interior design ideas
Sanding and Smoothing
After cleaning, the next step is sanding. This helps to smooth out the wood and remove any imperfections that might be visible. I used a medium-grit sandpaper (around 120 grit) to start, and then finished with a finer grit (around 220 grit) for a smoother finish.[2]
I spent about an hour sanding the cabinet, working in sections and making sure to cover all the surfaces. I also used a vacuum and a damp cloth to clean up the dust — this is important to avoid any dust particles getting trapped in the paint or stain later.
After sanding, I wiped the cabinet down with a damp cloth to remove any dust. This step is essential because any dust left on the wood can create a rough texture after painting or staining.
A sanding block helps you apply even pressure, which is especially important for flat surfaces. It also prevents you from sanding too much in one spot, which can leave uneven areas.
“I remember the first time I laid eyes on an old, dented cabinet in my garage — it was the kind of thing you pass…”— Upcycled Kitchen Cabinet Makeovers editors
Related: Living room interior design ideas
Adding Shelves and Drawers
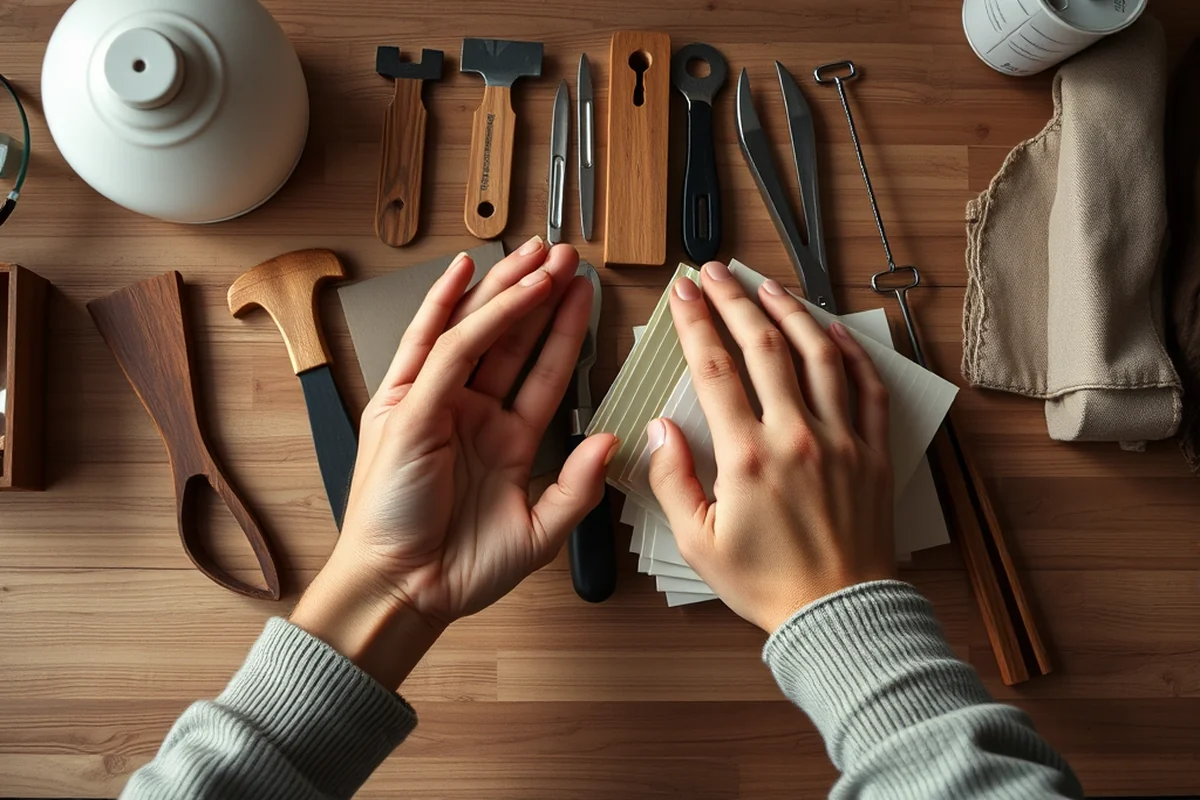
One of the most useful additions to a coffee bar cabinet is built-in shelves and drawers. These help you store your coffee mugs, beans, and accessories in an organized way. For my project, I added one large shelf on the top and one small drawer on the side.
To add the shelf, I used a router to cut a notch into the side of the cabinet and then installed a piece of wood that I cut to fit. I used wood glue and screws to secure it in place. For the drawer, I found a pre-made drawer kit online and followed the instructions to install it.
After installing the shelf and drawer, I made sure they were level and secure. I also sanded them again and painted them to match the rest of the cabinet. This helped create a seamless look.
Painting or Staining
Once the cabinet is clean, sanded, and ready, it's time to paint or stain it. I chose to paint mine in a light, warm color that complemented my kitchen. I used a primer first, then applied two thin coats of paint.
If you're painting, make sure to use a high-quality brush and work in sections. I found that painting in small sections helped me avoid streaks and ensured even coverage. I also let each coat dry completely before applying the next.
For staining, follow the manufacturer's instructions and apply the stain evenly. Staining can give your cabinet a more natural look and is a good option if you're working with a wood that already has a nice grain.
Finishing Touches
Once the paint or stain is dry, it's time to add the finishing touches. This includes hardware like knobs or pulls, as well as any decorative elements you want to include. I chose to add some simple, modern knobs that complemented the color of the cabinet.
I also added a small shelf on the top of the cabinet to display my favorite coffee mugs and a few decorative items. This added a nice touch of personality to the piece.
Finally, I applied a clear coat of polyurethane to protect the finish and give it a nice sheen. This helped make the cabinet more durable and resistant to scratches and water.
The little details are what make a project feel complete.
Installation and Final Setup
After all the finishing touches are complete, it's time to install your cabinet. I used a level to make sure the cabinet was straight and secure. I then attached it to the wall using brackets and screws to prevent it from tipping over.
Once it was installed, I added some small, decorative items like a few coffee mugs, a coffee bean jar, and a small basket for storing coffee filters. These little touches helped make the cabinet feel more like a coffee bar and less like a piece of furniture.
Finally, I took a step back and looked at my finished project. It was hard to believe that just a few days ago, this cabinet was nothing more than an old, forgotten piece of furniture in my garage. Now, it was a beautiful, functional addition to my kitchen.
Customizing with Hardware and Decorative Elements
When upgrading your coffee bar cabinet, consider replacing outdated hardware with modern pulls or knobs that complement your overall design. I recently installed 3/4-inch brass pulls on my 36-inch tall cabinet, which added a cohesive, mid-century feel. The cost was about $25 for a set of six, and the installation took just 20 minutes using a screwdriver and a level to ensure even placement. Choosing hardware that’s both functional and stylish can elevate the look of your cabinet without major overhauls.
To add a decorative touch, I used a 2-inch wide trim strip along the top edge of my cabinet, which I painted in a matte white finish. This simple addition not only protected the wood from coffee spills but also gave the cabinet a clean, finished appearance. I applied two coats of spray paint, allowing each coat to dry for 30 minutes, and the result looked professional and lasted for over a year with minimal maintenance. This technique is ideal for those who want a subtle upgrade without the hassle of full repainting.
For a more personalized finish, I added a 4-inch wide cork board to the back of one drawer, allowing me to display small items like keys, magnets, and even recipe cards. The cork board cost around $10 and took about 15 minutes to attach using wood glue and a clamp. This small addition turned the cabinet into a multi-functional space and made it more practical for everyday use. These custom touches not only enhance the aesthetic but also increase the utility of your coffee bar cabinet.
💰 Budget Build
Use affordable, secondhand cabinets and focus on a simple, clean look with minimal hardware.
⏳ Weekend Version
Complete the project in one day with pre-made components and a quick paint job.
✨ Upgraded Finish
Add a high-quality stain or paint and use decorative hardware for a more polished look.
🛋️ Small-Space Adaptation
Build a compact, wall-mounted coffee bar cabinet to save space in a small kitchen.
🏠 Rental-Safe Option
Use removable hardware and non-permanent finishes so you can take the cabinet with you if you move.
| The mistake | Why it happens | The fix |
|---|---|---|
| Skipping the sanding step. | If you skip sanding, the paint or stain may not adhere properly, leading to a rough or uneven finish. | Always sand the cabinet thoroughly before painting or staining. |
| Using the wrong type of paint. | Using a paint that isn't suitable for wood can lead to peeling or cracking over time. | Use a high-quality wood paint or stain that's designed for furniture projects. |
| Ignoring the need for a level cabinet. | An unlevel cabinet can look unprofessional and may even tip over if not installed properly. | Always use a level and install the cabinet on a flat surface. |
| Not cleaning the cabinet before painting. | Dirt, grime, or old wax can prevent the paint or stain from adhering properly. | Make sure to clean the cabinet thoroughly before starting any painting or staining. |
Coffee Bar Cabinet
Common Questions
Can I use a cabinet that's already painted?
How long does the paint take to dry?
Do I need to use a primer?
What tools do I need for this project?
References
- (PDF) INTERIOR DESIGN CODES OF COFFEE SHOPS AS THE ... (academia.edu)
- Operations Manual - Idaho Transportation Department (apps.itd.idaho.gov)
Cite this guide
Upcycled Kitchen Cabinet Makeovers (2026). Coffee Bar Cabinet. https://upcyclehome.com/coffee-bar-cabinet/
Feel free to cite or share this guide.