
Shaker Cabinet Doors
📖 Table of Contents
I remember the first time I stood in my kitchen, staring at the outdated cabinetry that had become a source of frustration. The doors were sagging, the finish was chipped, and the entire space felt outdated. I had no idea that a simple upgrade to the cabinet doors could transform the kitchen into a modern, functional space. Shaker cabinet doors, with their clean lines and timeless design, were the answer I didn't know I was looking for.
Shaker cabinet doors are one of the most popular choices in home renovation, and it's not hard to see why. Their minimalist profile, flat panels, and recessed center make them incredibly versatile. Whether you're updating a traditional kitchen or embracing a modern aesthetic, Shaker doors can adapt and enhance any style. I've completed several projects myself, and I've learned that these doors are not only beautiful but also surprisingly easy to install.
What surprised me the most was how much of a difference new Shaker cabinet doors made in the overall look of the space. The transformation was immediate, and the return on investment was clear. I've since shared my experience with friends and family, and many have asked me about the process. In this article, I'll walk you through everything you need to know to successfully complete your own Shaker cabinet door project.
Why You'll Love This Shaker Cabinet Door Project
- A budget-friendly way to refresh your kitchen without a full renovation
- A time-efficient project that can be completed in just one weekend
- A versatile design that complements nearly any kitchen style
- An easy-to-install solution that requires minimal tools and skills
Understanding the Shaker Cabinet Door Design
As of September 2026, Shaker cabinet doors typically consist of a flat panel with a recessed center, creating a subtle yet striking visual effect. This design is not only beautiful but also highly functional, allowing for easy cleaning and maintenance. The flat panels also help to reflect light, making the kitchen feel more spacious.
When selecting Shaker cabinet doors, it's important to consider the size, color, and material. These doors come in a variety of finishes, from natural wood to painted options. I personally prefer painted options because they offer a clean look and are easier to maintain over time.
I've found that Shaker doors are particularly well-suited for both traditional and modern kitchens. They blend seamlessly into any decor, making them a versatile choice for homeowners looking to update their space without committing to a complete renovation.
When measuring for Shaker doors, be sure to take accurate measurements of the existing doors and frames. A difference of even 1/8 inch can affect the fit. I always recommend using a laser measure for precision.[1]
Part of our Cabinet doors guide.
Materials and Tools You'll Need
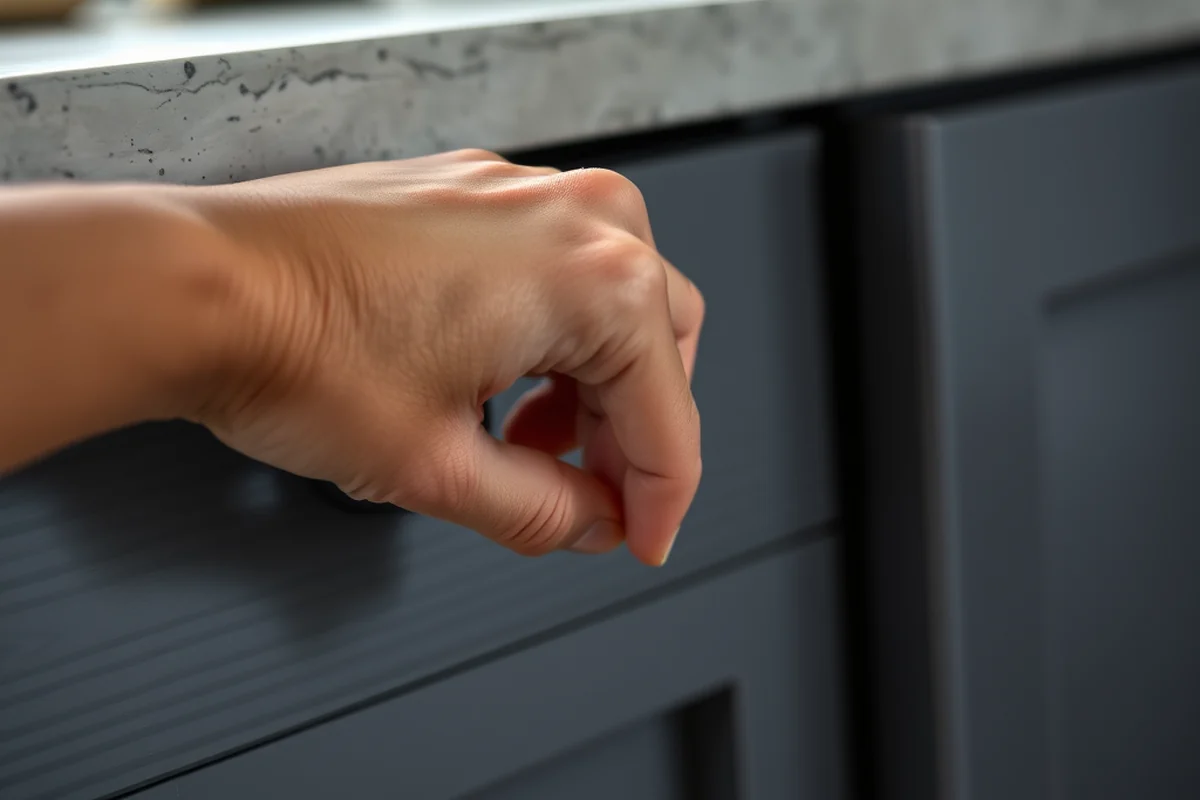
The primary materials needed are the doors themselves, hinges, and screws. You'll also need a few tools such as a screwdriver, measuring tape, and a level. I've found that investing in a good quality level is worth it because it ensures that the doors are installed straight and even.
In addition to the basic tools, you may need a chisel or a router if you're planning to custom-fit the doors. I once had to use a router to adjust the door frames after realizing the existing ones were slightly misaligned. It was a small setback, but the result was worth it.
I've completed several Shaker door projects, and I've learned that having the right tools on hand makes the process much smoother. A well-organized tool kit can save you time and frustration, especially if you're working alone.
The right tools make all the difference in a DIY project.
Related: Cabinet door hinges
Preparing the Workspace and Doors
I always start by clearing the workspace and ensuring that I have enough room to move around. This helps prevent any accidents or injuries during the installation process. It's also a good idea to cover any floors or countertops with protective materials to prevent scratches or damage.
The doors themselves should be cleaned and inspected for any damage before installation. I've found that using a mild soap and water solution works well for cleaning the doors. It's also important to check for any warping or bending, as this can affect the fit and function of the doors.
After cleaning and inspecting the doors, I like to mark the installation points with a pencil. This makes it easier to align the doors correctly and ensures that the hinges are placed in the right spots. Taking the time to prepare everything in advance can save a lot of time and effort later on.
Use a soft cloth or felt pads to protect your work surface from scratches. I've made the mistake of not protecting my countertop and ended up with a few small dents. It's a simple step that can make a big difference.
“I remember the first time I stood in my kitchen, staring at the outdated cabinetry that had become a source of frustration.”— Upcycled Kitchen Cabinet Makeovers editors
Related: Custom kitchen cabinet doors
Installing the Shaker Cabinet Doors
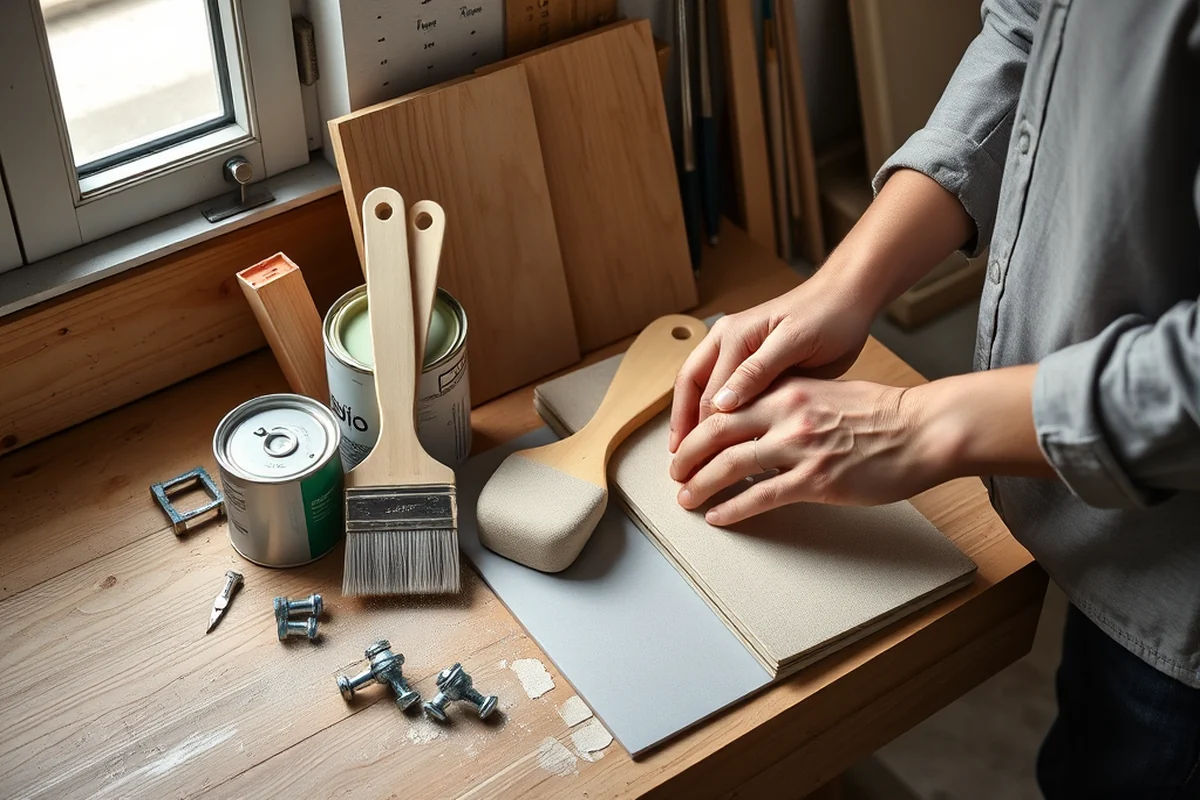
I start by attaching the hinges to the doors. This is done by aligning the hinge with the pre-drilled holes on the door and securing it with screws. It's important to make sure the hinges are tightly fastened to prevent any wobbling or misalignment.
Once the hinges are attached, the next step is to install the doors onto the cabinet frames. I use a level to ensure that the doors are perfectly aligned. If the doors are not level, it can affect the overall look and functionality of the cabinet.
I've learned that patience is key during the installation process. Rushing can lead to mistakes, so it's important to take your time and double-check each step. Once the doors are installed, I always test them by opening and closing them several times to ensure they move smoothly and are properly aligned.
Related: Walzcraft cabinet doors
Finishing Touches and Maintenance
I always make sure to clean the doors thoroughly after installation to remove any dust or debris. A soft cloth and mild soap work well for this. It's also a good idea to apply a protective finish to the doors if you're using a painted or stained option. This helps to preserve the color and prevent scratches.
Regular maintenance is key to keeping your Shaker cabinet doors in good condition. I recommend wiping them down with a damp cloth after each use and avoiding the use of harsh chemicals. This helps to maintain the finish and prevent any damage to the doors.[2]
I've found that taking the time to properly maintain the doors can extend their lifespan and keep them looking new for years. A little effort goes a long way with ensuring that your kitchen remains beautiful and functional.
Related: Fast cabinet doors
Common Pitfalls and How to Avoid Them
One of the most common mistakes is not measuring the doors and frames accurately. Even a small error in measurement can lead to a poor fit. I've made this mistake before, and it took me a few hours to correct it. Taking the time to measure everything twice is always worth it.
Another common mistake is not using the right type of screws or hinges. Using the wrong hardware can lead to instability or misalignment. I've learned that it's important to use high-quality hinges and screws that are specifically designed for cabinet doors.
Lastly, not taking the time to properly align the doors can lead to issues with the overall look and function of the cabinets. I've found that using a level and taking the time to double-check each step is essential for a successful installation.
Measuring twice and installing once is the key to success.
Related: How to install cabinet handles
Final Thoughts and Tips
I've completed several Shaker door projects, and each one has been a success. The doors are not only beautiful but also incredibly functional. I've found that they add a clean, modern look to any kitchen while maintaining a timeless appeal.
One of the best things about Shaker doors is their versatility. They can be used in a variety of styles and settings, making them a popular choice among homeowners. Whether you're updating a traditional kitchen or embracing a modern look, Shaker doors can help you achieve the desired aesthetic.
If you're considering a Shaker cabinet door project, I encourage you to take the time to plan and prepare. With the right tools, materials, and techniques, you can achieve a beautiful and functional result that will last for years.
💰 Budget Build
This version focuses on using affordable materials and minimizing costs while still achieving a professional look.
⏰ Weekend Version
Designed to be completed in a single day, this version is perfect for those with limited time.
🎨 Upgraded Finish
Includes the use of high-quality paint and hardware to elevate the overall look of the cabinets.
🏠 Small-Space Adaptation
Tailored for smaller kitchens, this version includes custom sizing and space-saving design elements.
🔒 Rental-Safe Option
A non-permanent installation method that allows for easy removal and reinstallation without damaging the cabinets.
| The mistake | Why it happens | The fix |
|---|---|---|
| Incorrect measurements | Even a small error in measurement can lead to a poor fit and misalignment of the doors. | Always double-check your measurements and use a laser measure for accuracy. |
| Using the wrong hardware | Using the wrong type of screws or hinges can cause instability or misalignment. | Always use high-quality hardware specifically designed for cabinet doors. |
| Not aligning the doors properly | Improper alignment can affect the overall look and function of the cabinets. | Use a level and take the time to ensure that each door is properly aligned. |
| Skipping the maintenance steps | Neglecting regular maintenance can lead to damage or discoloration of the doors over time. | Clean the doors regularly and avoid using harsh chemicals to preserve the finish. |
Shaker Cabinet Doors
Common Questions
How long does it take to install Shaker cabinet doors?
Can I install Shaker cabinet doors on my own?
What tools do I need for the project?
Are Shaker cabinet doors suitable for all kitchen styles?
References
Cite this guide
Upcycled Kitchen Cabinet Makeovers (2026). Shaker Cabinet Doors. https://upcyclehome.com/shaker-cabinet-doors/
Feel free to cite or share this guide.