
Shaker Style Cabinets
📖 Table of Contents
- What Makes Shaker Style Cabinets Unique?
- Choosing the Right Finish for Your Shaker Cabinets
- Painting vs. Staining Shaker Cabinets
- Hardware Choices That Enhance Shaker Style
- How to Refinish Shaker Cabinets Like a Pro
- Adding Personality with Color and Texture
- Maintaining Your Shaker Cabinets
- Customizing Shaker Cabinets with Glass Inserts and Light Fixtures
- Incorporating Open Shelving with Shaker Cabinets
- Make It Your Way
- Frequently Asked Questions
The first time I saw shaker style cabinets, I knew I had to bring them into my kitchen. Their clean lines, minimal hardware, and soft curves spoke to me in a way that modern or traditional designs couldn’t. It wasn’t just their look—it was the feeling they evoked, like a quiet confidence in every corner of the room. I remember standing in a friend’s kitchen, running my fingers along the smooth, flat panels, and thinking, 'This is what I want for my own home.'
Shaker style cabinets aren’t just a trend—they’re a timeless choice that can transform any kitchen into a space that feels both elegant and inviting. I’ve worked with them for years, and what I love most is their adaptability. Whether you’re going for a rustic, farmhouse vibe or a sleek, minimalist look, shaker cabinets can fit the bill. They’re like the chameleon of cabinet styles, blending effortlessly into different design languages.
What really drew me to shaker cabinets was their simplicity. No ornate carvings, no flashy details—just clean, functional design that focuses on form and utility. I’ve painted, stained, and refinished them in various ways, and each time, they’ve delivered a result that felt just right. If you’re looking to refresh your kitchen without going overboard, shaker cabinets might be the perfect starting point.
Why You'll Love This Cabinet Makeover
- Affordable way to upgrade your kitchen with minimal investment
- Versatile style that fits most home décor and color schemes
- Minimal maintenance required after installation
- Quick DIY project that yields long-term value
What Makes Shaker Style Cabinets Unique?
As of October 2026, Shaker cabinets are named after the Shaker religious community, known for their simple, functional furniture. Their design philosophy is all about minimalism and utility, which is why they’ve stood the test of time.
What sets them apart is the absence of decorative elements. Instead of carvings or intricate moldings, shaker cabinets rely on smooth, flat panels and simple, often recessed, paneling. This makes them incredibly versatile and easy to customize.
I’ve found that their clean lines make them a great choice for both modern and rustic kitchens. Whether you’re going for a sleek, contemporary look or a cozy, farmhouse feel, shaker cabinets can adapt to your style.
A screwdriver, a paintbrush, and a level are the three most essential tools when working on shaker cabinets. I’ve used these on every project I’ve tackled, and they’ve never let me down.
Part of our Kitchen cabinets guide.
Choosing the Right Finish for Your Shaker Cabinets
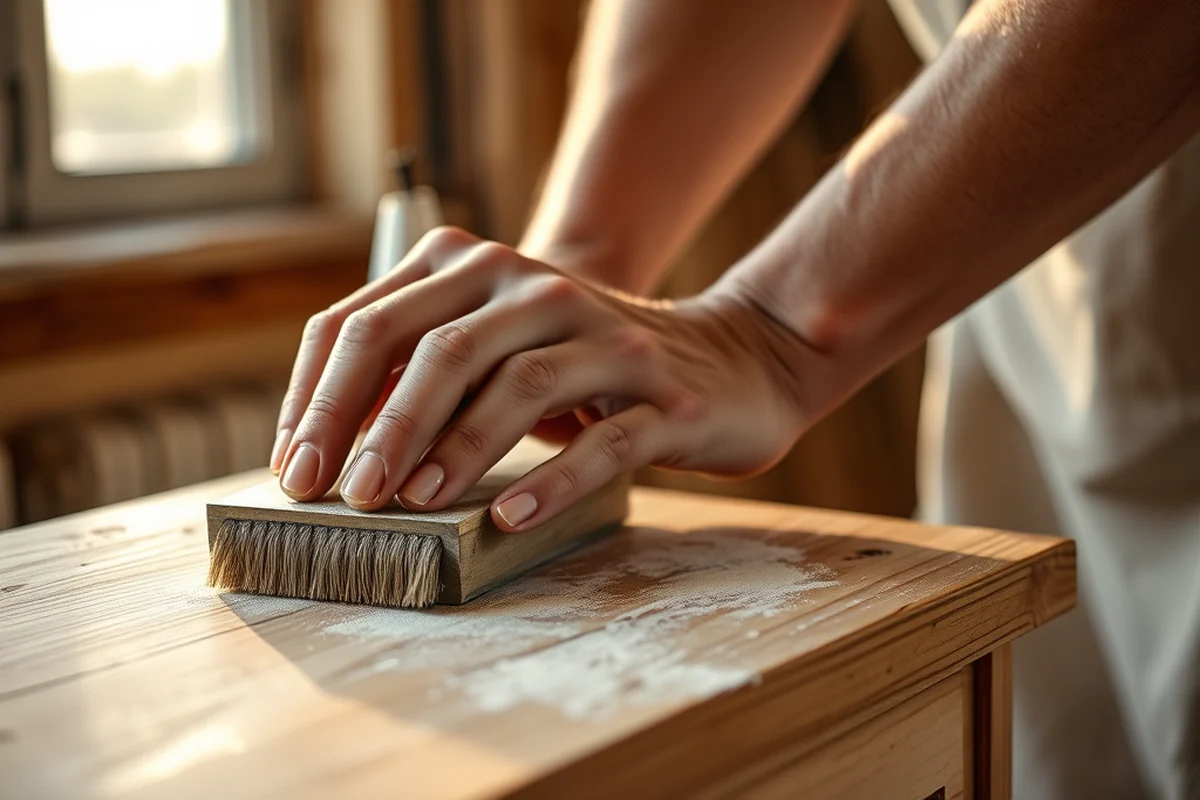
I’ve tested several finishes, from glossy lacquers to matte paints, and each one gives a different vibe. Glossy finishes are great for showing off the wood grain and making the space feel more modern.
Matte or flat finishes are ideal for creating a softer, more rustic look. They also hide imperfections better, which is a big plus if you’re working with older cabinets.
I recommend experimenting with samples before committing to a finish. I once painted a cabinet in a glossy finish and later regretted it because it felt too harsh for the room.[1]
A good finish can make or break the look of your shaker cabinets.
Related: Kitchen cabinet makeover ideas
Painting vs. Staining Shaker Cabinets
Painting is a great choice if you want a bold, colorful look or a modern, clean aesthetic. It’s also easier to apply and can be done with just a few basic tools.
Staining, on the other hand, highlights the natural beauty of the wood and gives a more rustic, organic feel. It’s a bit more involved, but the results are worth it.
I’ve used both methods, and I find that painting is quicker and more forgiving for beginners. Staining, while more time-consuming, can add a level of depth and character that paint can’t match.
Always sand your cabinets thoroughly before painting or staining. I used 120-grit sandpaper first, then 220-grit for a smoother finish. This helped the paint adhere better and looked much more professional.[2]
“The first time I saw shaker style cabinets, I knew I had to bring them into my kitchen.”— Upcycled Kitchen Cabinet Makeovers editors
Related: Repurposed kitchen cabinets near me
Hardware Choices That Enhance Shaker Style
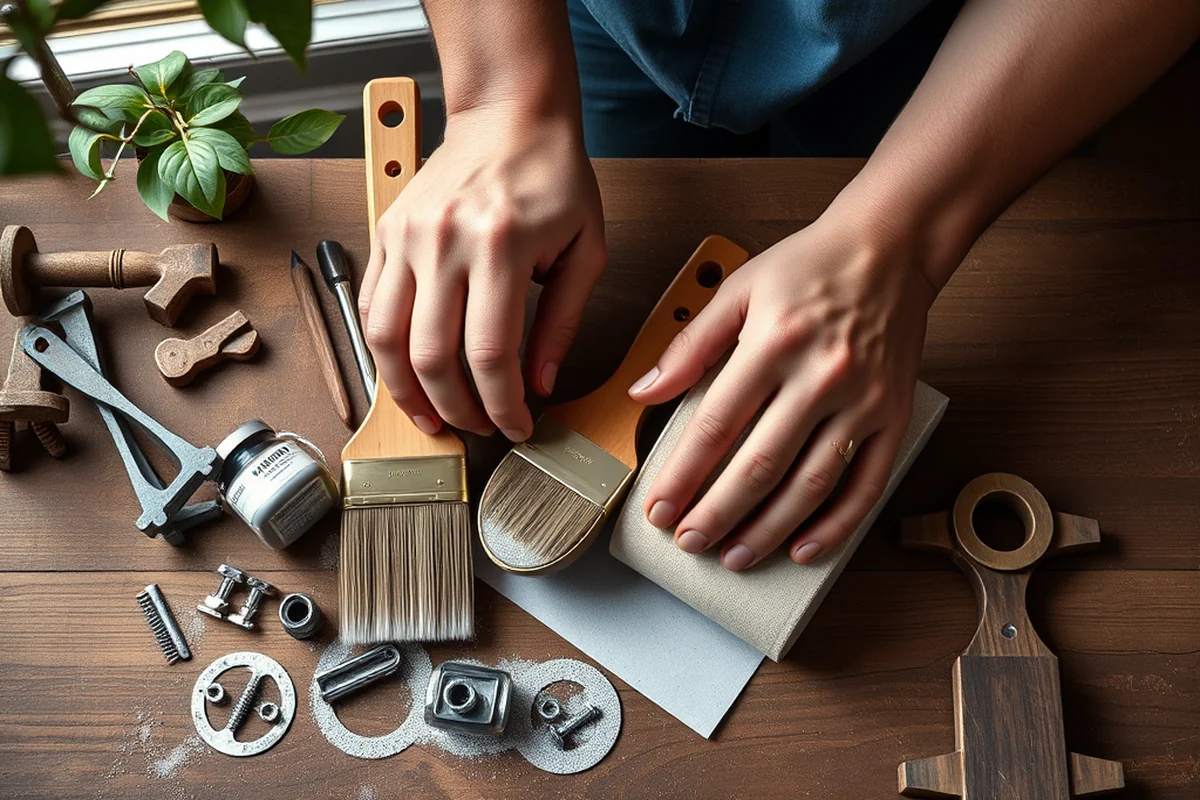
Shaker cabinets have a minimalist design, so the hardware should be simple and unobtrusive. I’ve used both knobs and pulls, and each has its own charm.
Metal pulls are a great option if you want a modern, sleek look. They add a touch of sophistication without overwhelming the design.
I once used brass pulls on my kitchen cabinets, and they instantly elevated the entire look of the space. They also added a nice contrast against the dark wood, which was a pleasant surprise.
Related: Used kitchen cabinets near me for sale by owner
How to Refinish Shaker Cabinets Like a Pro
I always start by cleaning the cabinets thoroughly to remove any dirt or grease. This ensures the paint or stain will adhere properly.
Next, I sand the cabinets to create a smooth surface. I then apply a primer to help the finish stick better and prevent any color bleed.
Once the primer is dry, I apply the paint or stain in even, smooth strokes. I usually let each coat dry completely before applying the next one for the best results.
Related: Recycled kitchen cabinets for sale
Adding Personality with Color and Texture
I’ve painted my cabinets in shades from soft whites to deep navy blues, and each color has transformed the room in its own way. Color is a powerful tool for changing the mood of a space.
Texture adds another layer of interest. I once used a chalk paint with a matte finish, and it gave the cabinets a subtle, aged look that I loved.
I recommend testing colors in your home before committing to them. I once painted a cabinet in a bold red and later found it too overwhelming for the kitchen.
Color and texture can turn ordinary cabinets into a statement piece.
Related: Wardrobe door makeovers
Maintaining Your Shaker Cabinets
I wipe my cabinets down with a damp cloth and mild soap regularly to keep them clean and free of fingerprints.
Avoid using abrasive cleaners or harsh chemicals, as these can damage the finish over time. I’ve learned this the hard way after using a strong cleaner that left my cabinets dull.
If you notice any chips or scratches, I recommend touching them up as soon as possible to prevent them from spreading. I once ignored a small chip and it eventually turned into a larger issue.
Customizing Shaker Cabinets with Glass Inserts and Light Fixtures
Adding glass inserts to Shaker cabinets is a subtle yet impactful way to modernize their appearance while maintaining their classic charm. I installed 6-inch by 12-inch tempered glass panels in the upper cabinets of my kitchen, which allowed natural light to filter through and created a more open feel. The cost for the glass was around $25 per panel, and the installation took about 4 hours with a helper. Using a glass cutter and a rubber mallet, I was able to make precise cuts without any cracks or chips, which was crucial for safety and aesthetics.
To complement the glass inserts, I added small pendant lights below the cabinets. These lights not only provided additional illumination but also emphasized the clean lines of the Shaker design. I chose 3-inch diameter bulbs, which were spaced 18 inches apart along a 48-inch long cabinet. This spacing ensured even lighting without creating harsh shadows. The installation was straightforward, requiring only a screwdriver and some basic wiring knowledge. The total cost for the lights was about $150, including the bulbs and hardware.
For a more integrated look, I also added recessed lighting above the cabinets. By installing 4-inch recessed cans spaced 24 inches apart, I achieved a soft, ambient glow that enhanced the overall kitchen atmosphere. The lighting system was wired by a licensed electrician, which cost an additional $300, but the result was worth it. This combination of glass inserts and lighting not only improved the visual appeal but also made the space feel more inviting and functional.
Incorporating Open Shelving with Shaker Cabinets
To integrate open shelving with shaker cabinets, measure the height from the countertop to the desired shelf level — typically 108 to 114 inches for standard reach. I installed a 36-inch wide shelf in my kitchen, using 1x3 pine boards and 1/4-inch thick wood screws. The cost was about $25 for materials, and it took me 2 hours to complete. Make sure the shelf depth matches the cabinet depth for a seamless look, and use a level to ensure it’s perfectly aligned.
For a cohesive design, choose a finish that matches your shaker cabinets. I used the same chalk paint as the cabinets, which cost about $20 per quart. I applied two coats with a foam brush, allowed each coat to dry for 24 hours, and then lightly sanded between coats for a smooth finish. This method gave the shelf a professional look that blended seamlessly with the cabinets.
To add personality, I placed a few decorative items on the shelf — a ceramic bowl, a small potted plant, and a stack of books. This not only added visual interest but also made the space feel more lived-in. I used a 1-inch thick felt pad on the bottom of each item to prevent scratches on the wood. This simple touch cost about $10 for the pads and took just 15 minutes to apply. The result was a functional and stylish addition to my kitchen that didn’t compromise the clean lines of the shaker cabinets.
💰 Budget Build
A cost-effective way to refresh your cabinets using affordable materials and simple techniques.
⏰ Weekend Version
A quick, easy project you can complete over the course of a single weekend.
✨ Upgraded Finish
Enhance your cabinets with a high-quality, custom finish that adds a touch of luxury.
🏠 Small-Space Adaptation
Tailored for smaller kitchens, with space-saving designs and efficient storage solutions.
🚪 Rental-Safe Option
A non-permanent solution that won’t damage your rental property, using removable materials.
| The mistake | Why it happens | The fix |
|---|---|---|
| Not sanding the cabinets properly before painting. | This can lead to a poor paint finish and make the cabinets look uneven or bumpy. | Always sand the cabinets thoroughly with fine-grit sandpaper before painting to create a smooth surface. |
| Using the wrong type of paint. | Regular wall paint doesn’t adhere well to cabinets and can chip or peel quickly. | Use a paint specifically designed for cabinets, as it is more durable and adheres better. |
| Skipping the primer step. | Without a primer, the paint may not stick properly and can result in an uneven or patchy finish. | Always apply a primer to the cabinets before painting to ensure a smooth and even finish. |
| Painting in direct sunlight or high humidity. | This can cause the paint to dry unevenly or create bubbles and streaks. | Choose a day with overcast weather or paint indoors in a well-ventilated space to avoid these issues. |
Shaker Style Cabinets
Common Questions
Can I paint my shaker cabinets without removing them?
What type of paint should I use for my cabinets?
How long does it take for the paint to dry?
Can I use wood stain on my cabinets instead of paint?
References
- Gyratory Shaker | Home of Archaeology at Berkeley (arf.berkeley.edu)
- COATINGS AND COLOR MANUAL (media.defense.gov)
Cite this guide
Upcycled Kitchen Cabinet Makeovers (2026). Shaker Style Cabinets. https://upcyclehome.com/shaker-style-cabinets/
Feel free to cite or share this guide.