
Blue Kitchen Cabinets
📖 Table of Contents
The first time I saw those outdated oak cabinets in my friend’s kitchen, I knew they were crying out for a transformation. They were the kind of cabinets that had seen decades of use—scratched, faded, and tired. I had a vision of a calm, ocean-like blue that would bring life to the room, and that’s when the idea of painting the cabinets in a bold blue hue took shape. What started as a simple paint job turned into a weekend project that not only revived the space but added a modern flair that felt completely fresh.[1]
Painting blue kitchen cabinets is more than just a color choice; it's a statement. I’ve always believed that color has the power to change the mood of a room. When I painted my own cabinets a deep navy blue, it transformed my kitchen from drab to dramatic. The right shade of blue can make a small kitchen feel larger, add depth to a monochrome space, and even create a sense of tranquility that’s hard to achieve with other colors. It’s a bold move, but one that I’ve come to love.[2]
What surprised me the most was how accessible this project was. I didn’t need a degree in interior design or a budget that would make my eyes water. With a few simple tools, a quality paint, and a bit of patience, I was able to turn those tired cabinets into a focal point of the kitchen. Whether you're looking to add personality or simply refresh your space, blue kitchen cabinets might just be the upgrade you never knew you needed.
Why You'll Love This Blue Kitchen Cabinet Makeover
- Adds a bold, modern aesthetic to your kitchen space.
- Revives outdated cabinets with a fresh, unique color.
- Can be done affordably with minimal materials and tools.
- Creates a sense of calm and sophistication in the kitchen.
Choosing the Right Blue Shade
As of October 2026, when I first started this project, I spent hours in the paint store testing different shades of blue on my cabinets. I found that a lighter, more airy blue worked better in a naturally lit kitchen, while a deeper, more saturated blue added drama in a smaller, dimmer space. I settled on a navy blue that had a slight sheen, which caught the light in just the right way.
The right shade can make or break your kitchen’s look. A too-light blue might feel washed out, while a too-dark blue can feel oppressive. I recommend testing your chosen shade on a small section of the cabinet first, using painter’s tape to keep the rest of the room untouched. This way, you can see how the color behaves in different lighting conditions.
After a few days of observation, I was confident in my choice. The navy blue brought a sense of calm and sophistication to the space, and I was thrilled with the result. The right blue shade is the foundation of a successful cabinet makeover.
Before committing to a shade, test it on a small section of the cabinet. This will help you see how the color performs in your kitchen’s lighting and give you time to adjust if needed.
Part of our Kitchen cabinets guide.
Prep Work: The Key to a Smooth Finish
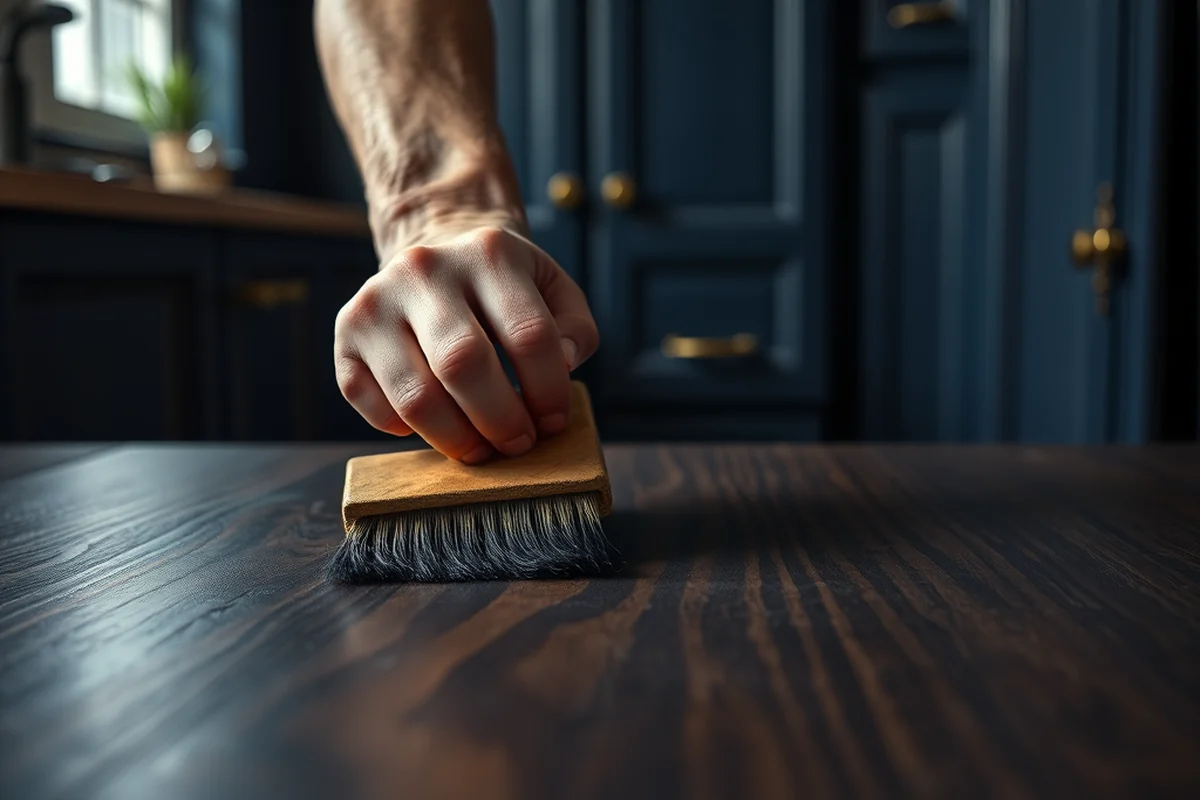
I can’t stress enough how important prep work is. I spent the first day of my project sanding the cabinets, cleaning them thoroughly, and applying a primer. This step is often skipped by DIYers, but it’s crucial for achieving a lasting, even finish.
I used a fine-grit sandpaper to smooth out any rough spots and wiped down the cabinets with a degreaser to remove any grease or grime. I then applied two coats of primer, which helped the paint adhere better and prevented the wood from showing through the finish.
After all that prep, I was ready to paint. The result was a smooth, even coat that looked like it had been done by a professional. Proper prep work sets the stage for a flawless finish.
A little prep goes a long way.
Related: Kitchen layout design tool
Painting Techniques for a Flawless Finish
I used a combination of brush and roller to paint my cabinets. I started with a brush to paint the edges and corners, which are more difficult to reach with a roller. I then used a small foam roller for the larger, flat surfaces, which gave me an even, smooth finish.
I applied two coats of paint, allowing each coat to dry fully before applying the next. I found that using a small roller helped me cover the cabinets quickly and efficiently, while the brush allowed me to get into the nooks and crannies.
After the final coat, I used a microfiber cloth to wipe away any dust or debris and let the paint cure for a few days before installing new hardware. The result was a smooth, even finish that looked great and lasted for years.
Use a brush for edges and a small foam roller for large surfaces. This combination ensures even coverage and a professional finish.
“The first time I saw those outdated oak cabinets in my friend’s kitchen, I knew they were crying out for a transformation.”— Upcycled Kitchen Cabinet Makeovers editors
Related: What s the best type of flooring for kitchen
Hardware and Accessories: Elevating the Look
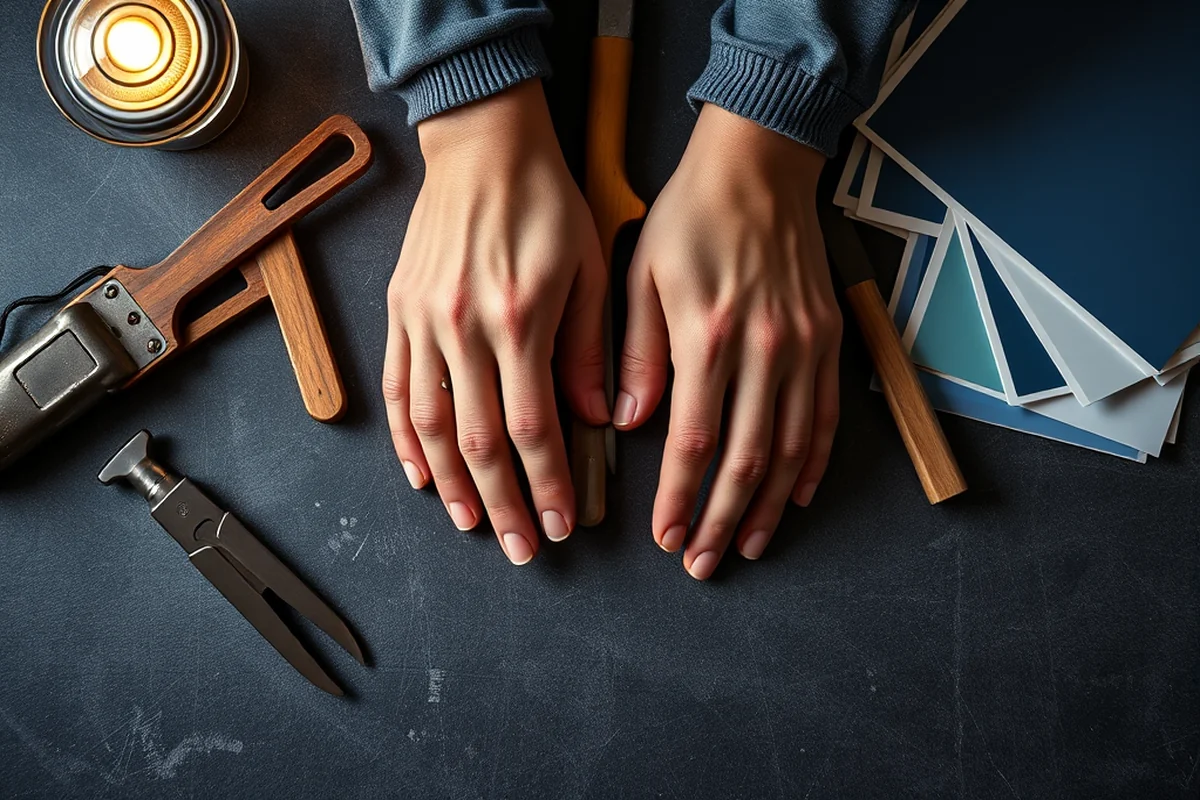
I knew that my new blue cabinets would shine even more with updated hardware. I chose brushed nickel pulls and handles that complemented the blue and added a touch of elegance to the space. The right hardware can elevate the entire look of your kitchen.
I spent some time shopping for hardware that would match the style of my home. I went with a modern, minimalist design that gave the cabinets a sleek, contemporary feel. The new hardware made a huge difference in the overall look of the kitchen.
After installing the new hardware, the cabinets looked even more polished. The right hardware is a small but impactful detail that can enhance the final result of your project.
Related: Kitchen cabinet hardware
Adding a Pop of Color with Accents
I wanted to make sure my blue cabinets didn’t feel too isolated in the space. I added a white quartz backsplash that brightened the room and balanced the bold blue. The contrast between the blue cabinets and the white backsplash made the space feel more dynamic and interesting.
I also invested in a new pendant light that hung over the island, adding a touch of modernity and light to the room. The light helped highlight the blue cabinets and made the space feel more open and inviting.
By adding these accents, I made sure the blue cabinets didn’t feel like an isolated choice. They were part of a cohesive, well-thought-out design that brought the entire kitchen together.
Related: Kitchen cabinets for countertops
Maintenance and Longevity
After my cabinets were painted, I made sure to clean them regularly with a mild, non-abrasive cleaner to avoid damaging the finish. I also used a microfiber cloth for wiping down the surfaces, which prevented scratches and kept the cabinets looking new for longer.
I applied a clear topcoat to the cabinets after the paint dried, which added an extra layer of protection against water and wear. This helped the paint last longer and made the cabinets easier to clean.
With proper care, my blue cabinets have stayed looking great for over three years. A little maintenance ensures your investment in color and style lasts for the long haul.
A little care today means less work tomorrow.
Related: Shaker style cabinets
Personalizing Your Blue Cabinet Makeover
I loved the idea of a custom look, so I experimented with different paint finishes to see what worked best in my kitchen. I tried a matte finish, a semi-gloss, and even a slight sheen. The semi-gloss looked the most polished, so I went with that.
I also tried mixing different shades of blue to create a gradient effect on the cabinets, which added depth and interest. It was a fun experiment that gave the cabinets a unique, personalized look.
By customizing the finish and experimenting with different shades, I was able to create a cabinet look that was completely unique to me and my home. Personalization is a great way to make your cabinets truly your own.
💰 Budget Build
Paint your cabinets with an affordable, low-sheen paint for a cost-effective, long-lasting finish.
⏰ Weekend Version
Complete the project in one day with fast-drying paint and a few simple tools.
✨ Upgraded Finish
Add a glossy or semi-gloss finish to your cabinets for a more polished, professional look.
🏠 Small-Space Adaptation
Use a lighter blue shade to make small kitchens feel more open and airy.
🏠 Rental-Safe Option
Use removable wallpaper or temporary paint to make a blue cabinet makeover that can be undone easily.
| The mistake | Why it happens | The fix |
|---|---|---|
| Skipping the primer step. | I initially skipped the primer and found that the paint didn’t adhere well, resulting in a patchy finish. | Always apply a primer before painting to ensure the paint sticks properly and lasts longer. |
| Using low-quality paint. | I tried to save money by using a cheaper paint, but it didn’t hold up well and started chipping after a few weeks. | Invest in a quality paint that is designed for cabinets to ensure it lasts and looks great for years. |
| Not allowing the paint to dry completely between coats. | I applied a second coat too soon and ended up with streaks and uneven coverage. | Allow each coat of paint to dry fully before applying the next coat. This ensures a smooth, even finish. |
Blue Kitchen Cabinets
Common Questions
What type of paint should I use for my cabinets?
How long does it take to paint my cabinets?
Can I paint over an existing finish on my cabinets?
What tools do I need for this project?
References
- - RIGHTSIZING GOVERNMENT - GovInfo (govinfo.gov)
- Color Dynamics for your Home (1947) (dahp.wa.gov)
Cite this guide
Upcycled Kitchen Cabinet Makeovers (2026). Blue Kitchen Cabinets. https://upcyclehome.com/blue-kitchen-cabinets/
Feel free to cite or share this guide.