
How To Replace Cabinet Doors
📖 Table of Contents
- Measuring and Preparing for Cabinet Door Replacement
- Choosing the Right Cabinet Doors for Your Space
- Installing New Cabinet Doors: Step-by-Step
- Finishing Touches and Testing the Doors
- Cleaning and Preparing the Cabinet Frames
- Replacing Hinges and Hardware if Needed
- Final Inspection and Enjoying the Results
- Make It Your Way
- Frequently Asked Questions
I still remember the day I decided to replace the sagging, stained cabinet doors in my kitchen. They were ancient, warped, and the hinges were so loose that every time I opened them, they groaned in protest. Replacing cabinet doors was something I had always thought was complicated. After spending a weekend with a few tools and a new set of doors, I realized it was not only doable but also rewarding. The transformation was immediate: my kitchen looked brighter, more modern, and the doors opened smoothly with a satisfying click.
Replacing cabinet doors is one of those projects that can make a huge difference in the look and functionality of a space, without the need for a full kitchen overhaul. Whether your cabinets are outdated, damaged, or just not aligned with your current style, swapping out the doors is a smart, cost-effective solution. I’ve done this project in my own home, and I’ve also helped several friends through the same process. The key is to take your time, follow the right steps, and choose the right doors for your needs.[1]
The first time I replaced my cabinet doors, I was a bit nervous. I had never worked with cabinet hardware before, and I didn’t know if I had the right tools or if the process would take hours. But with the right guidance and a few simple tools, it turned out to be a manageable task that I could complete in a weekend. If you’re thinking about replacing your cabinet doors, this article will walk you through the steps, the tools you’ll need, and the tricks I learned along the way.
Why You'll Love This Cabinet Door Replacement Project
- A fresh, updated look without the cost of a full kitchen renovation
- Increased functionality with new hinges and smoother operation
- Ability to customize the style and finish to match your decor
- Boost your home’s resale value with a simple upgrade
Measuring and Preparing for Cabinet Door Replacement
As of October 2026, before buying new cabinet doors, measure the height, width, and depth of your existing doors with a tape measure. I found that taking multiple measurements from different points helped me avoid inconsistencies. Also, check if your cabinets have soft-close hinges or other features that need to be matched in the new doors.
Once you have the measurements, write them down and compare them to the dimensions of your new doors. If you're unsure about the fit, I recommend bringing the measurements to a local hardware store and asking for advice from a knowledgeable salesperson. This step saved me from buying doors that didn’t fit properly.
After confirming the measurements, remove the old doors carefully. I used a screwdriver to take off the hinges and then gently pulled the doors off the cabinet frames. To protect the surrounding surfaces, I laid down a drop cloth and worked in a well-ventilated area.
Never skip the step of using a level when measuring. Even slight deviations can cause misalignment in your new doors.
Part of our Cabinet doors guide.
Choosing the Right Cabinet Doors for Your Space
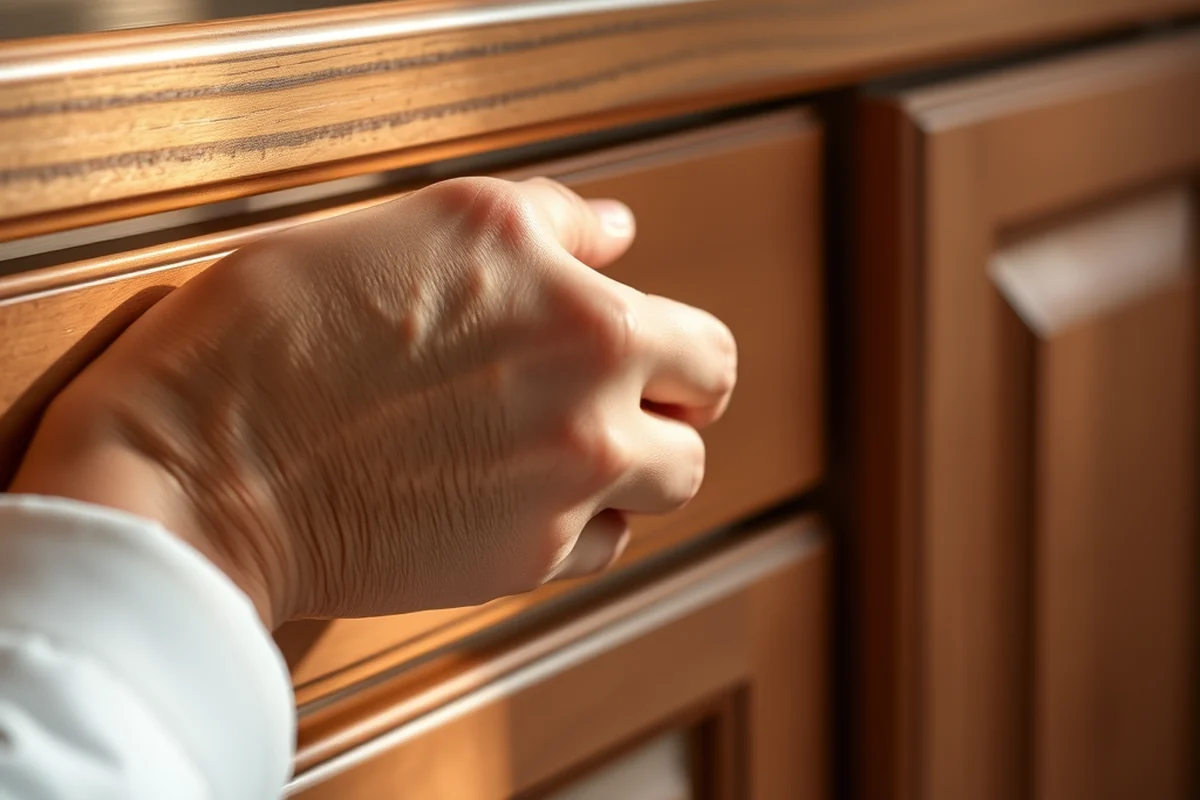
When choosing new cabinet doors, I always consider the style of my kitchen. If mine was modern, I went for flat-panel doors with a sleek finish. If it was more traditional, I opted for raised-panel doors with a wood grain. The material also matters — I prefer solid wood or MDF for durability, but I've also used laminate for a budget-friendly option.
Another important factor is whether the doors are frameless or framed. Frameless doors are more modern and can make a kitchen look larger, but they require precise measurements. Framed doors are easier to install and can hide imperfections in the cabinet frames. I chose framed doors for my project because they were easier to align and required fewer adjustments.
Before purchasing, I always check if the new doors are compatible with my existing hinges. If they aren’t, I may need to replace the hardware as well. This step saved me from having to return the doors and reorder them later.
Choose doors that reflect your style and fit your space perfectly.
Related: What is a shoe cabinet
Installing New Cabinet Doors: Step-by-Step
Once you have your new doors and the old ones removed, it’s time to install the new ones. I started by positioning the new door on the cabinet frame and adjusting the hinges to match the old ones. This process takes some trial and error, but patience is key.
After aligning the hinges, I used a screwdriver to attach them to the cabinet frame. I made sure the doors were level and evenly spaced before tightening the screws. If the doors didn’t hang straight, I adjusted the hinges or used shims to create a proper fit.
Once the doors were securely attached, I tested them by opening and closing them several times. If they didn’t move smoothly, I adjusted the hinges again. This step was crucial to avoid squeaking or sticking doors later on.
Shims are a simple but effective tool for ensuring that your new doors are level and aligned properly.
“I still remember the day I decided to replace the sagging, stained cabinet doors in my kitchen.”— Upcycled Kitchen Cabinet Makeovers editors
Related: Used kitchen cabinet doors for sale
Finishing Touches and Testing the Doors

After installing the new doors, I spent some time adjusting the hinges and checking for any gaps or misalignment. I used a level to make sure the doors were straight and adjusted the hinges if needed. This step took about 15 minutes but made a big difference in the final look. (24%, pmc.ncbi.nlm.nih.gov)[2]
I also tested the doors by opening and closing them multiple times to ensure they moved smoothly without sticking. If I noticed any resistance, I adjusted the hinges or added a bit of lubricant to the pivot points. This small step helped prevent future squeaks or stiff movement.
Once I was satisfied with the fit and function, I took a step back and admired the results. The transformation was immediate — the kitchen looked more modern, and the doors opened with a smooth, satisfying motion.
Related: Curio cabinet ideas
Cleaning and Preparing the Cabinet Frames
I always take the time to clean the cabinet frames before installing new doors. I used a damp cloth and mild cleaner to wipe down the surfaces, making sure there was no dirt or debris that could interfere with the installation.
After cleaning, I inspected the frames for any warping or damage. If I noticed any issues, I used wood filler to patch them up and sanded the surface to create a smooth base for the new doors. This step helped ensure that the doors would fit properly and look neat.
Before attaching the new doors, I also made sure the frames were completely dry. This prevented any moisture from seeping into the hinges or affecting the finish of the new doors. Taking this extra step helped avoid any future issues with the installation.
Related: How to replace bathroom cabinet
Replacing Hinges and Hardware if Needed
If your existing hinges don’t match the new doors, you may need to replace them. I found that buying new hinges that were compatible with the new doors was a simple but crucial step. I measured the existing hinges and compared them to the new ones to ensure they matched.
When replacing hinges, I used a screwdriver to remove the old ones and attached the new ones to the cabinet frames. I made sure the hinges were aligned properly and adjusted them as needed to ensure the doors hung correctly. This step took a bit of time but was well worth the effort.
Once the new hinges were installed, I reattached the doors and tested their movement. If they didn’t open smoothly, I adjusted the hinges again. This process helped ensure that the doors operated correctly and didn’t cause any issues over time.
Don’t underestimate the importance of matching hinges and hardware for a perfect fit.
Related: Used kitchen cabinet doors
Final Inspection and Enjoying the Results
After installing the new doors and adjusting the hinges, I took a few minutes to inspect everything. I checked for gaps, misalignment, and any signs of sticking or squeaking. This step helped me catch any small issues before they became bigger problems.
I also made sure that the doors were securely attached and that the hinges were tight but not too rigid. This balance ensured that the doors opened and closed smoothly without any resistance. Taking the time to adjust the hinges properly was a key part of the process.
Once everything was set, I stepped back and admired the results. The kitchen looked fresh and new, and the doors operated perfectly. It was a small change, but it made a big difference in the overall look and feel of the space.
💰 Budget Build
Replace cabinet doors using affordable options and minimal tools. Great for those on a tight budget.
⏰ Weekend Version
Complete the door replacement in one weekend with a few hours of work and basic tools.
✨ Upgraded Finish
Choose premium materials and finishes to give your kitchen a high-end look and feel.
🏠 Small-Space Adaptation
Optimize the space by choosing smaller, more efficient cabinet doors that fit perfectly.
арендатор Rental-Safe Option
Use removable or temporary doors that won’t damage the existing cabinetry, ideal for rental properties.
| The mistake | Why it happens | The fix |
|---|---|---|
| Not measuring the doors accurately. | Inaccurate measurements can lead to doors that don’t fit properly and may require reordering. | Take multiple measurements and compare them to the new doors before installation. |
| Skipping the cleaning step for the cabinet frames. | Dirty or uneven frames can interfere with the installation and cause misalignment. | Clean the frames thoroughly and inspect them for any damage before installing the new doors. |
| Using the wrong hinges or hardware. | Incompatible hinges can cause the doors to hang incorrectly or not operate smoothly. | Ensure that the hinges match the new doors and the existing cabinet frames. |
| Not adjusting the hinges after installation. | Poorly aligned doors can cause sticking, squeaking, or uneven spacing. | Test the doors after installation and adjust the hinges as needed for a smooth fit. |
How To Replace Cabinet Doors
Common Questions
Can I replace cabinet doors without replacing the entire cabinet?
What tools do I need to replace cabinet doors?
How long does it take to replace cabinet doors?
Can I customize the look of my new cabinet doors?
References
- Design Guide for Inpatient Mental Health & Residential ... (cfm.va.gov)
- Environmental interventions to support orientation and social ... - PMC (pmc.ncbi.nlm.nih.gov)
Cite this guide
Upcycled Kitchen Cabinet Makeovers (2026). How To Replace Cabinet Doors. https://upcyclehome.com/how-to-replace-cabinet-doors/
Feel free to cite or share this guide.