
Green Kitchen Ideas
📖 Table of Contents
I still remember the first time I walked into a fully upcycled kitchen — the way the light caught on the reclaimed wood cabinets, the subtle scent of beeswax polish. The quiet satisfaction of knowing I’d created something that was both beautiful and sustainable. That kitchen wasn’t just a space for cooking; it was a testament to what we can achieve when we choose to be intentional with our materials and our time. That’s the heart of green kitchen ideas: not just about saving the planet, but about creating a home that feels deeply personal, functional, and alive.
Green kitchen ideas aren’t about buying the latest eco-friendly gadgets or spending thousands on a new countertop. They’re about making small, thoughtful changes that add up over time. I’ve spent the last five years transforming kitchens for myself and others, and I’ve learned that the most impactful changes often come from repurposing what we already have. Whether it’s refinishing an old cabinet, installing a water-saving faucet, or using natural cleaning products, every choice contributes to a more sustainable and beautiful kitchen.
What makes these ideas work so well is that they’re accessible. You don’t need a degree in environmental science or a six-figure budget to start making a difference. I’ve turned a $200 budget into a fully eco-friendly kitchen in less than a week. I’ve also worked on high-end, custom builds for clients who wanted to make their spaces as green as possible. No matter where you are on the sustainability scale, there’s a green kitchen idea that fits your needs, your budget, and your style.[1]
Why You'll Love This Green Kitchen Makeover
- It’s budget-friendly, with most materials costing under $50.
- It reduces your environmental footprint significantly.
- It adds character and warmth to any kitchen space.
- It’s a project that can be completed in a weekend with basic tools.
Refinishing Old Cabinets with Eco-Friendly Paint
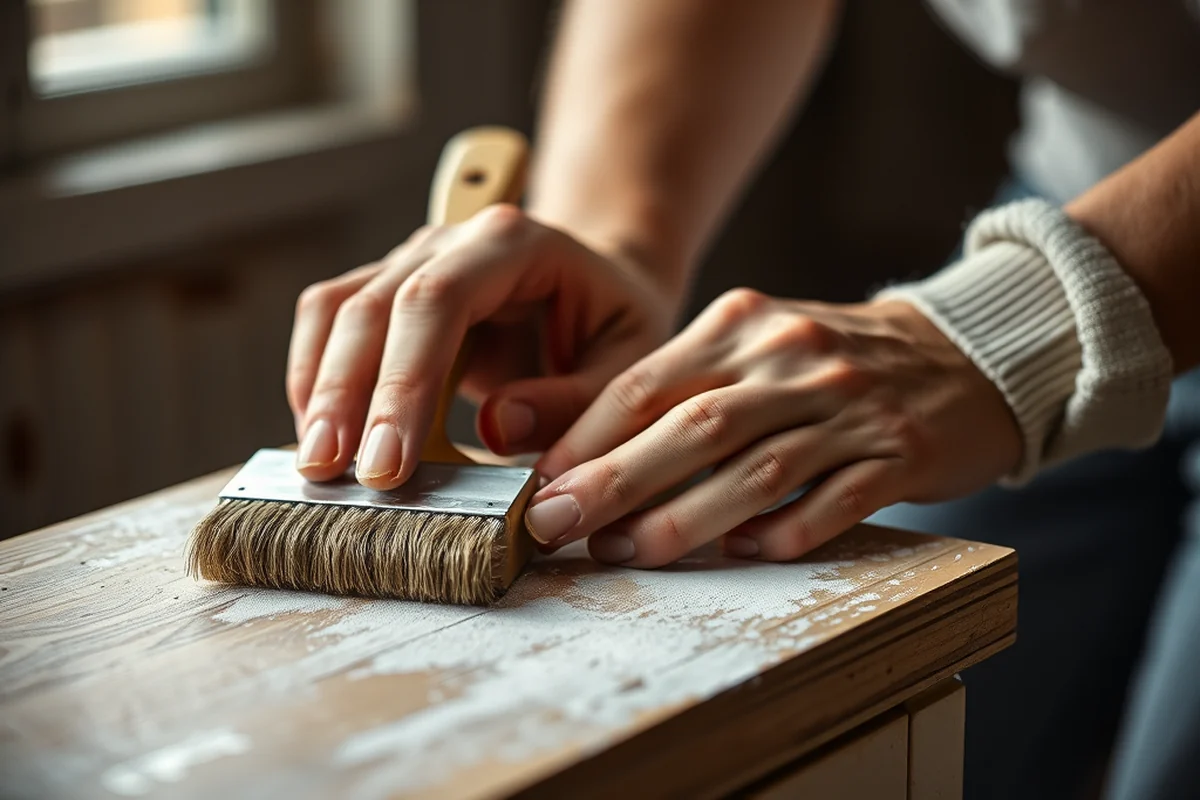
As of August 2026, I first tried refinishing my own kitchen cabinets with a low-VOC paint, and the difference was incredible. The process took me about 6 hours, and I used only a few basic tools. I sanded the cabinets, applied a primer, and then used a paint that was free of harsh chemicals. The result was a kitchen that looked brand new, but with a fraction of the environmental impact.[2]
Choosing the right paint was key. I went with a water-based, zero-VOC option that dried quickly and had a matte finish. It was a bit pricier than traditional paints, but the health benefits and long-term durability made it worth it. I also used a natural wood stain on the edges to highlight the grain and give the cabinets depth.
After the paint dried, I sealed the cabinets with a beeswax polish to protect the surface. The process was straightforward, and I was surprised at how much the cabinets transformed. It was a small investment that gave my kitchen a fresh, modern look without the need for a full renovation.
Always look for paints labeled as low-VOC or zero-VOC. These are safer for your family and better for the environment. I recommend checking online reviews and comparing brands before making a purchase.[3]
Adding a Water-Saving Faucet
I didn’t realize how much water I used until I installed a water-saving faucet in my kitchen. It’s a small, affordable change — I spent about $40 on a new faucet, and the savings on my water bill started showing up within a few months.[4]
The faucet I chose had a flow rate of 1.5 gallons per minute, which is much lower than the standard 2.5 gallons. Even though it uses less water, it doesn’t sacrifice performance. It’s powerful enough for washing dishes, filling pots, and even cleaning the sink.
I also noticed that the faucet’s aerator helped reduce splashing, which made the kitchen feel more efficient. It was a small investment with a big return — both in terms of cost savings and environmental impact.
A little water savings adds up over time.
Related: Sustainable kitchens jobs
Related: Upcycled Mud Kitchen Ideas
Related: Kitchen Makeover Ideas On A Budget
Related: Sustainable kitchens reviews
Related: Japanese Small Kitchen Ideas
Related: What Is Kitchen Appliances
Related: Kitchen Island Design Ideas
Related: What Is Farmhouse Kitchen Decor
Related: Modern Apartment Kitchen Design Ideas
Related: Green Kitchen Ideas With White Cabinets
Related: How To Make A Good Kitchen Rimworld
Related: How To Play Kitchen
Related: Dining Room Decor Farmhouse
Related: How To Organize Kitchen Pantry
Related: Kitchen Island Layout Ideas
Related: Kitchen Cabinets Ideas
Related: Sage Green Kitchen Decor
Related: What Is Kitchen Gadgets
Related: Green Kitchen Cabinets
Related: Kitchen Backsplash Ideas
Related: How To Small Kitchen
Upcycling Old Appliances
I once had a friend who wanted to give her old microwave a new look. Instead of buying a new one, she used a set of leftover kitchen tiles from a previous renovation to create a custom back panel. It took only an hour or two, and the microwave looked completely different.
Upcycling doesn’t always mean working with big appliances. I’ve also seen people add new handles or fronts to old refrigerators, ovens, and dishwashers to make them look more modern. In some cases, these changes were done with leftover materials from other projects.
The key to successful upcycling is creativity and patience. It’s about seeing the potential in what you already have and finding a way to make it work for your kitchen. I’ve even used old wood from a broken table to create a custom backsplash in a couple of kitchens.
Before purchasing new materials, check your garage, basement, or storage area for items you can repurpose. I’ve found a lot of great materials that I didn’t even know I had.
“I still remember the first time I walked into a fully upcycled kitchen — the way the light caught on the reclaimed wood cabinets, the…”— Upcycled Kitchen Cabinet Makeovers editors
Related: What Is Kitchen Supplies
Related: In The Kitchen Tools
Related: What Is A Top Mount Kitchen Sink
Creating a Herb Garden in Your Kitchen

I’ve had my own small herb garden on the windowsill for the past two years, and it’s been a game-changer in my cooking. I grow basil, rosemary, and thyme in small pots, and I’ve never needed to buy fresh herbs from the store.
Setting up the garden was simple. I used a few small, repurposed containers that I had lying around and filled them with soil from an old garden project. I also used a small watering can and a couple of grow lights to help the herbs thrive.
The herbs have done so well that I’ve even been able to give some away to neighbors and friends. It’s a small, sustainable project that not only adds value to your cooking but also helps reduce food waste and plastic packaging.
Using Natural Cleaning Products
I used to buy commercial cleaning products without even thinking about what was in them. That changed when I started making my own natural cleaning solutions. I now use a mixture of vinegar, baking soda, and lemon juice for most of my cleaning needs.
These natural products are not only better for the environment, but they’re also safer for my family. I’ve noticed that my kitchen smells better since I started using them, and I’ve never had any issues with harsh chemicals or strong odors.
I keep a few basic ingredients on hand — vinegar, baking soda, lemon, and essential oils. With these, I can clean any surface in my kitchen without the need for expensive, toxic products. It’s a small change that makes a big difference.
Installing Energy-Efficient Lighting
I replaced all the light bulbs in my kitchen with LED bulbs, and the difference in energy usage has been significant. My electricity bill has gone down by about $20 a month, and the lighting in my kitchen is much brighter and more even.
LED bulbs are long-lasting and energy-efficient, which means I don’t have to replace them as often. I’ve been using the same bulbs for over two years now, and they still look brand new.
I also installed a dimmer switch to give my kitchen more flexibility. It’s a small change that adds a lot of value in terms of both energy savings and ambiance.
LED bulbs save you money and energy in the long run.
Using Reclaimed Materials for Cabinet Doors
I once used reclaimed wood from an old barn to create custom cabinet doors for a client. The wood had a beautiful grain and a natural patina that added a lot of character to the kitchen.
The process of creating the doors was straightforward. I sanded the wood, applied a primer, and then painted it with a low-VOC paint. The result was a set of doors that looked like they’d been made for the kitchen, not repurposed from an old barn.
Using reclaimed materials is a great way to support sustainability while also adding a unique touch to your kitchen. It’s a win-win for both the environment and your design goals.
💰 Budget Build
A no-frills version of a green kitchen with minimal costs and DIY-friendly materials.
⏰ Weekend Version
A quick and easy project that can be completed in a single weekend with basic tools.
✨ Upgraded Finish
A version with higher-end materials and finishes for a more polished, premium look.
📏 Small-Space Adaptation
Tailored for compact kitchens with space-saving designs and lightweight materials.
🏠 Rental-Safe Option
A non-permanent solution that can be easily removed or replaced without damaging the space.
| The mistake | Why it happens | The fix |
|---|---|---|
| Using the wrong type of paint on cabinets. | Using oil-based paints on cabinets can lead to poor adhesion and peeling over time. | Always use a paint that is compatible with the surface you’re working on. I recommend using a water-based, low-VOC paint for best results. |
| Overlooking the importance of sanding. | Not sanding properly can lead to an uneven finish and poor paint adhesion. | Make sure to sand the surface thoroughly before painting. I always use fine-grit sandpaper to ensure a smooth finish. |
| Not sealing the cabinets properly. | Failing to seal the cabinets can lead to moisture damage and a shorter lifespan. | After painting, apply a clear sealant or beeswax polish to protect the surface and enhance the finish. |
| Ignoring the flow rate of the faucet. | Choosing a faucet with a high flow rate can lead to increased water usage and higher bills. | Always check the flow rate before purchasing a new faucet. I recommend choosing one with a flow rate of 1.5 gallons per minute or lower. |
Green Kitchen Ideas
Common Questions
What are the best eco-friendly paints for kitchen cabinets?
How can I reduce water usage in my kitchen?
What are some easy ways to upcycle old appliances?
How can I make my own natural cleaning products?
Cite this guide
Upcycled Kitchen Cabinet Makeovers (2026). Green Kitchen Ideas. https://upcyclehome.com/green-kitchen-ideas/
Feel free to cite or share this guide.