
Kitchen Cabinet Handles
📖 Table of Contents
I remember the first time I walked into my new home and saw the outdated kitchen cabinets. The handles were clunky, mismatched, and clearly from the 1980s. It was the kind of moment that made me realize how much of a difference a few simple upgrades could make. I decided to replace the handles myself, and that weekend transformed my kitchen from tired to vibrant. Kitchen cabinet handles may seem small, but they are the unsung heroes of your kitchen, making a statement that’s both functional and aesthetic.[1]
Replacing kitchen cabinet handles is one of the most satisfying DIY projects I’ve ever done. It’s a project that doesn’t require a degree in carpentry, but it does demand attention to detail. I’ve learned that the right handles can make your kitchen feel modern, warm, or even industrial, depending on your choice. The key is to find the right balance between style and practicality — and that’s where the real fun begins.[2]
I’ve spent countless hours researching, shopping, and experimenting with different types of handles. From brass pulls to minimalist knobs, every choice matters. My kitchen cabinet handles now reflect my personality, and the transformation was worth every minute. Whether you’re on a budget or looking for a high-end finish, there’s a handle out there that will make your kitchen feel brand new.[3]
Why You'll Love This Kitchen Cabinet Handle Makeover
- Transform the look of your kitchen with minimal effort and cost.
- Add a personalized touch that reflects your unique style and taste.
- Boost the overall value of your home with a quick, high-impact upgrade.
- Create a space that feels both modern and welcoming without major renovations.
Choosing the Right Handle Style
As of October 2026, I started by looking at my existing cabinetry. I had a mid-century modern kitchen, so I knew I needed something that would complement the clean lines and warm wood tones. I browsed online and in-store, noting everything from oil-rubbed bronze to matte black pulls. The key was to find something that felt intentional and not just another impulse buy.[4]
I also considered the number of cabinets and the variety of sizes. Some cabinets had different heights, so I needed handles that would work across all of them. I ended up going with a simple, rounded brass handle that had a soft patina. It gave the cabinets a warm, lived-in look without being too flashy.
After installing the first few, I realized the importance of consistency. I made a list of all the cabinets and noted their sizes, and then I ordered a few extra handles just in case. It was a small investment, but it saved me from having to return to the store or compromise on the look.
Always measure your cabinets before purchasing handles. Even if the handle looks great online, the wrong size can throw off your entire kitchen’s look and feel.
Part of our Kitchen cabinets guide.
Tools and Materials Needed
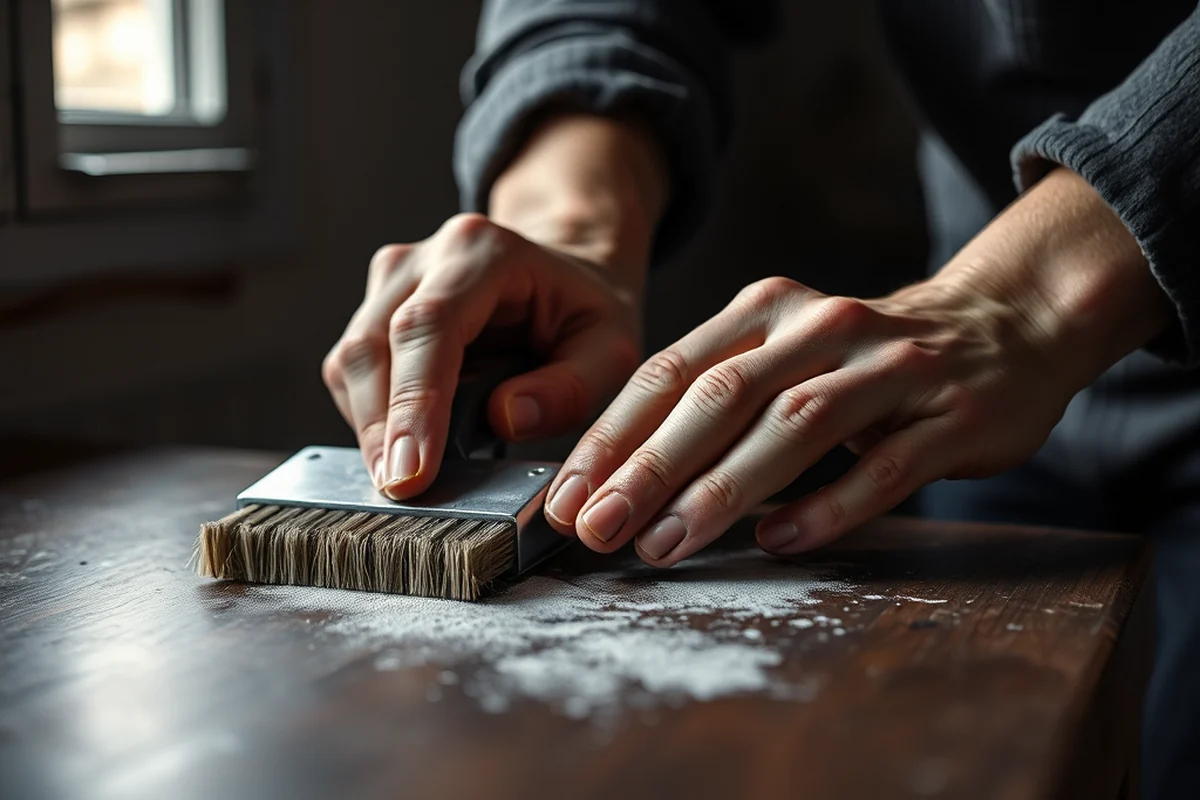
I gathered a few essentials: a screwdriver (either a manual or electric drill), a tape measure, and a level. I also bought a set of replacement handles and the appropriate screws. The handles I chose came with their own screws, but I made sure to bring an extra set just in case I messed up a hole.
I didn’t need any special tools, which was a relief. The handles were easy to install, and the only tricky part was aligning them correctly on the cabinets. I used the level to ensure each handle was perfectly straight — it made a huge difference in the final look.
One thing I didn’t expect was how much time I would save by planning ahead. I had all my tools and materials laid out before I even started, and that made the entire process much smoother. It’s a small detail, but it made a big impact.
With the right tools, even the smallest details can make a big difference.
Related: Kitchen cabinets design
Installation Tips and Tricks
I started by removing the old handles. I used a flathead screwdriver to take out the old screws, and I made sure to keep the screws in a small bowl so I wouldn’t lose them. Once the old handles were off, I took a moment to clean the cabinet surfaces. A quick wipe with a damp cloth helped remove any dust or grime that had built up over time.
Next, I marked where the new handles would go. I used a pencil to draw a small circle where the center of the handle would be. Then, I used the level to make sure the mark was straight. It might seem like a small step, but it made a huge difference in the final look.
Once I had everything aligned, I carefully placed the new handle on the cabinet and used the screwdriver to secure it. I made sure to tighten the screws evenly so the handle wouldn’t wobble. After installing a few, I stepped back and checked the alignment again — it was worth the extra time.
Take a moment to check the alignment of each handle before tightening the screws. Even a slight misalignment can be distracting once the project is complete.
“I remember the first time I walked into my new home and saw the outdated kitchen cabinets.”— Upcycled Kitchen Cabinet Makeovers editors
Related: How to organize bathroom cabinet
Finishing Touches and Maintenance
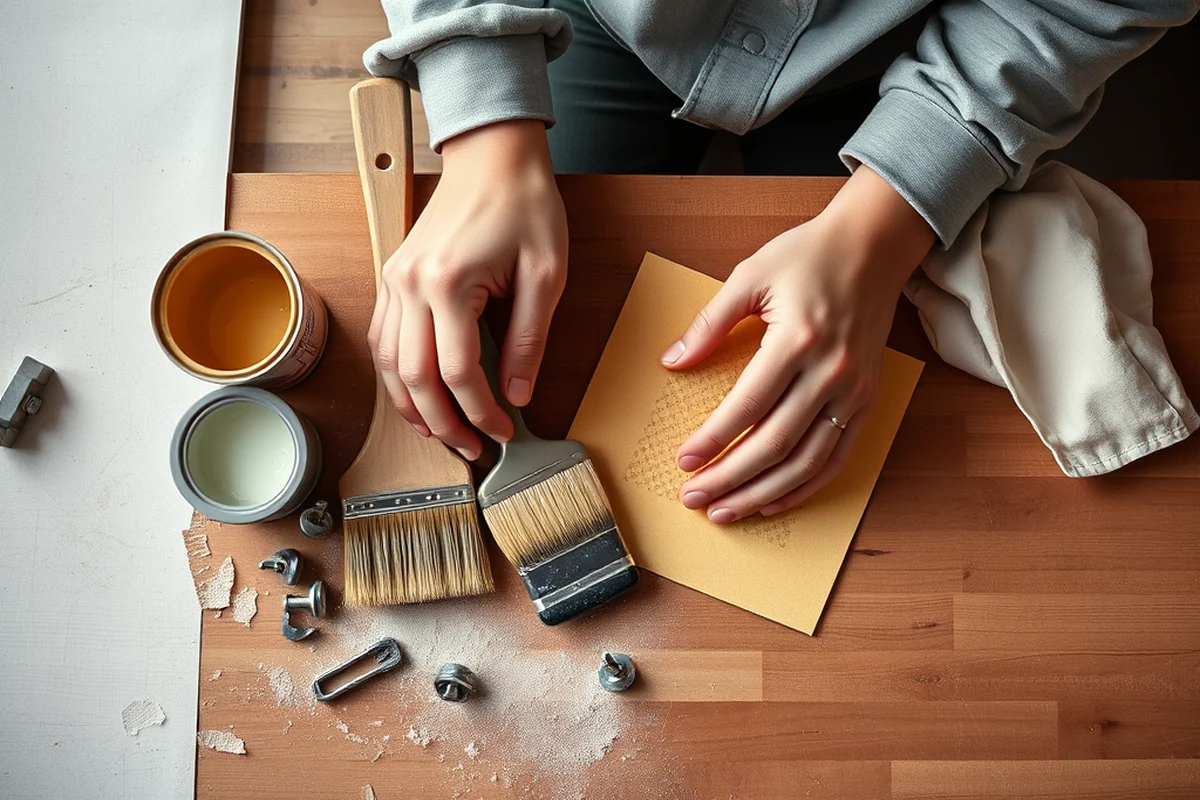
Once the handles were all installed, I took a step back and looked at the overall effect. I was happy with the way they looked, but I wanted to make sure they were properly maintained. I used a soft cloth and a mild cleaner to wipe them down and remove any fingerprints or smudges.
I also made sure to check for any tight spots where the handle might be rubbing against the cabinet. I adjusted a few of them slightly to prevent any long-term wear. It was a small adjustment, but it made a big difference in the longevity of the project.
Finally, I took a few photos of the finished kitchen. It was the first time I had seen the transformation from start to finish, and I was thrilled with the results. The handles had elevated the whole space and made it feel brand new.
Related: Kitchen aid mixer
Budget-Friendly Handle Options
I found a few budget-friendly options that didn’t compromise on style or quality. I went with a set of matte black pulls that were on sale online. They were significantly cheaper than the ones in the store, but they looked just as good. The quality was solid, and they had a subtle sheen that caught the light in a nice way.
I also considered using existing handles. If you have a few spare ones that are in good condition, you can use them to replace the outdated ones. I had a few left over from a previous project, and I used them for a couple of the cabinets. It was a small way to save money while still achieving the look I wanted.
I also found that buying in bulk can save you a lot of money. I ordered a few extra handles just in case I needed them later. It turned out to be a smart move — I ended up using them on a few of the smaller cabinets, and they matched perfectly with the rest of the kitchen.
Related: How to organize pantry
Upgraded Finish Options
I upgraded a few of my handles with a brass finish that had a nice patina. I chose it because it added warmth to the kitchen without being too flashy. The patina gave the handles a unique character that made them stand out in a subtle way.
I also considered using a matte finish for some of the handles. It gave the cabinets a more modern look, and the matte texture was less reflective, which was perfect for my kitchen’s lighting setup. It was a small change, but it made a big difference in the overall aesthetic.
Another option I thought about was using a brushed nickel finish. It looked sleek and sophisticated, and it paired well with the rest of the cabinets. I ended up using it on a few of the cabinets, and it was a great choice for a more refined look.
A little upgrade can make all the difference in your kitchen’s overall look.
Related: How to small kitchen
Customizing Your Handles
I customized a few of my handles with a simple paint job. I used a small brush and a bit of paint to give the handles a unique color that matched the rest of the kitchen. It was a quick and easy way to make them stand out without spending a lot of money.
I also experimented with using different hardware. I found a few handles that had a unique shape or texture, and I used them on a few of the cabinets. They added a nice touch of character to the kitchen and made it feel more personalized.
I even tried using some decorative elements like small etchings or patterns on some of the handles. It was a fun way to add a little extra detail and make the handles feel more unique. It was a small step, but it made a big difference in the overall look of the kitchen.
💰 Budget Build
Upgrade your kitchen with affordable handles that still look great. Choose simple, no-frills styles and stick to basic installation methods.
⏰ Weekend Version
Get your kitchen looking fresh in just a few hours. Use pre-drilled handles and keep the process simple for a quick update.
✨ Upgraded Finish
Take your handles to the next level with a custom finish, like brushed nickel or a hand-patinaed brass look for a refined, luxurious feel.
🏠 Small-Space Adaptation
Choose sleek, minimalist handles that don’t overwhelm the space. Use them on smaller cabinets to create a sense of openness and flow.
🔐 Rental-Safe Option
Opt for removable or non-damaging handles that can be easily taken off and returned to the property without leaving any marks or damage.
| The mistake | Why it happens | The fix |
|---|---|---|
| Not measuring the cabinets before purchasing handles. | Handles that don’t match the size of your cabinets can look mismatched and unprofessional. | Always measure your cabinets and bring a sample to the store to ensure the handles fit properly. |
| Skipping the alignment step. | Handles that aren’t aligned can look crooked and unbalanced, which can be distracting. | Use a level to ensure each handle is perfectly straight before tightening the screws. |
| Overlooking the need for extra screws. | If you run out of screws, you may have to return to the store or compromise on the look of your cabinets. | Always bring a few extra screws with you, just in case you need them. |
| Not cleaning the cabinet surfaces before installation. | Dust and grime can build up over time and affect the appearance of your new handles. | Take a moment to wipe down the cabinet surfaces before installing the handles to ensure they look their best. |
Kitchen Cabinet Handles
Common Questions
How long does it take to replace kitchen cabinet handles?
What tools do I need to replace kitchen cabinet handles?
Can I install handles on my own, or should I hire a professional?
What if I don’t have the right size handles for my cabinets?
References
- Kitchen Hygiene: Let's Talk About That Sponge! - Clemson HGIC (hgic.clemson.edu)
- Diversity, distribution and sources of bacteria in residential kitchens (pmc.ncbi.nlm.nih.gov)
- Kitchen cabinet - Wikipedia (en.wikipedia.org)
- Heart of the future home: a multidimensional model of inclusive ... (nature.com)
Cite this guide
Upcycled Kitchen Cabinet Makeovers (2026). Kitchen Cabinet Handles. https://upcyclehome.com/kitchen-cabinet-handles/
Feel free to cite or share this guide.