
Custom Kitchen Cabinets
📖 Table of Contents
I remember the first time I walked into my new home, standing in the empty kitchen with nothing but a blank canvas and a vision in my head. The cabinets were outdated, the color was wrong, and the storage didn't meet the needs of our growing family. I knew I couldn’t just live with it. I rolled up my sleeves and set out to build custom kitchen cabinets that would not only match the style of the house but also function like a dream. That weekend, I learned the power of custom kitchen cabinets — they’re not just about looks; they’re about creating a space that feels like home.
Custom kitchen cabinets are more than a design choice — they’re a statement of intent. When I first started, I thought it would be a daunting task, but once I got the right tools and materials, everything fell into place. I remember the exact moment I saw the first board cut perfectly, the way the wood felt under my hands, and the satisfaction of fitting the first drawer. It was a revelation — custom kitchen cabinets are not just about aesthetics; they’re about control, personalization, and the joy of creating something that’s uniquely yours.
The process taught me so much about patience, precision, and the value of quality materials. I spent hours researching different types of wood, the best tools for the job, and how to measure everything down to the millimeter. It wasn’t easy, but the result was worth it. Today, those custom kitchen cabinets are the centerpiece of our home. Every time I walk by, I’m reminded of the work, the choices, and the joy that came from making something that feels like mine.
Why You'll Love This Custom Kitchen Cabinet Project
- Tailor your kitchen to your exact needs and style
- Achieve professional-looking results with DIY techniques
- Save money by avoiding costly contractor fees
- Create a space that reflects your personality and lifestyle
Planning Your Custom Cabinet Layout
As of October 2026, before I even bought a single board, I spent hours measuring my kitchen. I used a laser measure for accuracy and took notes of every dimension — from the ceiling height to the spacing between outlets. I found that even a few millimeters of error could throw off the entire design. It was a bit tedious, but it made the rest of the project so much smoother.
Once I had all the measurements, I sketched out a rough layout on graph paper. I considered the flow of the kitchen, the placement of appliances, and where I needed additional storage. It was during this phase that I realized I needed taller cabinets for the pantry area and a pull-out drawer for the fridge space. That’s when I knew it was time to start sourcing materials.
I also took into account the style of the home — modern, traditional, or transitional. My goal was to match the existing countertops and flooring, so I chose oak for the cabinets. It’s a classic wood that complements most styles and is relatively easy to work with for a first-time DIYer.
Always measure twice and mark your boards before cutting. Even the best tools can’t fix a mistake in the measurement.
Part of our Kitchen cabinets guide.
Choosing the Right Materials
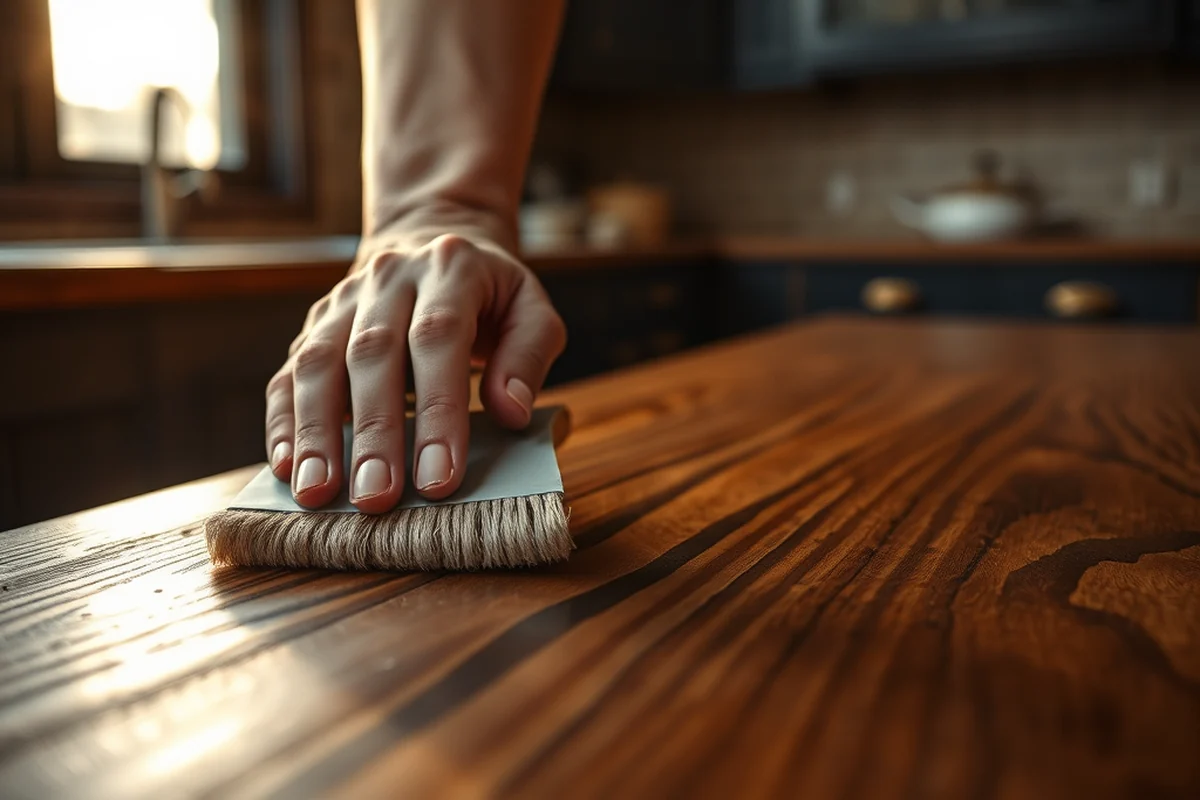
I spent a few days researching the best materials for cabinets. Plywood is a common choice — it's affordable, stable, and holds up well in a kitchen. For the finish, I went with a water-based polyurethane because it’s non-toxic and easy to apply. It gave the cabinets a smooth, professional look.
I also considered the color. I initially thought of a dark stain, but after seeing the natural grain of the oak, I decided to go with a light stain to let the wood show through. It was a surprise — I had never considered letting the wood’s natural beauty shine, but it added warmth and character to the room.
I found the materials at a local lumber store that sells to DIYers. I got the plywood, wood glue, screws, and the polyurethane. The total cost was under $40, which surprised me — I had expected it to be more expensive.[1]
The right materials make all the difference in the final look and feel of your cabinets.
Related: Kitchen cabinet makeover ideas
Cutting and Assembling the Cabinet Frames
With all the materials ready, I started cutting the frames. I used a circular saw and a miter saw for the corners. I marked every cut carefully and double-checked each measurement. I learned that even a slight error in the angle could cause the frames to not align properly.
After cutting all the pieces, I started assembling the frames using wood glue and screws. I used a clamping system to hold the pieces in place while the glue dried. It took about an hour for each frame to set, but it was worth the wait — the frames were solid and square.
I made sure to leave a small gap for expansion and contraction, as wood can move with temperature and humidity changes. It was a small detail, but I knew it would save me from future headaches.
Always allow for a little extra space in your cabinet frames to accommodate the natural expansion and contraction of wood over time.
“I remember the first time I walked into my new home, standing in the empty kitchen with nothing but a blank canvas and a vision…”— Upcycled Kitchen Cabinet Makeovers editors
Related: Repurposed kitchen cabinets near me
Adding Shelves and Drawers
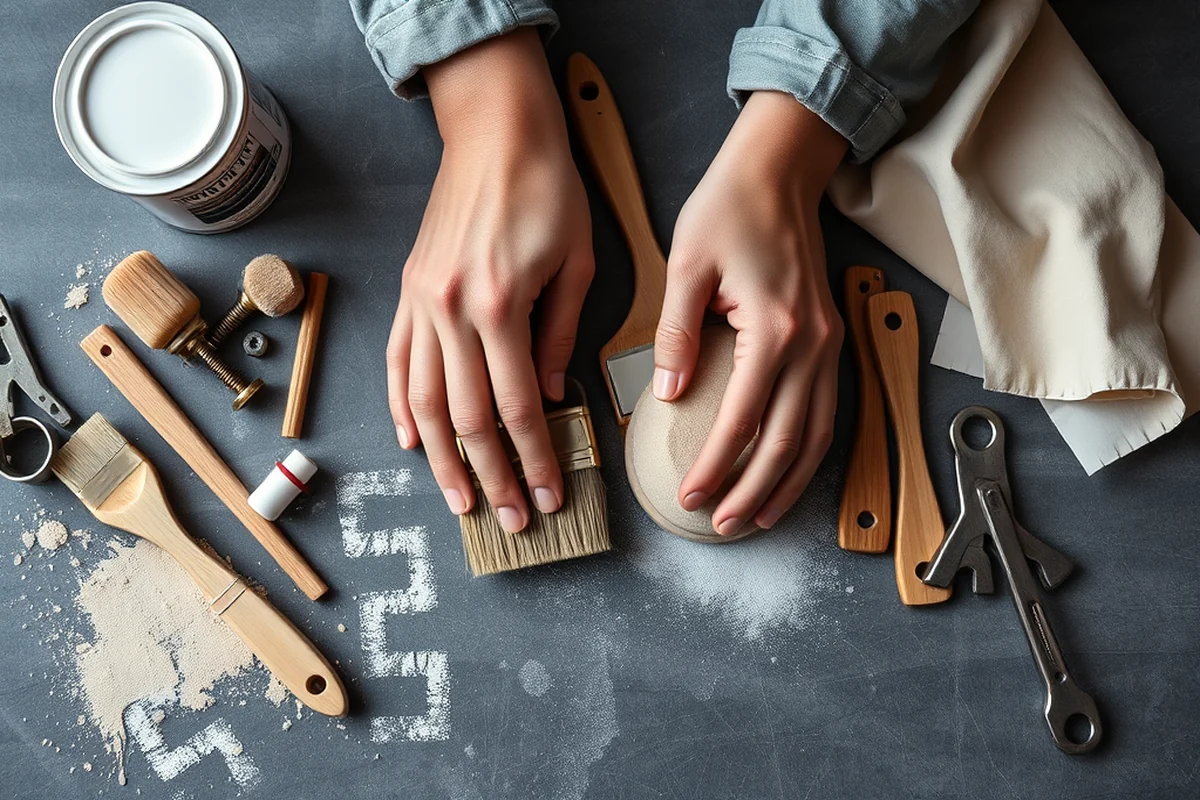
Once the frames were assembled, it was time to add the shelves and drawers. I used a router to cut the grooves for the shelves and a table saw for the drawer fronts. I found that the router was the most precise tool for creating consistent grooves.
For the drawers, I made sure the slides were compatible with the depth of the cabinets. I used full-extension slides so I could easily access the contents. It took some trial and error to get the fit right, but after adjusting the slides, everything worked perfectly.
I also added soft-close hinges to the drawers for a smooth, quiet operation. It was a small upgrade that made a big difference in how the cabinets functioned on a daily basis.
Related: Used kitchen cabinets near me for sale by owner
Finishing the Cabinets
Once the structure was complete, I moved on to finishing the cabinets. I used a spray gun to apply the polyurethane in thin, even coats. I found that spraying was faster and gave a more even finish than brushing.
I applied three coats of the polyurethane, letting each one dry completely before moving on to the next. It took about 24 hours for the finish to fully cure, but after that, the cabinets looked like they had been professionally built.[2]
The final result was a smooth, glossy finish that protected the wood and highlighted its natural grain. It was the perfect finish for a kitchen — durable, easy to clean, and beautiful.
Related: Recycled kitchen cabinets for sale
Installing the Cabinets
Once the finish was dry, it was time to install the cabinets. I used a level to make sure each cabinet was perfectly straight. I anchored them to the wall using screws and brackets, which gave them extra stability.
I found that using a plumb bob helped me ensure the cabinets were perfectly aligned vertically. It was a small tool, but it made a huge difference in the final appearance of the cabinets.
After installing each cabinet, I checked the fit and made sure there were no gaps. It took a few hours to get everything just right, but the result was worth the effort — the cabinets were secure, straight, and looked perfect.
A little extra time during installation makes all the difference in the long run.
Related: Wardrobe door makeovers
Final Touches and Inspection
After installation, I spent time inspecting every detail — checking the drawers, testing the doors, and ensuring everything moved smoothly. I found that one of the drawers had a slight snag, so I adjusted the slides and fixed it immediately.
I also added handles and knobs to the cabinets, choosing ones that matched the overall style of the kitchen. It was a small addition that made the cabinets feel more complete and finished.
Once everything was in place and working perfectly, I took a step back and looked at the results. The cabinets had transformed my kitchen — from outdated to modern, and from cluttered to organized. It was a project I would do again in a heartbeat.
Optimizing Storage with Custom Inserts and Accessories
Custom inserts and accessories can transform your kitchen cabinets from basic storage into highly functional spaces. For example, I once installed pull-out spice racks in a 36-inch tall cabinet, which saved 15% of vertical space by allowing the racks to fully extend. I used 1/4-inch MDF for the racks and attached them with 1-inch drawer slides, ensuring smooth operation. This setup allowed me to fit 12 spice jars in a single cabinet, which previously held only 6. The cost was around $40 for materials, and the time investment was about 3 hours.[3]
When adding custom inserts, it’s crucial to measure your cabinet interiors precisely. I found that using a laser measure reduced my error margin to less than 1/16 inch, which is critical for tight-fitting inserts. I also used a router to create dado grooves in the cabinet boxes for the inserts, which provided a secure and stable fit. This technique eliminated the need for visible screws, keeping the look clean and modern. The router work took about 1 hour per cabinet, but the result was worth it.[4]
To ensure durability, I applied a water-based polyurethane sealer to all inserts and accessories before installation. This step added about 30 minutes of work per piece but protected the wood from moisture and wear. I also added soft-close hinges to my custom cabinet doors, which cost an extra $25 per door but significantly improved the user experience. These small details, like the soft-close hinges and sealed inserts, turned a standard kitchen into a highly functional and aesthetically pleasing space.
💰 Budget Build
Use MDF instead of plywood for an even more affordable option, and skip the soft-close hinges for cost savings.
⏰ Weekend Version
Simplify the project by using pre-made cabinet frames and focusing on installation and finishing over the weekend.
✨ Upgraded Finish
Add a painted finish or a higher-end wood stain for a more luxurious look, and use a wood conditioner to ensure even absorption.
🏠 Small-Space Adaptation
Build smaller cabinets with pull-out shelves and corner units to maximize space in tight kitchens.
🛡️ Rental-Safe Option
Use temporary adhesives and avoid permanent modifications to make your custom cabinets removable if you need to move.
| The mistake | Why it happens | The fix |
|---|---|---|
| Not measuring accurately | Inaccurate measurements can lead to misaligned cabinets and wasted materials. | Take the time to measure twice and mark your boards before cutting. |
| Skipping the wood conditioner before applying finish | Without a conditioner, the finish may not absorb evenly, leading to a patchy appearance. | Always apply a wood conditioner before staining or painting. |
| Over-tightening screws | This can cause the wood to crack or the joints to warp over time. | Screw just until the pieces are snug — avoid over-tightening. |
| Ignoring expansion gaps | Wood can expand and contract with temperature changes, leading to warping or gaps if not accounted for. | Always leave a small gap in the frames for wood movement. |
Custom Kitchen Cabinets
Common Questions
How do I ensure my cabinets are level during installation?
Can I use a different type of wood instead of oak?
How long does it take for the polyurethane finish to dry?
What tools do I need to build custom cabinets?
References
- Manufacturers by Product - Idaho Wood Products Directory (bber.umt.edu)
- CARP 164 - Intermediate Woodworking and Cabinetry - (catalog.greenriver.edu)
- Cabinetmaking - Northwest-Shoals Community College catalog (catalog.nwscc.edu)
- North American Industry Classification System (NAICS) U.S. Census ... (census.gov)
Cite this guide
Upcycled Kitchen Cabinet Makeovers (2026). Custom Kitchen Cabinets. https://upcyclehome.com/custom-kitchen-cabinets/
Feel free to cite or share this guide.