
Kitchen Cabinet For A Sink
📖 Table of Contents
- Why a Custom Cabinet is Better Than Buying New
- Choosing the Right Materials and Tools
- Designing the Cabinet: A Step-by-Step Breakdown
- Painting and Finishing the Cabinet
- Installing the Cabinet and Sink
- Customization Tips for Different Styles and Needs
- The Final Touch: Adding Decor and Lighting
- Optimizing Space with Pull-Out Features and Hidden Storage
- Make It Your Way
- Frequently Asked Questions
I remember the first time I considered turning an old cabinet into a sink base — it was during a kitchen renovation that went sideways. I had just purchased a vintage farmhouse sink for $120 at a local flea market, and it was too big for my existing countertop. That’s when I realized I needed a custom kitchen cabinet for a sink, not just any cabinet, but one that would make the sink look like it belonged there. The idea of repurposing a 1970s cabinet from a friend’s garage seemed daunting, but it also felt like a chance to bring something new to life.[1]
The kitchen cabinet for a sink became more than just a functional piece — it became a statement of purpose. I wanted it to be sturdy, visually appealing, and tailored to my specific needs. After spending an afternoon measuring the sink, I sketched out my vision on graph paper. The idea of creating a custom cabinet didn’t just solve my problem; it gave me a creative project that I could complete in just a few days, using materials I already had at home.
Now, I look back at that project with a sense of accomplishment. That kitchen cabinet for a sink transformed my space and gave me a real sense of control over my home’s design. It wasn’t just about fitting the sink into a cabinet — it was about building a piece of furniture that felt right for my kitchen, with a level of craftsmanship that I didn’t know I was capable of. And that’s what I hope this article will help you achieve, too.
Why You'll Love This Kitchen Cabinet For A Sink
- Custom fit for your sink, maximizing space and function.
- Adds character and value to your kitchen with a unique design.
- Durable and easy to build with just a few tools.
- Transforms old cabinets into new, repurposed furniture.
Why a Custom Cabinet is Better Than Buying New
As of October 2026, one of the main benefits of building a kitchen cabinet for a sink is that you can ensure a perfect fit. Store-bought cabinets are often limited in size, which can leave your sink looking out of place or difficult to install. I found that my vintage sink didn’t match the dimensions of any ready-made cabinet I looked at, so a custom build was the only option.
Custom cabinets also let you choose the materials and finish that best suit your kitchen. I opted for a simple pine cabinet with a white paint finish, which complemented the farmhouse sink and brightened up the room. This kind of customization isn’t always possible with off-the-shelf options.
Another advantage is cost. I was able to build a fully functional cabinet for under $40 by repurposing materials I already had. This is significantly cheaper than buying a new, custom-built cabinet from a furniture store.[2]
Before you start cutting any wood, measure the sink and the area where the cabinet will go. I made a small error in my first sketch, which led me to waste an extra board. Taking the time to double-check your measurements can save both time and materials.
Part of our Kitchen cabinets guide.
Choosing the Right Materials and Tools
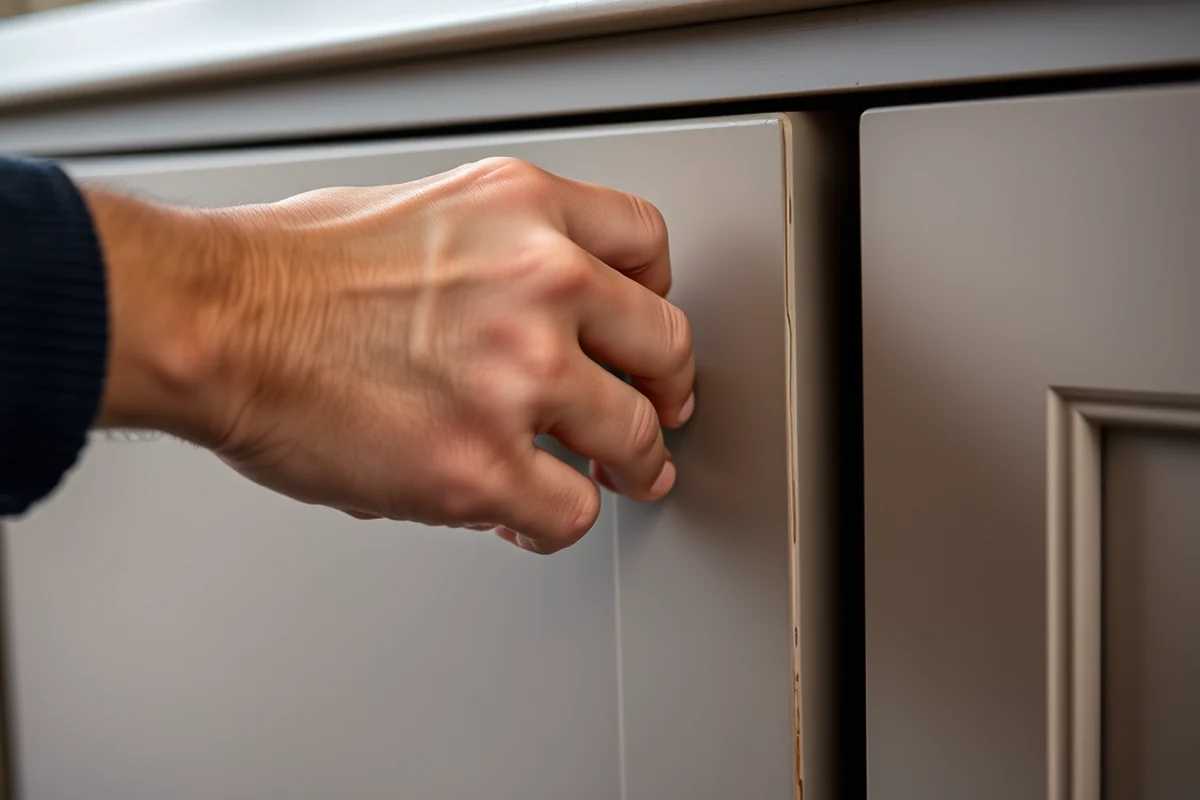
For this project, I used a few basic tools: a circular saw, a miter saw, a drill, and a screwdriver. These are all commonly found in most DIY toolkits, but if you’re just starting out, you might want to rent or borrow some of the more advanced tools.
As for materials, I used leftover pine boards from a previous project. If you don’t have any scrap wood, you can find affordable options at hardware stores or even repurpose old furniture. I found some perfectly good boards in a local thrift store for about $10.[3]
The key is to ensure the wood is dry and stable. I let the boards sit in my garage for a few days before starting the project to prevent any warping or cracking once the cabinet was assembled.
Use what you have — creativity thrives on limitation.
Related: What is kitchen cupboard
Designing the Cabinet: A Step-by-Step Breakdown
I started by sketching the cabinet dimensions on graph paper. I measured the sink and the space beneath the countertop, then made sure the cabinet would allow for proper clearance around the sink. I also considered the height — the sink needed to be at a comfortable level for use.
Next, I cut the wood according to the measurements I had taken. I used the circular saw for the larger cuts and the miter saw for the corners. I made sure to leave a little extra on each piece so I could adjust if needed.[4]
Once all the pieces were cut, I assembled the frame using wood screws and wood glue. I used a drill to make pilot holes first, which helped prevent the wood from splitting during assembly. I then added the shelves and back panel for stability.
Always use a drill to make pilot holes before screwing in any wood. I skipped this step once and ended up splitting a board, which required me to replace the entire piece. Pilot holes make the process much smoother.
“I remember the first time I considered turning an old cabinet into a sink base — it was during a kitchen renovation that went sideways.”— Upcycled Kitchen Cabinet Makeovers editors
Related: How to prep kitchen
Painting and Finishing the Cabinet

After assembling the cabinet, I sanded all the surfaces with 120-grit sandpaper to remove any splinters and create a smooth base for painting. I wore a dust mask to avoid inhaling the sanding dust.[5]
I used a small brush to apply two coats of white paint, making sure to cover all the surfaces evenly. I let each coat dry completely before applying the next one. The paint gave the cabinet a clean, modern look that contrasted nicely with the vintage sink.
Once the paint was dry, I applied a clear polyurethane finish to protect the wood and make it more durable. This step is especially important if you plan to place the cabinet in a high-traffic area like the kitchen.
Related: Kitchen cabinet design
Installing the Cabinet and Sink
After the cabinet was painted and finished, I installed it under the countertop. I used a level to make sure the cabinet was perfectly straight. I attached it to the wall with screws to add extra stability.
Next, I installed the sink into the cabinet. I used a rubber gasket to create a watertight seal between the sink and the cabinet. This helped prevent leaks and kept the cabinet from getting damaged by water over time.
I tested the sink by running water through it and checking for leaks. Everything worked as expected, and the cabinet fit perfectly. I was especially happy with how the sink looked in the cabinet — it felt like it had been made for the space.
Related: Green kitchen cabinets
Customization Tips for Different Styles and Needs
If you want a more modern look, you can use a metal frame or install a glass back panel. These options can add a sleek, contemporary feel to the cabinet. I considered this but went with wood for a more rustic look.
For a more compact kitchen, you can build a smaller cabinet that fits snugly around the sink. This is especially useful in small spaces where every inch counts. I adjusted the size slightly to make the cabinet fit better in my kitchen.
If you plan to use the cabinet for storage, you can add shelves or drawers. This makes the cabinet more functional and gives you extra space to store kitchen essentials.
A little customization can make a world of difference.
Related: What is kitchen equipment
The Final Touch: Adding Decor and Lighting
After the cabinet was installed, I added some decorative elements like a small backsplash and a few wooden handles. These details made the cabinet feel more finished and gave it a more polished look.
I also installed a small LED light strip underneath the cabinet. It added a soft glow that made the sink area more inviting, especially in the evening. The light also helped me see better when washing dishes.
Finally, I arranged some kitchen tools on the shelves and drawers to make the cabinet more functional. It felt like the cabinet had become a real part of my kitchen — not just a temporary fix.
Optimizing Space with Pull-Out Features and Hidden Storage
Adding a pull-out trash bin or sink-side drawer can free up 20-30% more usable space in your kitchen. I installed a 12-inch deep drawer under the sink with a built-in trash can, which took about 4 hours to assemble and required 3/4-inch plywood for the base. This not only keeps the area tidy but also allows for easier access to cleaning supplies. Using soft-close drawer slides ensures the drawer doesn’t slam shut, which is especially helpful in a high-traffic area like the kitchen.
Hidden storage compartments, such as a pull-out spice rack or a narrow shelf behind the sink, can be made from leftover cabinet materials. I used 1x4 pine boards to create a 6-inch wide shelf that fits perfectly in a 10-inch deep space. This took about 2 hours to build and install, and it now holds my dish soap, dish rack, and sponges. These small additions significantly enhance the cabinet's utility without sacrificing style or space.
To ensure these features are both functional and durable, I sealed all wood surfaces with a water-resistant polyurethane finish. This took about 30 minutes per surface and added around $15 to the project cost. I also used a 1/8-inch gap between the drawer and the cabinet to allow for smooth sliding, which I achieved by adjusting the mounting brackets. This attention to detail made the pull-out features feel seamless and added a professional touch to the entire cabinet installation.
💰 Budget Build
Use repurposed materials and basic tools to create a sturdy, functional cabinet at a low cost.
⏳ Weekend Version
A quick and simple build that can be completed in one weekend with pre-cut materials and minimal effort.
✨ Upgraded Finish
Enhance the look of your cabinet with a higher-end finish, such as a lacquer or a custom paint job.
🏠 Small-Space Adaptation
A compact cabinet design that fits perfectly in small kitchens, maximizing space without sacrificing function.
🚪 Rental-Safe Option
A removable or temporary cabinet that can be easily taken down and moved, ideal for renters or those with flexible living situations.
| The mistake | Why it happens | The fix |
|---|---|---|
| Not measuring the sink accurately | Incorrect measurements can lead to a cabinet that doesn’t fit the sink properly, causing leaks or instability. | Take precise measurements of your sink and the installation area. I made a small error in my first measurements, which required me to adjust the cabinet later. |
| Skipping pilot holes when screwing | Not using pilot holes can cause the wood to split, especially with harder materials. | Always use a drill to make pilot holes before inserting screws. I learned this the hard way when I split a board. |
| Using unstable wood that warps | Warping or unstable wood can compromise the cabinet’s structure and lead to long-term issues. | Choose dry, stable wood and let it sit for a few days before starting the project. I had to replace one board because it warped slightly. |
| Painting too soon after assembly | Painting too early can make the wood more difficult to work with and may lead to a less smooth finish. | Wait until the cabinet is fully assembled and sanded before painting. I painted mine after the wood was completely dry and smooth. |
Kitchen Cabinet For A Sink
Common Questions
Can I build this cabinet without any prior woodworking experience?
What type of wood is best for this project?
How long does it take to build this cabinet?
Do I need to hire a professional to install the cabinet?
References
- Chapter 6: Lavatories and Sinks - Access-Board.gov (access-board.gov)
- KITCHEN – TYPE A UNIT #26 - Arlington, WA (arlingtonwa.gov)
- What's Under Your Kitchen Sink? - Cornell blogs (blogs.cornell.edu)
- What's Under Your Kitchen Sink? • AnswerLine • Iowa State ... (blogs.extension.iastate.edu)
- Cluttered UnderSink Storage Cabinet - Pesticide Information (blogs.ifas.ufl.edu)
Cite this guide
Upcycled Kitchen Cabinet Makeovers (2026). Kitchen Cabinet For A Sink. https://upcyclehome.com/kitchen-cabinet-for-a-sink/
Feel free to cite or share this guide.