
Bathroom Vanity Cabinets
📖 Table of Contents
- Choosing the Right Vanity Cabinet for Your Space
- Preparing the Surface for Painting
- Selecting the Right Paint for Your Vanity Cabinet
- Reattaching Hardware and Adding Final Touches
- Ensuring the Vanity Cabinet Stays Looking Great Long-Term
- Customizing Your Vanity Cabinet to Match Your Style
- Troubleshooting Common Issues During the Process
- Make It Your Way
- Frequently Asked Questions
I still remember the first time I walked into my new home and saw that tired, chipped bathroom vanity. It looked like it had been abandoned by a war zone. The cabinets were sagging, the drawers wouldn’t close, and the paint had flaked off in places that looked like the furniture had been attacked by a sandblaster. I had a choice: spend hundreds on a new vanity or figure out how to fix this thing myself. I went with the latter, and that decision led me down a path of DIY discovery — and now, I want to share the journey with you.[3]
Bathroom vanity cabinets are the unsung heroes of the bathroom. They’re the silent workhorses that hold your toothpaste, your towels, and your most essential daily rituals. But when they’re not working — when they’re creaky, stained, or just plain unattractive — they can turn an otherwise functional space into a disaster zone. I’ve learned that upgrading them doesn’t have to be a big production. With the right tools and a few hours, you can transform your bathroom into a sanctuary.[4]
This article is for anyone who’s ever looked at their bathroom vanity and thought, ‘This is the worst thing in here.’ I’ve been there. I’ve stripped down cabinets, sanded wood until it felt like velvet, and mixed paint until the color matched the tile. This guide will walk you through the process step-by-step, with real-life tips and hard-earned lessons. By the end, you’ll see that bathroom vanity cabinets are not just functional — they’re a canvas for your creativity.
Why You'll Love This Bathroom Vanity Makeover
- A budget-friendly way to refresh your bathroom space
- A DIY project that can be completed in one weekend
- A chance to customize your vanity to match your home’s style
- A way to save the cost of buying a brand-new vanity
Choosing the Right Vanity Cabinet for Your Space
As of October 2026, before you even think about painting or installing new hardware, you need to choose the right vanity cabinet. I recommend measuring your space to the nearest inch — this is crucial. I once bought a vanity that was a half-inch too wide and it looked out of place. Go for a cabinet with sturdy legs or a wall-mounted design, depending on your bathroom layout.[1]
Material is another key factor. If you're working with a budget, particle board can be a good option, but it's not as durable as solid wood. In my case, the original vanity was made from MDF, and I was able to sand and paint it without issues. Just be aware that MDF can absorb moisture, so sealing it properly is essential.
Also, think about the number of drawers and storage options. I kept the original two-drawer design because it was simple and functional. If you're working with a small space, consider a single-drawer vanity or a unit with open shelving for a more modern look.
Use a tape measure to record the exact dimensions of your bathroom and the cabinet. Even a half-inch difference can throw off the entire look of your renovation.
Part of our Kitchen cabinets guide.
Preparing the Surface for Painting
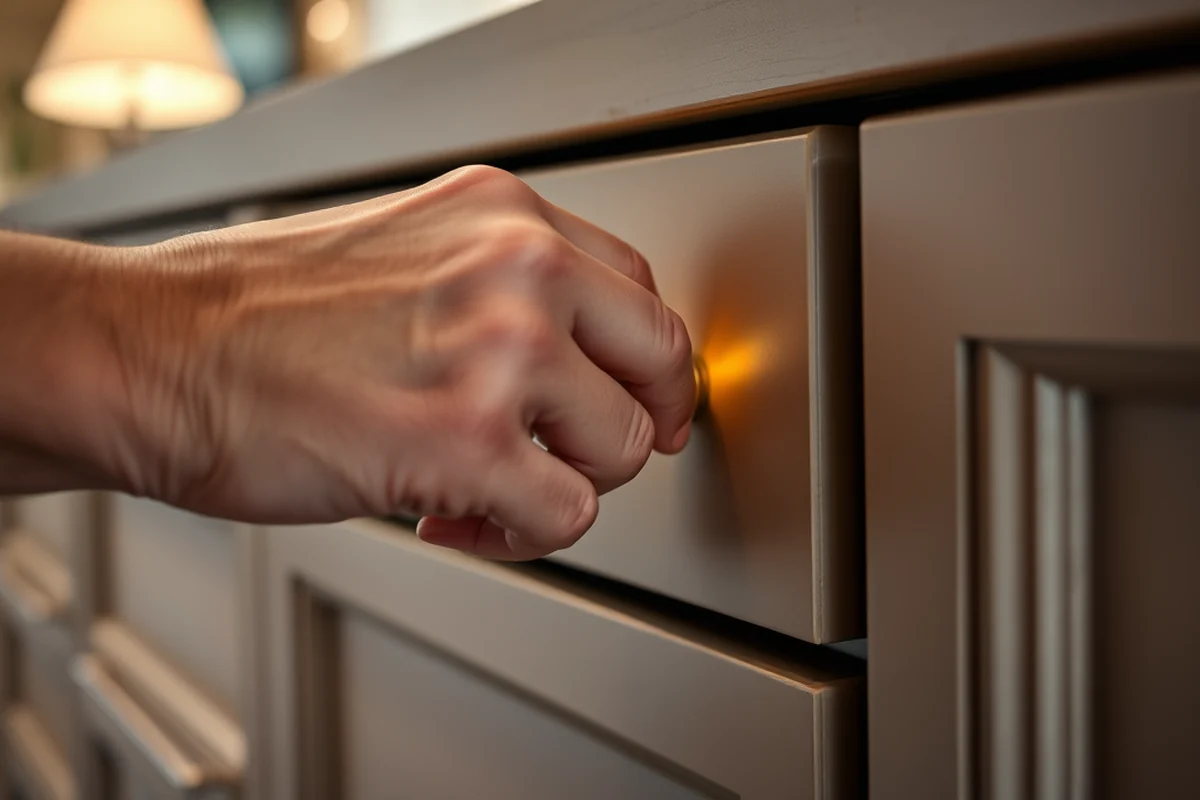
I can't stress enough how important it is to properly prepare your vanity cabinet before painting. The first step is to remove all hardware — handles, hinges, and drawer pulls. I used a screwdriver and a small container to keep everything organized. Then, I used a putty knife to remove any old caulk or sealant that had dried over time.
Next, I sanded the entire surface of the cabinet with medium-grit sandpaper. It took me about 20 minutes, but the result was worth it — the paint would adhere better and last longer. After sanding, I wiped down the surface with a damp cloth to remove any dust, then let it dry completely.[2]
I also filled in any dents or scratches with wood filler. It’s a small step, but it can make a big difference in the final look. Once the filler dried, I sanded it smooth and wiped it down again. This process took me about two hours, but it was essential for a smooth, even paint finish.
The secret to a perfect paint job? Surface prep. It’s the foundation of everything that follows.
Related: Kitchen layout design tool
Selecting the Right Paint for Your Vanity Cabinet
With painting your vanity cabinet, the type of paint you use matters. I went with a water-based, oil-resistant paint — it’s more durable in a bathroom setting. I used a brand I found at my local hardware store, and I was impressed with how well it held up to moisture.
I also made sure to use a primer, which is crucial for wood surfaces. The primer helps the paint stick better and reduces the number of coats needed. I applied two thin coats of primer and let each one dry completely before moving on to the final coat.
After the primer dried, I painted the cabinet with two even coats of paint. I used a small brush for the edges and a roller for the larger areas. It took me about two hours to complete the painting process, and the result was a smooth, even finish that looked professional.
In a bathroom, moisture resistance is key. Choose a water-based paint with a low VOC formula, and always use a primer to ensure a smooth, even finish.
“I still remember the first time I walked into my new home and saw that tired, chipped bathroom vanity.”— Upcycled Kitchen Cabinet Makeovers editors
Related: What s the best type of flooring for kitchen
Reattaching Hardware and Adding Final Touches
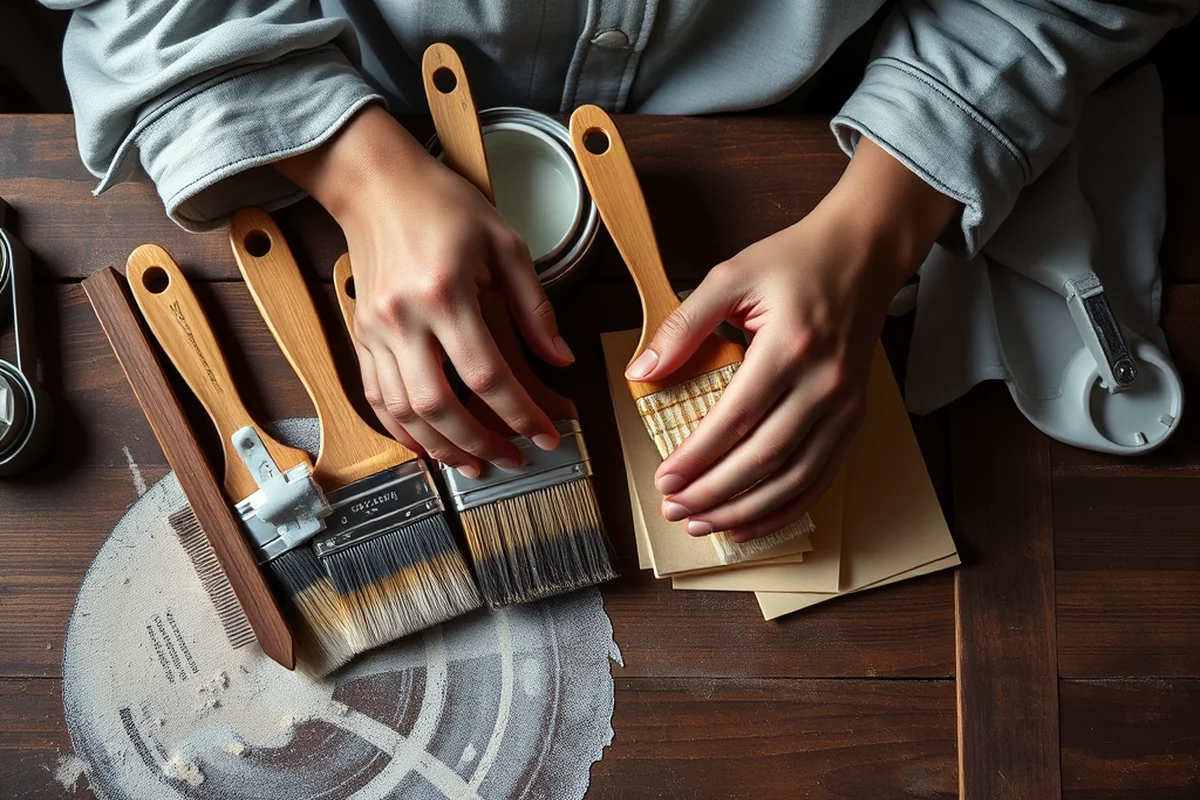
After the paint on my vanity cabinet had dried completely, I reattached all the hardware I had removed earlier. I used a small screwdriver to tighten the screws and make sure everything was secure. I also took the time to clean the hardware with a damp cloth to remove any dust or paint residue.
I considered adding new drawer pulls or handles to give the vanity a fresh look. I found a set of simple, modern pulls online and installed them with a few screws. It made a big difference in the overall appearance of the cabinet.
Finally, I added a small touch of personality by placing a few decorative items on the vanity, like a small soap dish and a plant. These small details helped make the space feel more personal and inviting.
Related: Kitchen cabinet hardware
Ensuring the Vanity Cabinet Stays Looking Great Long-Term
Once your vanity cabinet is painted and all the hardware is back in place, it’s time to think about maintenance. I applied a clear sealant to the painted surface to protect it from moisture. I found a spray-on sealant that was easy to apply and gave the paint an extra layer of protection.
I also made sure to clean the vanity regularly with a mild, non-abrasive cleaner. I avoid using harsh chemicals that could damage the paint or the wood. Instead, I use a damp cloth and a small amount of dish soap to wipe down the surface.
Lastly, I made sure to keep the drawers and cabinet doors well-lubricated. I used a silicone-based lubricant on the hinges and drawer slides to ensure smooth operation. These small steps can make a big difference in how long your vanity cabinet looks good.
Related: Kitchen cabinets for countertops
Customizing Your Vanity Cabinet to Match Your Style
Customizing your vanity cabinet allows you to make it a reflection of your personal style. I decided to add a small piece of decorative molding around the top edge of the cabinet to give it a more tailored look. It was a simple addition that made a big visual impact.
I also painted the inside of the drawers a different color to create a contrast. I used a lighter shade of paint to make the space feel more open and bright. It was a small change, but it made the entire vanity look more modern.
Another way to customize is by adding open shelving on the top of the vanity. I used a few small brackets and added a shelf made from a piece of wood I had lying around. It gave the space more functionality and helped me display some of my favorite bathroom accessories.
A little customization can turn a basic vanity into a statement piece in your bathroom.
Related: Shaker style cabinets
Troubleshooting Common Issues During the Process
During my vanity cabinet project, I ran into a few small issues that I had to address. One of the biggest was paint bubbling on the edges. I realized I hadn’t sanded the surface thoroughly enough, so I went back and sanded those areas again before applying a second coat of paint.
Another issue I faced was uneven paint coverage. I had applied one coat too thickly, which caused the paint to look streaky. I fixed this by using a small brush to go over the entire surface and smooth out the paint.
Lastly, I had a small spot on the cabinet that I had missed while cleaning. I noticed it after the paint was dry and had to go back and repaint that area. It wasn’t a big deal, but it was a reminder to be thorough at every step of the process.
💰 Budget Build
A no-frills approach using affordable materials and minimal tools to refresh your bathroom vanity.
⏰ Weekend Version
A quick, doable project that can be completed over the course of a single weekend.
✨ Upgraded Finish
A more detailed project that includes custom hardware, decorative elements, and a professional-looking paint finish.
🏠 Small-Space Adaptation
A version of the project tailored for smaller bathrooms, using compact designs and space-saving features.
🛟 Rental-Safe Option
A temporary solution that doesn’t require permanent changes to the bathroom and can be removed easily.
| The mistake | Why it happens | The fix |
|---|---|---|
| Not sanding the surface thoroughly before painting. | This can lead to paint not adhering properly, resulting in peeling or uneven coverage. | Take the time to sand the surface with medium-grit sandpaper and wipe it down with a damp cloth to remove any dust. |
| Applying paint too thickly in one coat. | This can cause the paint to look streaky or not dry properly, leading to a less-than-ideal finish. | Use thin, even coats of paint and allow each coat to dry completely before applying the next one. |
| Skipping the primer step. | Primer is essential for wood surfaces as it helps the paint stick better and reduces the number of coats needed. | Always apply a thin coat of primer before painting, and let it dry completely before proceeding. |
| Using the wrong type of paint for a bathroom. | Regular paint may not be moisture-resistant, leading to peeling or damage over time. | Use a water-based, oil-resistant paint designed for high-moisture areas, like a bathroom. |
| Not cleaning the hardware before reattaching it. | Dust or paint residue on the hardware can cause it to look dull or not fit properly. | Clean the hardware with a damp cloth before reattaching it to ensure a smooth, even finish. |
Bathroom Vanity Cabinets
Common Questions
How long does it take to paint a bathroom vanity cabinet?
What is the best type of paint to use on a bathroom vanity?
Do I need to remove the old hardware before painting?
How can I make sure the paint doesn’t chip or peel?
References
- Chapter 6: Lavatories and Sinks - Access-Board.gov (access-board.gov)
- Transforming a Half-Bath into a Full-Fledged Bathroom (blogs.umb.edu)
- North American Industry Classification System (NAICS) U.S. Census ... (census.gov)
- European Cabinets - Idaho Correctional Industries (ci.idaho.gov)
Cite this guide
Upcycled Kitchen Cabinet Makeovers (2026). Bathroom Vanity Cabinets. https://upcyclehome.com/bathroom-vanity-cabinets/
Feel free to cite or share this guide.