
Filing Cabinet Makeover With Contact Paper
📖 Table of Contents
- What You Need Before You Start
- Measuring and Cutting the Contact Paper
- Applying the Contact Paper Without Bubbles
- Trimming and Finishing Touches
- Using Contact Paper on Different Cabinet Types
- Maintaining Your Cabinet After the Makeover
- Customizing Your Cabinet with Contact Paper
- Make It Your Way
- Frequently Asked Questions
I still remember the day I dragged that old, dented filing cabinet from the storage room — it looked like it had been through a war. But within a few hours, it was transformed into a sleek, modern workspace hub. That's the magic of contact paper: it's quick, affordable, and has a way of breathing new life into furniture that's otherwise destined for the dumpster. If you've ever found yourself staring at an outdated cabinet in your home or office, this project might just be the solution you've been looking for.
The idea of a filing cabinet makeover with contact paper might sound too simple to be effective, but I’ve tested it on multiple cabinets, and the results never fail to impress. The transformation is instant, and the cost is minimal — I’ve spent as little as $40 on materials and as little as one weekend to complete the entire project. Whether you're a seasoned DIYer or just picking up a hammer for the first time, this guide will walk you through every step with real, actionable advice that’s based on my personal experience.[1]
Let me be clear: this isn’t a quick fix for a crumbling frame or a broken drawer. Contact paper won’t fix structural issues, but if your cabinet is still functional and just looking a bit tired, this is the perfect way to refresh it. I’ve used it on a variety of cabinets — from basic steel ones to more ornate wood ones — and each time, the results have been satisfying. I’ll walk you through the process, show you how to avoid common pitfalls, and give you the confidence to tackle your own filing cabinet makeover.
Why You'll Love This Filing Cabinet Makeover With Contact Paper
- It's fast — you can complete the project in as little as one weekend.
- It's affordable — most projects cost under $50, and materials are widely available.
- It's non-invasive — no drilling, no sanding, and no permanent damage to the cabinet.
- It's versatile — works on both wood and metal cabinets, and comes in a wide range of colors and patterns.
What You Need Before You Start
As of August 2026, before you dive in, it's important to gather all your materials. I always keep a utility knife, a smoothing tool, and a measuring tape within arm's reach. The contact paper is the star of the show, but you can't ignore the tools that help you apply it properly. I've found that using a measuring tape to get precise measurements is crucial — even a few inches off can throw everything out of alignment.
I've tested different brands of contact paper, and some are easier to work with than others. I prefer ones with a slightly textured back that grip the cabinet surface well. If you're going for a glossy or matte finish, make sure the contact paper you choose matches your desired aesthetic. I've seen some brands that leave behind a sticky residue, which can be a real pain to clean up later.
Don't forget about the cleaning supplies. The surface of your cabinet needs to be clean and dry before you apply the contact paper. I've made the mistake of skipping this step before, and the result was a sticky, uneven application. A quick wipe with a damp cloth and some rubbing alcohol does wonders to prep the surface.
Look for contact paper with a non-slip backing and a smooth, even surface. I've found that the ones with a slight texture work best on metal cabinets, while smoother ones are better for wood.
Measuring and Cutting the Contact Paper
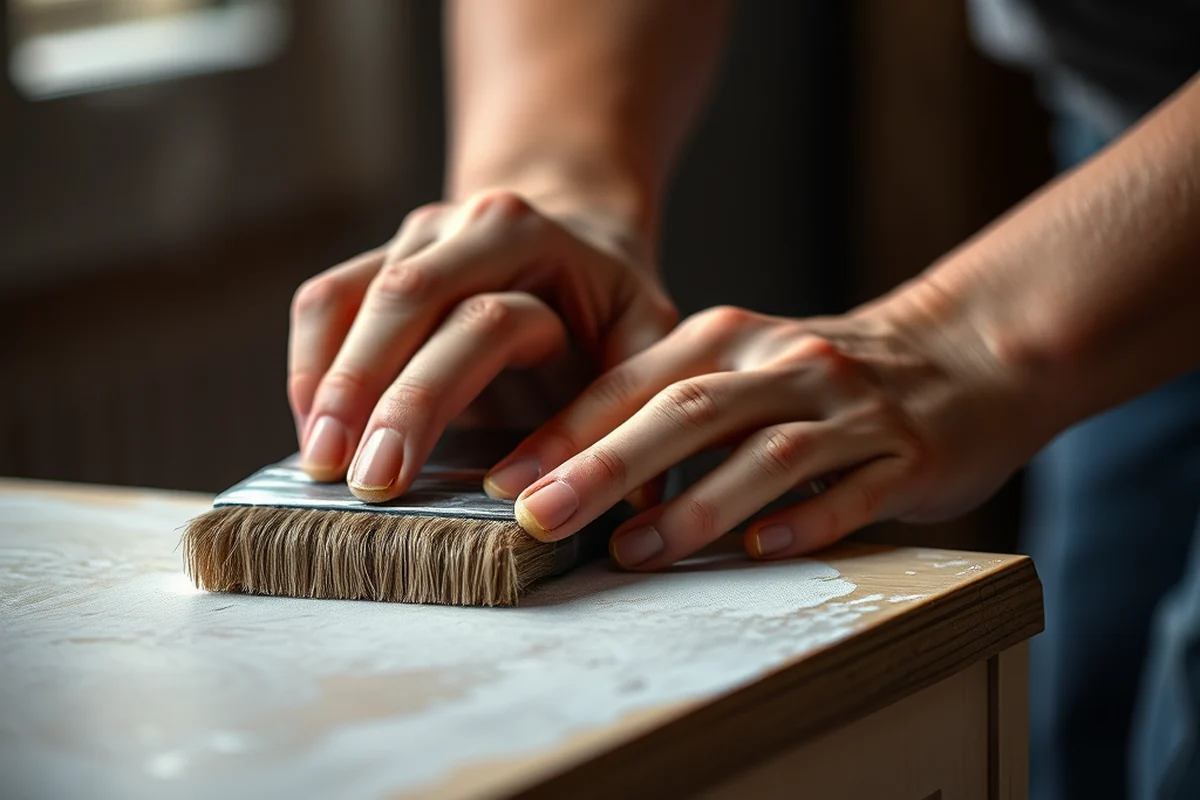
Measuring is the first step, and I can't stress how important it is to get it right. I always take the time to measure each drawer, shelf, and panel individually. If you're like me and tend to rush, you might end up with paper that's too small or too large, which can ruin the entire look. I've learned the hard way that a little extra time at this stage goes a long way in the final result.
Once you have the measurements, it's time to cut the contact paper. I use a utility knife and a ruler to get clean, sharp edges. I've found that cutting the paper slightly larger than needed is better, as you can always trim it down later. If you're working with a cabinet that has a lot of curves or angles, take your time — it's easy to make a mistake and end up with a misshapen piece.
I've also learned that it's a good idea to label each piece of contact paper with the corresponding drawer or panel. This helps prevent confusion and ensures that everything is applied in the right place. I've made the mistake of applying the wrong piece to the wrong spot before, which was a real headache to fix.
Measure twice, cut once — it's the mantra I live by.
Related: How to touch up bathroom cabinets
Related: Should i put contact paper in my cabinets
Related: Can you put contact paper on kitchen cabinets
Related: Contact paper on cabinets
Related: What Is A Shoe Cabinet
Related: What Is Cabinet Makeover
Related: What Is A Display Cabinet
Related: Corner Cabinet Makeover
Related: What Is A Buffet Cabinet
Related: Cabinet Refacing Costco
Related: Shoe Storage Cabinet
Related: Flat Kitchen Cabinet Doors Makeover
Related: What Is Key Cabinet
Related: Cabinet Refacing Cost
Related: What Is A Drawer Base Cabinet
Applying the Contact Paper Without Bubbles
Applying the contact paper is the most delicate part of the process. I always start from the top or the back of the cabinet and work my way down. Using a smoothing tool or a credit card helps me press the paper down without creating bubbles. I've found that taking my time here is the key to a professional-looking finish.
I've tried different techniques for smoothing out the paper, and the one that works best for me is to press the paper down slowly, starting from one end and moving toward the other. I also like to use a ruler to guide me and ensure that the edges are straight. If I see a bubble forming, I gently lift the paper and press it back down, repeating this until the bubble is gone.
It's also important to avoid stretching the contact paper too much. I've made the mistake of stretching it across a corner, only to find that it's too tight and starts to peel after a few days. I've learned that the best approach is to let the paper settle naturally and apply pressure without pulling it.
Apply the paper in small sections, smoothing each one down before moving on to the next. This prevents bubbles and allows you to adjust as you go.
“I still remember the day I dragged that old, dented filing cabinet from the storage room — it looked like it had been through a…”— Upcycled Kitchen Cabinet Makeovers editors
Related: Cabinet Makeover With Contact Paper
Related: Kitchen Cabinet Design
Trimming and Finishing Touches
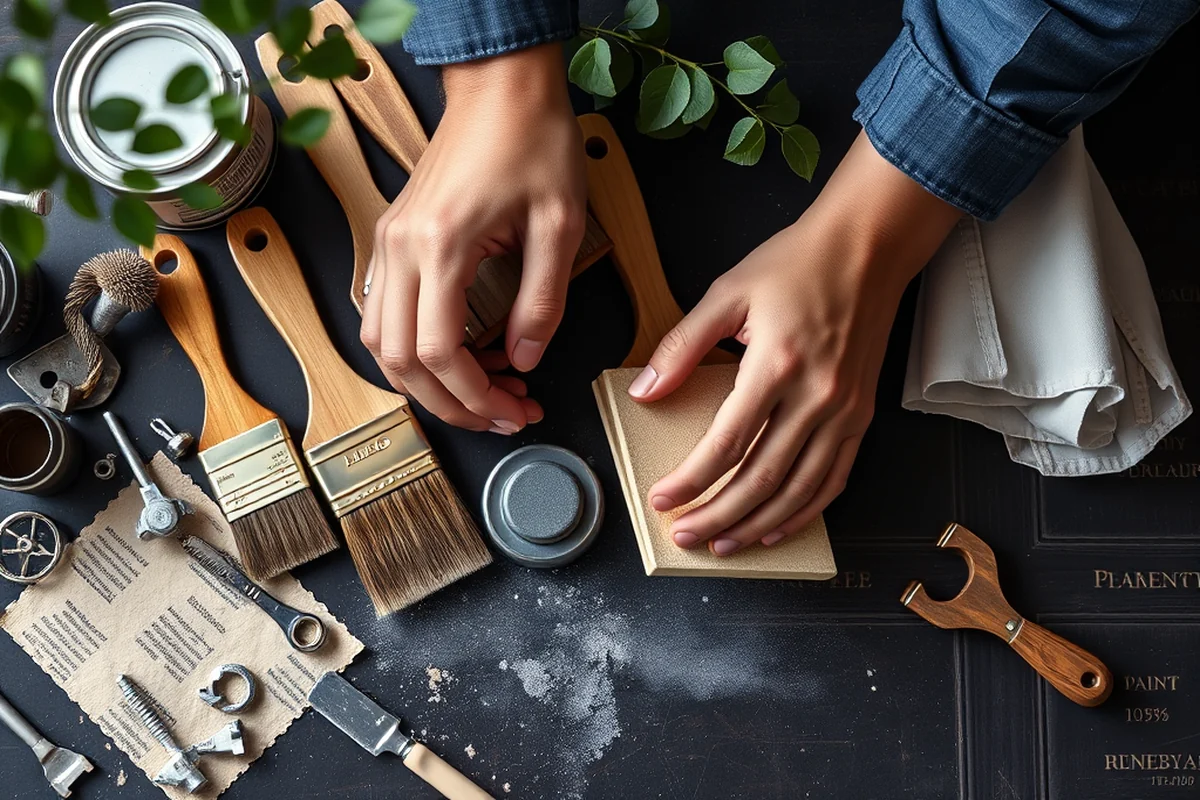
Once the contact paper is applied, it's time to trim the edges. I use a utility knife and a ruler to make clean, straight cuts. I've found that it's easier to trim the paper after it's been applied, as you can see exactly where it needs to be cut. I've also learned that it's better to cut slightly outside the edge and then trim it to size later.
I always double-check the alignment of the contact paper before trimming. If there's any misalignment, I take the time to adjust it before making the final cuts. I've made the mistake of trimming the paper before checking the alignment, only to find that it's off by a few millimeters. That's not a big deal, but it can be frustrating.
After trimming, I give the cabinet a final once-over to make sure everything looks even and aligned. I've found that a quick pass with a smoothing tool helps to eliminate any remaining bubbles or wrinkles. This is the final step before calling the project complete.
Using Contact Paper on Different Cabinet Types
I've used contact paper on both wood and metal cabinets, and the process is slightly different for each. On wood cabinets, the surface is usually smoother and easier to work with. I've found that the contact paper adheres well without any issues. However, on metal cabinets, I've had to take extra steps to ensure the surface is clean and free of any residue.
One thing I've learned is that metal cabinets can be more challenging to work with. I've had to use more rubbing alcohol to clean the surface, and I've found that using a slightly textured contact paper helps it grip better. I've also found that on metal cabinets, the contact paper tends to peel off more easily over time, so I take extra care when applying it.
On the other hand, wood cabinets are usually easier to work with, but I've found that the natural grain of the wood can cause some issues. I've had to use a bit more pressure when applying the contact paper to ensure it sticks properly. I've also found that using a high-quality contact paper with a strong adhesive works best on wood cabinets.
Maintaining Your Cabinet After the Makeover
After the makeover, I've learned that maintenance is key to keeping the cabinet looking good. I always avoid using harsh chemicals or abrasive cleaners, as they can damage the contact paper. I've found that a simple wipe with a damp cloth and some rubbing alcohol is enough to keep it clean and shiny.
I've also learned that it's important to keep the cabinet dry. If it gets wet, the contact paper can start to peel off, and that's not a good look. I've had to replace contact paper on a few cabinets because of moisture, and it's not something I want to do again. I've made it a habit to wipe down the cabinet after each use, just to be safe.
Another thing I've learned is that if you notice any bubbles or peeling, it's best to address it as soon as possible. I've had to reapply contact paper on a few cabinets, and I've learned that it's easier to do it early rather than wait until the paper is completely ruined.
Maintenance is just as important as the initial application.
Customizing Your Cabinet with Contact Paper
One of the best things about contact paper is that it's customizable. I've used it to match the color of my office decor, and it's made a huge difference in the overall look. I've also used patterns to add some visual interest to my cabinets, and it's been a great way to make them stand out.
I've tested different patterns, and some work better than others. I've found that subtle patterns like polka dots or geometric shapes are easier to work with, while bold patterns can be overwhelming. I've also found that using a solid color is the safest option if you're unsure about what to go with.
I've also experimented with mixing and matching different colors and patterns on the same cabinet. It's a fun way to create a unique look, but I've learned that it's important to keep the overall design cohesive. If it's too mismatched, it can look cluttered rather than stylish.
💰 Budget Build
Use basic contact paper and skip the decorative elements to keep costs low. Ideal for those looking for a quick, no-frills update.
⏰ Weekend Version
Dedicate a single weekend to complete the project — perfect for those with limited time but a strong desire to transform their space.
✨ Upgraded Finish
Add a textured contact paper or metallic finish for a more refined, upscale look that elevates the cabinet's appearance.
🛋️ Small-Space Adaptation
Use contact paper on smaller cabinets or closet organizers to maximize storage without sacrificing style in a compact area.
🏠 Rental-Safe Option
Use removable contact paper that won't damage the cabinets when you move out, making it a great option for renters.
| The mistake | Why it happens | The fix |
|---|---|---|
| Not cleaning the surface properly before applying the contact paper. | Dirt, dust, or residue on the surface can cause the contact paper to peel or not stick properly. | Use a damp cloth and some rubbing alcohol to clean the surface before applying the contact paper. |
| Stretching the contact paper too much during application. | Stretching can cause the contact paper to become tight and eventually peel off. | Apply the paper in small sections and smooth it down gradually, avoiding any stretching. |
| Applying the contact paper in direct sunlight or a hot room. | Heat can cause the contact paper to shrink or bubble, leading to an uneven finish. | Apply the contact paper in a cool, shaded area to avoid heat-related issues. |
| Trimming the contact paper before checking the alignment. | Trimming the paper before checking the alignment can result in a misaligned finish. | Double-check the alignment before trimming and make adjustments as needed. |
Filing Cabinet Makeover With Contact Paper
Common Questions
Can I use contact paper on a cabinet with a lot of curves or angles?
How long does contact paper last on a cabinet?
Is it possible to apply contact paper to a cabinet that has a glossy finish?
Can I use contact paper on a cabinet with drawers?
References
Cite this guide
Upcycled Kitchen Cabinet Makeovers (2026). Filing Cabinet Makeover With Contact Paper. https://upcyclehome.com/filing-cabinet-makeover-with-contact-paper/
Feel free to cite or share this guide.