
How To Build A Kitchen Island
📖 Table of Contents
- Choosing the Right Materials for Your Kitchen Island
- Measuring and Planning Your Kitchen Island
- Constructing the Base and Frame of the Kitchen Island
- Adding the Top and Finishing Touches
- Finishing and Sealing the Kitchen Island
- Installing the Kitchen Island in Your Space
- Maintaining and Caring for Your Kitchen Island
- Make It Your Way
I remember the first time I built a kitchen island — it was a chaotic Saturday morning, my hands sticky with wood glue. My head spinning from the sheer number of tools scattered across the floor. But when I stepped back and looked at that sturdy, handmade island, I knew it was worth the mess. Building a kitchen island isn’t just about adding storage or workspace; it’s about creating a functional centerpiece that can change the way you cook and entertain. Whether you're upgrading your existing kitchen or starting from scratch, the process is rewarding and surprisingly manageable, especially with the right approach.[1]
Over the years, I’ve built several kitchen islands, each with its own quirks and lessons. Some were simple, made from leftover wood and a few screws; others were more elaborate, featuring built-in outlets, drawers, and even tiny shelves. What I’ve learned is that the key to a successful build lies in planning, selecting the right materials, and taking the time to measure and cut precisely. This article will walk you through every step, from choosing the right materials to the final sanding and sealing — all with the goal of helping you build a kitchen island that’s as beautiful as it is functional.
Building a kitchen island doesn’t have to be a daunting task. It’s actually a great beginner project, especially if you take the time to plan and follow a structured process. I’ve found that using basic tools, like a circular saw, a drill, and a few clamps, can make a huge difference in the quality of your build. With a little patience and the right guidance, you can create a kitchen island that not only enhances your space but also becomes a testament to your DIY skills and creativity.
Why You'll Love This Kitchen Island Build
- Custom fit to your kitchen's unique layout and style.
- A cost-effective way to upgrade your kitchen without hiring a contractor.
- A project that can be completed in under a weekend with the right tools and materials.
- A lasting addition that you can personalize and use for years to come.
Choosing the Right Materials for Your Kitchen Island
As of September 2026, for a kitchen island, you’ll want materials that are both strong and easy to work with. Plywood is a great choice for the base and support structures because it’s sturdy, affordable, and easy to cut. I always use 3/4-inch plywood for the frame and 1/2-inch for the top for a clean, finished look. For the surface, I recommend using a hardwood like maple or oak, which is resistant to scratches and stains. If you’re on a budget, MDF (medium-density fiberboard) can be a good option for the top. I’ve found that it’s not as durable as solid wood if you plan to use the island heavily.[2]
Another important factor is the finish. I often use a water-based polyurethane for the surface because it’s non-toxic and doesn’t yellow over time. It also provides a smooth, easy-to-clean finish that’s ideal for a kitchen. If you’re looking for a more rustic or industrial look, you can sand the wood down and apply a stain or paint in a color that matches your kitchen’s style. I’ve used both oil-based and water-based finishes, but I’ve found that water-based ones are easier to work with and don’t have the strong smell of oil-based products.
With hardware, I always opt for high-quality, stainless steel screws and nails. They’re rust-resistant and won’t tarnish over time, which is especially important in a kitchen where moisture and humidity are common. I’ve also used wood screws with a countersunk head, which allows the screws to sit flush with the surface and provide a cleaner look.
Plywood is a strong, affordable material that’s perfect for the base and support structures of your kitchen island. I always use 3/4-inch plywood for the frame and 1/2-inch for the top for a clean, finished look.
Measuring and Planning Your Kitchen Island
Before you start cutting any wood or buying materials, it’s essential to measure your kitchen space carefully. I always begin by measuring the floor area where I plan to place the island. I also take note of the height of the existing countertops and cabinets, as this will help me determine the ideal height for the island. A good rule of thumb is to build the island so that it’s about 4 inches shorter than your countertops. This makes it easier to reach and avoids a visual mismatch in height.
I’ve also found that it’s helpful to sketch out a rough layout of the island, including the dimensions of the base, top, and any additional features like shelves, drawers, or outlets. I often use graph paper or a free online design tool to get a clear visual of how everything will fit. Once I have a rough sketch, I take a trip to the hardware store to purchase the materials and tools I’ll need. I’ve found that buying materials in advance saves time and prevents last-minute trips to the store.
One of the most important steps is to mark the location of the island on the floor. I always use masking tape to outline the footprint of the island, which helps me visualize where it will be placed and whether there’s enough space for movement. I’ve also used a laser level to ensure that the island is level with the surrounding countertops and cabinets. This simple step can prevent headaches later on and ensure a professional-looking result.
Measure twice, cut once — this old adage is especially important when building a kitchen island.
Related: What is a kitchen hutch
Constructing the Base and Frame of the Kitchen Island
Once you’ve gathered all your materials and tools, it’s time to start constructing the base and frame of the kitchen island. I always begin by cutting the plywood into the required pieces for the base, legs, and support beams. I use a circular saw for precise cuts and a miter saw for angled joints. It’s important to measure and mark each piece carefully before cutting to ensure everything fits together properly.
After cutting the pieces, I use wood glue and screws to assemble the base. I always apply wood glue to the joints before inserting the screws, which helps to reinforce the structure. I’ve found that using a combination of screws and nails provides extra stability and prevents the joints from coming apart over time. I also use clamps to hold the pieces together while the glue dries, which helps to ensure a tight and secure fit.
Once the base is assembled, I attach the legs and support beams using screws and wood glue. I always make sure that the legs are evenly spaced and aligned with the base to ensure the island is level. I’ve used both wooden and metal legs in the past, and I’ve found that wooden legs provide a more natural look, while metal legs are more durable and resistant to warping. It’s important to choose legs that are compatible with the height and weight of the island.
Applying wood glue to the joints before inserting the screws helps to reinforce the structure and ensure a tight and secure fit. I’ve found that using a combination of screws and nails provides extra stability and prevents the joints from coming apart over time.
“I remember the first time I built a kitchen island — it was a chaotic Saturday morning, my hands sticky with wood glue, and my…”— Upcycled Kitchen Cabinet Makeovers editors
Related: What is a hutch cabinet
Adding the Top and Finishing Touches

Once the base is assembled and the legs are attached, it’s time to add the top of the island. I always use a hardwood like maple or oak for the top because it’s durable and resistant to scratches and stains. I’ve also used MDF for the top in some of my builds, but I’ve found that it’s not as durable as solid wood if you plan to use the island heavily. I always make sure to measure the top carefully and cut it to size before attaching it to the base.
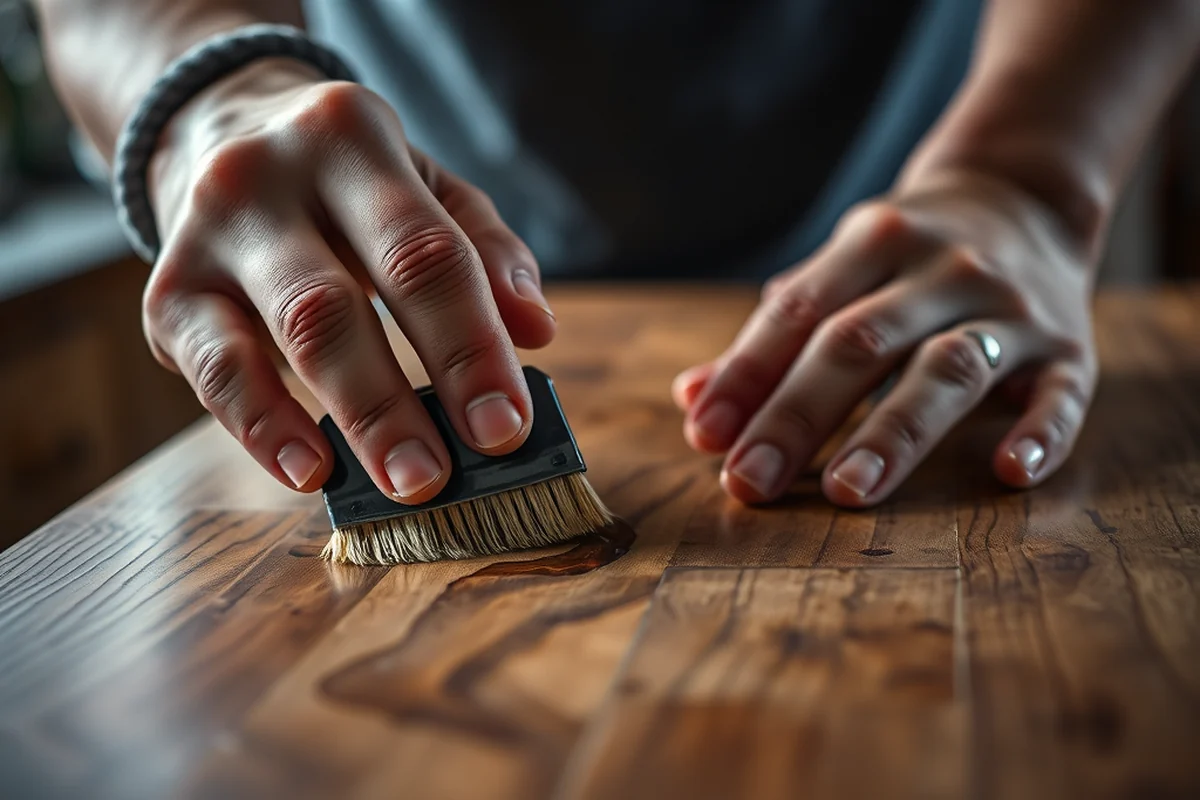
After attaching the top, I sand it down with a fine-grit sandpaper to create a smooth surface. I’ve found that sanding the top before applying the finish helps to remove any imperfections and ensures that the finish adheres properly. Once the top is smooth, I apply the finish of my choice — I’ve used both water-based and oil-based finishes. I’ve found that water-based ones are easier to work with and don’t have the strong smell of oil-based products.
Once the finish is dry, I attach any additional features like shelves, drawers, or outlets. I’ve used both built-in drawers and open shelving in the past. I’ve found that built-in drawers provide more storage and are more organized, while open shelving allows for easy access to items. I also recommend adding outlets to the island if you plan to use it for small appliances or charging devices — it’s a simple addition that can make a big difference in the functionality of the island.
Related: 101 craft kitchen
Finishing and Sealing the Kitchen Island
After the top is attached and any additional features are added, it’s time to finish and seal the island. I always use a water-based polyurethane for the surface because it’s non-toxic and doesn’t yellow over time. It also provides a smooth, easy-to-clean finish that’s ideal for a kitchen. I’ve found that applying two to three coats of finish gives the best results and ensures that the surface is protected from scratches and stains.
I always make sure to apply the finish in a well-ventilated area and allow it to dry completely before using the island. I’ve found that applying the finish in thin, even coats helps to avoid bubbles and streaks, which can ruin the appearance of the finish. Once the finish is dry, I use a fine-grit sandpaper to smooth out any imperfections and ensure that the surface is even and smooth.
After the finish is dry, I attach any final touches like handles, knobs, or decorative elements. I’ve used both simple and ornate handles in the past, and I’ve found that simple handles provide a more modern look, while ornate handles add a touch of elegance. I also recommend using a clear sealant on the handles and knobs to protect them from moisture and wear.
Related: Kitchen island design ideas
Installing the Kitchen Island in Your Space
Once the island is finished and sealed, it’s time to move it into place and install it in your kitchen. I always use a dolly or a couple of strong helpers to move the island, as it can be quite heavy once it’s fully assembled. I’ve found that using a dolly makes it easier to move the island around and avoids damaging the floor or walls.
After the island is in place, I use a level to ensure that it’s even and stable. I’ve also used a laser level in some of my builds, which helps to ensure that the island is level with the surrounding countertops and cabinets. If the floor is uneven, I’ve used shims to adjust the height of the legs and ensure that the island is level. I’ve also used a spirit level to check the stability of the island and make sure that it won’t wobble or shift over time.
Once the island is level, I attach any additional features like outlets or built-in drawers. I’ve found that adding outlets to the island is a great idea if you plan to use it for small appliances or charging devices. I’ve also used built-in drawers in some of my builds, which provide more storage and are more organized than open shelving. I always make sure to test any electrical connections and ensure that they are secure and safe before using the island.
A level island is a happy island — take the time to ensure it’s even and stable.
Related: A wooden bowl kitchenaid
Maintaining and Caring for Your Kitchen Island
Once your kitchen island is installed, it’s important to maintain it regularly to ensure it stays beautiful and functional for years. I always use a microfiber cloth and a mild cleaning solution to wipe down the surface. I’ve found that using a non-abrasive cleaner helps to avoid scratches and damage to the finish. I also avoid using harsh chemicals or abrasive scrub pads, as they can strip the finish and damage the wood.
I’ve also found that using a wood conditioner or oil on the surface every few months helps to keep the wood looking new and prevents it from drying out. I always apply the conditioner in thin, even coats and allow it to absorb into the wood before wiping away any excess. I’ve used both commercial wood conditioners and homemade oil mixtures, and I’ve found that both work well, though I prefer commercial conditioners for their consistency and ease of use.
If the island gets stained or marked, I always clean it as soon as possible to prevent the stain from setting in. I’ve found that using a small amount of rubbing alcohol on a cloth helps to remove most stains and marks without damaging the finish. I also avoid using excessive water on the surface, as it can cause warping or damage to the wood. I always make sure to dry the surface thoroughly after cleaning to prevent any water damage.
🌱 Beginner
The simplest version — minimal supplies, quick win.
💰 Budget
Same result using what you already have.
⚡ Quick
The 10-minute version for busy days.
✨ Advanced
The upgraded version once the basics stick.
| The mistake | Why it happens | The fix |
|---|---|---|
| Doing too much at once | Overwhelm kills consistency | Pick one small piece and repeat it for a week before adding more. |
| Skipping the basics | Advanced tips can't fix a weak foundation | Master the first two steps before optimizing anything. |
How To Build A Kitchen Island
References
- Substantial Damage Desk Reference | FEMA (fema.gov)
- Modern Kitchens | National Museum of American History (americanhistory.si.edu)
Cite this guide
Upcycled Kitchen Cabinet Makeovers (2026). How To Build A Kitchen Island. https://upcyclehome.com/how-to-build-a-kitchen-island/
Feel free to cite or share this guide.