
Upcycled Dining Furniture
📖 Table of Contents
- Selecting the Right Dining Set for Upcycling
- Preparing the Surface for Painting
- Choosing the Right Paint and Finish
- Adding Hardware and Decorative Details
- Assembling and Finishing Touches
- Maintaining Your Upcycled Dining Furniture
- Inspiration for Your Own Upcycled Dining Project
- Make It Your Way
- Frequently Asked Questions
I remember the first time I transformed an old, chipped dining table from my grandmother’s home into something new. It was a Saturday afternoon, the air was thick with the scent of paint and sawdust, and I was elbow-deep in sanding. The table had been in storage for years, and I was determined to give it a second life. It wasn’t just about making it look good again—it was about preserving the character of a piece that had seen so much. That’s the magic of upcycled dining furniture: it’s not just about aesthetics, it’s about history, sustainability, and making the most of what you already have.
Upcycled dining furniture is a growing trend, and for good reason. It allows you to personalize your space without the environmental cost of buying new. I’ve spent years testing different materials, finishes, and techniques on various dining sets, from tables to chairs, and the results have been nothing short of inspiring. Whether you’re working with a vintage set or an IKEA acquisition, the possibilities are endless. The key is to approach the project with intention, and the rest will follow.
This article is a culmination of my own experiences, mistakes, and triumphs in the world of upcycled dining furniture. I’ve walked you through every step, from selecting the right piece to applying the final coat of paint. It’s not just a guide—it’s a story of transformation, one that I hope you’ll find both useful and deeply personal. After all, your dining room should be a reflection of your life, not just a place to eat.
Why You'll Love This Upcycled Dining Furniture Project
- It’s budget-friendly and eco-conscious, reducing waste and saving money.
- You can customize every detail, from paint color to hardware, making it uniquely yours.
- It’s a great way to preserve the character of vintage or family heirloom furniture.
- The process is simple and rewarding, even for beginners.
Selecting the Right Dining Set for Upcycling
As of August 2026, not every dining set is suitable for upcycling. I’ve found that solid wood tables and chairs tend to hold up best, but I’ve also worked with MDF and particle board when necessary. The key is to inspect for damage, check the structural integrity, and make sure the piece is compatible with your space. I recommend measuring your room beforehand and sketching out a layout to ensure the furniture fits well.[1]
When I worked on my grandmother’s dining table, it had a lot of surface damage but a strong frame. I knew that with the right sanding and paint, it could be brought back to life. Be sure to look for pieces that aren’t too worn, as they’ll require more work and investment in restoration.
Another consideration is the style of the furniture. If you’re aiming for a rustic look, a distressed table with visible wood grain is ideal. For a modern aesthetic, clean lines and minimal design are better suited. Keep in mind that the type of wood, finish, and age of the furniture will influence the final outcome of your upcycling project.
Before committing to any piece, test the stability by lifting each leg and checking for wobbles. If you notice instability, reinforce the frame with wood glue or brackets.
Part of our More upcycled kitchen hutch guide.
Preparing the Surface for Painting
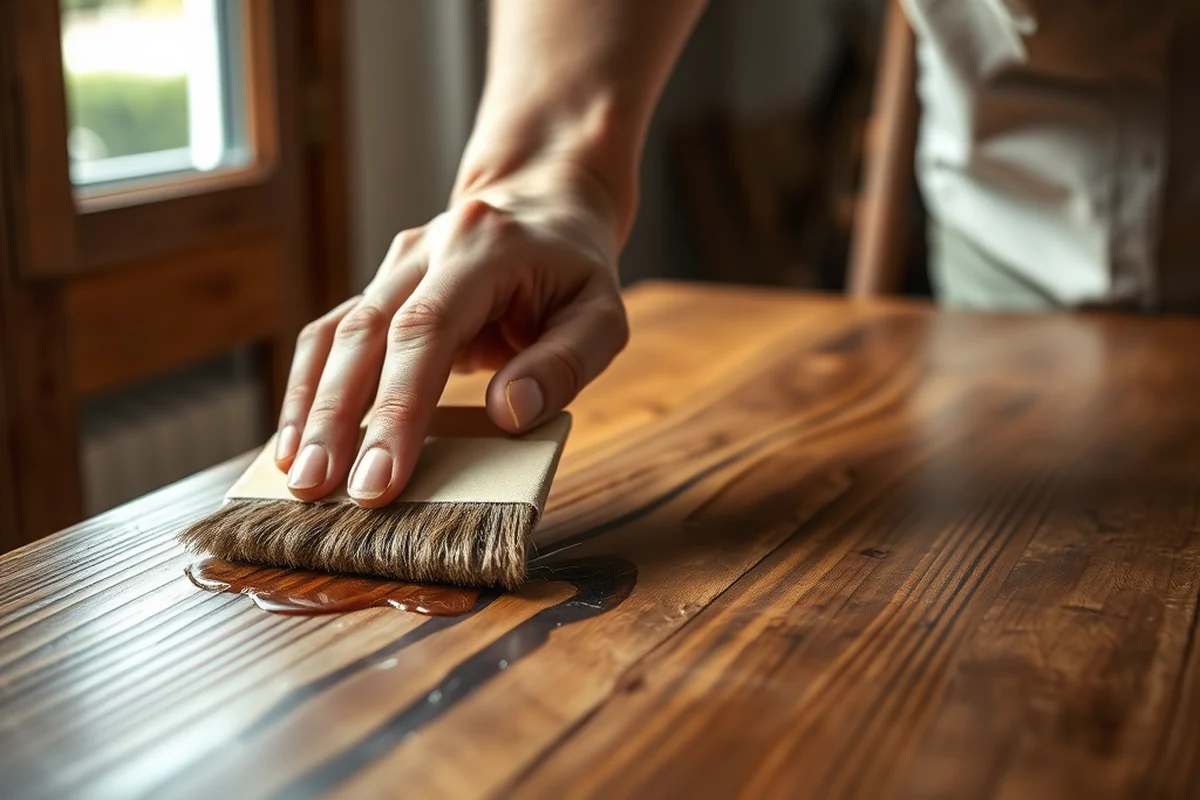
I always start by thoroughly cleaning the furniture with a degreaser or mild soap and water. This removes any dirt, grime, or old wax that might prevent the paint from adhering properly. For my grandmother’s table, I used a pressure washer to get rid of years of grime before moving on to the next step.
Next, I sand the surface using 120-grit sandpaper to create a rough texture that allows the paint to grip. It’s essential to sand in the direction of the wood grain to avoid scratches. After sanding, I wipe the surface with a damp cloth and allow it to dry completely before applying primer.[2]
I recommend using a primer like Kilz or Zinsser to seal the wood and ensure the paint adheres properly. This step is especially important for pieces with a lot of wear or previous paint layers. I’ve found that skipping this step can lead to peeling and uneven coverage, which is a common mistake I’ve seen in other DIYers’ projects.[3]
A well-prepped surface is the secret to a professional-looking finish.
Related: Upcycled kitchen buffet
Related: Repurposed dresser kitchen island
Related: Upcycled kids kitchen
Related: Repurposed furniture kitchen island
Related: Recycled kitchen ideas
Related: Dining Room Decor Farmhouse
Related: Pottery Barn Living Room
Related: What Is Pantry Shelves
Related: What Is A Drawer Microwave
Related: Cabinet Refacing Cost
Related: What Is Cloud Kitchen
Choosing the Right Paint and Finish
I’ve tested multiple types of paint over the years, and I’ve found that chalk paint and latex paint work best for upcycling. Chalk paint, like the brand Annie Sloan, is great for a vintage or distressed look, while latex paint offers a smoother, more modern finish. For my grandmother’s table, I used chalk paint to achieve a rustic, aged appearance.
For durability, I recommend using a high-quality primer and topcoat. If you’re working with a piece that will see a lot of use, like a dining table, consider applying a polyurethane topcoat. It adds a layer of protection against water and scratches, which is especially important for a high-traffic area like the dining room.[4]
I’ve also experimented with adding texture to my projects by using techniques like sponge painting or stenciling. These methods add depth and character to the piece. Just be sure to use a paint that is compatible with your surface and finish type to avoid peeling or flaking.
Before committing to a full coat, test your paint on a small section of the furniture. This allows you to see how it looks and feels before applying it to the entire piece.
“I remember the first time I transformed an old, chipped dining table from my grandmother’s home into something new.”— Upcycled Kitchen Cabinet Makeovers editors
Adding Hardware and Decorative Details
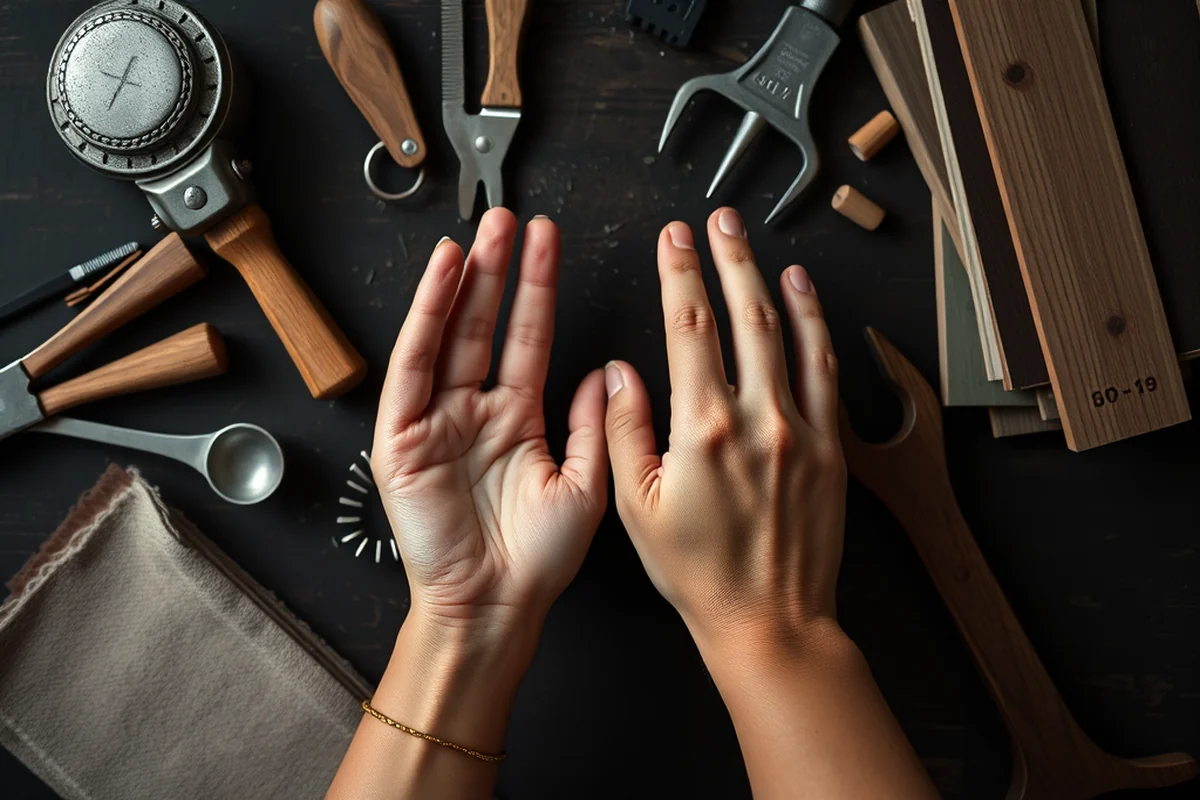
Hardware is an easy way to give your dining set a new look. I’ve replaced everything from drawer pulls to chair legs, and each change made a noticeable difference. For a more modern look, I’ve used brushed nickel or brass hardware, while for a rustic vibe, I’ve gone with iron or wooden handles.
I’ve also experimented with adding decorative details like carved patterns or inlays. These can be done using wood burning tools or by carving directly into the wood. For a more subtle look, I’ve used stencils to add intricate patterns to my furniture pieces.
Another idea I’ve tried is adding a decorative border to the edges of my tables using a router or a jigsaw. This not only enhances the visual appeal but also adds a touch of customization. Just be sure to use the right tools and techniques to avoid damaging the wood.
Assembling and Finishing Touches
After the paint has dried completely, I begin assembling any pieces that need to be put together, such as chairs or table legs. It’s important to ensure everything is secure and stable. If you’re replacing hardware, now is the time to install it.
I’ve also used felt pads on the bottom of my chairs to protect my floors from scratches. It’s a simple detail, but it makes a big difference in the long run. I’ve also used decorative tablecloths, runners, and centerpieces to enhance the look of my dining set.
Once everything is assembled and in place, I take a step back and evaluate the whole piece. It’s a satisfying moment to see the transformation from start to finish. If I notice any imperfections, I’ll go back and touch them up before calling the project complete.
Maintaining Your Upcycled Dining Furniture
I’ve found that regular cleaning is essential for keeping your furniture in top condition. I use a soft cloth and mild soap to wipe down the surface, and I avoid using harsh chemicals that can damage the finish. For my grandmother’s table, I’ve used a microfiber cloth to keep it looking clean and polished.
I also recommend avoiding placing hot items directly on the surface of your furniture. If you’re using it for dining, I suggest using coasters or trivets to protect the surface from heat and scratches. For pieces with a lot of use, I’ve applied a second coat of polyurethane for added protection.
Another tip I’ve learned is to avoid exposing your furniture to direct sunlight for long periods of time. Prolonged exposure can cause fading and warping. I’ve used window treatments or placed the furniture away from windows to keep it looking its best.
A little maintenance goes a long way in preserving your upcycled furniture.
Inspiration for Your Own Upcycled Dining Project
I’ve drawn a lot of inspiration from online platforms like Pinterest and Instagram, where I’ve found countless ideas for upcycling dining furniture. From vintage tables to modern chairs, the variety is endless. I’ve also found inspiration in my own home, using colors and patterns that match my personal style.
Another source of inspiration is looking at the work of other DIYers and furniture upcyclers. I’ve followed a few on social media and have found their projects both beautiful and practical. I’ve even used their designs as a starting point for my own furniture projects.
I’ve also found that visiting local thrift stores and antique shops can be a goldmine for upcycling ideas. I’ve found some incredible pieces that were just waiting for a new life. Once you start looking, you’ll find that inspiration is all around you.
💰 Budget Build
Use affordable materials like chalk paint and basic hardware to create a stunning dining set without breaking the bank.
⏰ Weekend Version
A quick and easy project that can be completed in one weekend, perfect for those with limited time.
✨ Upgraded Finish
Add luxury with high-quality paint, distressing techniques, and decorative hardware for a polished, custom look.
🛋️ Small-Space Adaptation
Create a compact dining set that fits perfectly into small kitchens or apartments with space-saving designs.
🏠 Rental-Safe Option
Use removable, non-damaging finishes that can be easily taken off and restored when it’s time to move out.
| The mistake | Why it happens | The fix |
|---|---|---|
| Skipping surface preparation | Paint will not adhere properly to a surface that hasn’t been cleaned and sanded, leading to peeling and uneven coverage. | Always clean the surface thoroughly and sand it before painting. This step is crucial for a professional finish. |
| Using the wrong type of paint | Using paint that’s not suitable for furniture can lead to peeling, flaking, or fading over time. | Use high-quality paint like chalk paint or latex paint. Always test the paint on a small area before applying it to the entire piece. |
| Overlooking hardware upgrades | Neglecting to upgrade hardware can make the furniture look outdated and lower its overall value. | Invest in quality hardware that matches your style. Even small details can make a big difference in the look of the furniture. |
| Not sealing the finish | Without a proper seal, the furniture is more prone to scratches, water damage, and fading. | Apply a high-quality polyurethane topcoat after painting to protect the surface and enhance its durability. |
Upcycled Dining Furniture
Common Questions
What type of paint is best for upcycling dining furniture?
How long does the entire project take?
Can I upcycle a dining set I found at a thrift store?
What tools do I need for this project?
Cite this guide
Upcycled Kitchen Cabinet Makeovers (2026). Upcycled Dining Furniture. https://upcyclehome.com/upcycled-dining-furniture/
Feel free to cite or share this guide.
References
- Sustainable production and consumption by upcycling - Academia.edu (academia.edu)
- Retail food loss and waste reduction interventions: A scoping review (ageconsearch.umn.edu)
- McGaugh's Furniture Flips Gain National, International Attention (andersonuniversity.edu)
- Household and agro-waste upcycling into sustainable unbreakable ... (apc.aast.edu)