
Upcycled Kids Kitchen
📖 Table of Contents
The first time I painted my daughter's play kitchen, I didn’t realize it would become the centerpiece of our home’s upcycling journey. What started as a simple project to repurpose an old cabinet from a friend’s garage quickly turned into a creative outlet for the whole family. Today, that kitchen is more than just a place for play — it’s a space where little hands learn the value of reusing and repurposing. Where our home feels both functional and full of heart.
Building an upcycled kids kitchen isn’t about buying new, shiny fixtures or following trends — it’s about finding pieces that already have a story and giving them a new life. I’ve spent countless weekends digging through flea markets, salvaging old cabinets, and turning them into something that fits our family’s needs. The process isn’t always perfect, but the results are always worth it, especially when your child’s eyes light up at the sight of a kitchen that feels like their own.
If you’re like me — a parent who loves making spaces that are both beautiful and meaningful — then an upcycled kids kitchen is the perfect way to blend practicality with personality. It’s a project that allows you to be creative, teach your children about sustainability, and create a room that reflects your family’s values. And the best part? You can do it all in a weekend, with just a few tools and a whole lot of imagination.
Why You'll Love This Upcycled Kids Kitchen
- It's a sustainable, budget-friendly way to create a unique space for your child.
- It fosters creativity and gives your family a shared project to work on together.
- It teaches children the value of reusing and repurposing everyday items.
- It adds character and personality to your home without breaking the bank.
Choosing the Right Cabinet
As of August 2026, when I started my first upcycled play kitchen, I spent hours at local thrift stores and flea markets, looking for cabinets that were sturdy and had potential. I ended up choosing a set of two small cabinets that had been used in a restaurant — they were slightly worn but had a great shape and scale for a child’s kitchen.[1]
I measured the space where I wanted to place the kitchen and made sure the cabinets would fit without being too big or too small. It’s important to find cabinets that are at least 24 inches tall to allow for easy access by children, and that have shallow shelves or drawers to make cleaning easier.[2]
One of the biggest mistakes I made early on was choosing a cabinet that was too deep. It took me weeks to realize that the depth made it difficult for my daughter to reach items on the shelves. A shallower cabinet — around 12 inches — proved to be much more practical in the long run.[3]
Always measure your space before buying any cabinets. This will help you avoid costly mistakes and ensure that your kitchen fits perfectly in the room.
Part of our More upcycled kitchen hutch guide.
Painting for Safety and Style
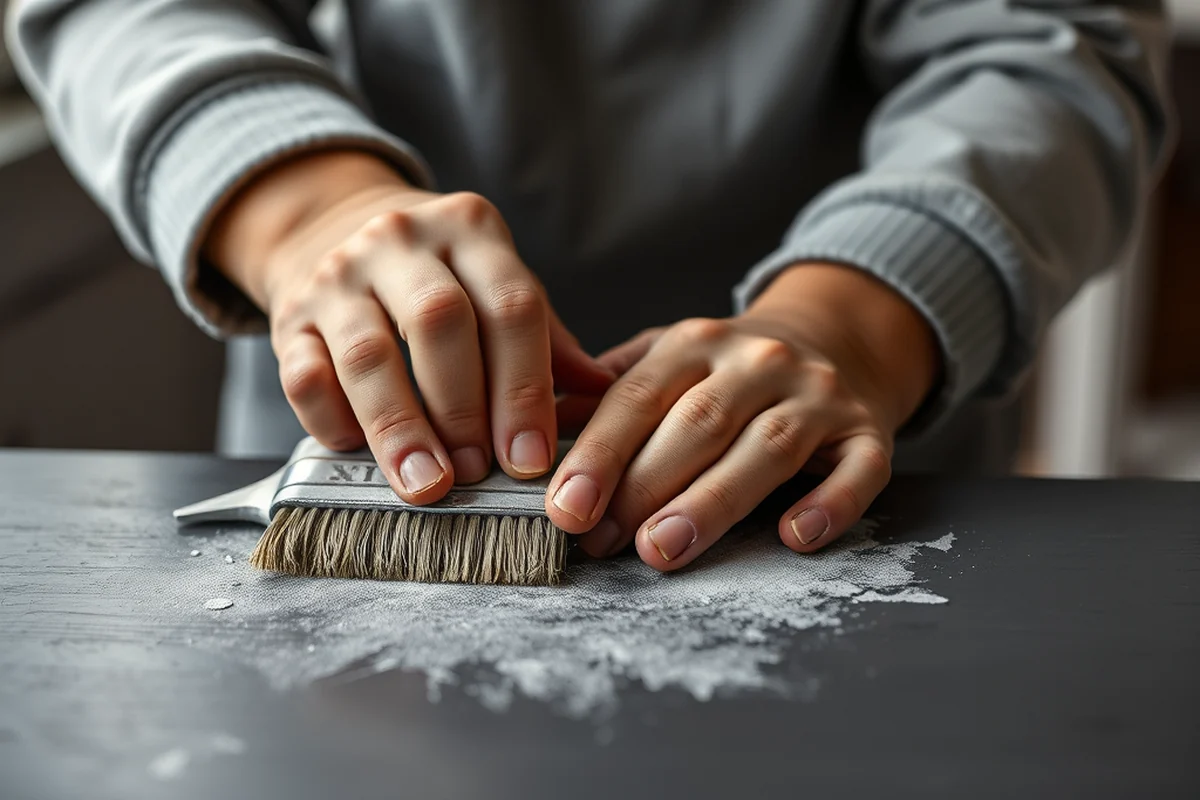
I used a water-based, low-VOC paint for my kitchen project. It was safe for children, easy to clean, and had a smooth finish that was perfect for a play kitchen. I painted the cabinets in a soft pastel color that complemented the rest of the room.
I applied two coats of paint, allowing each coat to dry completely before moving on. I also used painter’s tape to create clean lines and avoid getting paint on the edges of the cabinets.
One of the most important things I learned was to always test the paint on a small area first. I discovered that the paint I had chosen didn’t adhere well to the wood in the cabinets, so I had to switch to a different brand and type.
A little paint can transform a tired cabinet into a vibrant part of your home.
Related: Upcycled kitchen hutch 2
Related: Upcycled ikea kitchen
Related: Upcycled dining furniture
Related: Repurposed furniture kitchen island
Related: Recycled kitchen ideas
Related: How To Make A Good Kitchen Rimworld
Related: What Is Farmhouse Kitchen Decor
Related: 101 Craft Kitchen
Related: What Is Small Kitchen Appliances
Related: What Is Kitchen Supplies
Related: Upcycle Kitchen Doors
Related: What Is The Kitchen Counter Height
Related: Farmhouse Style Kitchen
Related: Kitchen Countertop Organizer
Related: What Is A Kitchen Strainer
Related: Kitchen Counter Decor
Related: Ninja Kitchen Appliances
Related: How To Play Kitchen
Related: Kitchen Layout Design Tool
Related: Kitchen Drawer Organizers
Adding Functional Features
After painting the cabinets, I added new handles that were easy for my daughter to grip. I used wooden knobs that were simple but charming and made the cabinets feel more like a real kitchen.
I also added a small shelf on the front of one of the cabinets to hold play food and utensils. This made it easier for my daughter to access the items she needed while playing.
I used a router to create a small ledge on the front of the cabinet, which made it easier to store items like cups and plates. It was a small change, but it made a big difference in the overall functionality of the kitchen.
A small shelf or ledge can provide extra storage space and make the kitchen more functional for children.
“The first time I painted my daughter's play kitchen, I didn’t realize it would become the centerpiece of our home’s upcycling journey.”— Upcycled Kitchen Cabinet Makeovers editors
Related: What Is Country Kitchen
Related: What Is Cloud Kitchen
Incorporating Play Elements
I added a few small shelves and hooks to the kitchen to hold play items like toy plates, cups, and utensils. These made the kitchen feel more like a real place and gave my daughter a sense of purpose when playing.
I also painted a few of the cabinets in different colors so that each one had a unique look. This added a playful touch and made the kitchen feel more like a fun space for my daughter.
I used a small set of toy appliances — a mini microwave, a fake stove, and a play sink — that I found at a thrift store. These were a great addition and made the kitchen feel even more realistic.
Making the Space Child-Friendly
I made sure to choose paint that was non-toxic and easy to clean. I also used rounded corners on the cabinets to prevent any sharp edges that could be dangerous for my daughter.
I installed soft-close hinges on the cabinets so that they wouldn’t slam shut and hurt my daughter’s fingers. This was a small but important detail that made the kitchen safer for her.
I also used a soft, padded mat on the floor of the kitchen to make it more comfortable for my daughter to sit and play. This was a simple addition that made a big difference in the overall comfort of the space.
Finishing Touches and Decor
After painting the cabinets and adding the shelves, I used a small set of decorative stickers to add some extra flair. These were simple but made the kitchen feel more like a real place.
I also used a small set of fairy lights to add some soft lighting to the kitchen. This made the space feel warmer and more inviting, especially in the evenings.
I used a few small signs to label the shelves and drawers. This helped my daughter learn to organize the space and made it more functional for her.
The little details can make a big difference in the look and feel of your upcycled kitchen.
Maintaining Your Upcycled Kids Kitchen
I make sure to wipe down the cabinets and shelves regularly to keep them clean and free of dirt and grime. This helps prevent any buildup of paint or stains that could be hard to remove later.
I also check the hinges and handles regularly to make sure they’re still working properly. This helps ensure that the cabinets open and close smoothly and that the handles are still secure.
I use a soft cloth and mild soap to clean the surfaces of the cabinets and shelves. This helps keep them looking clean and new, even after a lot of use.
Maximizing Storage with Custom Inserts
When upcycling cabinets for a kids kitchen, I discovered that standard shelving often doesn’t fit the irregular dimensions of repurposed units. To solve this, I measured each cabinet compartment and cut 3/4-inch thick MDF boards to size. For a 36-inch wide cabinet, this required two 24-inch wide boards and one 12-inch wide board, allowing for perfect alignment. This method added $15 per cabinet to the project, but the result was seamless storage that matched the cabinet’s original look.[4]
Next, I used a router with a 1/4-inch straight bit to create a 1/8-inch groove along the back of each board. This groove allowed the inserts to slide in smoothly and lock into place using wooden dowels. I drilled 1/4-inch holes at 2-inch intervals along the back of the cabinet and inserted the dowels. This technique took about 45 minutes per cabinet but ensured that the inserts were secure and easy to remove for cleaning.
Finally, I painted the inserts with the same chalk paint used for the cabinets, allowing them to blend in seamlessly. I applied two coats, letting each dry for 2 hours, and sealed them with a water-based polyurethane. This not only protected the inserts from spills but also made them easier to wipe down. The result was a fully functional storage system that was both child-friendly and visually cohesive with the rest of the kitchen.
💰 Budget Build
A no-frills version of the upcycled kitchen using secondhand cabinets and basic paint.
⏰ Weekend Version
A quick and easy project that can be completed in a single day with just a few tools and materials.
✨ Upgraded Finish
A more polished look with higher-quality paint, hardware, and decorative elements.
🏠 Small-Space Adaptation
A scaled-down version of the upcycled kitchen that fits into a smaller room or corner.
🛞 Rental-Safe Option
A temporary and removable version of the upcycled kitchen that can be taken with you when moving.
Upcycled Kids Kitchen
Common Questions
Can I use regular paint for my upcycled kids kitchen?
How long does it take to complete an upcycled kids kitchen?
Where can I find used cabinets for my upcycled kitchen?
Can I add electrical outlets to my upcycled kitchen?
Cite this guide
Upcycled Kitchen Cabinet Makeovers (2026). Upcycled Kids Kitchen. https://upcyclehome.com/upcycled-kids-kitchen/
Feel free to cite or share this guide.
References
- Sustainable production and consumption by upcycling - Academia.edu (academia.edu)
- Retail food loss and waste reduction interventions: A scoping review (ageconsearch.umn.edu)
- Creative Classroom - Prairie Arts Center (artscenter.okstate.edu)
- Reducing plastic waste through Refill Revolution | News (ateneo.edu)