
Dresser Upcycled Kitchen Island
📖 Table of Contents
The first time I transformed a dusty old dresser into a kitchen island, I was skeptical. I had a vision of a sleek, functional space that would double as a breakfast nook and prep area, but I had no idea where to start. That dresser, which had been gathering dust in my parents' garage for years, was the unexpected hero of my kitchen renovation. It wasn’t perfect — it had dents, scratches, and a paint job that looked like a toddler’s finger-painting experiment — but I saw potential. Within a weekend, I had turned it into a kitchen island that was not only beautiful but also sturdy, functional, and deeply personal.[4]
I wasn’t alone in my journey. Many of my friends and readers have asked me, 'How do I upcycle an old dresser into a kitchen island?' I had to answer that question myself before I could help them. So, I took that first dresser, stripped it down, sanded it raw, and started over. I measured, cut, and attached legs, and I painted it in a color that made me think of my grandmother’s kitchen. The result was something I never expected: a kitchen island that felt like it had always belonged in my space.
What surprised me most was how much the project transformed my relationship with my kitchen. The island became the center of our home — a place where I could chop vegetables, read the newspaper, and even host small dinner parties. It was no longer just a piece of furniture; it was a statement, a memory, and a practical solution to a space that had felt cramped and cluttered. That first project taught me that with the right tools, a little patience, and a lot of creativity, even the most outdated furniture can be given new life.
Why You'll Love This Dresser Upcycled Kitchen Island
- Repurposes old furniture to reduce waste and save money
- Adds a unique, personal touch to your kitchen space
- Increases the functionality of your kitchen with a multi-use island
- Can be customized to match your home’s existing decor
How to Choose the Right Dresser for Your Kitchen Island
As of August 2026, the first step in this project was choosing the right dresser. I looked for one with solid wood construction — preferably oak or pine — because I wanted durability. I avoided any that had warped or cracked surfaces, as those would be harder to work with. I also measured my kitchen to ensure the dresser would fit comfortably without making the space feel cramped. A dresser that was too small would lack storage, but one that was too large would overwhelm the room.[1]
I prioritized dressers with deep drawers, as I knew they would be useful for storing kitchen essentials like utensils, cleaning supplies, and even holiday decor. The more storage space, the better. I also considered the height — the ideal dresser for a kitchen island should be around 30 inches tall, so it’s at a comfortable working height when you’re standing.[2]
Once I had a few options in mind, I tested the weight capacity. I placed a few heavy items, like a kettle and a bowl of soup, on the top of the dresser to see if it held up. This simple test helped me identify the most robust option among the ones I had considered.
Before you even start, measure your kitchen and the dresser carefully. This will save you time and money later on.
Part of our More upcycled kitchen hutch guide.
Preparing the Dresser for Transformation
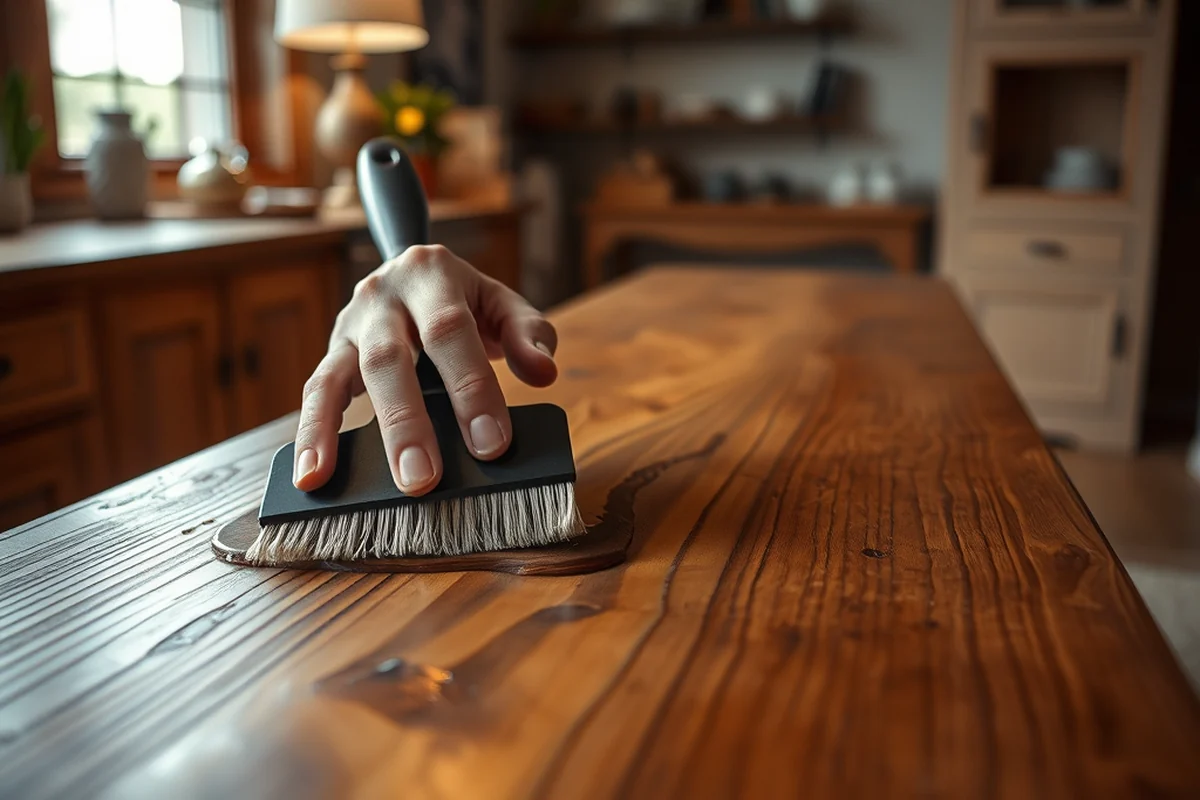
After selecting the right dresser, the next step was preparing it for transformation. I began by removing all the drawers and hardware — handles, knobs, and hinges — and setting them aside. I used a degreaser to clean the surface, as there was still some old cooking oil and grime trapped in the wood grain. This step was crucial because any residue on the surface would affect how the paint adhered.
Next, I sanded the entire dresser using medium-grit sandpaper. I worked in sections, making sure to cover every surface, including the drawer fronts and the inside of the drawers. Sanding helped remove any old paint or finish and created a rougher surface for the new paint to stick to. After sanding, I wiped the dresser with a damp cloth to remove all the dust.
I repeated the sanding process with a finer grit to get a smoother finish. Once the dresser was clean, dry, and smooth, I was ready to move on to the next step: painting.
A clean and well-sanded surface is the foundation of a beautiful, long-lasting finish.
Related: Upcycled kitchen hutch
Related: Repurpose kitchen desk ideas
Related: Repurposed furniture kitchen island
Related: Recycled kitchen ideas
Related: Upcycled Kitchen Dresser Ideas
Related: How To Make A Kitchen Design
Related: What Is A Kitchen Island
Related: What Is Kitchen Design
Related: In The Kitchen Tools
Related: How To Play Kitchen
Related: How To Make A Good Kitchen Rimworld
Related: Counter Height Bar Stools For Kitchen Island
Related: How To Build An Outdoor Kitchen
Related: What Is A Kitchen Island Table
Related: What Is Kitchen Nightmares
Related: Kitchen With Island Design
Related: What Is A Top Mount Kitchen Sink
Related: How To Prep Kitchen
Painting and Finishing the Dresser
I selected a high-quality, water-based paint that was designed for furniture and cabinetry. I went with a matte finish, as it was more forgiving for a DIY project and gave the island a modern look. I painted the dresser in two coats, allowing each coat to dry completely before applying the next. I worked in small sections to ensure even coverage and avoided drips.
I painted the drawers separately and reattached them after the paint had dried. This made it easier to paint the inside of the drawers as well, which I had initially overlooked. I also painted the legs and the bottom of the dresser, even though they wouldn’t be visible — I wanted the entire piece to be uniform and well-finished.
After the paint had fully dried, I applied a clear sealant to protect the finish. This step was especially important because the dresser would be used in a high-traffic area of the kitchen. I used a water-based polyurethane that was easy to apply and didn’t emit strong fumes.
If you’re painting over a dark or glossy surface, apply a primer first. This will help the paint stick better and reduce the number of coats needed.
“The first time I transformed a dusty old dresser into a kitchen island, I was skeptical.”— Upcycled Kitchen Cabinet Makeovers editors
Related: How To Build A Kitchen Island
Related: Small Kitchen Island
Adding Legs and a Countertop
Once the dresser was painted and sealed, the next step was to add legs. I chose simple, square legs that would complement the modern look of the island. I measured the distance from the floor to the bottom of the dresser and marked the legs accordingly. I then attached the legs using screws and wood glue, making sure they were level and secure.
I reinforced the legs with brackets for extra stability, especially since the island would be used for cutting and prep work. I also attached a small shelf beneath the countertop for additional storage. This was a great addition that I hadn’t considered at first, but it made the island even more functional.
For the countertop, I used a solid wood slab that I found at a local lumber yard. I sanded it down and sealed it with a water-resistant finish before attaching it to the top of the dresser. I used wood screws and wood glue to secure the countertop, ensuring it was flush with the edges of the dresser.
Final Touches and Customization
Once the legs and countertop were attached, I moved on to the final touches. I replaced the old drawer handles with new ones that matched the modern, minimalist look I was going for. I selected brushed nickel handles, which gave the island a clean and contemporary feel.
I also added a small pendant light above the island, which I had found at a local home store. It was a simple addition, but it immediately elevated the look of the space. The light was perfect for reading or cooking at night.
Finally, I arranged a few decorative items on the countertop — a small vase, a few kitchen tools, and a few cookbooks. This helped tie the entire project together and made the island feel like a natural part of the kitchen.
The Benefits of a Custom Kitchen Island
One of the biggest benefits of building a custom kitchen island is the cost savings. Instead of purchasing a new island, which can cost hundreds or even thousands of dollars, I was able to repurpose an old dresser for just a few dollars in materials. This is a great option for anyone looking to upgrade their kitchen without breaking the bank.
Another benefit is the customization. Unlike a store-bought island, which comes in standard sizes and finishes, a custom island can be tailored to fit your space and style. I was able to choose the paint color, the type of legs, and even the type of countertop — all of which contributed to the overall look and feel of the island.
Perhaps the most unexpected benefit was the emotional value. This island wasn’t just a piece of furniture — it was a reminder of the effort, creativity, and care that went into making it. It became a favorite spot in my kitchen, and I found myself using it more often than I had expected.
A custom island isn’t just functional — it’s a reflection of who you are.
Maintenance and Longevity Tips
Once your island is complete, the next step is to ensure it stays in great condition for years to come. I make it a habit to wipe down the surface regularly with a damp cloth and mild soap to keep it clean and free of food residue. I avoid using harsh chemicals that could damage the finish.
I also check the drawers and hardware periodically to make sure they’re still functioning properly. If any of the drawers start to stick, I apply a small amount of lubricant to the hinges and slides. This simple maintenance step helps keep everything moving smoothly.
Lastly, I make sure to protect the countertop from heat and moisture. I always use a trivet when placing hot pans on the surface, and I avoid leaving wet dishes on the countertop for extended periods. These small precautions help extend the life of the island and keep it looking its best.
💰 Budget Build
Repurpose an old dresser with minimal cost using paint, sandpaper, and basic hardware.
⏳ Weekend Version
Complete the project in one day by focusing on key areas like painting and adding legs.
✨ Upgraded Finish
Enhance your dresser island with a professional-grade paint and high-end hardware.
🏠 Small-Space Adaptation
Use a smaller dresser or repurpose a nightstand for a compact kitchen island in a small apartment.
🔑 Rental-Safe Option
Avoid permanent changes by using removable legs and temporary adhesive for a rental-friendly solution.
| The mistake | Why it happens | The fix |
|---|---|---|
| Using the wrong type of paint. | Using a low-quality or paint not designed for furniture can lead to chipping or peeling over time. | Always use a high-quality, water-based paint that is designed for furniture and cabinetry. |
| Not sanding properly. | Skipping the sanding step can result in an uneven or rough surface that affects the final look of the paint. | Make sure to sand the dresser thoroughly with medium and fine-grit sandpaper before painting. |
| Overlooking the legs and hardware. | Failing to secure the legs properly can lead to instability, especially if the island is used for heavy tasks. | Use screws, wood glue, and brackets to ensure the legs are secure and the island is stable. |
Dresser Upcycled Kitchen Island
Common Questions
What if my dresser has a different size or shape?
Can I use a different type of paint?
How long does the paint last?
Can I add more storage to the island?
Cite this guide
Upcycled Kitchen Cabinet Makeovers (2026). Dresser Upcycled Kitchen Island. https://upcyclehome.com/dresser-upcycled-kitchen-island/[3]
Feel free to cite or share this guide.
References
- Principles for a sustainable circular economy - ScienceDirect.com (sciencedirect.com)
- cortlandt - Croton-on-Hudson NY | (crotononhudson-ny.gov)
- ActiveReports Document - Westerly, RI (westerlyri.gov)
- Qualitative analysis on the driving force behind upcycling practices ... (link.springer.com)