
Kitchen Cabinet Makeover With Contact Paper
📖 Table of Contents
I remember the first time I looked at my old kitchen cabinets and thought, 'There has to be a way to make these look new without breaking the bank.' That was the day I stumbled upon contact paper. It was a game-changer — simple, fast, and surprisingly effective. The transformation wasn't just about appearance; it was about reclaiming a space that felt tired and out of place. With a few rolls of contact paper, I gave my kitchen a fresh start without the stress of a full renovation.
Over the past year, I've done several kitchen cabinet makeovers with contact paper, each one teaching me something new. The process is more nuanced than I initially thought, but the results speak for themselves. I've learned how to choose the right paper, how to prep the cabinets properly, and how to avoid common pitfalls that could ruin the whole project. Whether you're a seasoned DIYer or a complete beginner, this method is worth exploring — it's one of the most accessible ways to refresh your kitchen without spending a fortune.
What I love most about this approach is how it balances creativity with practicality. I've used contact paper on everything from basic cabinets to ones with intricate moldings, and it always works. The real magic lies in the details — choosing the right pattern, ensuring a smooth application, and taking the time to trim and align everything precisely. This isn't just a quick fix; it's a genuine way to revamp your space with a little effort and a lot of imagination.
Why You'll Love This Kitchen Cabinet Makeover With Contact Paper
- It's fast — you can complete a full kitchen in one weekend.
- It's budget-friendly — most materials will cost under $50.
- It's customizable — choose from endless patterns and colors.
- It's low-effort — no sanding or painting required.
What You Need Before You Start
As of August 2026, the first step in any kitchen cabinet makeover with contact paper is preparation. I always start by clearing out the cabinets and removing all hardware — handles, knobs, and hinges. This ensures nothing gets in the way when applying the paper. I also take the time to clean the cabinets thoroughly with a degreaser to remove any grease, grime, or residue. A clean surface is crucial for the contact paper to stick properly.
Next, I measure each cabinet door and drawer to determine how much contact paper I'll need. It's important to buy a little extra because it's easier to cut than to try to stretch the paper over an area that's too small. I've learned from experience that measuring twice and cutting once is the best approach. This helps avoid mistakes and ensures a more professional-looking finish.
Once the measurements are taken, I unroll the contact paper on a flat surface and mark the dimensions on the backing. This makes it easier to cut the pieces to size before applying them. I also like to organize the pieces by cabinet to avoid confusion later. Taking these steps upfront can save a lot of time and frustration down the line.
Before applying contact paper, always measure the cabinet surfaces twice and mark the paper accordingly. This avoids the need to stretch the paper over an area that's too small, which can lead to bubbles and wrinkles.
Choosing the Right Contact Paper
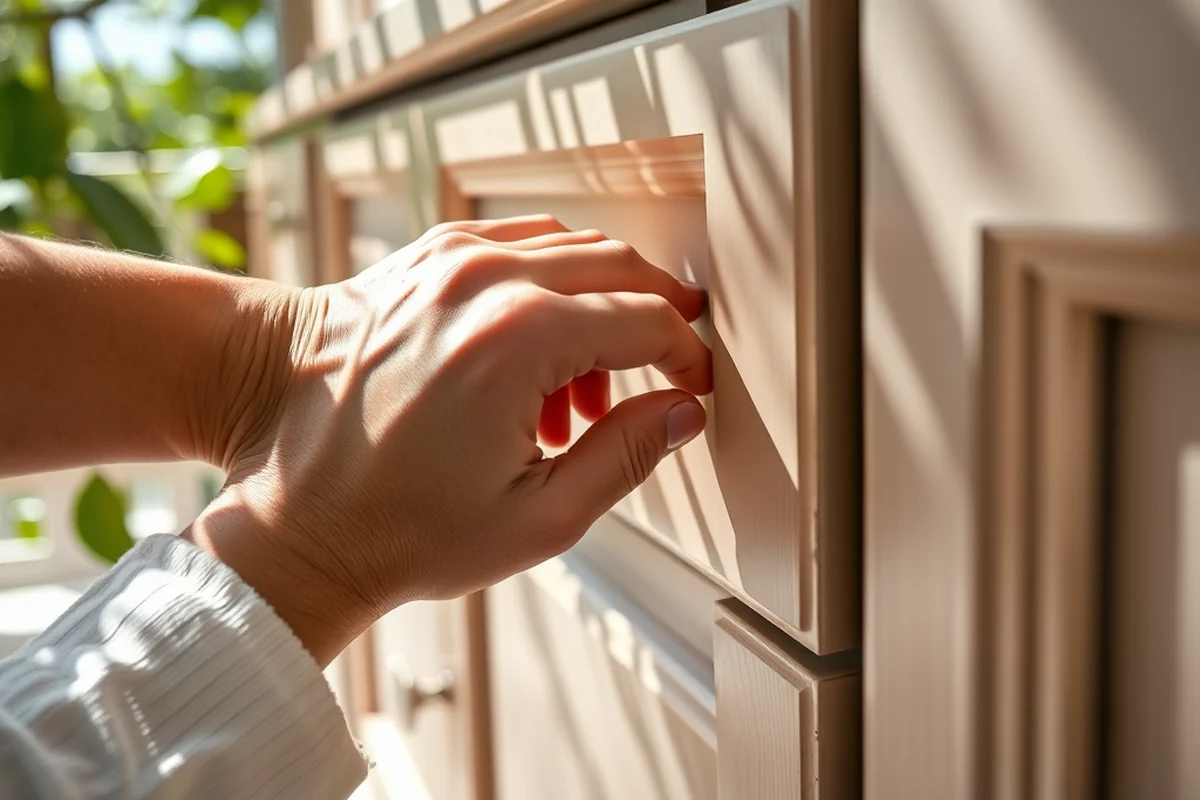
The first thing to consider is the texture of the paper. I've used both matte and glossy finishes, and both work well, but they create very different looks. Matte paper has a more modern, understated appearance, while glossy paper adds a bit of shine and can make the cabinets look more polished. I personally prefer matte for a more subdued look, but it's a matter of personal taste.
Another important factor is the pattern. There are so many options — from solid colors to intricate designs — but it's important to choose a pattern that complements your overall kitchen design. I've seen some people go for bold patterns, which can be eye-catching but might not fit with the rest of the room. On the other hand, subtle patterns or solid colors can create a more cohesive look.
I've also learned that the durability of the paper matters. Some contact paper is more resistant to moisture and wear than others. For kitchen cabinets, I always go for the most durable option available. It's a small investment that can save you from having to replace the paper in a few months due to peeling or tearing.
Choose a contact paper that matches your kitchen's style and is durable enough to withstand daily use.
Related: File cabinet makeover contact paper
Related: How to touch up bathroom cabinets
Related: How To Cover Cabinets With Contact Paper
Related: Can You Cover Cabinets With Contact Paper
Related: How to contact paper cabinets
Related: What Is Kitchen Accessories
Related: Used Kitchen Cabinet Doors For Sale
Related: What Is The Best Kitchen Cabinet Color For 2026
Related: Cabinet Refacing Cost Small Kitchen
Related: How To Install Cabinet Handles
Related: What Is Cloud Kitchen
Related: Used Kitchen Cabinet Doors
Related: Kitchen Cabinet Refacing Kits
Related: What Is The Best Kitchen Cabinet Degreaser
Related: Custom Kitchen Cabinet Doors
Related: Kitchen Cabinet Hinges
Related: 10 Best Kitchen Cabinet Colors
Related: What Is French Country Style Kitchen
Related: Kitchen Cabinet Design
Related: Kitchen Aid Mixer
Related: Kitchen Coffee Bar Cabinet
How to Apply Contact Paper to Cabinets
I always start by applying the paper to the back of the cabinet door or drawer rather than the front. This way, if I make a mistake, I can peel it off and try again without leaving any residue on the actual cabinet surface. Once the paper is on the back, I use a smoothing tool to press it down and remove any air bubbles.
I take my time with each piece, making sure it's aligned properly before pressing it down. I've found that working from the center of the cabinet outward helps avoid stretching the paper too much. I also like to use a ruler or straight edge to ensure the paper is perfectly aligned with the edges of the cabinet.
Once all the pieces are in place, I go over them again with the smoothing tool to make sure there are no wrinkles or bubbles. I've learned that taking this extra step can make a huge difference in the final appearance of the cabinets. It's a small amount of effort that pays off in the long run.
Always apply contact paper to the back of the cabinet door or drawer first, so that you can adjust it before pressing it onto the cabinet itself. This avoids leaving residue or misalignment that can be hard to fix later.
“I remember the first time I looked at my old kitchen cabinets and thought, 'There has to be a way to make these look new…”— Upcycled Kitchen Cabinet Makeovers editors
Related: Cabinet Makeover With Contact Paper
Related: Flat Kitchen Cabinet Doors Makeover
Finishing Touches and Reassembly

After the contact paper is in place and has been allowed to settle for a few minutes, I reattach the handles and knobs. I make sure they're aligned properly and that they don't press into the paper, which can cause bubbles or wrinkles. I've learned that it's best to wait until the paper has fully adhered before reinstalling the hardware.
Next, I put the cabinet doors and drawers back into place. It's important to do this carefully to avoid stretching the paper or causing any damage. I go through each cabinet one by one, ensuring that everything fits perfectly and that the paper looks even and smooth.
Once all the cabinets are back in place, I take a step back and admire the work. It's always rewarding to see the transformation — a tired kitchen suddenly feels fresh and new. I've done this several times, and each time the results have been more than I expected.
Maintaining Your Contact Paper Cabinets
One of the most important things to remember is to avoid using harsh chemicals or abrasive cleaners on the contact paper. I've made the mistake of using a strong degreaser once, and it caused the paper to lift in a few places. From then on, I've used a mild soap and water solution to clean the cabinets, which has worked much better.
I also avoid using any sharp objects on the cabinets, as this can cause the paper to tear or peel. I've noticed that over time, the paper can become slightly worn, especially in high-traffic areas. When this happens, I simply replace the affected sections rather than redoing the whole cabinet.
Another tip is to avoid exposing the contact paper to excessive moisture for long periods of time. While it's resistant to some degree, prolonged contact with water can cause it to loosen. I've learned that wiping up spills quickly and using a drying cloth can help preserve the paper longer.
Common Questions and Concerns
One of the most common concerns is whether contact paper will hold up over time. I've used it for over a year now, and it's still looking great. However, I've noticed that in areas with high humidity — like near the stove or sink — the paper can be more prone to peeling. To combat this, I've used a sealant spray on those sections, which has helped extend the life of the paper.
Another question is whether contact paper can be applied over existing paint or wood. In my experience, it works well on clean, smooth surfaces, but it doesn't adhere well to rough or uneven surfaces. If your cabinets are in poor condition, it might be worth sanding them down or using a primer before applying the paper.
Some people also wonder if contact paper can be painted over. The short answer is no — the paper is not designed to accept paint, and it can peel off if you try. However, if you're looking for a more permanent solution, I recommend using a paintable contact paper, which is available in some stores.[1]
Don't be afraid to ask — most concerns about contact paper on cabinets can be addressed with a bit of research or a quick test.
Getting Creative With Patterns and Colors
I've experimented with a wide range of patterns, from classic wood grain to bold geometric designs. Each one adds a unique look to the kitchen, and the best part is that you can easily change the pattern if you get tired of it. I've even used contact paper to create a backsplash that matches the cabinets — it's a great way to tie the entire kitchen together.
Color is another area where you can get creative. I've used contact paper in both light and dark shades, and each one has a different effect on the space. Light colors make the kitchen feel more open, while darker shades add depth and richness. It's also a good idea to consider how the color will interact with the lighting in your kitchen — some colors can look very different in natural versus artificial light.
I've also used contact paper as an accent, applying it to just a few cabinets instead of the entire kitchen. This creates a focal point and adds visual interest without overwhelming the space. There's no one-size-fits-all approach — the key is to choose a pattern and color that you love and that works well with the rest of your home.
💰 Budget Build
Use affordable contact paper and skip the sealant for a quick and inexpensive upgrade.
⏰ Weekend Version
Complete the entire kitchen in one day with pre-cut contact paper and minimal tools.
✨ Upgraded Finish
Add a sealant and use high-quality contact paper for a more durable and polished look.
🏠 Small-Space Adaptation
Focus on a single cabinet or drawer for a subtle refresh in compact kitchens.
🚫 Rental-Safe Option
Choose removable contact paper and avoid permanent changes for a temporary upgrade.
| The mistake | Why it happens | The fix |
|---|---|---|
| Applying the paper too quickly without smoothing it out. | This can lead to bubbles, wrinkles, and an uneven finish that's hard to fix later. | Take your time and use a smoothing tool to press the paper down as you go. |
| Not cleaning the cabinets properly before applying the paper. | Grease, grime, or residue can prevent the paper from sticking properly. | Wipe the cabinets down with a degreaser and let them dry completely before applying the paper. |
| Trying to stretch the paper over an area that's too small. | This can cause the paper to tear or create visible bubbles under the surface. | Measure each cabinet piece carefully and cut the paper to size before applying it. |
Kitchen Cabinet Makeover With Contact Paper
Common Questions
Can contact paper be used on painted cabinets?
How long does contact paper last on cabinets?
Is contact paper easy to remove?
Can I apply contact paper to the inside of cabinet doors?
References
- CONTAMINATED DRYWALL - GovInfo.gov (govinfo.gov)
Cite this guide
Upcycled Kitchen Cabinet Makeovers (2026). Kitchen Cabinet Makeover With Contact Paper. https://upcyclehome.com/kitchen-cabinet-makeover-with-contact-paper/
Feel free to cite or share this guide.