
Upcycled Kitchen
📖 Table of Contents
- Why Choose an Upcycled Kitchen?
- How to Start Your Upcycled Kitchen Project
- The Power of Paint in an Upcycled Kitchen
- Adding Hardware for a New Look
- Upgrading Your Countertops Without Replacing Them
- The Benefits of a Minimalist Upcycled Kitchen
- Creating a Cohesive Look in Your Upcycled Kitchen
- Make It Your Way
- Frequently Asked Questions
I remember the first time I stood in my kitchen, surrounded by the scent of aged wood and the faint smell of paint thinners, feeling a mix of nerves and excitement. It was the beginning of my journey to transform a tired, outdated space into an upcycled kitchen that felt both modern and personal. Upcycled kitchen makeovers have become a passion of mine—not just for the aesthetic transformation they bring, but for the way they breathe new life into forgotten furniture and materials. This is not just about aesthetics; it’s about sustainability, creativity, and the joy of seeing a space evolve.
The idea of an upcycled kitchen isn’t just a trend—it’s a movement. It’s about giving new purpose to old cabinets, countertops, and even appliances that might otherwise end up in a landfill. I’ve spent countless hours sanding down old wood, painting over faded finishes, and installing new hardware that turned a once-ignored corner of my kitchen into a focal point. Each project has taught me something new, whether it was the importance of using the right primer or the surprising durability of a certain type of paint. These experiences have made me an advocate for upcycled kitchens that are both functional and beautiful.
Now, I want to share that journey with you. This article is the culmination of years spent experimenting, failing, and eventually succeeding in my own kitchen. Whether you’re looking to refresh your entire space or just tackle a single cabinet, the tips and tricks I’ve learned will help you create an upcycled kitchen that’s uniquely yours. It’s not about buying brand new; it’s about discovering the beauty in what’s already there and giving it a second chance.
Why You'll Love This Upcycled Kitchen
- Transform your space with minimal cost and environmental impact.
- Create a unique, personalized look that reflects your style.
- Preserve the character of your home while updating it for modern living.
- Enjoy the satisfaction of a DIY project that’s both creative and functional.
Why Choose an Upcycled Kitchen?
As of August 2026, Upcycling a kitchen is more than just a way to save money—it’s a responsible choice that reduces waste and environmental impact. Instead of tossing out old cabinets, countertops, or appliances, you give them new life through thoughtful renovation. I’ve found that the process of upcycling not only helps the planet but also allows you to create a space that’s uniquely yours.[1]
For example, I once spent an entire weekend refinishing a set of old kitchen cabinets. By sanding them down and applying a fresh coat of paint, I was able to transform a drab, outdated look into something that felt modern and inviting. The best part was that I didn’t have to replace the cabinets entirely, which saved me hundreds of dollars.
Another benefit of upcycling is the ability to personalize your space. Whether you’re adding new hardware, updating the color scheme, or installing new lighting, every detail can be tailored to your preferences. It’s the perfect way to create a kitchen that truly reflects your style and personality.
A good set of sanders, brushes, and paint trays can make all the difference. I always keep a 120-grit sanding block and a small orbital sander on hand for projects like this.[2]
Part of our More upcycled kitchen hutch guide.
How to Start Your Upcycled Kitchen Project
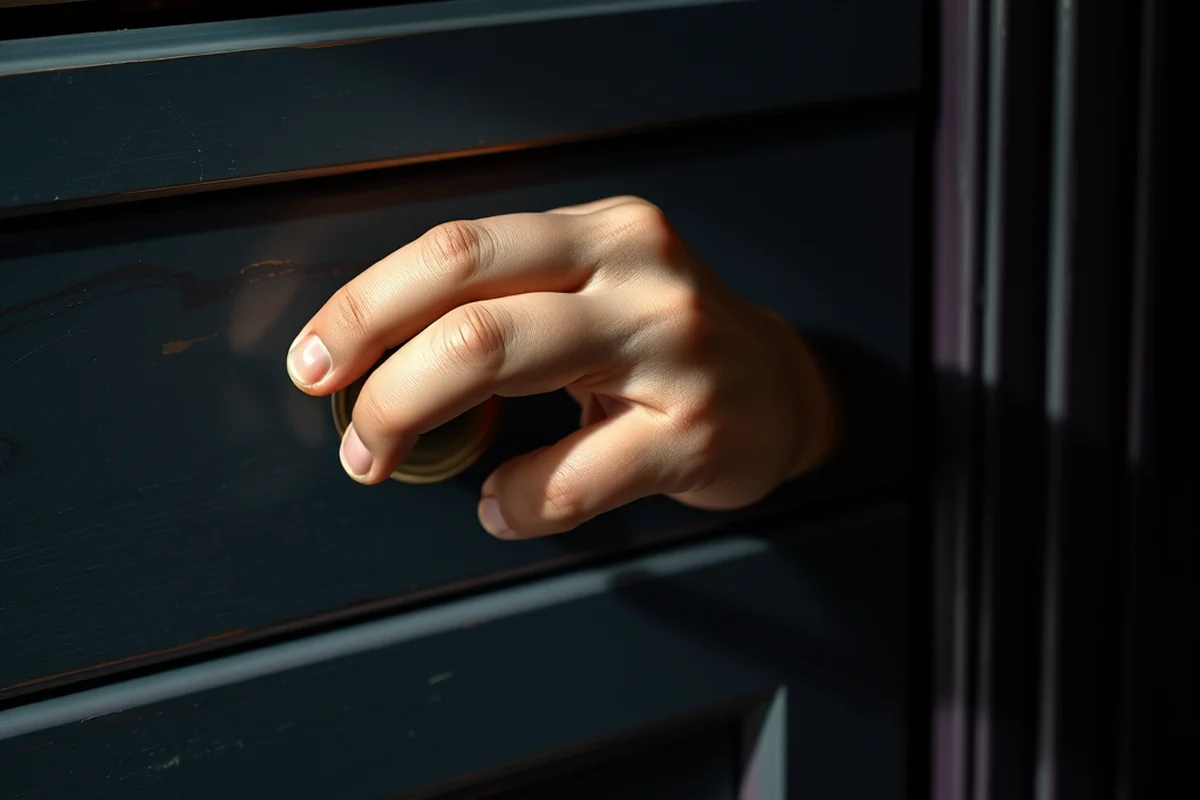
Before you begin, take a close look at your kitchen and identify the areas that need the most attention. Are the cabinets worn out? Is the countertop scratched? These are the first steps in deciding what needs to be done. I always start by measuring the space and making a list of materials I’ll need for the project.
Next, decide on your color scheme and materials. If you’re painting, choose a paint that’s durable and easy to clean, such as a water-based enamel. I’ve found that using a primer before painting helps the color adhere better and last longer. It’s also a good idea to invest in a good quality brush to achieve a smooth finish.
Finally, set aside time to work on your project. I recommend dedicating a full weekend, as it’s more efficient to complete the work in one go rather than trying to spread it out over several days. This way, you can avoid the hassle of constantly moving furniture and making multiple trips to the store.[3]
Start with small changes and build your way up to a full kitchen overhaul.
Related: Upcycled kitchen hutch
Related: Upcycled ikea kitchen
Related: Upcycled kitchen buffet
Related: Repurposed Dresser Kitchen Island
Related: Upcycled Kitchen Chairs
Related: What Is Commercial Kitchen Equipment
Related: 101 Craft Kitchen
Related: Upcycle Kitchen Doors
Related: Clean Eatz Kitchen
Related: What Is Hartville Kitchen
Related: What Is Kitchen Supplies
Related: What Is A Kitchen Nook
Related: What Is Cloud Kitchen
Related: Kitchen Countertop Organizer
Related: How To Make A Small Kitchen Look Bigger
Related: What Is Smart Kitchen Appliances
Related: Kitchen Layout Design Tool
Related: What Is Kitchen Nightmares
The Power of Paint in an Upcycled Kitchen
When I first started working on my kitchen, I was surprised by how much a fresh coat of paint could change the space. I used a light gray paint on my cabinets, and it immediately gave my kitchen a modern, clean look. The best part was that I didn’t have to replace the cabinets at all—just a few hours of sanding and painting were enough to make them look brand new.
I’ve found that using a high-quality paint and the right tools can make all the difference in the outcome. I always use a small brush for the edges and a larger brush for the main surfaces. This helps ensure that the paint is applied evenly and without streaks. I also take my time, allowing each coat to dry completely before applying the next one.
Another tip I’ve learned is to use a primer before painting. It helps the paint stick better and makes the final result look more professional. I always recommend using a water-based primer for wood surfaces, as it dries quickly and doesn’t emit strong fumes.[4]
A primer helps the paint adhere better and can save you time in the long run. I always apply a thin coat of primer before painting, and it makes a noticeable difference in the final result.
“I remember the first time I stood in my kitchen, surrounded by the scent of aged wood and the faint smell of paint thinners, feeling…”— Upcycled Kitchen Cabinet Makeovers editors
Related: Sustainable Kitchen Tips
Related: Dish Strainers For Kitchen Counter
Adding Hardware for a New Look
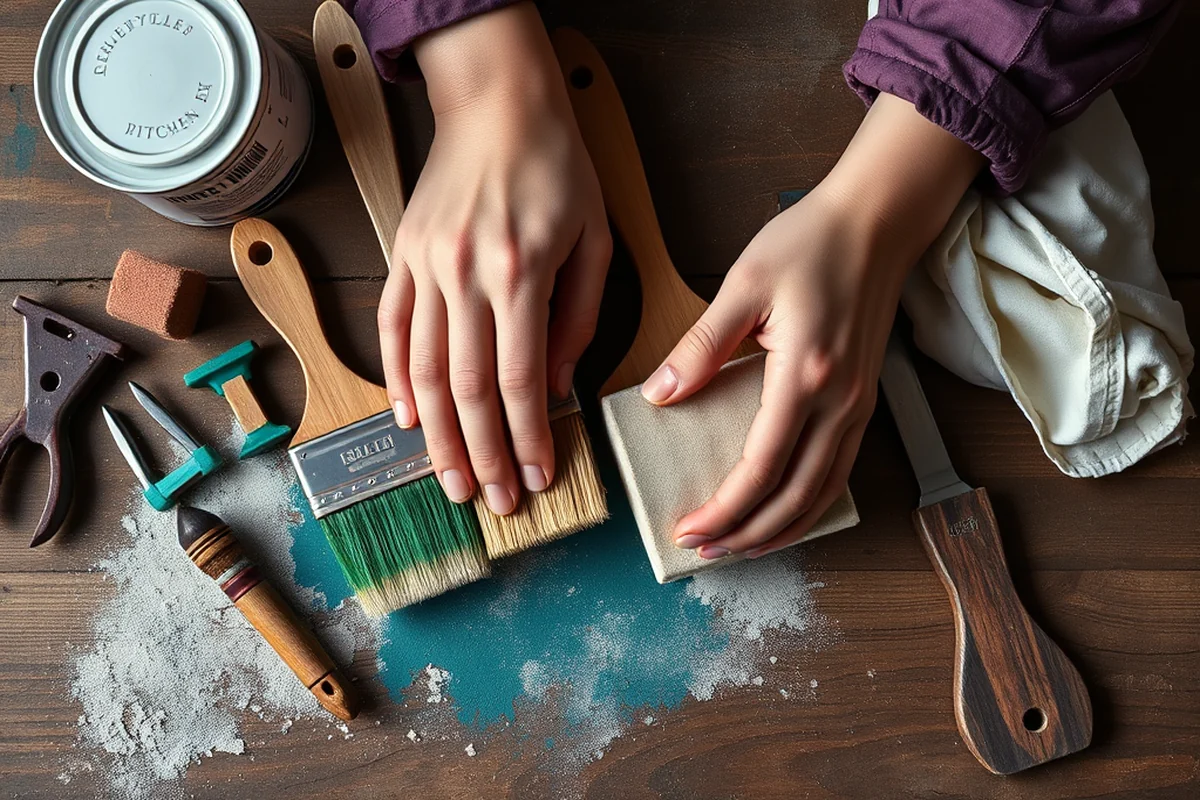
Hardware is one of the simplest and most cost-effective ways to refresh your kitchen. By replacing old knobs and handles with new ones, you can completely change the look of your cabinets without having to replace them entirely. I’ve found that even a small change, like swapping out old brass handles for sleek black ones, can make a big difference in the overall aesthetic.
When choosing new hardware, consider the style and material. I like to use brushed nickel or matte black finishes, as they tend to be more modern and versatile. It’s also important to choose hardware that’s compatible with your cabinet type. For example, some cabinets require specific types of mounting hardware, so it’s a good idea to double-check before making a purchase.
I always recommend taking your time when choosing hardware, as it can be a bit overwhelming with so many options. I like to go with a simple, timeless design that will last for years. This way, I know that I’m making a choice that won’t go out of style quickly.[5]
Related: What Is Modern Farmhouse Kitchen
Upgrading Your Countertops Without Replacing Them
If your countertops are in good condition but just lack a bit of character, you can give them a new look without replacing them. I’ve used a technique called resurfacing, which involves cleaning the countertops thoroughly and then applying a new coating to refresh their appearance. This method is cost-effective and can be done in just a few hours.
Another option is to use a countertop paint or a high-gloss coating that can be applied directly to the surface. I’ve found that using a paint specifically designed for countertops works best, as it’s more durable and easier to clean. It’s important to apply multiple thin coats for the best result, as this ensures even coverage and a smooth finish.
Resurfacing your countertops is an excellent way to update your kitchen without breaking the bank. It’s also a great option for those who want to avoid the mess and hassle of replacing their countertops entirely. The process is relatively simple, and the results can be quite impressive.
The Benefits of a Minimalist Upcycled Kitchen
A minimalist approach to your upcycled kitchen can help create a space that feels more open and inviting. I’ve noticed that when I keep my kitchen simple and uncluttered, it feels more relaxed and easier to navigate. This is especially important in small kitchens, where every square inch counts.
One of the best things about a minimalist kitchen is that it allows the natural beauty of your materials to shine through. Instead of covering up your cabinets with heavy, ornate designs, a minimalist look lets the wood or paint take center stage. I’ve found that using a single, neutral color for the cabinets and countertops creates a cohesive, modern look that’s easy to maintain.
A minimalist upcycled kitchen is also easier to clean and maintain, which is a big plus for busy households. With fewer decorative elements and a simpler layout, it’s easier to keep everything looking neat and organized. This is one of the reasons why I’ve come to prefer a minimalist style in my own kitchen.
Minimalist doesn’t mean boring—just clean, simple, and functional.
Creating a Cohesive Look in Your Upcycled Kitchen
A cohesive look in your upcycled kitchen means that every element—your cabinets, countertops, hardware, and even your lighting—works together to create a unified space. I’ve found that using a consistent color palette and style throughout the kitchen helps achieve this. For example, choosing a neutral color for your cabinets and a matching shade for your countertops can make the space feel more balanced and intentional.
Another key to a cohesive look is to pay attention to the details. This includes things like the type of hardware you use, the style of your lighting fixtures, and even the placement of your appliances. I’ve noticed that small changes, like adding a matching set of drawer pulls or using a similar finish on your faucets, can make a big difference in the overall look.
Creating a cohesive look doesn’t mean you have to follow trends or replicate a specific style. Instead, it’s about creating a space that feels personal and unique to you. This is one of the reasons I love upcycled kitchens—they allow you to express your style in a way that’s both creative and functional.
💰 Budget Build
An economical approach that uses minimal materials, focusing on paint, new hardware, and a few strategic upgrades.
⏰ Weekend Version
A quick, do-it-in-a-day project ideal for busy homeowners who want to make a big impact with minimal time.
✨ Upgraded Finish
A higher-end version with premium paint, custom hardware, and added lighting to elevate the overall look.
🏠 Small-Space Adaptation
Tailored for compact kitchens, focusing on maximizing storage and simplifying the design to suit the space.
🚪 Rental-Safe Option
A project that can be undone or removed easily, making it ideal for those who are renting and want to leave the space in good condition.
| The mistake | Why it happens | The fix |
|---|---|---|
| Using the wrong type of paint for cabinets. | Using a paint that isn’t designed for wood or cabinets can lead to chipping, peeling, or a dull finish. | Always use a high-quality paint that’s specifically formulated for cabinets or wood surfaces to ensure a durable and long-lasting result. |
| Skipping the primer step. | Skipping the primer can lead to poor paint adhesion, causing the paint to chip or peel more quickly. | Always apply a thin coat of primer before painting to ensure the paint adheres properly and lasts longer. |
| Neglecting the condition of your cabinets before painting. | Painting over a damaged or uneven surface can lead to an uneven finish and may not cover the imperfections properly. | Take the time to clean, sand, and repair any damaged areas before painting to ensure a smooth and professional-looking finish. |
Upcycled Kitchen
Common Questions
How long does it take to complete an upcycled kitchen?
What tools do I need to start an upcycled kitchen project?
Can I upcycle my kitchen if I’m a beginner?
What are the most cost-effective ways to refresh my kitchen?
Cite this guide
Upcycled Kitchen Cabinet Makeovers (2026). Upcycled Kitchen. https://upcyclehome.com/upcycled-kitchen/
Feel free to cite or share this guide.
References
- Recreating Sustainable Kitchen Linen through Upcycling (academia.edu)
- Retail food loss and waste reduction interventions: A scoping review (ageconsearch.umn.edu)
- Net-Zero Hero: Eduardo "Wayo" Longoria | AustinTexas.gov (austintexas.gov)
- How The Food Corridor is changing the shared use kitchen space ... (blogs.bard.edu)
- reduce-food-waste-at-home-july-2024.pdf (carrollcountymd.gov)