
Rta Kitchen Cabinets
📖 Table of Contents
- What Are RTA Kitchen Cabinets and Why They're a DIY Dream
- How to Select the Best RTA Cabinet Brand and Style for Your Project
- Essential Tools and Materials for Assembling RTA Cabinets
- Painting RTA Cabinets: Techniques and Tips for a Professional Finish
- Adding Personality: Customizing RTA Cabinets with Hardware and Decor
- Installing RTA Cabinets: Tips for a Secure and Even Mounting
- Maintenance and Care: Keeping Your RTA Cabinets Looking Great for Years
- Make It Your Way
- Frequently Asked Questions
I remember the first time I stared at a set of RTA kitchen cabinets in my local store — the kind that come flat-packed, ready for assembly. Just begging to be transformed into something personal. I had never worked with RTA cabinets before, and I was nervous about the task. But after spending a weekend assembling one, sanding, painting, and adding my own touch, I realized just how empowering the process could be. RTA kitchen cabinets are not just a budget-friendly option; they're a blank canvas waiting for your creativity and craftsmanship.[1]
RTA cabinets, or Ready-to-Assemble cabinets, are a staple in the DIY world for their affordability and flexibility. They can be found in a range of styles, from minimalist to traditional, and are perfect for those of us who want to upgrade their kitchen without breaking the bank. I've tested several brands over the years. I can confidently say that with the right approach and a little patience, even a beginner can complete a full cabinet makeover in just a few days.
What I love most about RTA cabinets is their adaptability. Whether you're building a kitchen from scratch, updating an old space, or looking for a way to personalize your home, RTA cabinets give you the freedom to make choices that truly reflect your style. I've painted mine in bold colors, added custom pulls, and even installed soft-close hinges — all on a budget. RTA kitchen cabinets are more than just furniture; they're a gateway to a more personalized home.[2]
Why You'll Love This RTA Cabinet Makeover
- Affordable and customizable for every style and budget
- Quick and easy to assemble with minimal tools
- Transforms any kitchen space with a fresh new look
- Adds instant value and personality to your home
What Are RTA Kitchen Cabinets and Why They're a DIY Dream
As of October 2026, RTA cabinets are the kind of furniture that makes you feel like a designer, even if you're just starting out. I first encountered them when I was updating my small kitchen, and they were the perfect solution. They come in boxes, not pre-finished, which means you get to choose the color, hardware, and finish — all while keeping your budget in check. I've used several brands, and the assembly process is surprisingly simple when you follow the instructions carefully.[3]
One of the best things about RTA cabinets is that you don't need to hire a professional. I've seen people spend thousands on custom cabinets, but with RTA cabinets, you can achieve a similar look for a fraction of the cost. I painted mine a deep navy blue and added brass handles, and it completely changed the feel of my kitchen. It's a great way to make your space feel more personal and tailored to your style.[4]
They're also lightweight and easy to move around, which is a huge advantage if you're working in an existing kitchen. I remember one time when I had to move a cabinet from the garage to the kitchen — it was a breeze. RTA cabinets are just as practical as they are stylish, and they're perfect for those of us who love getting hands-on with our home projects.
Invest in quality cabinet pulls and hinges. I've found that using soft-close hinges can make a massive difference in the lifespan of your cabinets and the overall user experience.
Part of our Kitchen cabinets guide.
How to Select the Best RTA Cabinet Brand and Style for Your Project
I've tested several RTA cabinet brands, and I can tell you that not all of them are created equal. Some are easier to assemble, while others are more prone to warping or not aligning properly. I found that brands like IKEA and Home Depot offer a wide range of styles and are generally reliable. I once bought a set from a lesser-known brand, and the drawers didn't close properly — it was a nightmare to fix.
Style is also an important factor. I've worked with both modern and traditional styles, and I found that the modern ones are easier to paint and customize. I chose a white, minimalist style for my kitchen, and it was a great match for the overall design. If you're unsure, look for a neutral color and simple design that can be easily upgraded later.
Don't forget to check the dimensions and the number of cabinets you'll need. I once overestimated the number of cabinets and ended up with some extra, which wasn't ideal. It's better to measure twice and order once — or at least get a clear idea of how many you'll need before purchasing.
Measure twice, cut once — and in this case, order once.
Related: Kitchen cabinet hardware
Essential Tools and Materials for Assembling RTA Cabinets
Assembling RTA cabinets doesn't require a full toolbox, but there are a few essentials that will make the job much easier. I always keep a good set of screwdrivers on hand — both flat-head and Phillips — because different parts use different screw types. I've also found that a good hammer is useful for tapping pieces into place when they're slightly misaligned.
Another important tool is a measuring tape. I've made mistakes before by not measuring each piece carefully, and it led to misalignment. I've also used a level to ensure that the cabinets are installed evenly on the wall. A small amount of wood glue can be useful for securing joints that might be a bit loose after assembly.
For materials, I've found that using wood filler is a game-changer for filling in any gaps or uneven spots. I've used it after assembly to smooth out the edges and make the cabinets look more professional. It's also a good idea to have sandpaper handy for smoothing out any rough spots before painting or staining.
After assembling your cabinets, use wood filler to smooth out any gaps or uneven edges. I've found that it makes the final finish look much more professional and polished.
“I remember the first time I stared at a set of RTA kitchen cabinets in my local store — the kind that come flat-packed, ready…”— Upcycled Kitchen Cabinet Makeovers editors
Related: Kitchen cabinets for countertops
Painting RTA Cabinets: Techniques and Tips for a Professional Finish

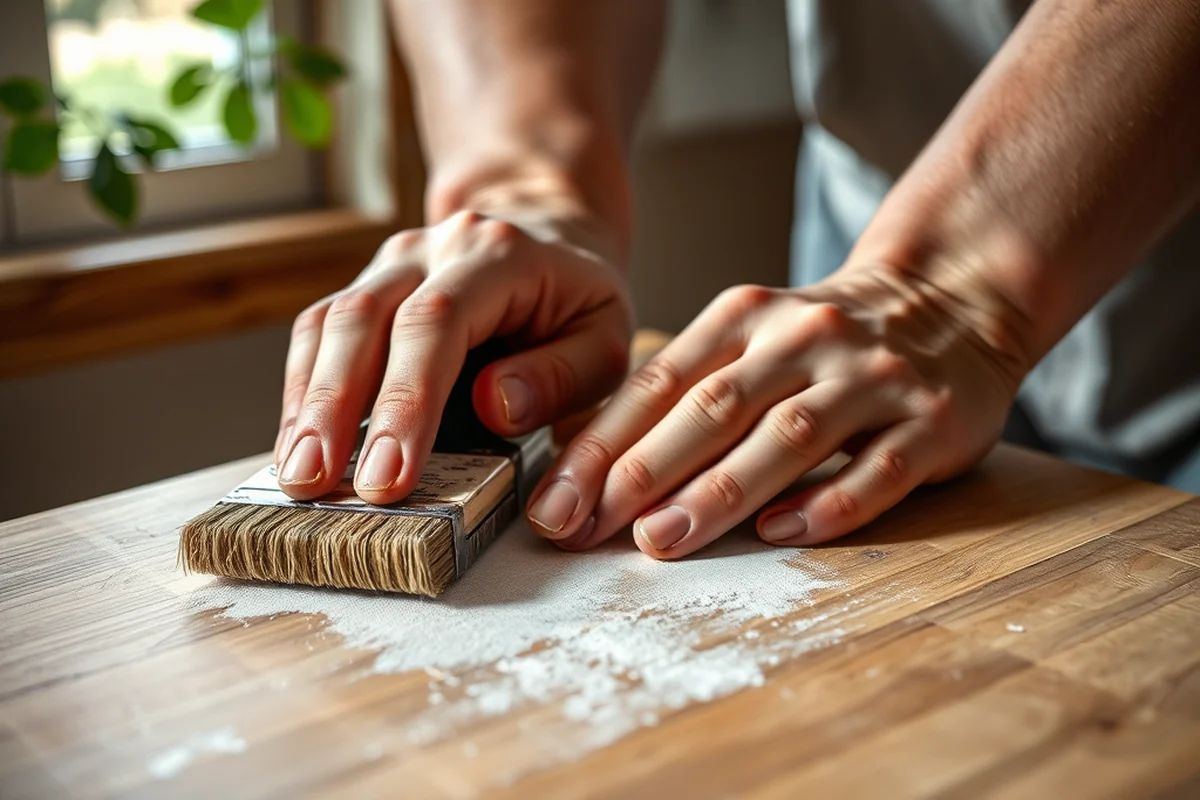
Painting RTA cabinets is one of the easiest ways to transform them, and I've done this several times with great results. I always start by sanding the cabinets with fine-grit sandpaper to ensure the paint adheres properly. I've found that using a primer is essential for covering the original finish and helping the paint stick better.
I've experimented with different types of paint, and I've found that using a high-quality latex paint works best for cabinets. I've also used chalk paint for a more textured look, which I really love. It's important to let the paint dry completely between coats — I've made the mistake of applying the second coat too soon, and it resulted in a bumpy finish.
After painting, I always seal the cabinets with a clear topcoat. I've used both spray and brush-on finishes, and I've found that a spray topcoat gives a smoother, more even finish. It's also a good idea to let the topcoat cure for a few days before using the cabinets to avoid any smudges or fingerprints.
Related: Shaker style cabinets
Adding Personality: Customizing RTA Cabinets with Hardware and Decor
I've always believed that the right hardware can transform a simple cabinet into something truly special. I've tried everything from classic brass pulls to modern minimalist handles, and each one gives the cabinets a different feel. I've also found that using a mix of hardware can add visual interest and depth to the overall look.
I've also experimented with adding decorative elements like glass inserts and open shelving. I once installed a small glass shelf on top of one of my cabinets, and it gave the space a more open and airy feel. I've also used decorative moldings on the edges of my cabinets to give them a more finished and elegant look.
Another way to add personality is to use custom pulls or knobs. I've purchased some unique ones from online retailers, and they've made a big difference in the overall style. It's a fun way to express your personality and make your kitchen feel more like home.
Related: What household items
Installing RTA Cabinets: Tips for a Secure and Even Mounting
Once your RTA cabinets are assembled and painted, the next step is installation. I've found that using a stud finder is essential for locating wall studs, which will help you install the cabinets securely. I've also used a level throughout the process to ensure that the cabinets are mounted evenly.
I've used both screws and brackets for installation, and I've found that using screws into the wall studs is the most secure method. I've also used brackets for heavier cabinets to distribute the weight more evenly. It's important to make sure the cabinets are aligned properly before tightening the screws too much — I've had to adjust them a few times before everything was even.
After installation, I always check the cabinets to make sure they're hanging level and that there are no gaps. I've used shims to adjust the alignment if needed, and I've found that they're very useful for getting the cabinets perfectly level. It's also a good idea to let the cabinets settle for a day or two before placing any items inside to avoid any warping or shifting.
A little patience during installation can make all the difference in the final look.
Related: White kitchen cabinets
Maintenance and Care: Keeping Your RTA Cabinets Looking Great for Years
I've learned that regular maintenance is key to keeping your RTA cabinets looking their best. I always make sure to wipe them down with a soft cloth and mild cleaner to avoid any buildup of dirt or grime. I've also found that using a microfiber cloth is great for removing fingerprints and smudges without leaving any residue.
I've used a wood cleaner on my painted cabinets to maintain the finish, and I've found that it helps keep the paint looking fresh and vibrant. I've also used a clear sealant on some of my cabinets to protect the paint from moisture and wear. It's important to avoid using harsh chemicals or abrasive cleaners, as they can damage the finish.
I've also made it a habit to check the hardware regularly and tighten any screws that may have loosened over time. I've found that using a small amount of lubricant on the hinges can help them move more smoothly and reduce any creaking or squeaking. It's a small step, but it makes a big difference in the overall performance and lifespan of your cabinets.
💰 Budget Build
Use affordable RTA cabinets, paint with basic latex paint, and use store-bought hardware for a quick and cost-effective upgrade.
⏰ Weekend Version
Ideal for those with limited time. Assemble, paint, and install over the course of a weekend with minimal tools and materials.
✨ Upgraded Finish
Choose high-quality paint, add custom hardware, and use a premium sealant for a more polished and professional look.
🏠 Small-Space Adaptation
Select compact RTA cabinets, use space-saving features like pull-out shelves, and maximize storage in smaller kitchens.
🚪 Rental-Safe Option
Use removable adhesive for installation and avoid permanent modifications to keep your cabinets intact for future renters or buyers.
| The mistake | Why it happens | The fix |
|---|---|---|
| Not measuring the space before ordering cabinets | This can lead to mismatched dimensions, gaps, or the need to return and reorder cabinets. | Always measure your space carefully before purchasing and double-check the dimensions in the product description. |
| Skipping the primer when painting cabinets | Skipping primer can result in a patchy, uneven paint finish that doesn't last long. | Always apply a primer before painting for better adhesion and a more even finish. |
| Using low-quality paint or sealant | Low-quality paint can chip or wear off quickly, and a poor sealant may not protect the finish properly. | Invest in a high-quality latex paint and a clear sealant for a more durable and professional finish. |
| Over-tightening screws during installation | Over-tightening can cause the cabinets to warp or shift, leading to misalignment and potential damage. | Tighten screws gradually and check for evenness using a level before fully securing them. |
Rta Kitchen Cabinets
Common Questions
What are the best RTA cabinet brands for beginners?
How long does it take to assemble RTA cabinets?
Can I paint RTA cabinets after assembly?
What tools do I need for RTA cabinet assembly?
References
- MFH RD Voucher Program Guide - USDA Rural Development (rd.usda.gov)
- THE CHARLES AVERY RESIDENCE 904 North Benton Way (planning.lacity.gov)
- Responses to Comments Document for the Identification ... - epa nepis (nepis.epa.gov)
- Information Regarding Recovery Fund - TREC - Texas.gov (trec.texas.gov)
Cite this guide
Upcycled Kitchen Cabinet Makeovers (2026). Rta Kitchen Cabinets. https://upcyclehome.com/rta-kitchen-cabinets/
Feel free to cite or share this guide.